You are using an out of date browser. It may not display this or other websites correctly.
You should upgrade or use an alternative browser.
You should upgrade or use an alternative browser.
1966 Coronet 440 field find
- Thread starter gdrill
- Start date
gdrill
Just enjoying "B"-ing here
- Local time
- 6:49 AM
- Joined
- May 29, 2013
- Messages
- 6,683
- Reaction score
- 13,640
Thanx Guys, it's good to be back.
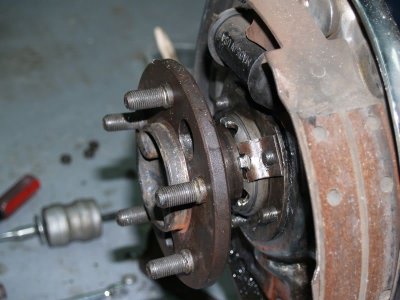
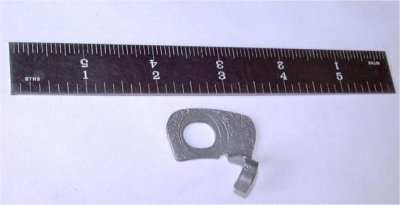
Actually I discovered that a picture of that locking washer is probably the hardest thing to find on the internet! :laughing5: It took me a while but I found two types or styles, and I only just found the second picture! I built mine presuming there would not be a lot of rotational torque force on it. I don't believe it can turn due to the width against the flange. I could be wrong though and maybe I should build the style in the second picture but I was modeling mine after the first.
Oh and here is a link to the second pic. It is a description of setting end play without a dial gauge.
http://www.moparts.org/Tech/Archive/axle/12.html


gdrill
Just enjoying "B"-ing here
- Local time
- 6:49 AM
- Joined
- May 29, 2013
- Messages
- 6,683
- Reaction score
- 13,640
gdrill
Just enjoying "B"-ing here
- Local time
- 6:49 AM
- Joined
- May 29, 2013
- Messages
- 6,683
- Reaction score
- 13,640
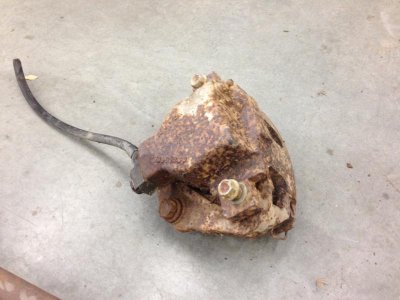
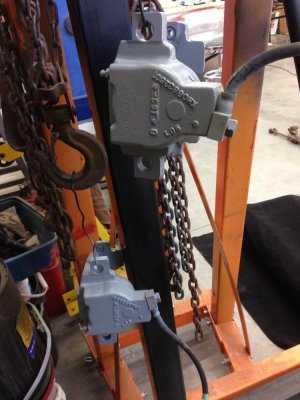
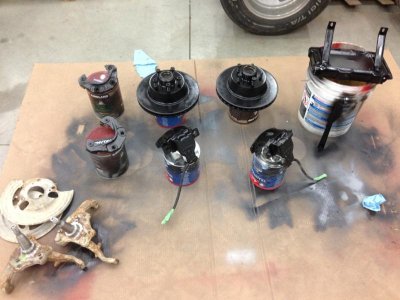
Today I dug out my front calipers. A friend gave them to me off a donor car. I gave them a glass bead job and sprayed them grey. Not sure what color they are supposed to be, but I kinda like this. I'll see what they look like on the car and decide if I'm gonna change it. They are 11" front discs, so combined with 11" X 2 1/2" in the back, I should be able to stop.


Basket case
Well-Known Member
maybe red so they will stand out, but that depends on your wheels. great job!
Ron 73
Deceased, But not forgotton
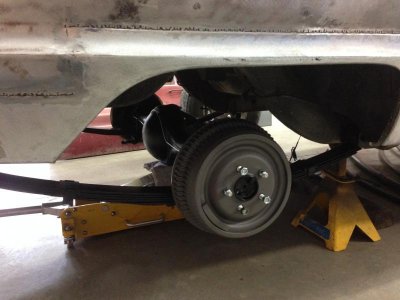
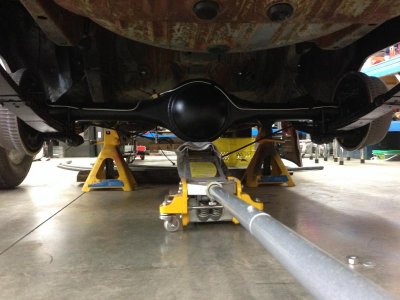
Man, your doing some great work! That differential and the leaf springs sure look great, That has to feel good having it on the rubber again, lots of work but coming around nicely!!!
gdrill
Just enjoying "B"-ing here
- Local time
- 6:49 AM
- Joined
- May 29, 2013
- Messages
- 6,683
- Reaction score
- 13,640
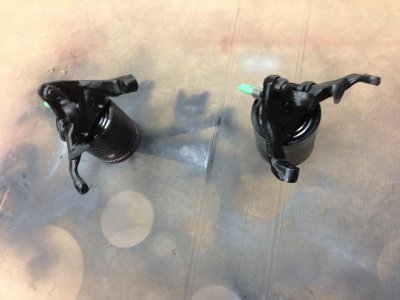
Thanx Ron. Ya there is a ton of stuff to do. But little by little each piece makes a difference! I changed my mind and just went black on the calipers. Tomorrow I'll tackle the spindles and dust shields. I would like to get the new V8 k-member in this week. I still need to get bushings etc for that. If the weather is decent I'm also going to try and sand blast the engine compartment tomorrow.

gdrill
Just enjoying "B"-ing here
- Local time
- 6:49 AM
- Joined
- May 29, 2013
- Messages
- 6,683
- Reaction score
- 13,640
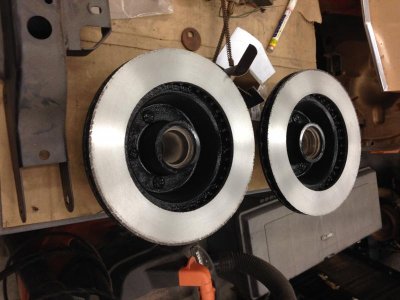
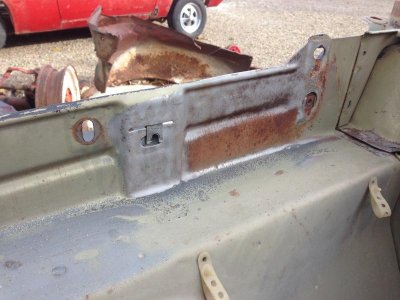
Today I got the rotors cut at my buddy's place. It's handy to have a friend with certain equipment. I blasted and painted the spindles. Then outside to blast the engine bay. It's not quite complete as I ran out of sunlight, but man it looks a zillion times better!! It takes quite a while with a little hand held portable blaster. I'll finish that up tomorrow or the next day. May be taking a road trip tomorrow for parts.
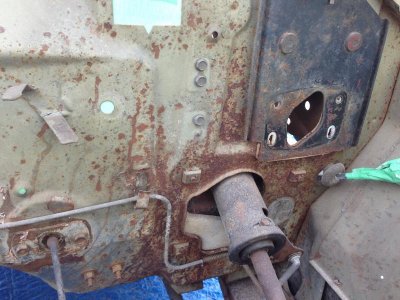
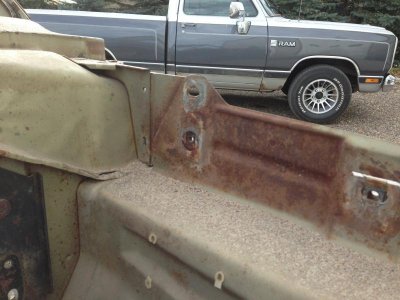
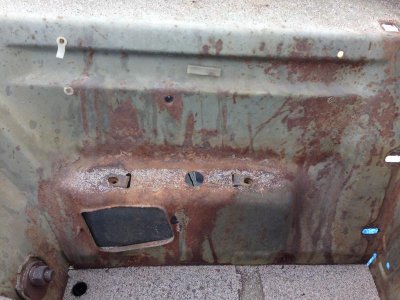
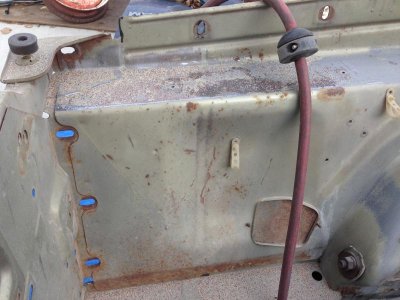
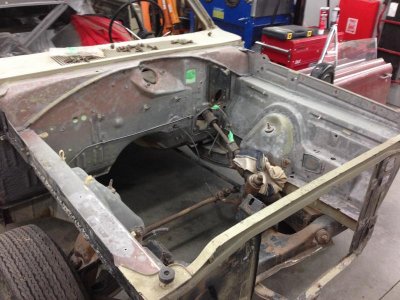
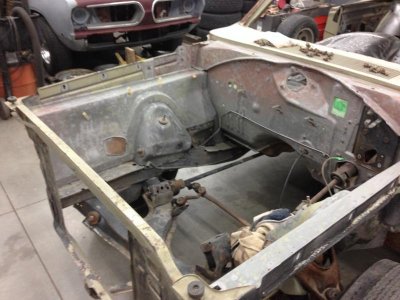


steved033
Well-Known Member
cool!!! good to see. I have the second style on my '71 GTX. I've been hunting for one, found a sort of picture of it, but couldn't find one for sale anywhere. I was cleaning up some stuff in my basement and under some parts for the car was a plastic bag with about 6 nuts, and HOLY COW!! the little lock.
sjd
sjd
Thanx Guys, it's good to be back.
Actually I discovered that a picture of that locking washer is probably the hardest thing to find on the internet! :laughing5: It took me a while but I found two types or styles, and I only just found the second picture! I built mine presuming there would not be a lot of rotational torque force on it. I don't believe it can turn due to the width against the flange. I could be wrong though and maybe I should build the style in the second picture but I was modeling mine after the first.
Oh and here is a link to the second pic. It is a description of setting end play without a dial gauge.
http://www.moparts.org/Tech/Archive/axle/12.html
View attachment 217673
View attachment 217674
gdrill
Just enjoying "B"-ing here
- Local time
- 6:49 AM
- Joined
- May 29, 2013
- Messages
- 6,683
- Reaction score
- 13,640
Thanx again guys.
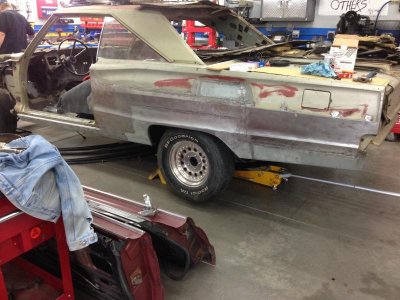
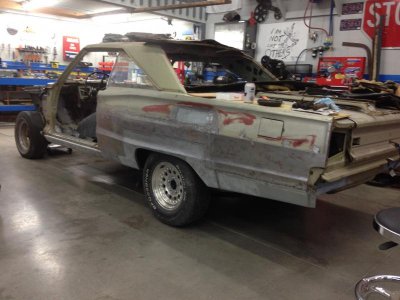
Devin, that is my son's car. It's a '68. He's 21 and just getting into cars. Finally! I'm going to help him this winter and see if we can't get the body work done for spring. I'm glad he finally found a body style, on his own, that he really likes. So the Coronet will be second in line but I'll still plug away at it.
Steve, I was searching for one of those myself before I built mine. Then I came across them on Ebay. First note: they are called a "locking pawl". Second note: They are available! Here's a link.
http://www.ebay.ca/sch/i.html?_odkw....TRC0.H0.X8+3/4+pawl&_nkw=8+3/4+pawl&_sacat=0
Last edited:
daredevil
Well-Known Member
Glad you found it. I bet theres a few floating around in peoples parts buckets who changed to green bearings.
Thanx again guys.
Devin, that is my son's car. It's a '68. He's 21 and just getting into cars. Finally! I'm going to help him this winter and see if we can't get the body work done for spring. I'm glad he finally found a body style, on his own, that he really likes. So the Coronet will be second in line but I'll still plug away at it.
Steve, I was searching for one of those myself before I built mine. Then I came across them on Ebay. First note: they are called a "locking pawl". Second note: They are available! Here's a link.
http://www.ebay.ca/sch/i.html?_odkw....TRC0.H0.X8+3/4+pawl&_nkw=8+3/4+pawl&_sacat=0
He's got good taste! Those are my favorite A Bodies hands down. You'll have to post pics when it's done.
gdrill
Just enjoying "B"-ing here
- Local time
- 6:49 AM
- Joined
- May 29, 2013
- Messages
- 6,683
- Reaction score
- 13,640
Engine bay is primed
Today was miserable outside so I decided to prime the engine bay. I put up a little hut to control the over spray. Don't need everything in the shop dusted! It's OK but the primer was coming out what I would call a little dry. Maybe I had too high of air pressure. I don't know, I'm barely learning this stuff! Oh well a little sanding and it'll be fine. I used this high build grey vs the black I was using before. I did this because I want to paint the car Buffed Silver and figure the grey will be better under it. It sure didn't spray the same as the black.
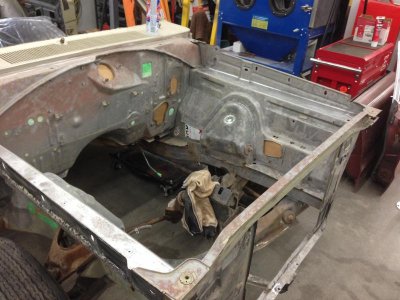
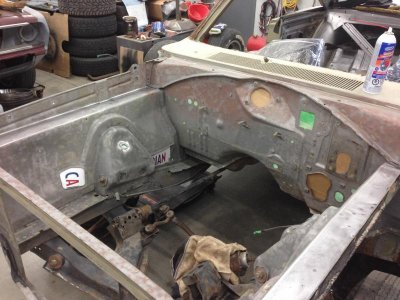
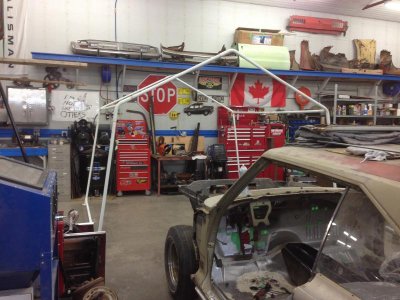
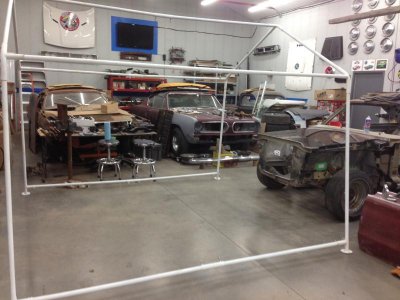
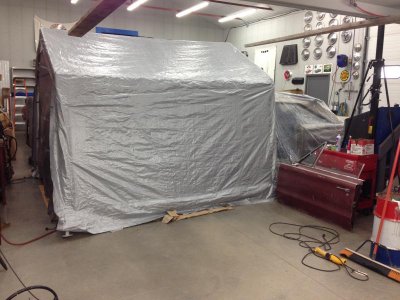
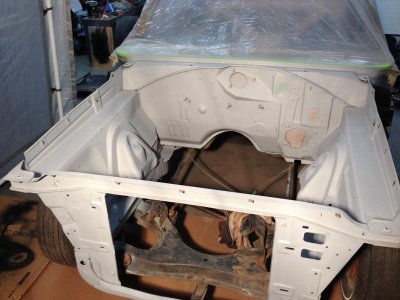
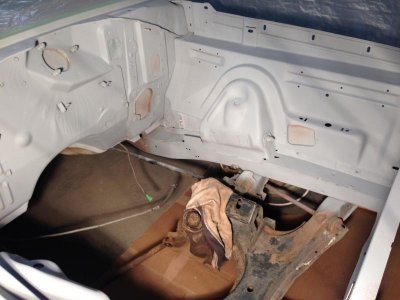
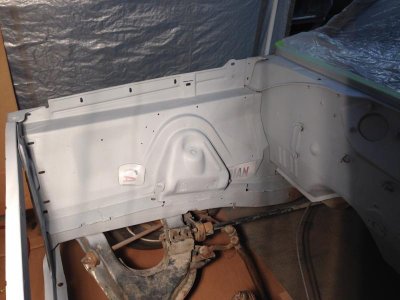
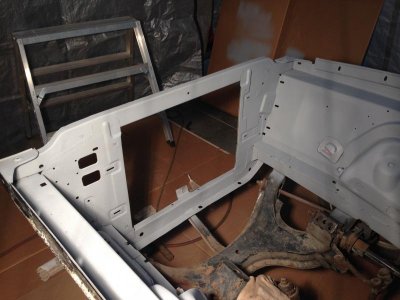
Today was miserable outside so I decided to prime the engine bay. I put up a little hut to control the over spray. Don't need everything in the shop dusted! It's OK but the primer was coming out what I would call a little dry. Maybe I had too high of air pressure. I don't know, I'm barely learning this stuff! Oh well a little sanding and it'll be fine. I used this high build grey vs the black I was using before. I did this because I want to paint the car Buffed Silver and figure the grey will be better under it. It sure didn't spray the same as the black.


What fluid tip are you using in you gun? If you bought a paint gun that only has one tip it's probably for painting 1.3-1.5 and primer being thicker needs a bigger tip to come out smooth I think I prime with a 1.8 or 1.9 (can't remember). Looking good
gdrill
Just enjoying "B"-ing here
- Local time
- 6:49 AM
- Joined
- May 29, 2013
- Messages
- 6,683
- Reaction score
- 13,640
I think you are right Devon. I used a gun that worked on the other but it has a 1.4 tip. The high build calls for 1.8 - 2.0. I have a Devilbiss starter kit that I bought a while back, but was afraid of change so I used the old gun. Should have listened to my gut and broke in the new gun, it has a 1.8 tip in it. I'm going to now though. Just getting ready to throw another coat on.
I also don't think I waited long enough on the hardener. I went online and it says 1hr! Wow.
I also don't think I waited long enough on the hardener. I went online and it says 1hr! Wow.
I think you are right Devon. I used a gun that worked on the other but it has a 1.4 tip. The high build calls for 1.8 - 2.0. I have a Devilbiss starter kit that I bought a while back, but was afraid of change so I used the old gun. Should have listened to my gut and broke in the new gun, it has a 1.8 tip in it. I'm going to now though. Just getting ready to throw another coat on.
I also don't think I waited long enough on the hardener. I went online and it says 1hr! Wow.
Cool, I checked and I'm using a 1.8.
SNKEBIT
Well-Known Member
Just went through the whole thread. Nice job! I'll be starting on my project really soon. 67 cuda fastback!!! Can't wait!
- Local time
- 8:49 AM
- Joined
- Oct 16, 2014
- Messages
- 27,942
- Reaction score
- 66,012
- Location
- Salisbury, Vermont
Thanks for the heads up about the spray gun tips! I'm about to buy a gun for priming mine when it's ready and need to get it right the first time.
Similar threads
- Replies
- 12
- Views
- 657
- Replies
- 41
- Views
- 4K
- Replies
- 86
- Views
- 5K

