• When you click on links to various merchants on this site and make a purchase, this can result in this site earning a commission. Affiliate programs and affiliations include, but are not limited to, the eBay Partner Network.

New Garage

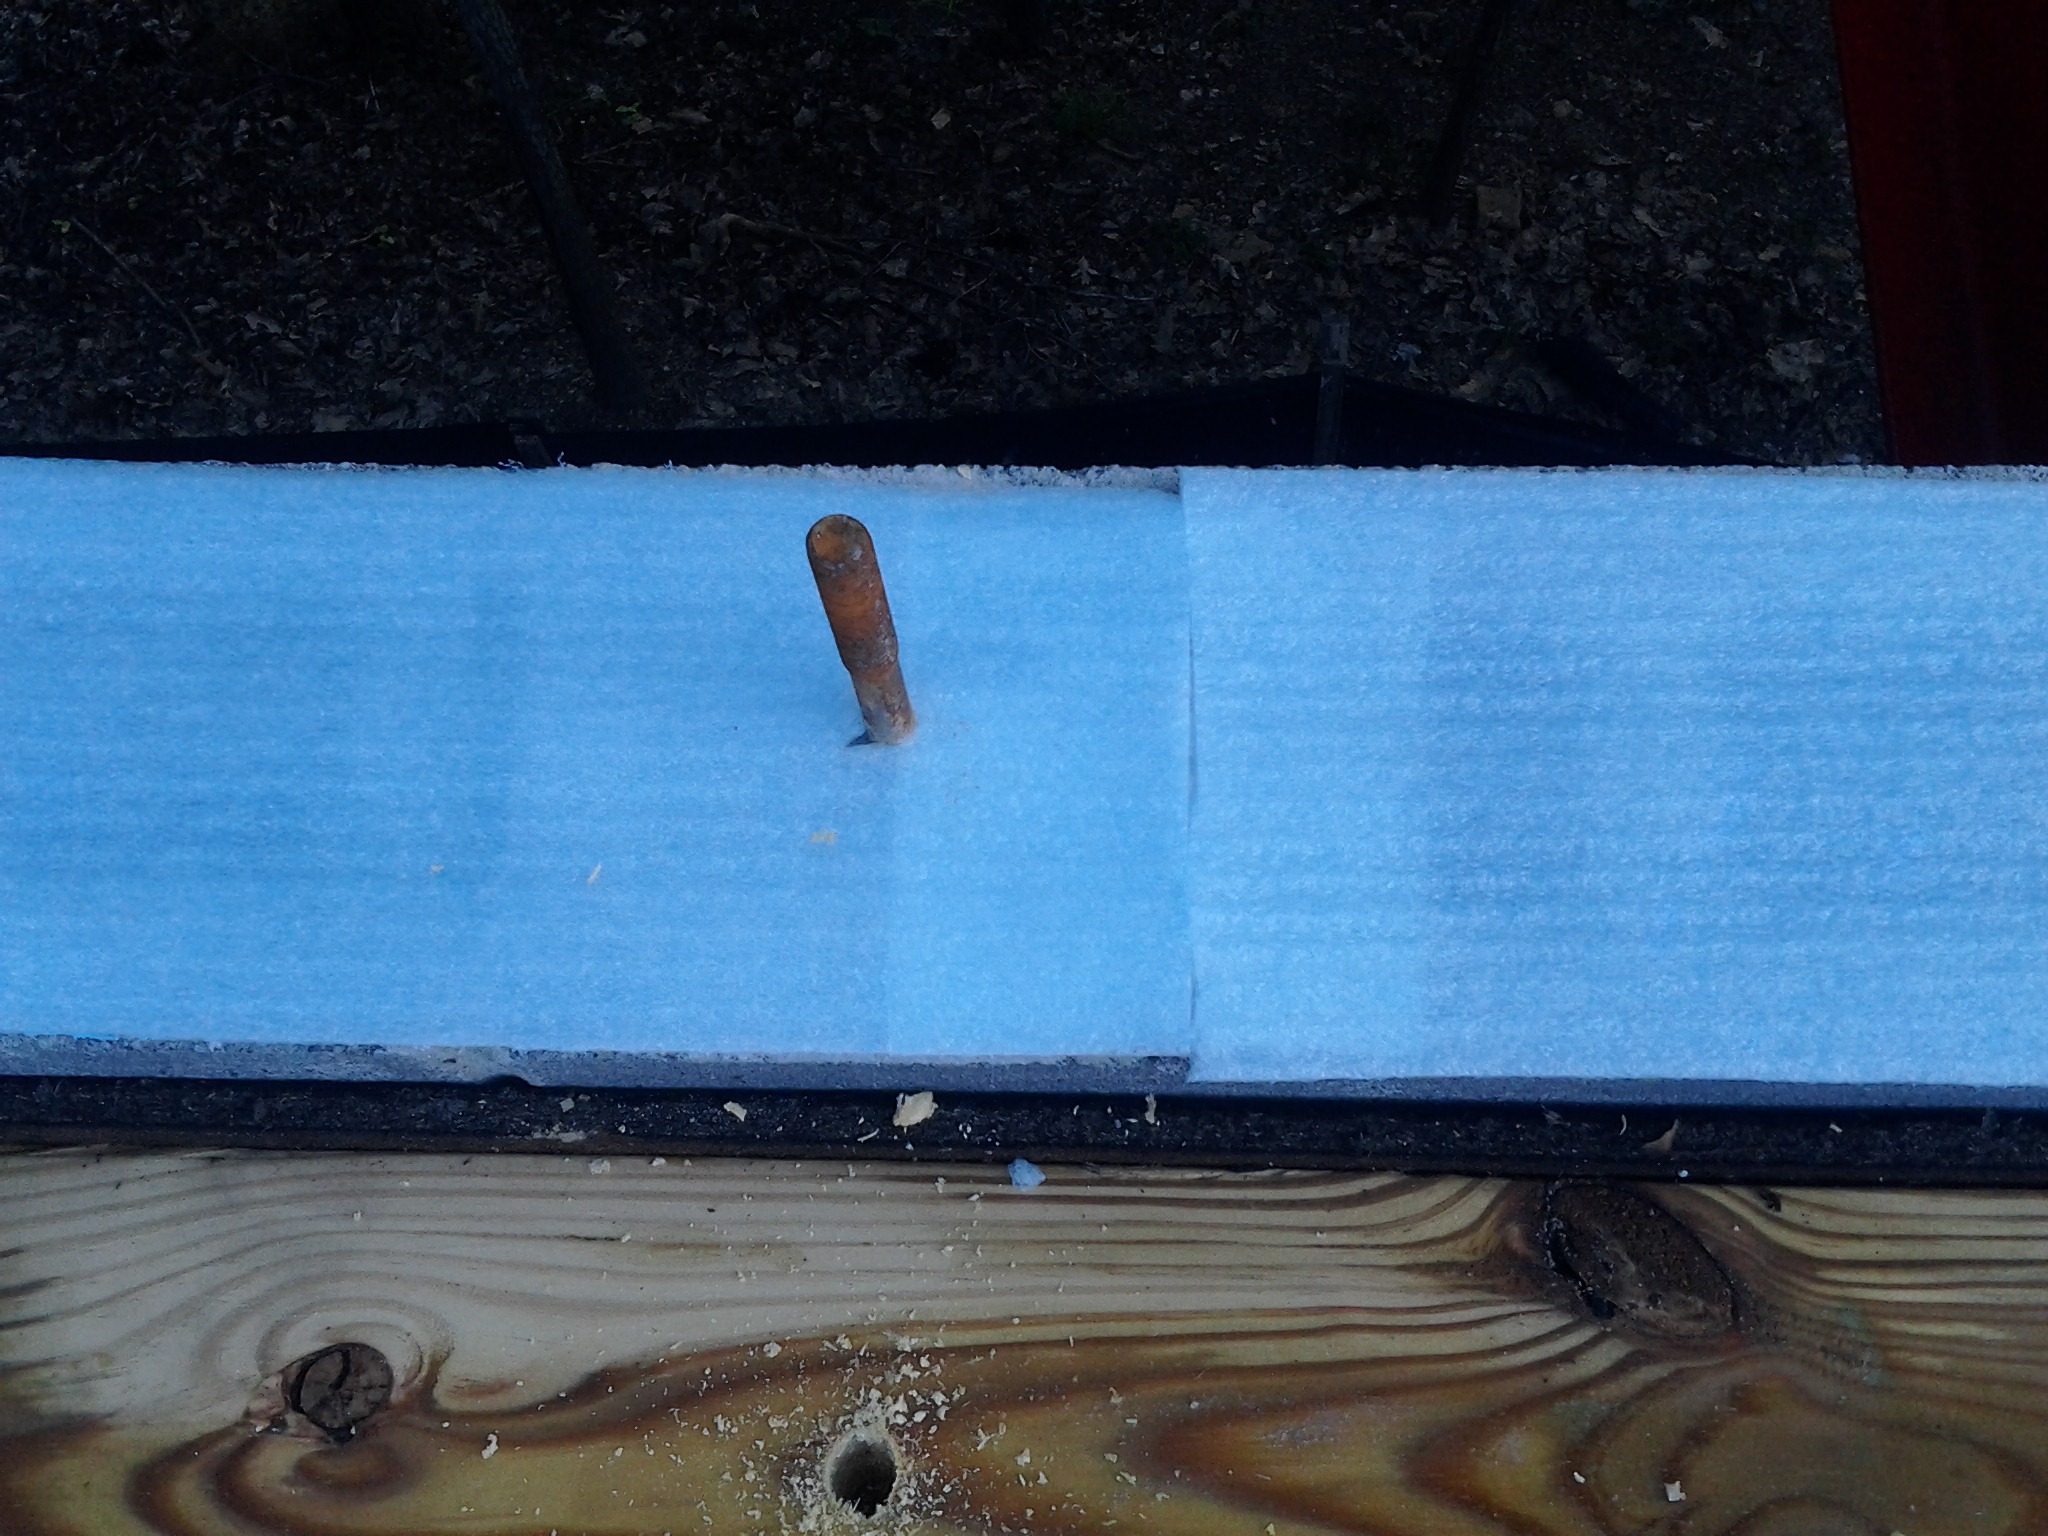
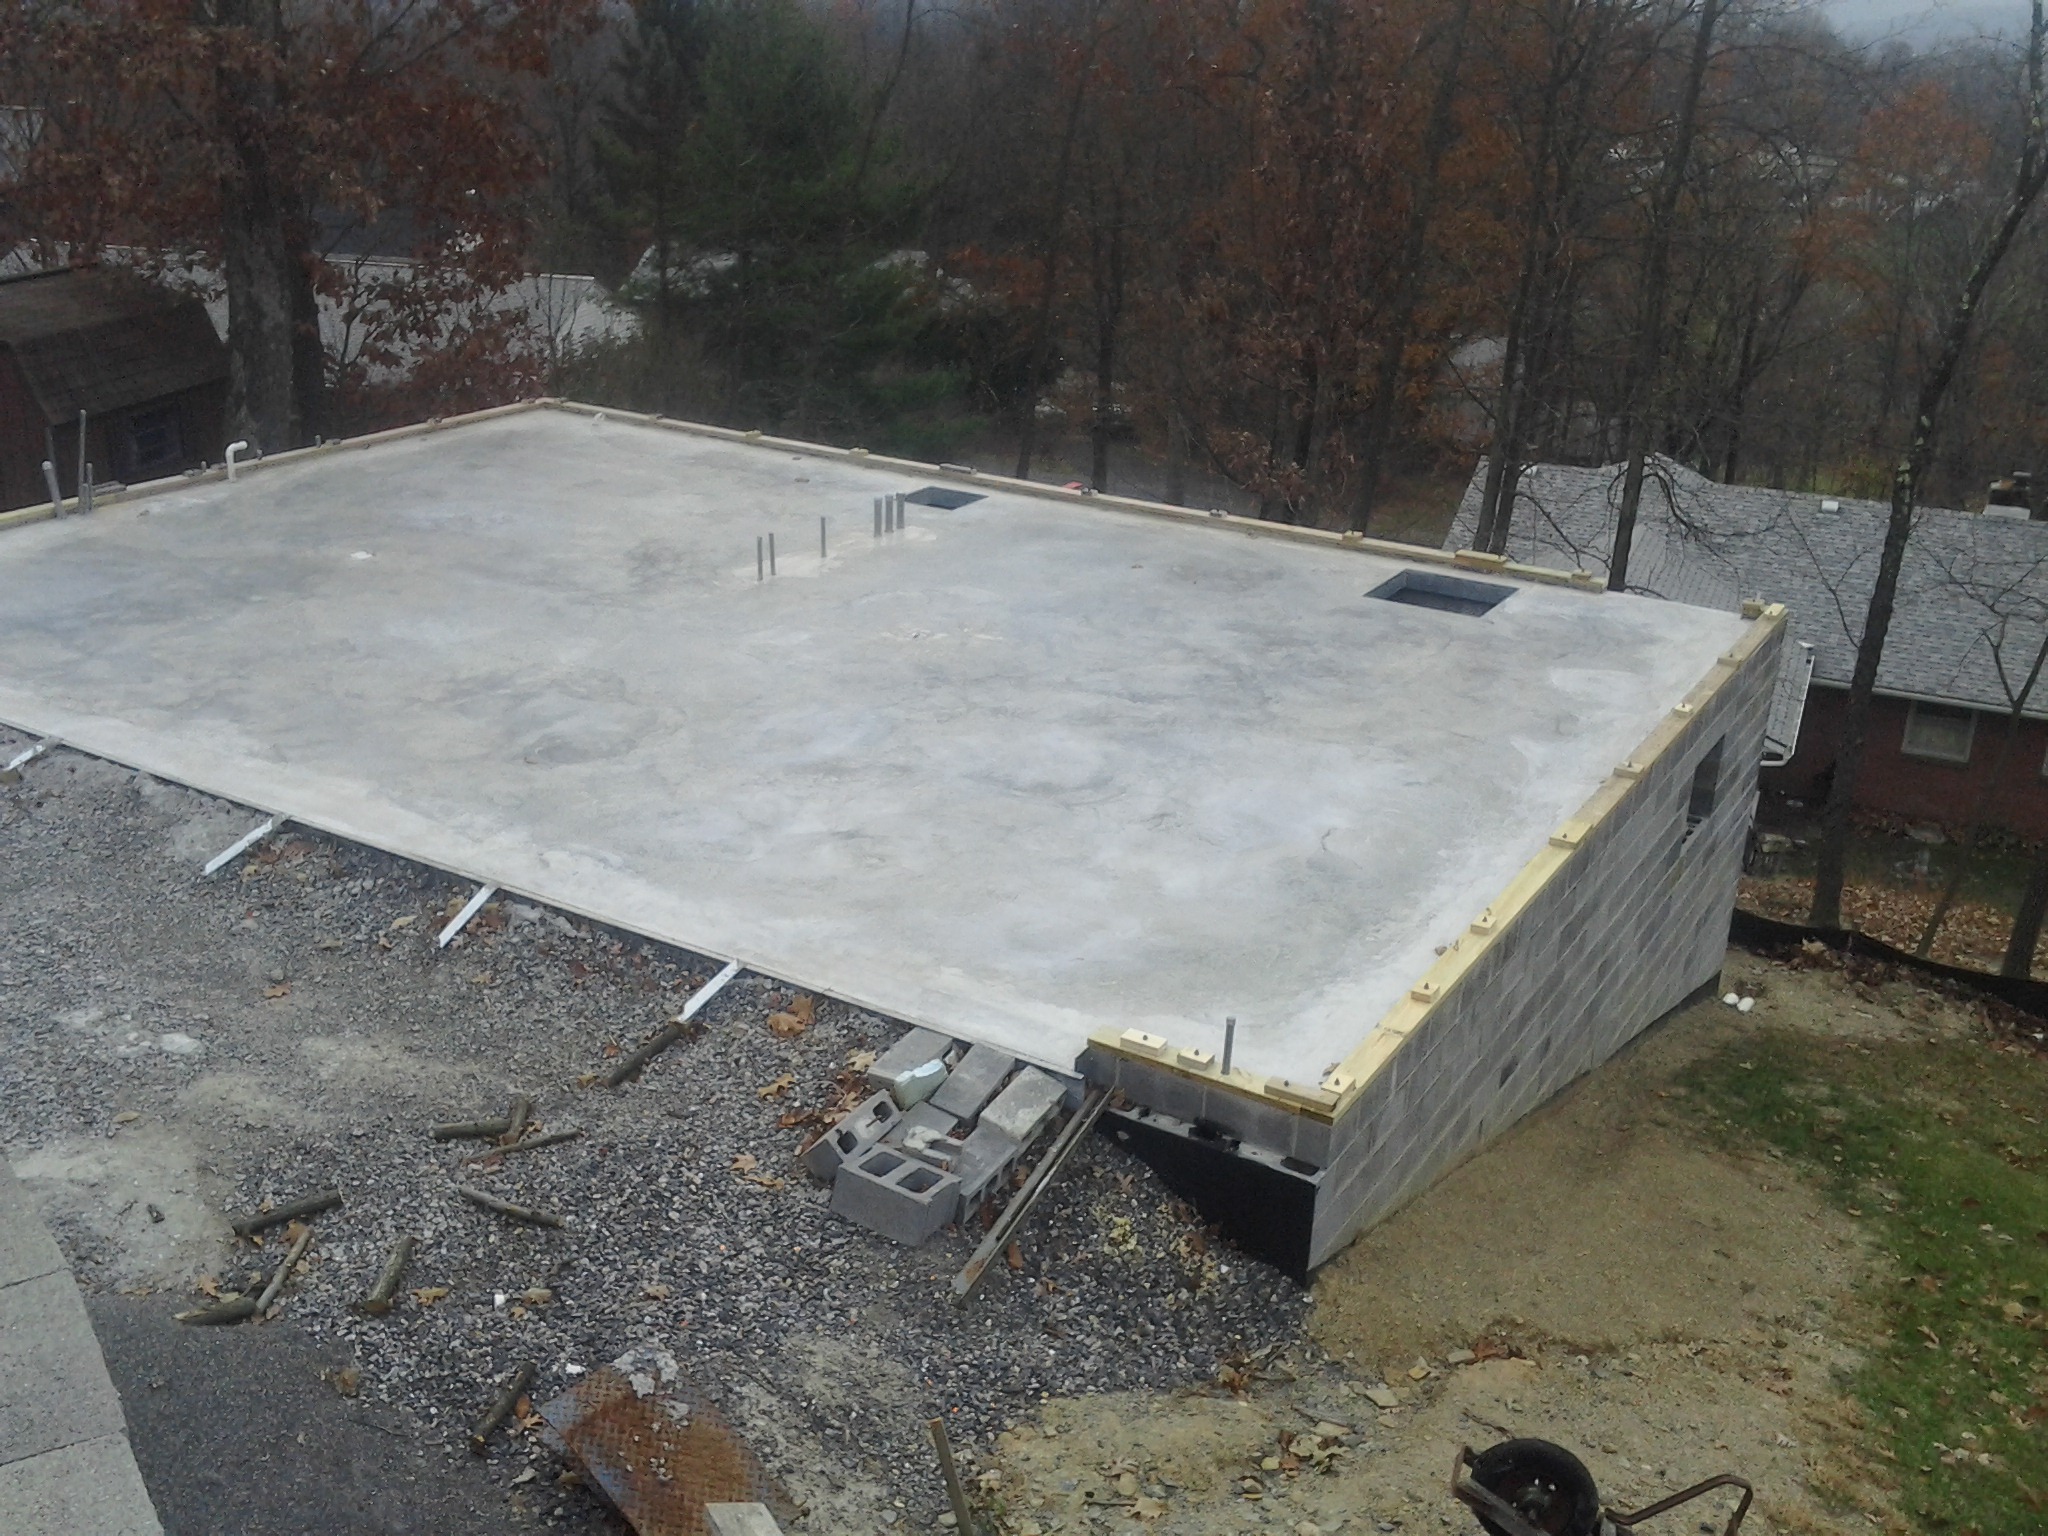
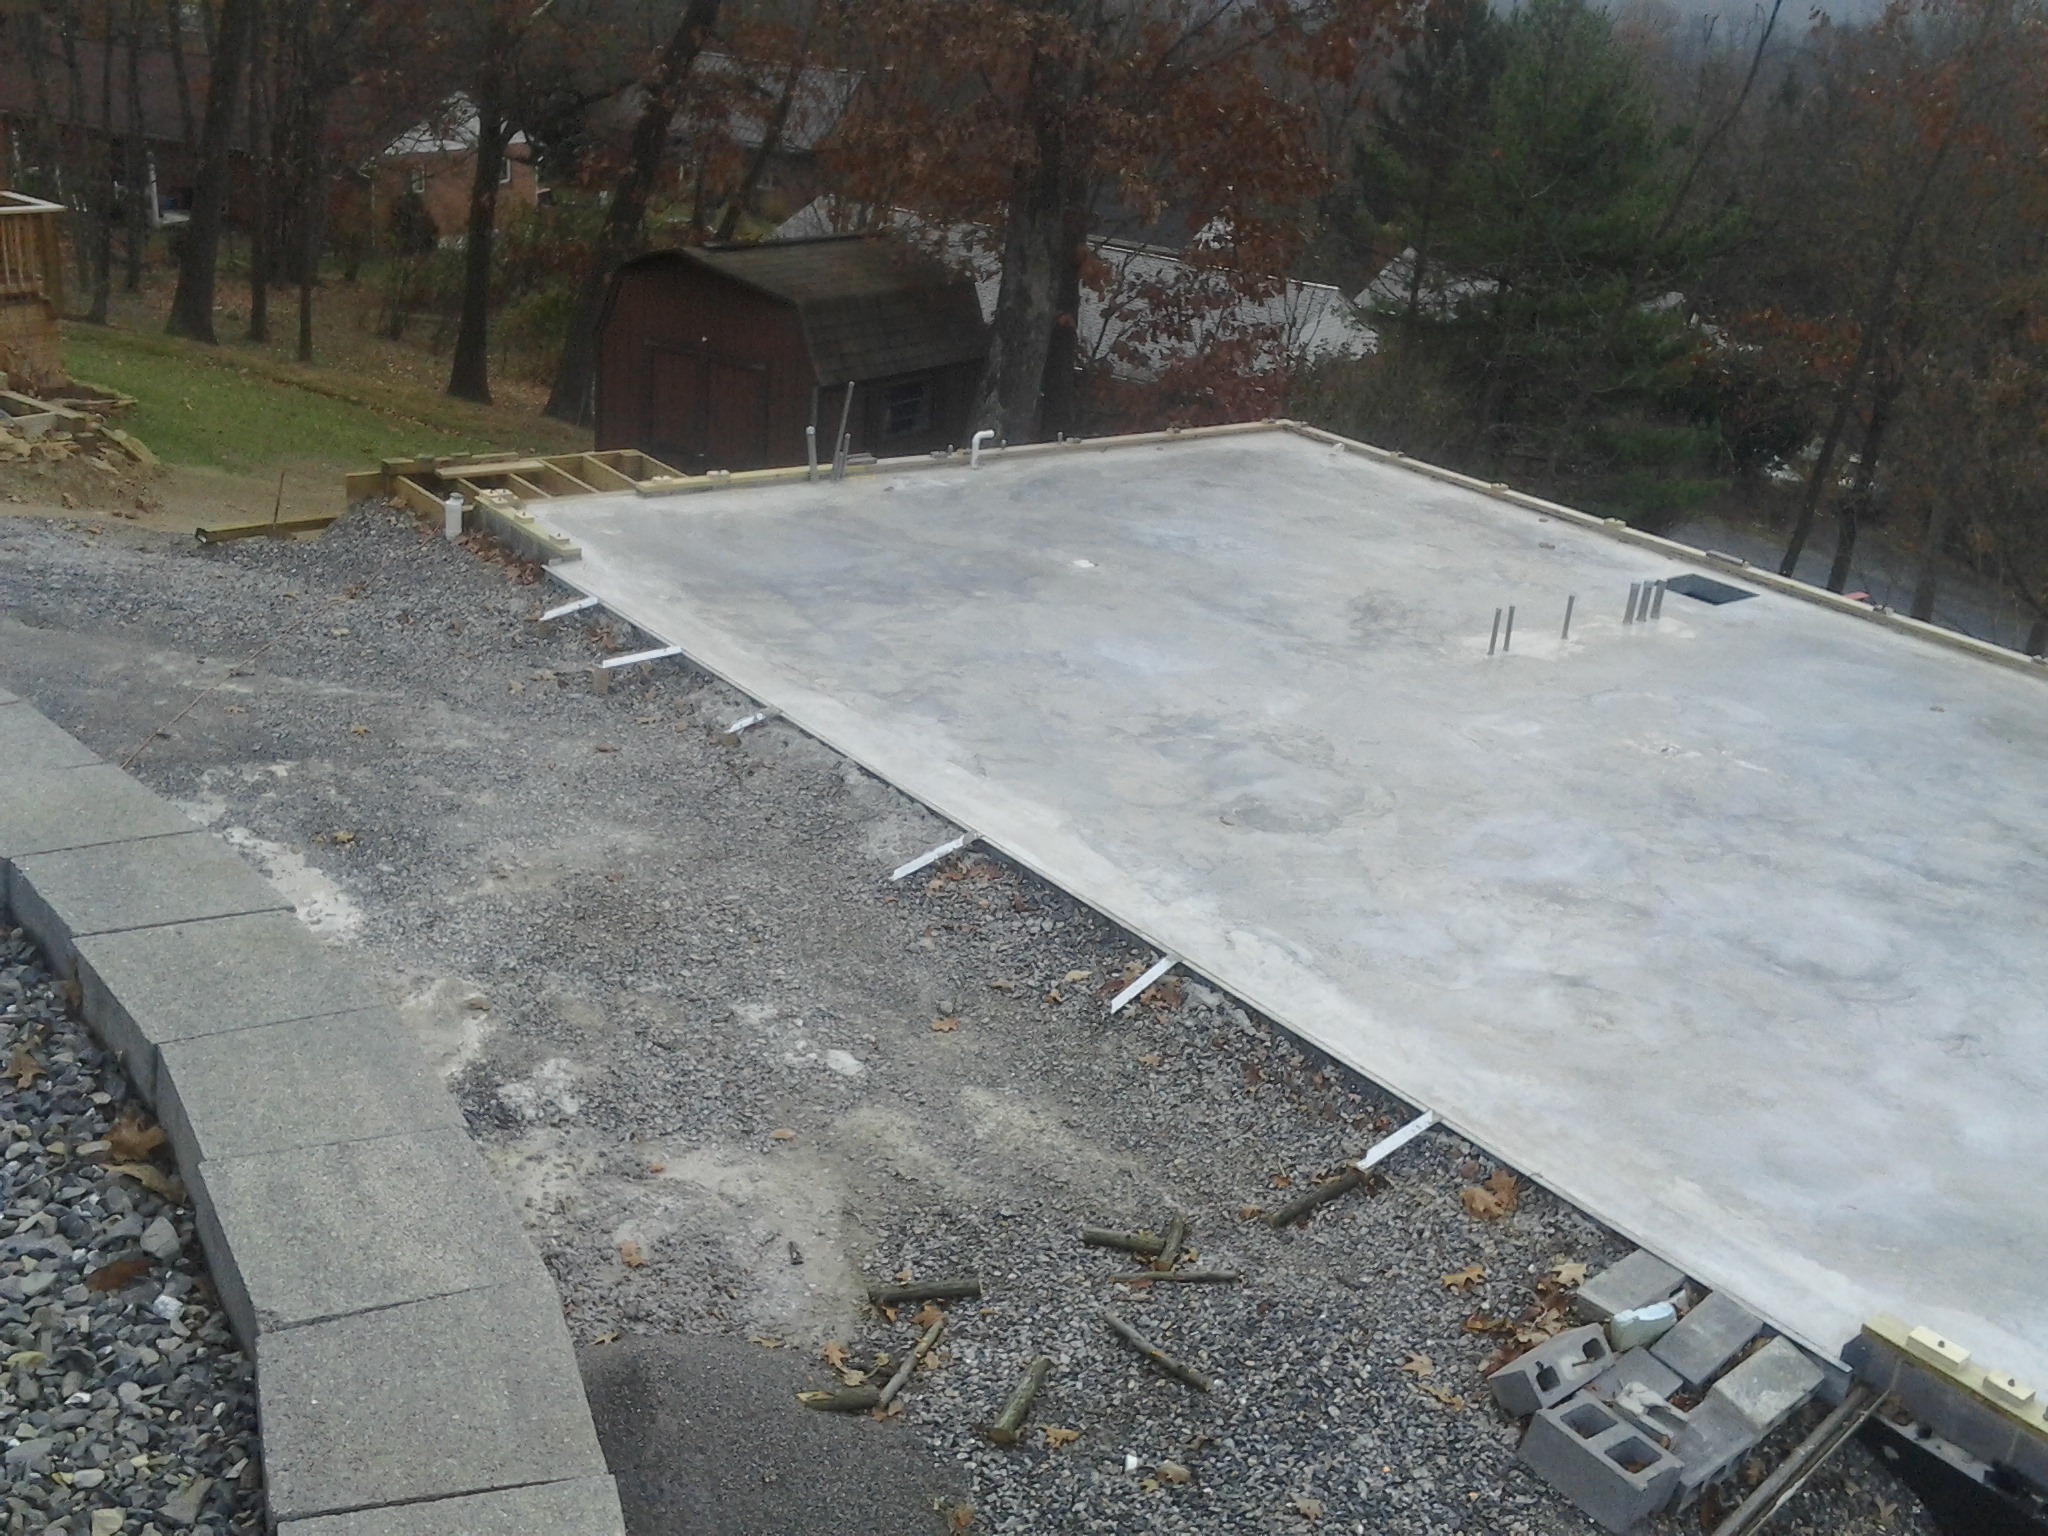
I ordered the concrete with fiber in it.
Typically you use wire mesh or fiber to prevent cracking...I opted for both...22 Yards of concrete later it is finished.
boogie.gif


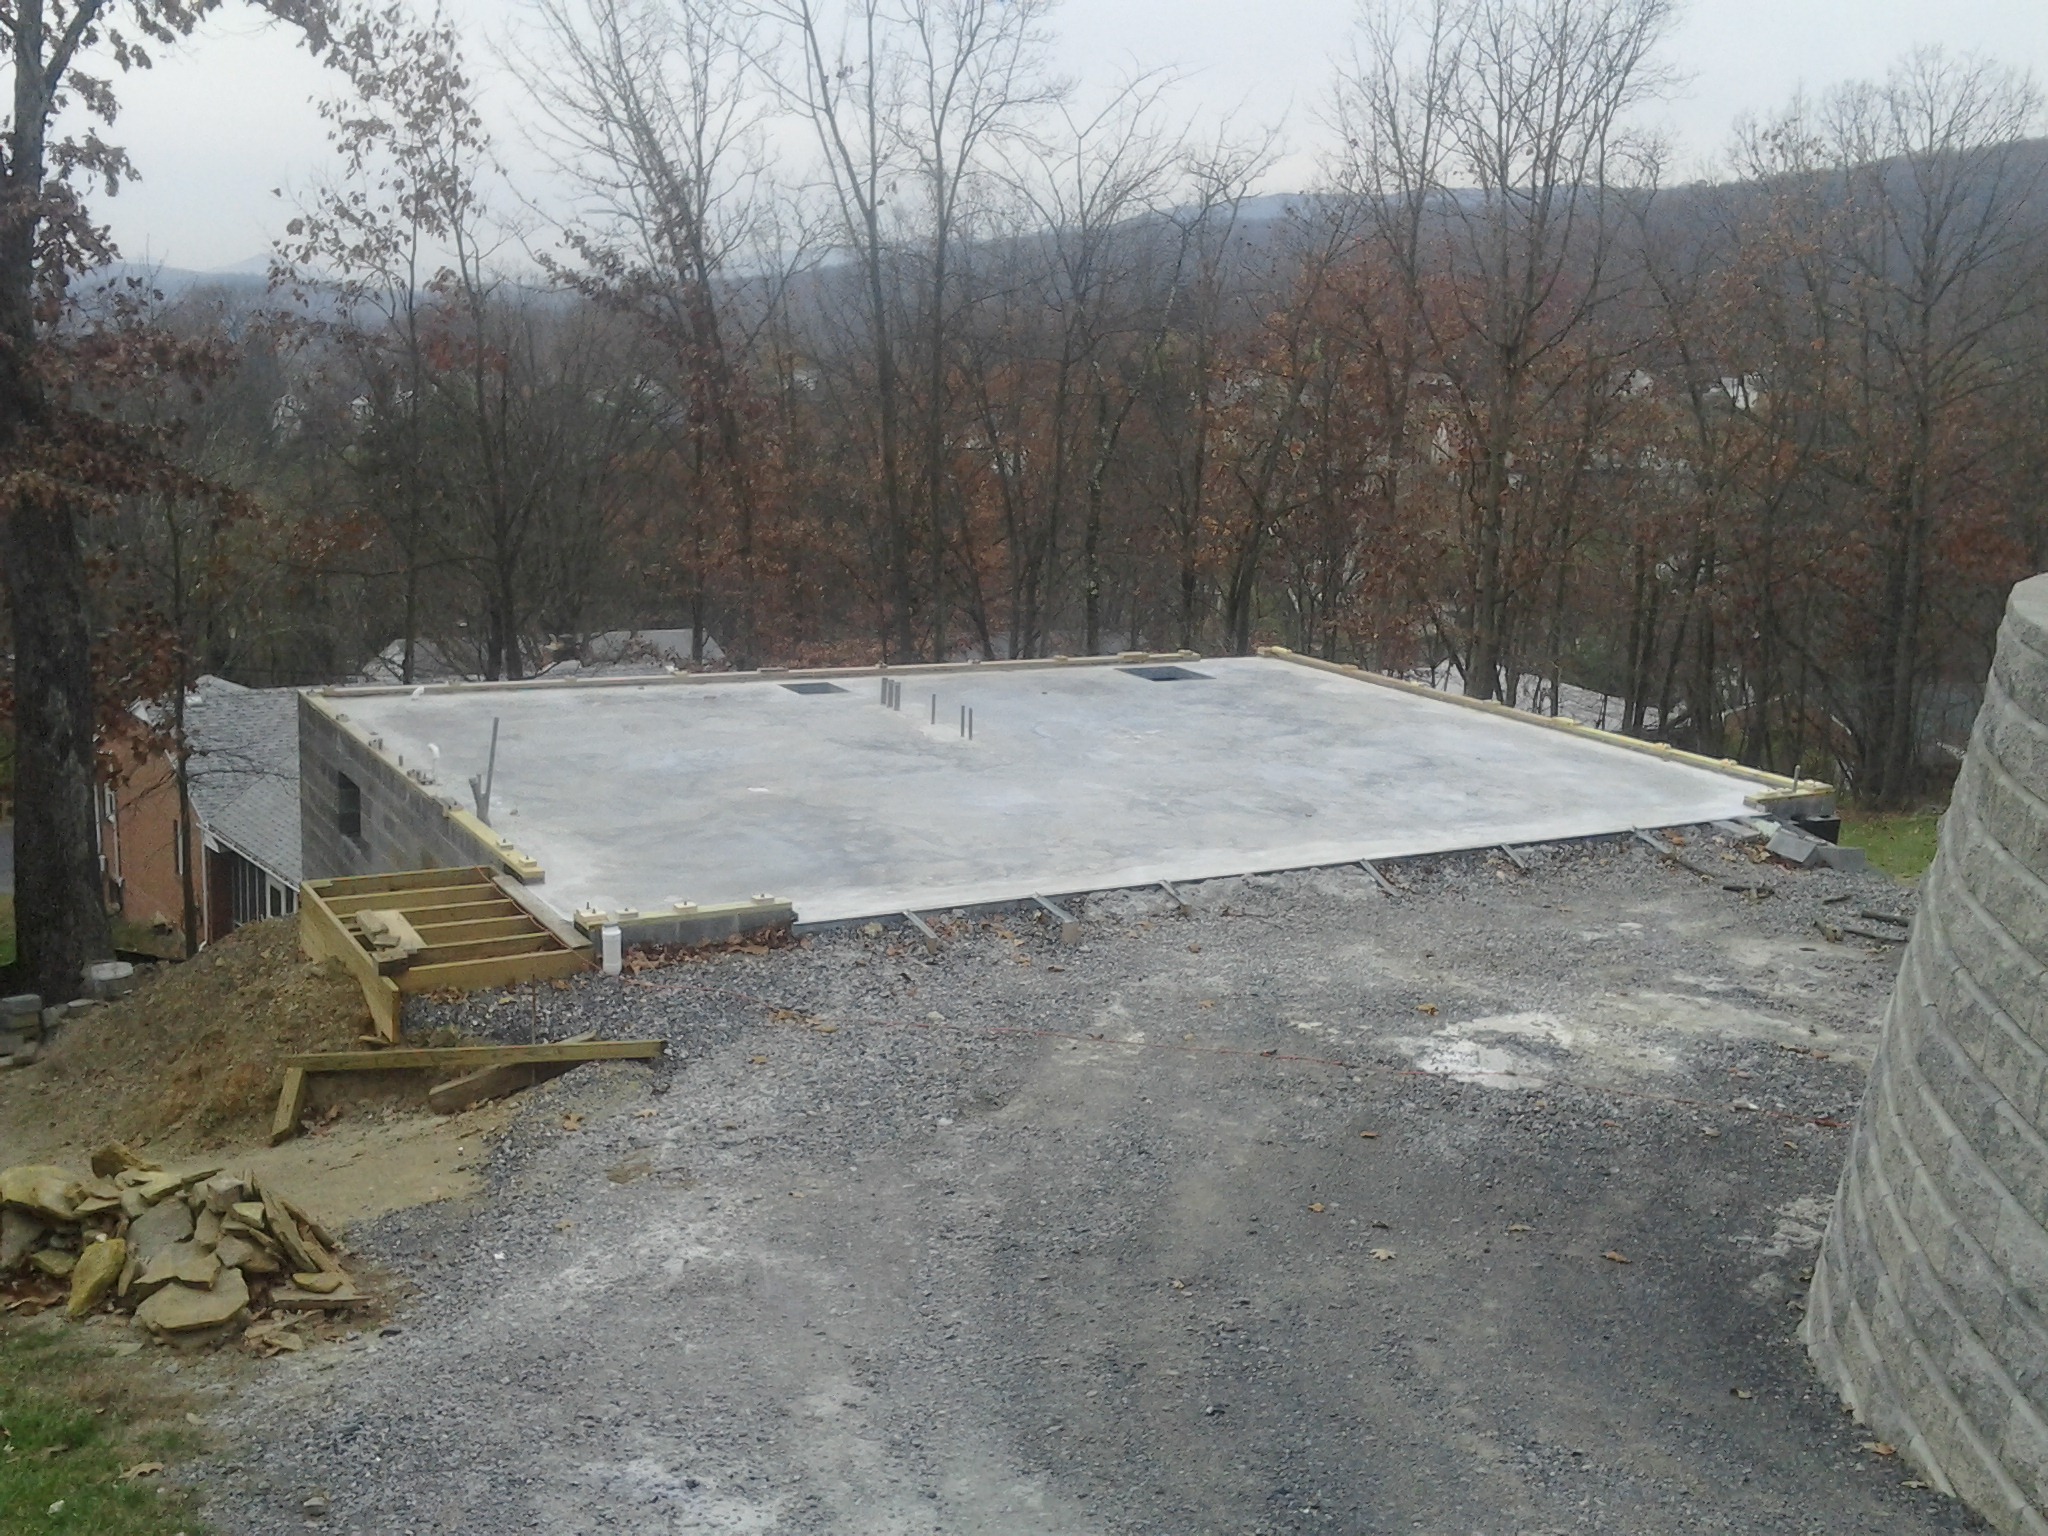
I've been trying to come up with a plan for sealing or painting the floor.
The right half (about 22') will be storage only and I would like to do something nice on the floor. The other half will be a working bay and will get welded and painted on so I'm up in the air as to what to do with it...
shruggy.gif


Attachments
016.jpg


017.jpg


018.jpg


022.jpg
 
Managed to get all of the wood cap on the top course of block for the garage...
thumbs_up.gif

Installed the foam backer underneath so everything should be watertight for winter...
boogie.gif

Then went down to the basement and removed all the temporary shoring from under the elevated slab...
I still need to remove the 4x6 wooden beams but I'll wait till I can get help one day...
Went and picked up the 2 windows for the ends...maybe I can get those in soon...
shruggy.gif


Attachments
001.jpg


7%20%208-7-16.jpg


8%20%208-7-16.jpg


9%20%208-7-16.jpg
 
Here's the pic with all of the wood cap on the block. This is how it will sit until spring when I build the rest.
Trick now will be to keep the leaves and crap off of it as not to stain the floor all up...
rant.gif

In the meantime I can still research efficient garage and entry doors and windows...
thumbs_up.gif


Attachments
030.jpg


031.jpg


032.jpg
 
In case you wondering it's built to house these...And if I want another car I may have to sell something since outside of an addition I will be out of space...
70 Satellite
69 Dart Swinger (Banshee)
65 Bel II
65 Coronet AWB project

294.jpg 10 Rolling again.jpg 28-leftfront.jpg
 
Hey, what's take to build a simple bank barn!

Looks great! Man I love that part of the country! Beautiful scenery!

I know you're farther west but do you ever make it to Mason Dixon Dragway?
 
Dude, that is freekin Boss. That's gonna be a nice garage.
 
Very nice. Just make sure that back wall is structurally sturdy enough to support the impact of a car for when you attempt to drive through the garage years down the road. Your neighbor below doesn't need you coming through his roof.
 
Even though I'm not working on this through the winter I do have a couple updates...
I happened to be on a project where the owner was going to throw away 26 4x10 sheets of 2" R-13 Polystyrene Thermax insulation with foil face on each side. That will work great with the 2" Z furring I have to fur-out the 3 basement walls that are not under ground. I'll cover them with plywood to finish them off...
thumbs_up.gif

I bought the windows for the basement but since they were only about 4' above ground I was trying to come up with a way to keep someone from being able to break in.
I bought some 3/4" solid bar and some 1 1/2" box tubing and made bars for both windows. I want to see what powder coating for these will run and then they're ready to install...
boogie.gif


Attachments
004.jpg


005.jpg


006.jpg
 
Guess I picked up another project this w/e...
thumbs_up.gif

This will make a nice addition once I spend some time restoring it...
boogie.gif


Attachments
011.jpg


012.jpg


013.jpg


014.jpg
 
So the wood package came back from pricing at a couple different places...Let's just say I'm not real happy...:mad:
I can't imagine if you had to buy everything and then pay someone to install everything what it would cost...:eek:
I submitted the engineered roof truss plans and the lintels above the garage doors to the county for approval...Hopefully they don't try and re-invent the wheel like they did for the basement walls.:poke:
Construction of the wood walls should begin again once I get final approval back.
I started getting a few things done on the 70 Satellite now so when work starts on the garage I don't need to try and work on it too...ended up removing almost everything in the engine compartment and repainting the 383 and all the accessories. Polished all the aluminum pieces...changed the springs in the distributor...oil and filter and went back to a dual plane intake. Finally got the new gauges installed...the only thing left is to replace the master cylinder and button everything back up.
Kind of a 15,000 mile W/VA rebuild...:lol:
1st 2 pics are before and last 2 are after...:realcrazy:

5.jpg 6.jpg 13.jpg 28.jpg 266.jpg
 
Last edited:
You and '747mopar' need to connect. His new garage is almost done. Of course, then there's RC's home/garage going together. All of them make me envious.
 
So the wood package came back from pricing at a couple different places...Let's just say I'm not real happy...:mad:
I can't imagine if you had to buy everything and then pay someone to install everything what it would cost...:eek:
I submitted the engineered roof truss plans and the lintels above the garage doors to the county for approval...Hopefully they don't try and re-invent the wheel like they did for the basement walls.:poke:
Construction of the wood walls should begin again once I get final approval back.
I started getting a few things done on the 70 Satellite now so when work starts on the garage I don't need to try and work on it too...ended up removing almost everything in the engine compartment and repainting the 383 and all the accessories. Polished all the aluminum pieces...changed the springs in the distributor...oil and filter and went back to a dual plane intake. Finally got the new gauges installed...the only thing left is to replace the master cylinder and button everything back up.
Kind of a 15,000 mile W/VA rebuild...:lol:
1st 2 pics are before and last 2 are after...:realcrazy:

View attachment 406594 View attachment 406595 View attachment 406597 View attachment 406598 View attachment 406601
Reading post like this makes me sick, you guys just get hosed constantly on construction!!! Zero engineers, zero inspections and 100% up to me here in Ohio, should be like this everywhere.

Love the garage and really like the engine bay!!!! Sweeeeet
 
When it came to buying $6,000 worth of lumber for a large deck I built, 84 Lumber had the best price but I didn't want to deal with them. I went to Lowes with the same list. They quoted me about $1000 more than 84. I showed them 84's quote and they matched it. They delivered it to my house. Near the end of the job, I found about ten planks that were too warped to use. They had no problem exchanging them.
 
Material was priced through a couple different suppliers as were the engineered truss's. I found a guy who was willing to quote me contractor prices at 84 Lumber since I am in construction. The truss system was reviewed and approved by the county. The first material order for all of the exterior walls is completed and I'll send that out in the next couple days. The second order contains everything for the roof truss's and the roof sheathing and shingles along with the windows and two doors. There's not a lot of room around here for a staging area so splitting up material deliveries actually makes it easier. I'm going to look around a little more at garage doors as I had planned to run the tracks up the sloped ceiling to maximize height. That requires an electric opener that operates on the spring shaft and is mounted on the front wall above the door. I may be better off to just use a commercial system as I know Overhead Door supplies everything I'm looking for. Enclosed is a pic of what I want to do with the garage door tracks...

8456829-RoofPitchgaragedoorinstall003.JPG 8456830-RoofPitchgaragedoorinstall002.JPG
 
Y'all remember Murphy's Law???
I just got a refresher course...
So I order the entire wood package for the wall framing...3 days later I find I have had a bad dishwasher leak that was leaking under the new (5 year old) flooring and the cabinets in my kitchen...
rant.gif

So the package comes and I stack everything on the slab where I want it...
thumbs_up.gif

Seeing as how I'm a$$hole deep into the middle of replacing flooring and cabinets in the kitchen I decide to wait till the rainy season is over before starting framing...
Meanwhile I'm looking at the kitchen thinking..."Boy now would be the time to knock out a wall and make everything open concept"..."maybe a new glass tile back splash and all new counter tops with low voltage lighting underneath"..."new Hickory cabinets and LVP flooring"...
One of these days I'll learn to not think out loud...
fan.gif

Of course the Kitchen-witch loves all of this and needless to say she gets what she wants...
realcrazy.gif

So now I have the kitchen "nearly" put back together enough to live in...Dad decides its time to start framing the garage...
tired.gif

We started by shooting the laser over the top plate checking it for up and down and found out that in a total of 96 linear feet (both ends and the back returning to both front corners) I only have about 1/16" variance in elevation.
My hats off to the masons to come 16+ courses high with block and be that accurate.
bow.gif

It's a shame whoever framed my kitchen floors couldn't have been that close...
rant.gif

If you haven't been paying attention I live on a bit of a slope...like 26 degrees where the garage is being built...
frowwn.gif

That makes for some interesting climbing to get where you need to be sometimes...After careful consideration Dad came up with a plan that so far has seemed to work very well...
thumbs_up.gif

So the shop walls will be 10' above the concrete floor. which means the top of them will be about 19' above the ground in the back...
Check out this homemade scaffolding system to be able to work at several locations at once...
thumbs_up.gif


Attachments
Scaffold%201.jpg


Scaffold%202.jpg


Scaffold%203.jpg


Scaffold%204.jpg
 
I now have a temporary 46" wide platform that will run around 3 elevations from the beginning of the framing until the last piece of siding and gutter is installed. I can move the aluminum scaffold pics around to wherever I'm working and with the handrail and mid rail I don't have to worry so much about anyone falling. The upright's are 7' apart (the length of the scaffolding planks) and double as a bracket to attach a brace to hold the walls plumb until truss's can be installed. The pictures are 2 days of plotting out scaffolding and erecting it and almost one day of framing for Dad...
I hope I can still do everything he can still do when I'm 78 years old...
thumbs_up.gif


Attachments
032.jpg


035.jpg


East%20Interior%201.jpg


East%20Interior%202.jpg
 
We decided to use Polystyrene rigid insulation in the corners where you can never get regular insulation installed and be able to keep it dry.
hammer.gif

Laminating it between the outside 2x6's and then adding the one 2x6 for the opposite direction of framing makes a nice job and allows them to be prefabbed ahead of time...
thumbs_up.gif

I didn't really address this earlier but the exterior sheathing you see attached to the bottom plates in the earlier pictures is already held to the final elevation for the top so as to not have to cut any sheathing to install it...
work.gif


Attachments
Corner%20Insulation%201.jpg


Corner%20Insulation%202.jpg


Corner%20Insulation%203.jpg


Corner%20Insulation%204.jpg
 
Auto Transport Service
Back
Top