- Local time
- 3:16 AM
- Joined
- Apr 13, 2012
- Messages
- 40,484
- Reaction score
- 145,401
- Location
- Granite Bay CA
Nobody I know has a way to test power steering pump pressure.
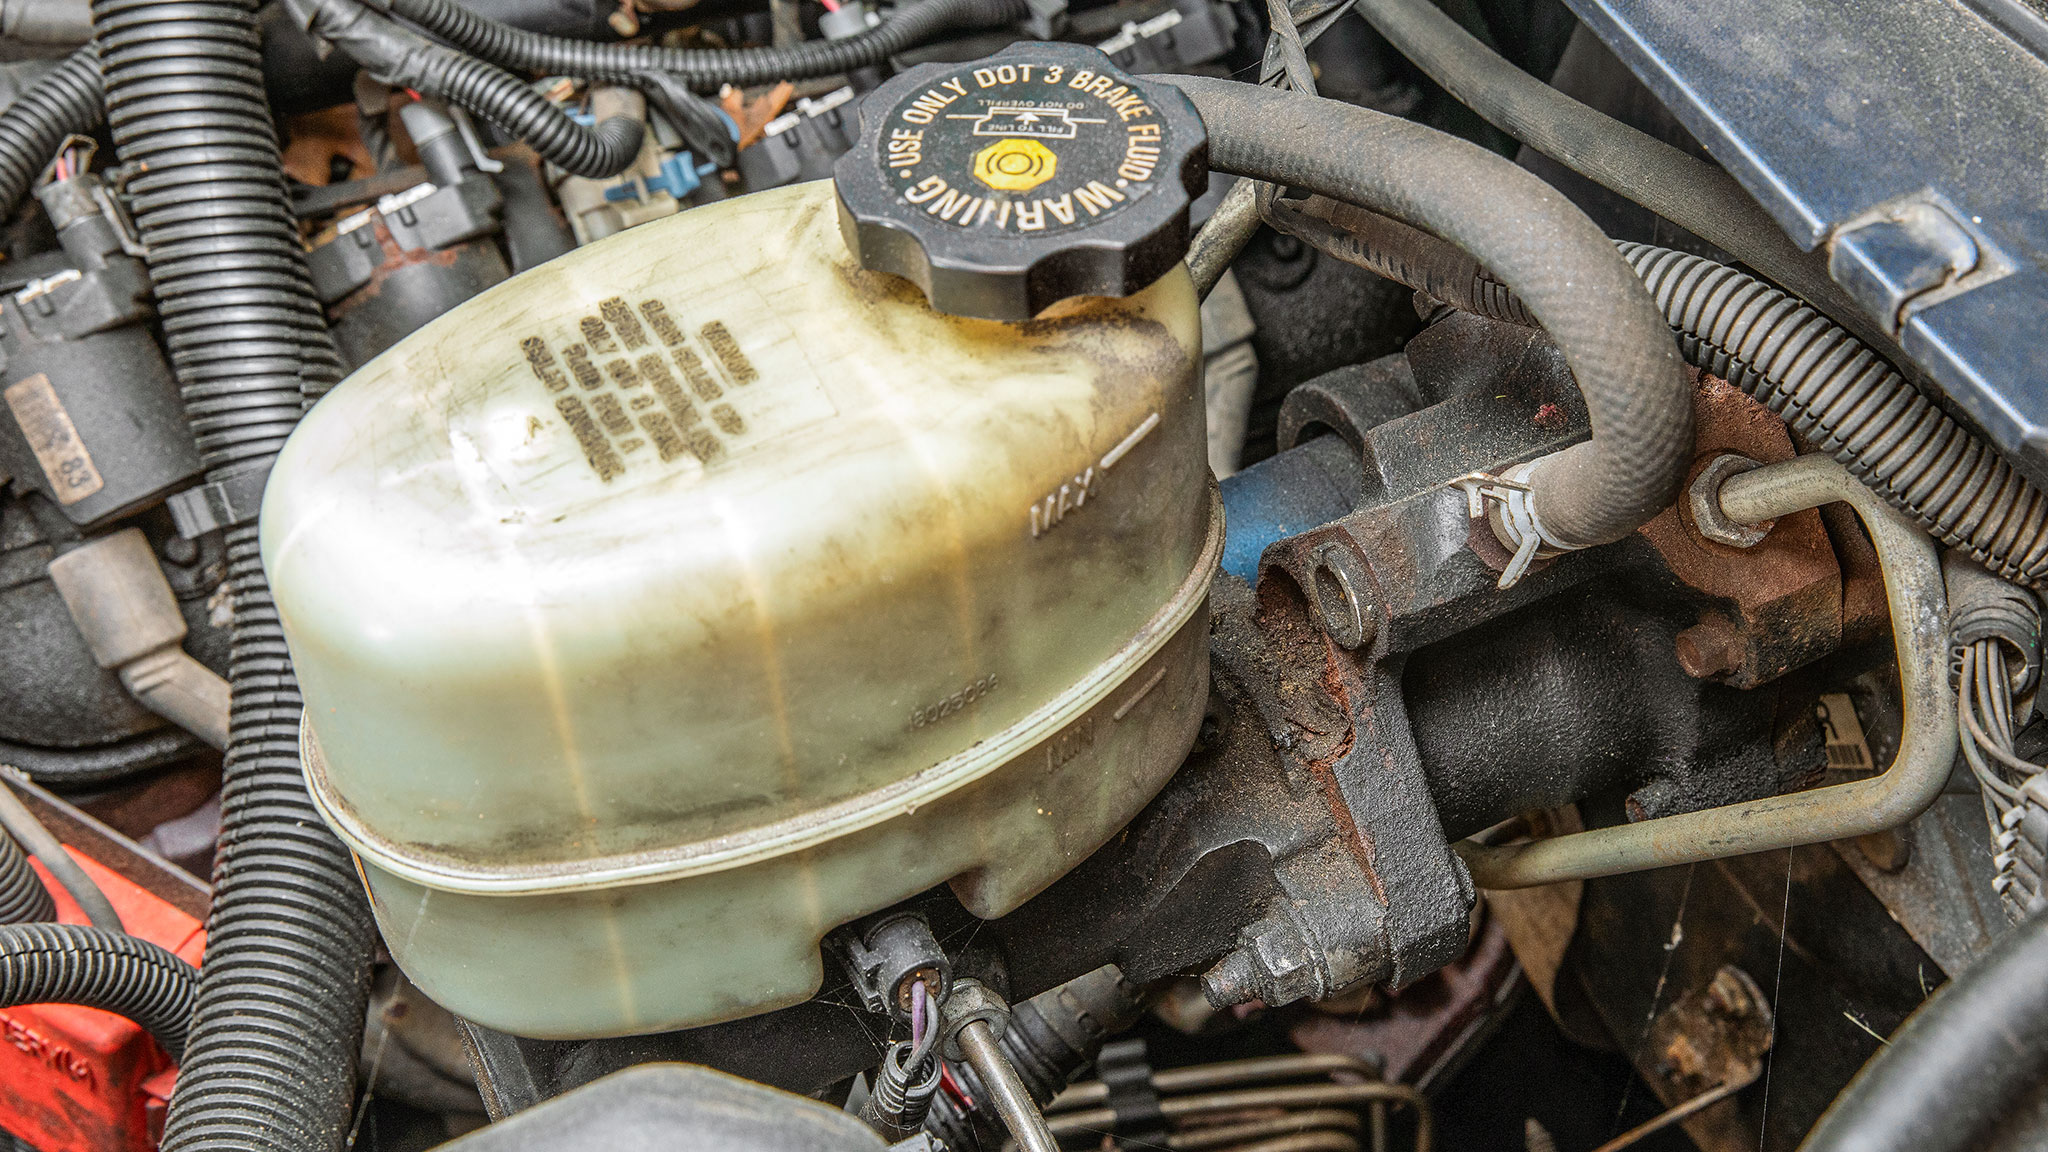
The power steering pump hasn't been a problem since I replaced it in 2006. Suddenly, I wear out 2 pumps in a week?
The power steering pump hasn't been a problem since I replaced it in 2006. Suddenly, I wear out 2 pumps in a week?