Restoration of a 69 abandoned, derelict, non matching number RT-SE
About this Mopar:
The Restoration on this car started full time last summer (2020). It seemed to be that someone started working on it but then stopped, let it sit for several years then sold it. The car was partially dis-assembled with some trim and miscellaneous parts thrown in the trunk.
I have done all the work so far and plan to keep doing it. I’ve been involuntarily retired by COVID with lots of time on my hands. Not my first restoration but the 1st where 100% was done in my shop by me with friends and relatives.
Since starting we’ve replaced:
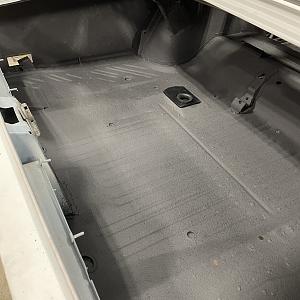
- The trunk floor including extensions.
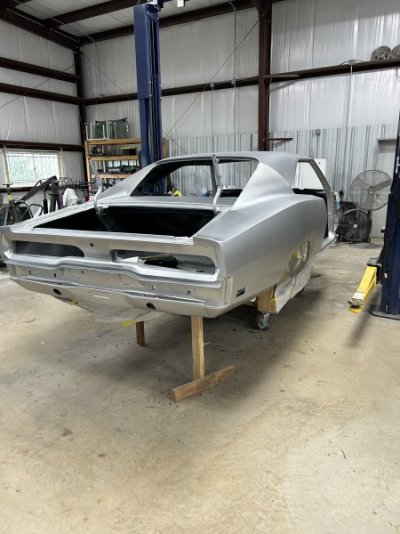
- both quarter panels including valances and filler panel.
- Rear window corners
- The passenger side door pillar (The car was sideswiped in the past).
- the roof
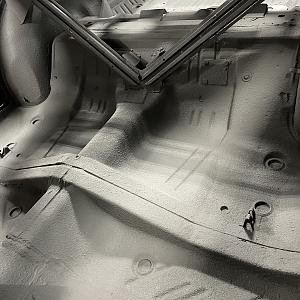
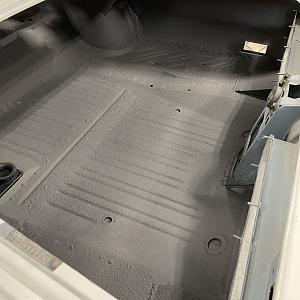
- driver side floor pan and the rear passenger pan.
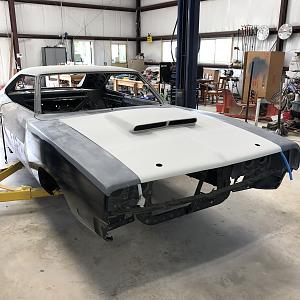
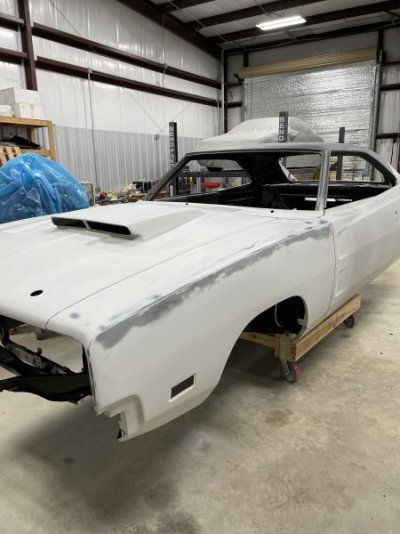
- both fenders including the front valance
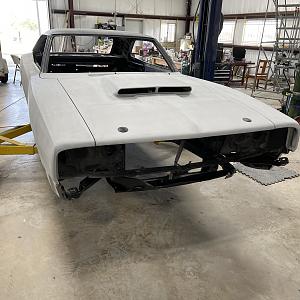
- A fiberglass stinger hood with air scoop.
- I have purchased two doors to replace the sorry ones on the car.
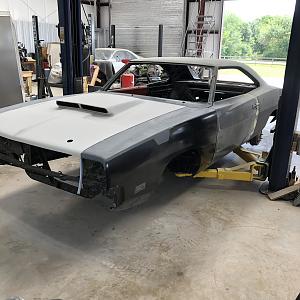
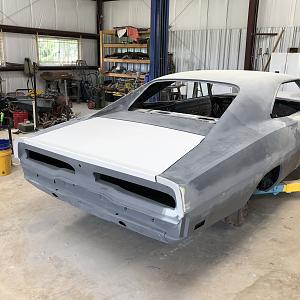
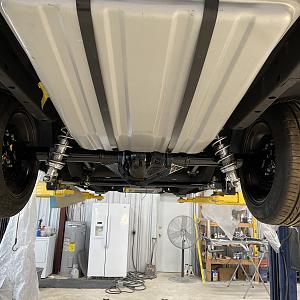
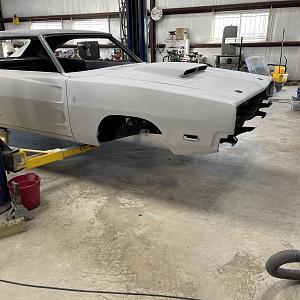
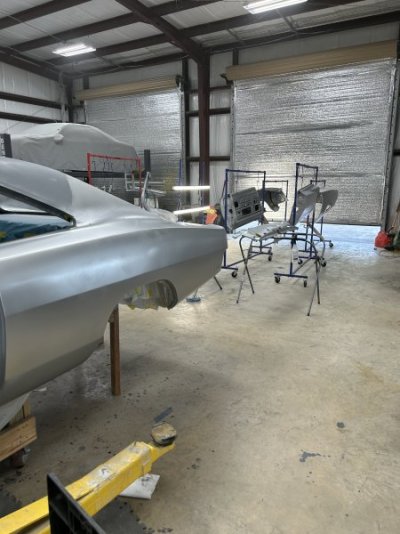
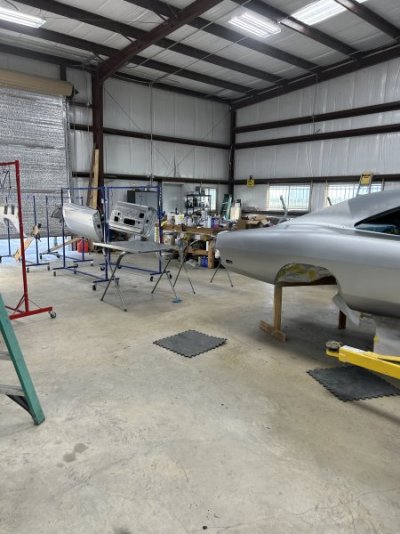
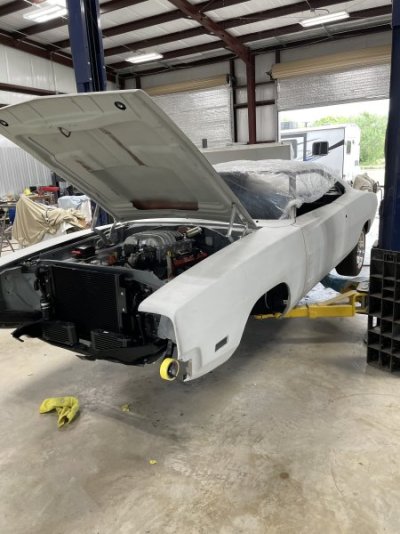
The car as it now sits on the lift:
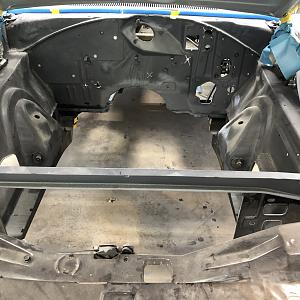
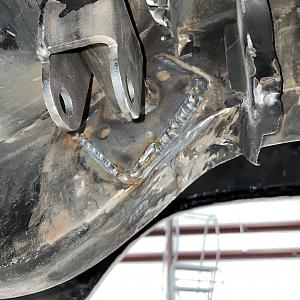
The frame rails were OK, just dented in a few places. I crack-checked the front rails from the firewall forward with dye penetrant but found no cracks. The K-frame mounting nuts cleaned up nice and were all OK.
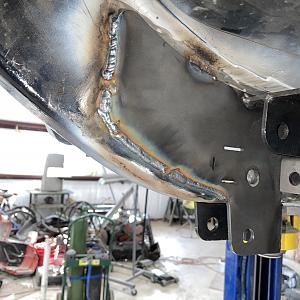
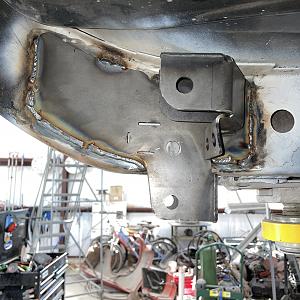
We repaired the inner and outer wheel wells. I would have tubbed the car but I was concerned that it was beyond my skills and I could end up with a wildly screwed up twisted mess.
I went to work stiffening the unibody with USCT stiffeners.
I installed:
- the torque boxes
- the frame extensions
- the inner fender braces
- core support brace
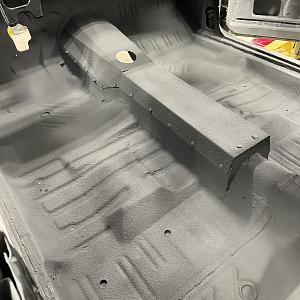
I then installed the USCT transmission tunnel.
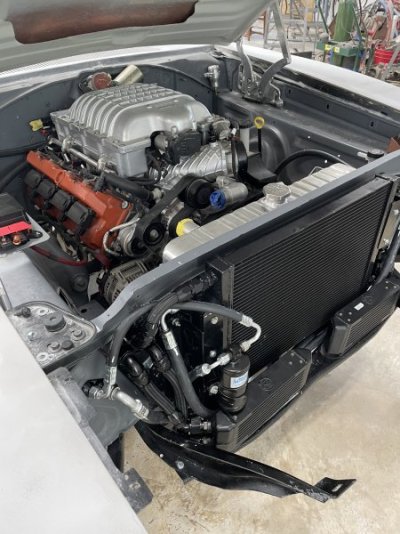
As the car did not have the original engine, I compared the pros/cons of rebuilding the 440 in the car (which was a BIG unknown) vs. the purchase of a crate motor and decided to go with completely new running gear.
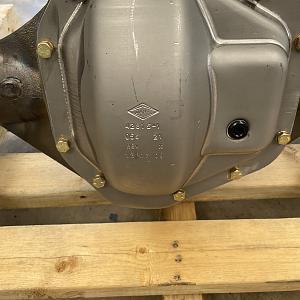
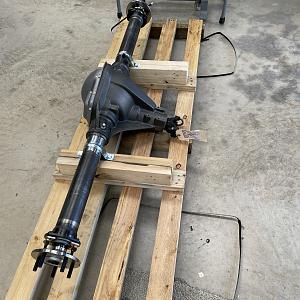
The work above is intended to build a strong foundation for a hellcrate motor, t-56 magnum, 6-speed overdrive transmission and Strange S-60 rear end! The front coil overs and rear 4-link (with brakes and steering rack) have been ordered from Control Freak Suspensions.
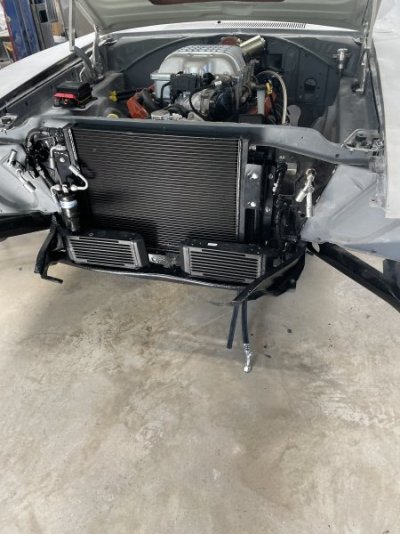
I’ve been waiting for months for the new fuel tank with pump, the radiator.
The AC system system is from vintage air.
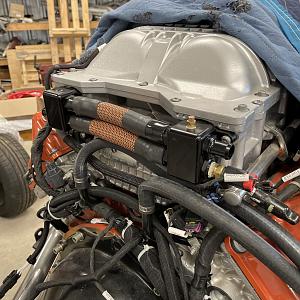
I ordered the supercharger intercooler cooling system from Whipple. The tank is comical and I’ll share a poste on that POS when I get something worked out.
I need to order the cooling systems for the engine oil, power steering fluid and transmission oil.
I’m trying to get all the cooling radiators in hand to do the engine bay mock-up prior to painting the car.
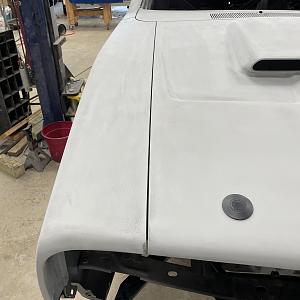
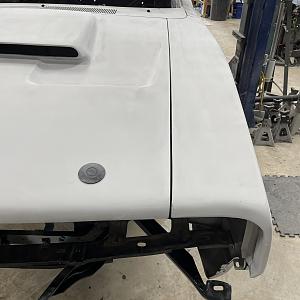
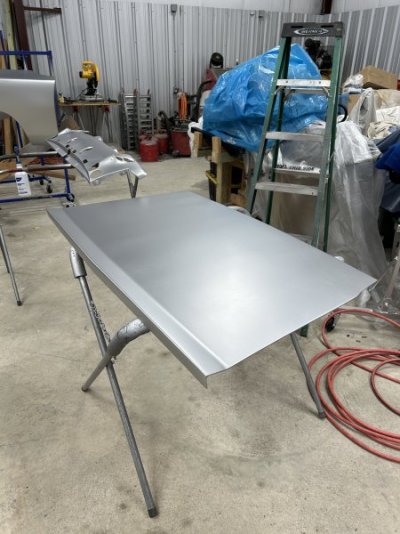
Currently I’m doing the body work on the fenders. The doors should be the end of the body rebuild. Not much left that’s original unfortunately but at least it will be absolutely rust free.
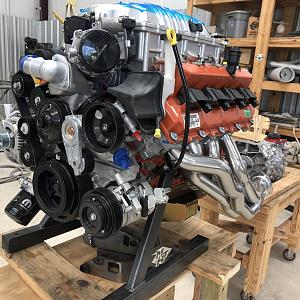
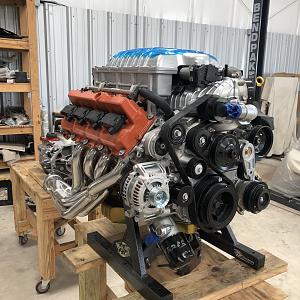
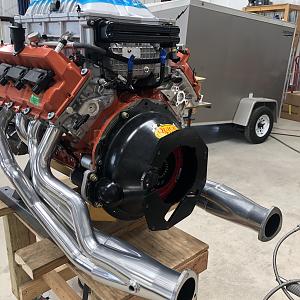
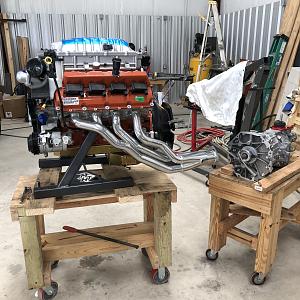
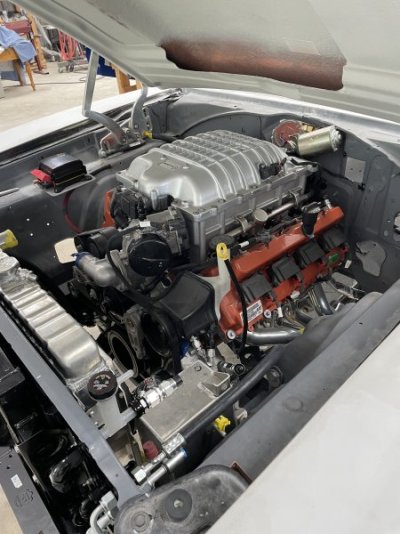
Motor work accomplished so far includes:
- Clearancing the block for the starter.
- Installed new flywheel
- Bell Housing aligned to +/- .001”. Didn’t use the QuickTime procedure. Brother-in-law is a master turbine mechanic. I need to post that procedure.
- Installed clutch and hydraulic throw out bearing. Installed new clutch master (currently working out a pedal stop).
- installed rear sump oil pan. (Currently held up by conflicting rear sump pan drain plug and engine plate, so it’s back off!).
- installed low clearance intercooler crossover manifold.
And here’s a few photos;
I have done all the work so far and plan to keep doing it. I’ve been involuntarily retired by COVID with lots of time on my hands. Not my first restoration but the 1st where 100% was done in my shop by me with friends and relatives.
Since starting we’ve replaced:
- The trunk floor including extensions.
- both quarter panels including valances and filler panel.
- Rear window corners
- The passenger side door pillar (The car was sideswiped in the past).
- the roof
- driver side floor pan and the rear passenger pan.
- both fenders including the front valance
- A fiberglass stinger hood with air scoop.
- I have purchased two doors to replace the sorry ones on the car.
The car as it now sits on the lift:
The frame rails were OK, just dented in a few places. I crack-checked the front rails from the firewall forward with dye penetrant but found no cracks. The K-frame mounting nuts cleaned up nice and were all OK.
We repaired the inner and outer wheel wells. I would have tubbed the car but I was concerned that it was beyond my skills and I could end up with a wildly screwed up twisted mess.
I went to work stiffening the unibody with USCT stiffeners.
I installed:
- the torque boxes
- the frame extensions
- the inner fender braces
- core support brace
I then installed the USCT transmission tunnel.
As the car did not have the original engine, I compared the pros/cons of rebuilding the 440 in the car (which was a BIG unknown) vs. the purchase of a crate motor and decided to go with completely new running gear.
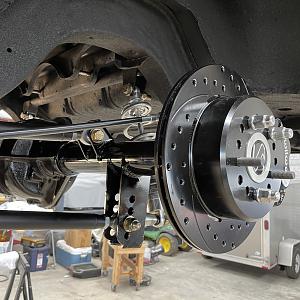
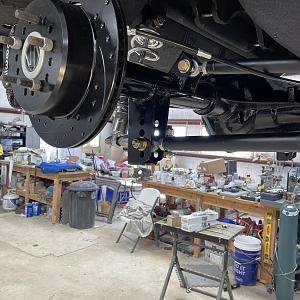
The work above is intended to build a strong foundation for a hellcrate motor, t-56 magnum, 6-speed overdrive transmission and Strange S-60 rear end! The front coil overs and rear 4-link (with brakes and steering rack) have been ordered from Control Freak Suspensions.
I’ve been waiting for months for the new fuel tank with pump, the radiator.
The AC system system is from vintage air.
I ordered the supercharger intercooler cooling system from Whipple. The tank is comical and I’ll share a poste on that POS when I get something worked out.
I need to order the cooling systems for the engine oil, power steering fluid and transmission oil.
I’m trying to get all the cooling radiators in hand to do the engine bay mock-up prior to painting the car.
Currently I’m doing the body work on the fenders. The doors should be the end of the body rebuild. Not much left that’s original unfortunately but at least it will be absolutely rust free.
Motor work accomplished so far includes:
- Clearancing the block for the starter.
- Installed new flywheel
- Bell Housing aligned to +/- .001”. Didn’t use the QuickTime procedure. Brother-in-law is a master turbine mechanic. I need to post that procedure.
- Installed clutch and hydraulic throw out bearing. Installed new clutch master (currently working out a pedal stop).
- installed rear sump oil pan. (Currently held up by conflicting rear sump pan drain plug and engine plate, so it’s back off!).
- installed low clearance intercooler crossover manifold.
And here’s a few photos;