1967 Coronet 500 resto mod
About this Mopar:
For those who don't already know, the Yankee Express is a 1967 Coronet 500 that I bought in October of 2014 for $3700 bucks up in Massena, NY from the wife of a man who left it with her and ran out on her. She advertised it on CL and I answered the ad 8 minutes after it went live and told her I was on my way with cash and a trailer and to not sell it before I could get there. She didn't and I brought it home. I drove it from my pals house up the road a few miles to my garage where it has sat ever since. It rolled out of the garage for the first time in the fall of last year. 2019. It was a complete car, missing nothing. Running and driving.
My aim for this build was to create a car that would turn heads but not because it's gaudy or overdone but because it's sublime in it's overall appearance. So close to factory that it all flows together and is difficult to realize offhand just exactly all that has been changed. I wanted onlookers to say to themselves, upon seeing it, " Wait...what? That doesn't look stock but what is different?"
I'm going symmetry and flow through of design. Like, for instance, the hood has the depression running up the center that's about 15" wide. The trunk lid has the same. " Flow through" is achieved by the Roadster panels center depression that is exactly as wide and aligns with those front front to back, all the way through the car. It may seem overkill but it's a detail that brings it all together. Another is cutting the angles off of the fender front noses. One, I never liked them, two it's a subtle change that could very well go unnoticed by 95 % of people unless someone pointed it out. It was part and parcel with the changes to the front bumper. In order to have that bumper flow straight across the front the ends had to be re positioned, so, then the fender noses had to be swept back. I thought about it for weeks. How they would look together once done. Whether they would be an abomination or a sublime detail that goes in noticed. I took cues from the 2015 Ridler award winner, the Chip Foose built 65 " Imposter"Impala. Unless you had the stock car sitting next to it you almost couldn't tell what all had been done, BUT, something had clearly been changed and it looked "Right". MASSIVE cutting and moving of key body parts. But the finished car looked like it could have been factory built. It looked right, not out of whack. That has been my goal as well.


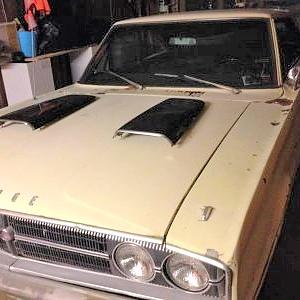
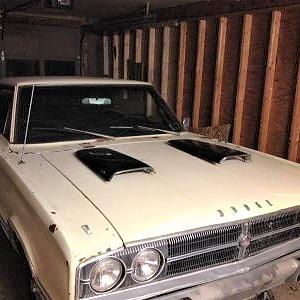
The car as it was the day I drove it into the garage. With my pals hood scoops he gave me sitting on the hood. As If, lol...

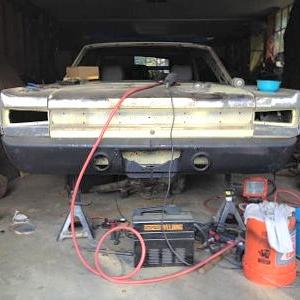
With the 1970 Road runner rear bumper mocked up.

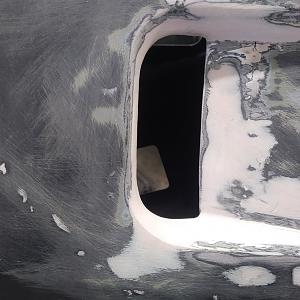
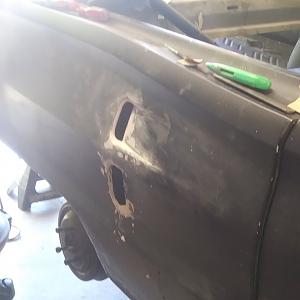
After cutting the fake scoops open initially.


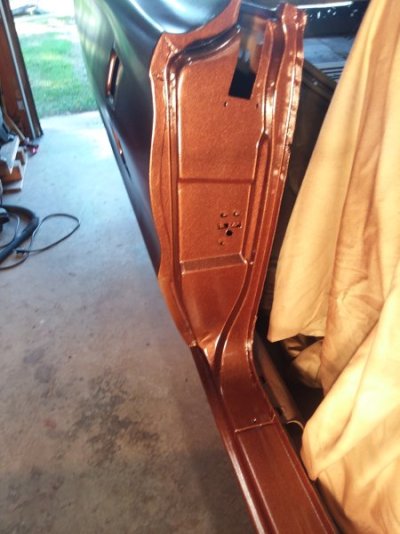
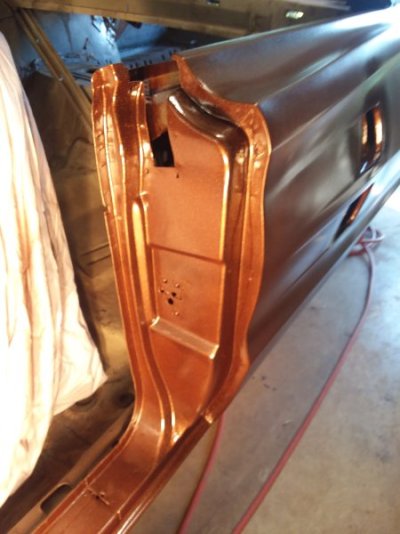
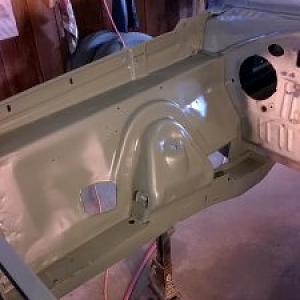
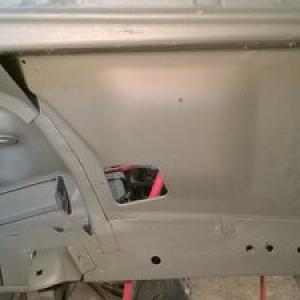
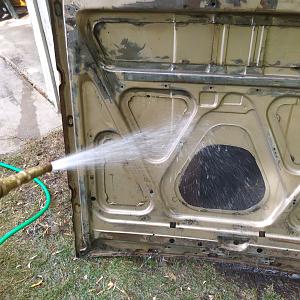
Right inner cleaned up and primed.

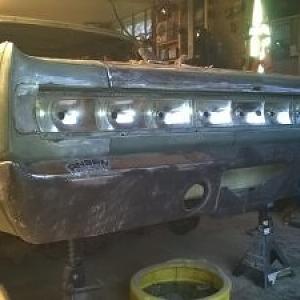
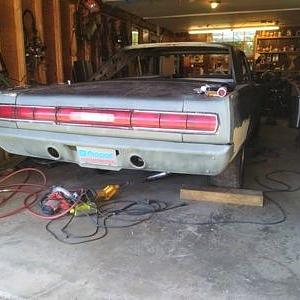
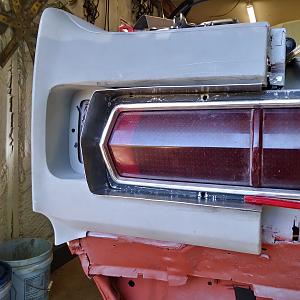
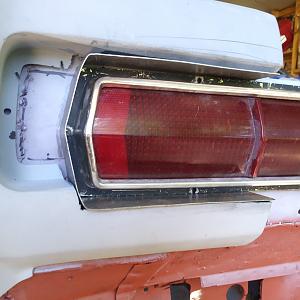
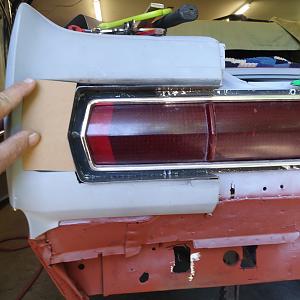
1966 Thunderbird tail lights first draft, that I later changed because I didn't like the way I had done it.


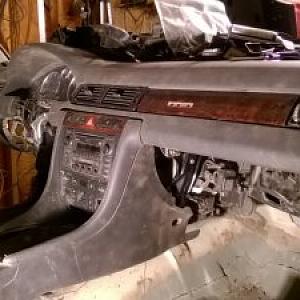
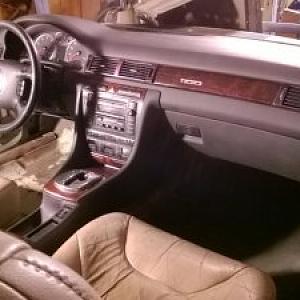
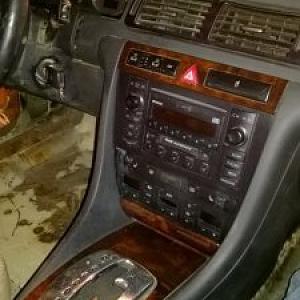
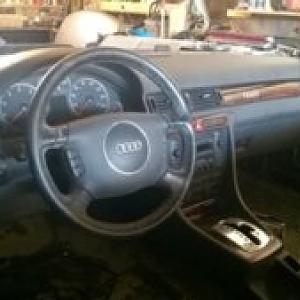
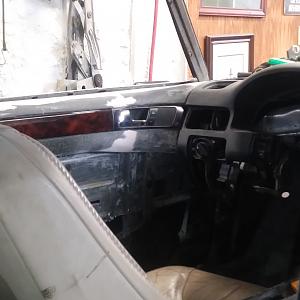
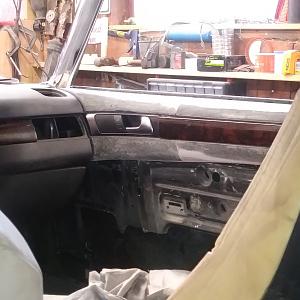
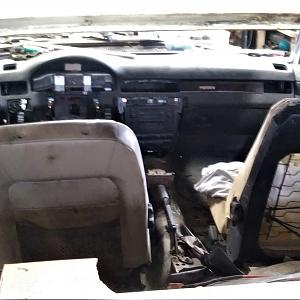
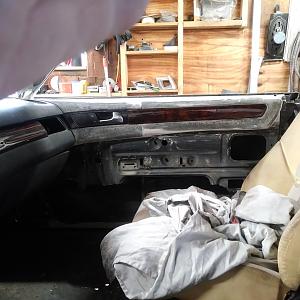
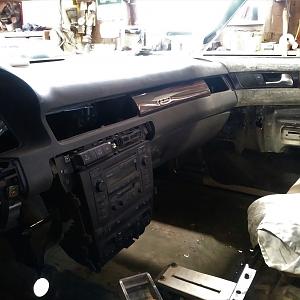
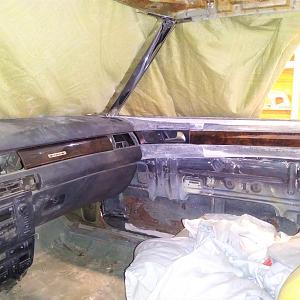
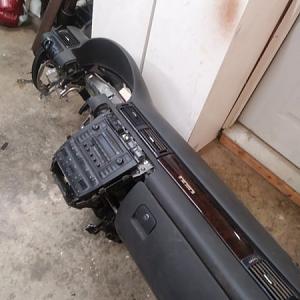
The 2004 Audi A6 dash and console mocked up in the Coronet shell on the Audi aluminum dash frame suspended between A pillars.

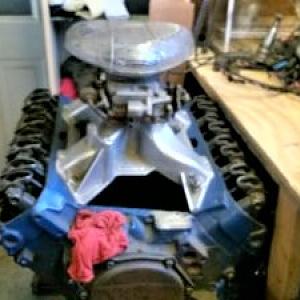
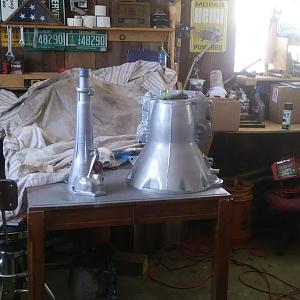
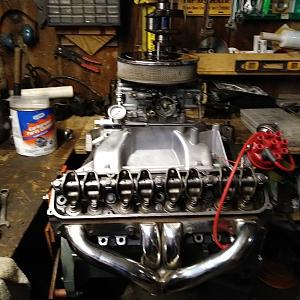
1974 motorhome 440 block and heads.


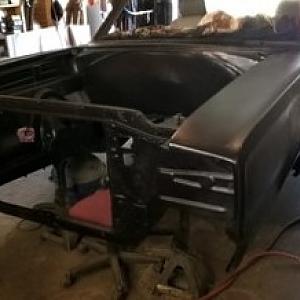
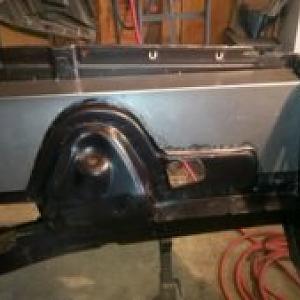
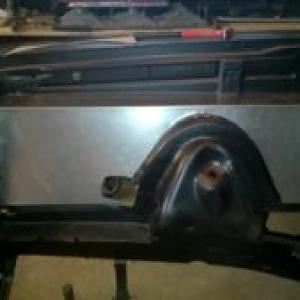
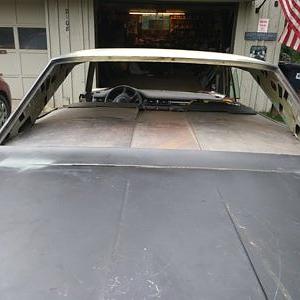
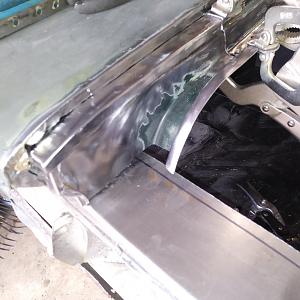
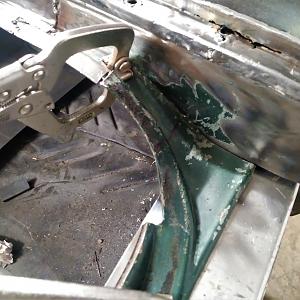
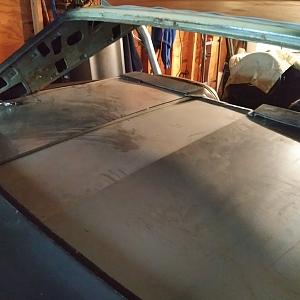
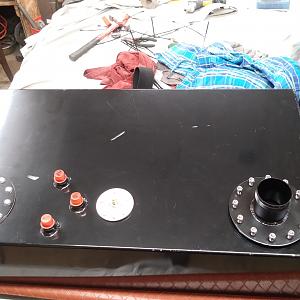
Smoothed firewall.


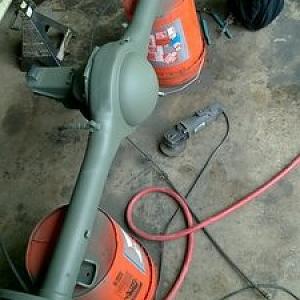
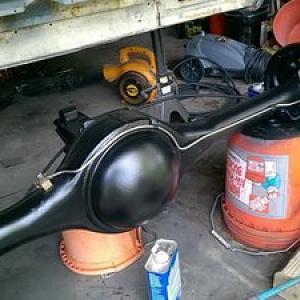
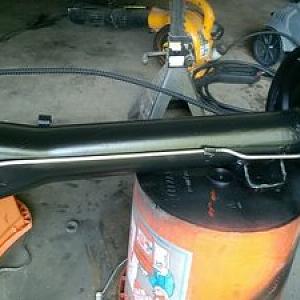
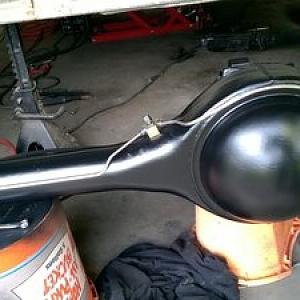
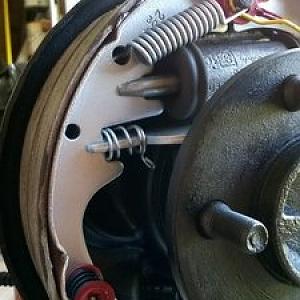
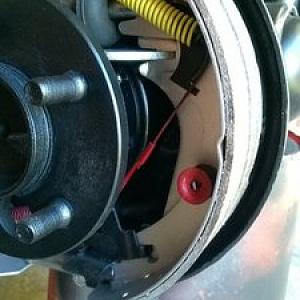
8 3/4 stock rear cleaned up and brakes replaced and refreshed.

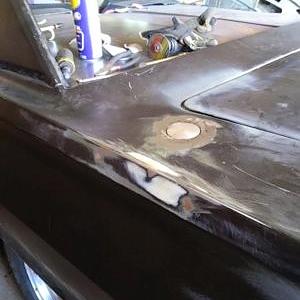
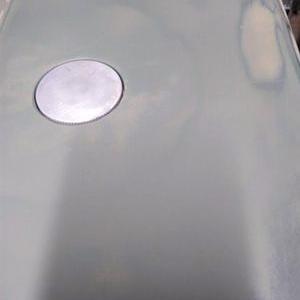
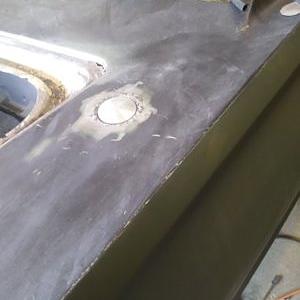
gas cap smoothed over

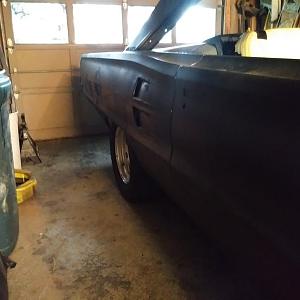
Body in black epoxy primer

beginning to fill the dents and dings

T bird Tail Lights 1st draft

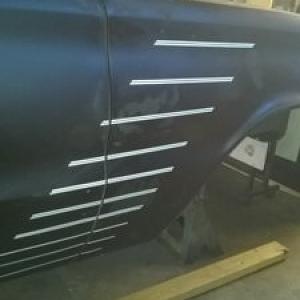
the remaining lines after removing the outer verticals that caught my interest as a possible final scheme for accent stripes..

Audi steering wheel mounted for the first time in order to work out shaft placement and attachments mechanics


Left and right inner fender close out panels first draft mock up for fit and changes


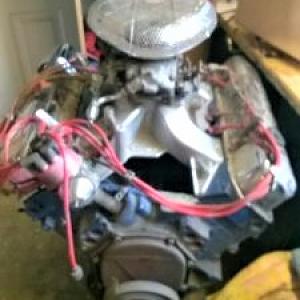
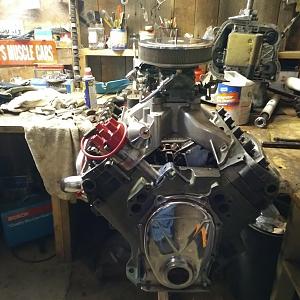
440 with single plane M1 intake, and Holley 750 CFM, Mallory elec dizzy and 8mm racing plug wires..


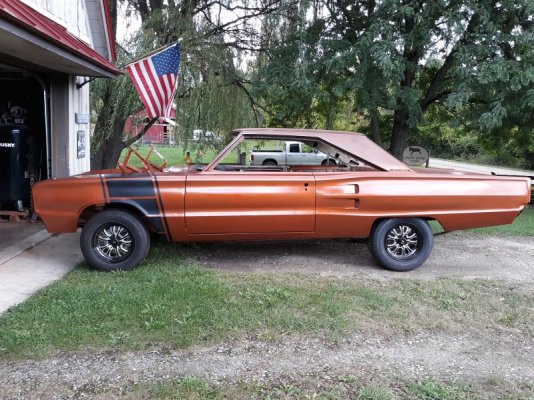
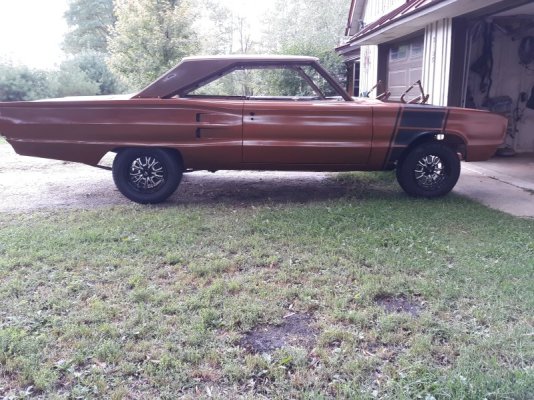
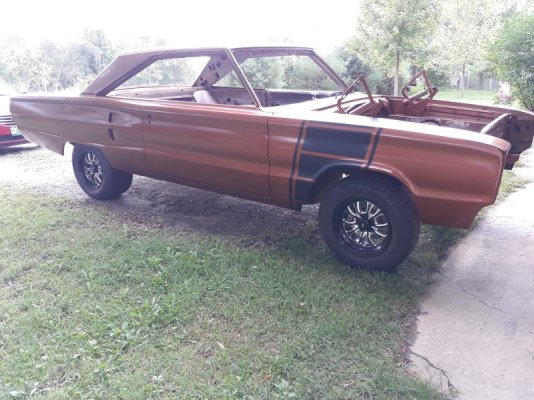
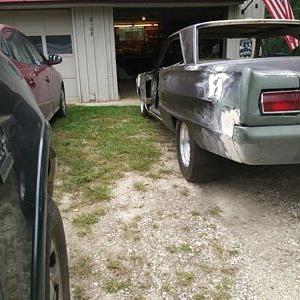
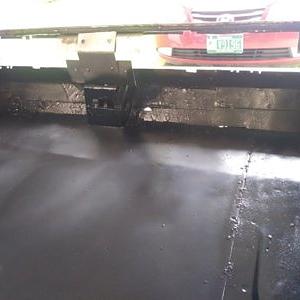
The Express sitting on it's own tires for the first time and backed out of the Garage for the first time so I could get a look at my results in a full side view from more than 2 feet away. Just checking,,lol.

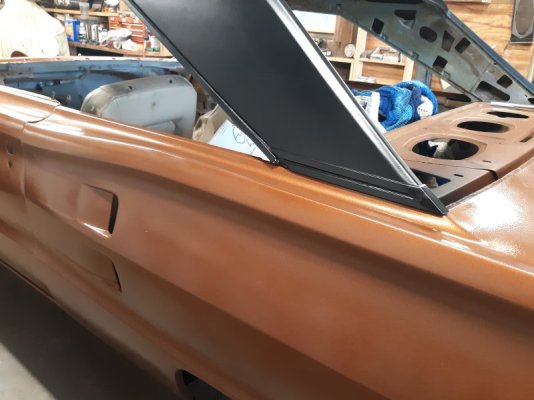
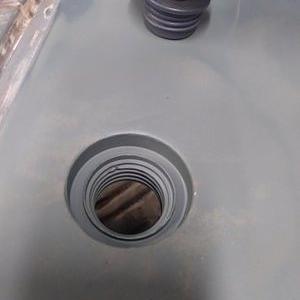
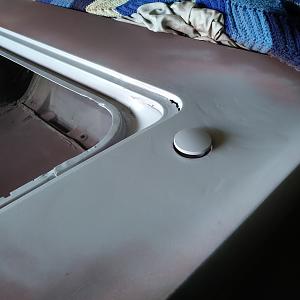
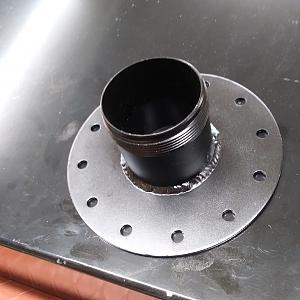
Left side Rullo Motorcycle pop up gas cap and filler neck installed on top of the quarter.

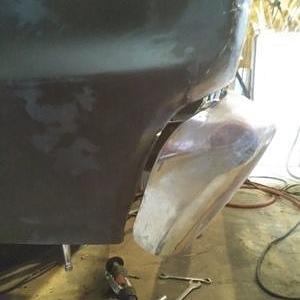
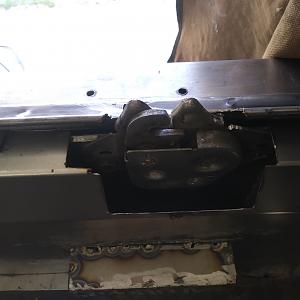
Front bumper end view after slicing and dicing it to pull it in and shorten it up to hug the fender indents.

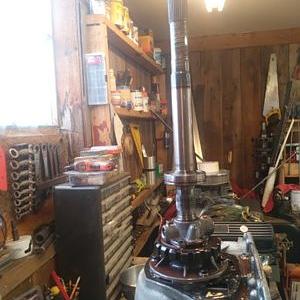
New 727 'car' length tail shaft for the truck 727 I had.

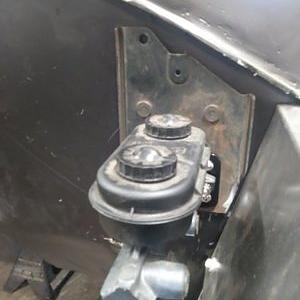
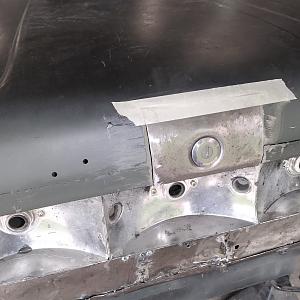
New dual chamber master mounted in mock up to the smooth firewall in the stock position in order to see how much needed to be trimmed from the corners on one side to clear the inner and the cowl edge.


Gas filler pop up primered and filled around the installation area.

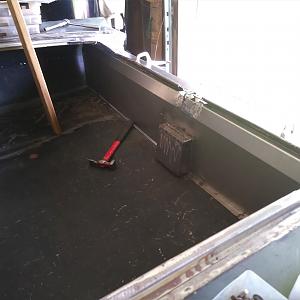
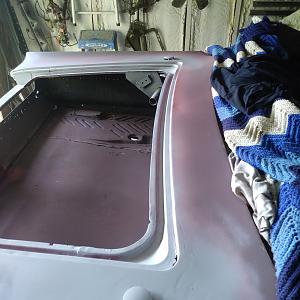
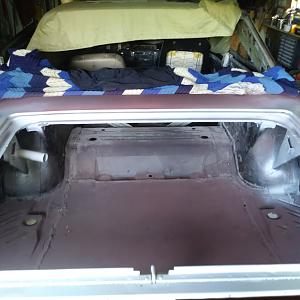
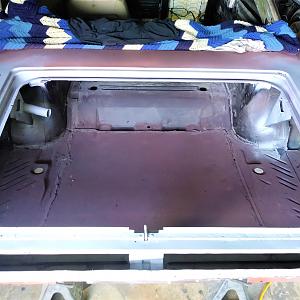
Inside trunk rear face of tail light area that I became unhappy with and changed.

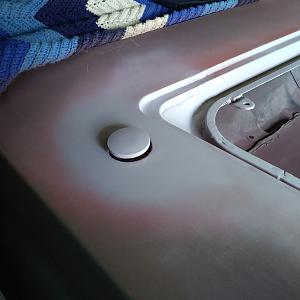
Right side Rullo motorcycle pop up gas cap and filler neck installed on top of the right quarter for symmetry. lol.


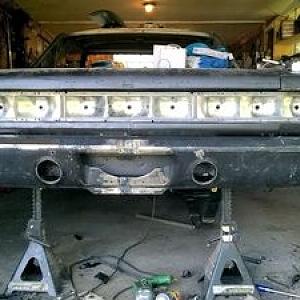
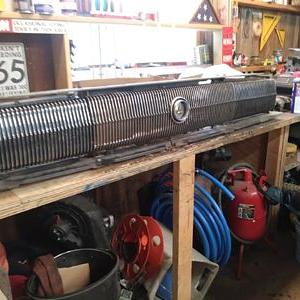
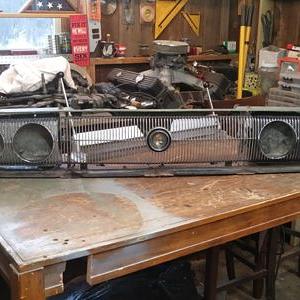
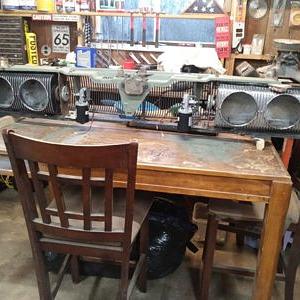
The 1966 Charger hidden headlights and grill mock up after all of the work fabricating the electric motor mounting and alignment for both sides. Sweet.

1973 727 trans rebuilt. It's a 440 six pac trans that has had the addition of a list of beef up parts and racing parts added to it, it's sitting after being painted on the case.


Door panel build pics. Adding elements of the Audi door panels to the 67 door & the finished view of how they line up with the dash elements. They will be covered in Leather later on.

.jpg")

.jpg")

.jpg")


.jpg")

.jpg")
.jpg")

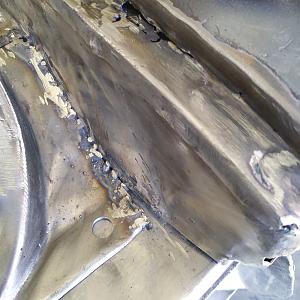
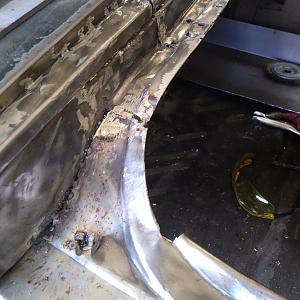
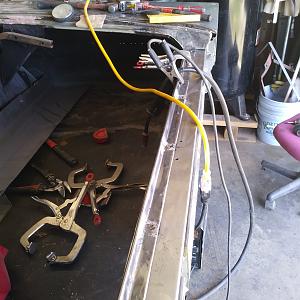
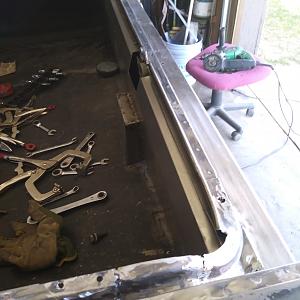
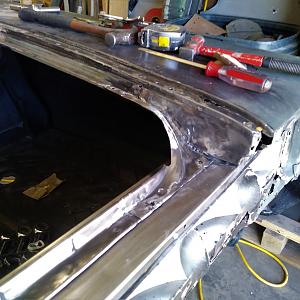
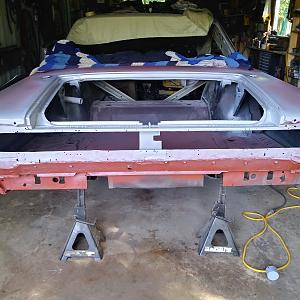
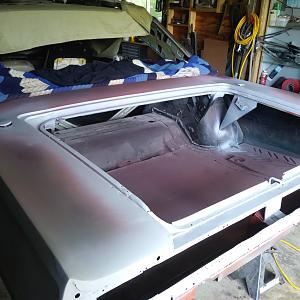
The installation of the 2nd draft of the rear face including the new replacement gutters and cross piece rail and the new tail light in trunk rear face covering and trunk latch fabrication.
.jpg")

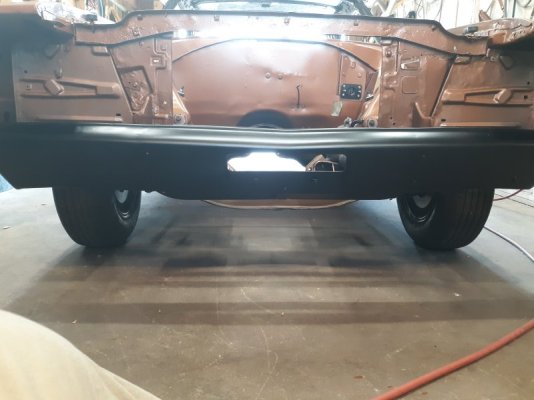
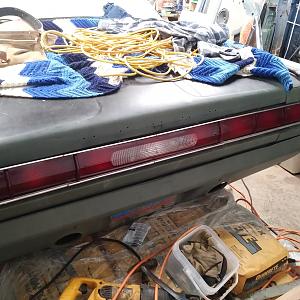
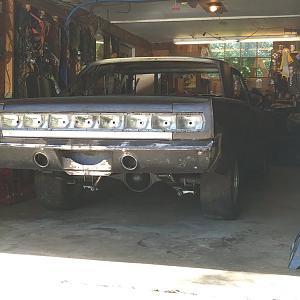
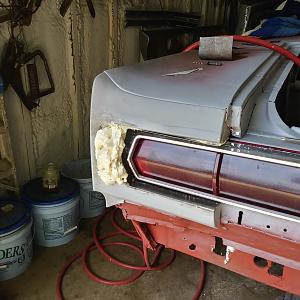
First draft finished fabrication of rear face and tail lights. With rear bumper fabrication as well, in primer.

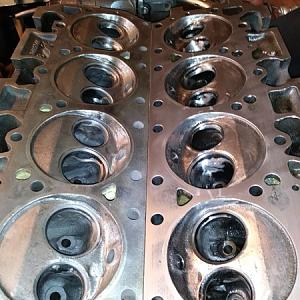
1973 452 heads ported and polished, port matched and cleaned up. Fresh valve job.


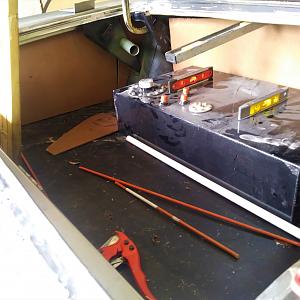
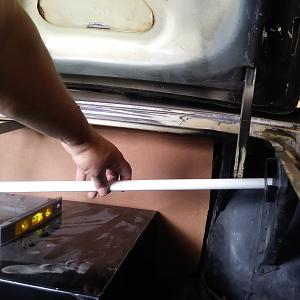
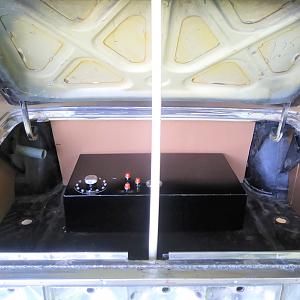
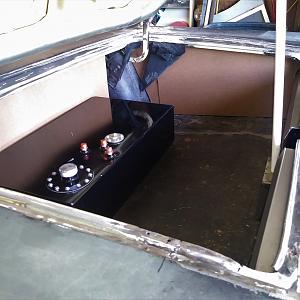
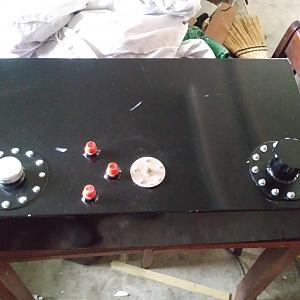
Fuel cell mock up to figure out angles and fitment of gas lines and filler hoses. Mock up of trunk close out panels all around with carpet attached for mock up of finished trunk.


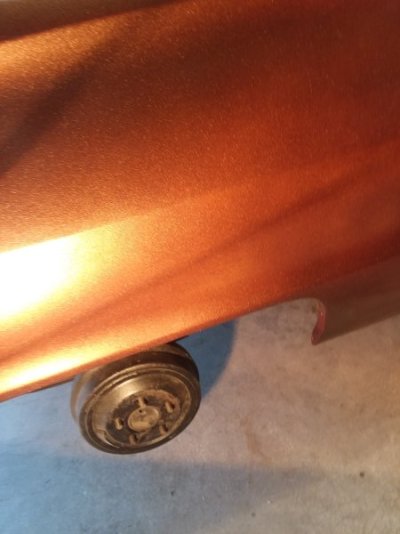
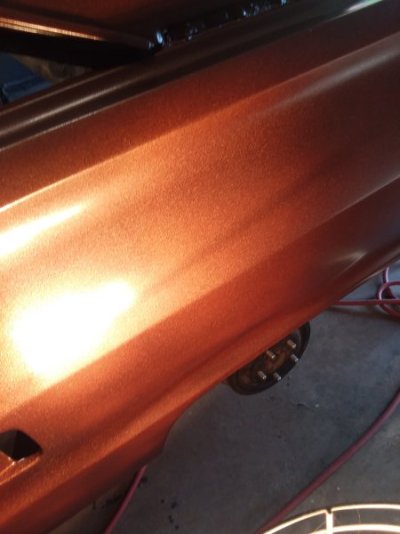
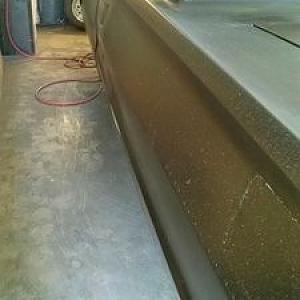
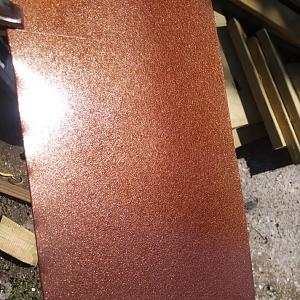
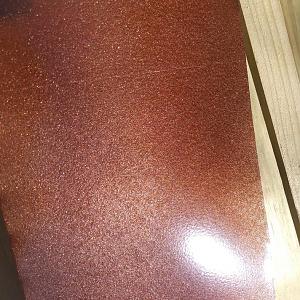
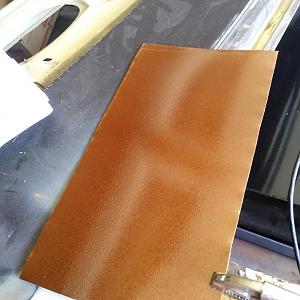
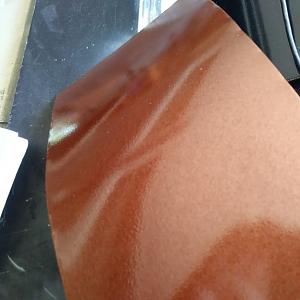
Spray out of final choice for foundation color of paint for the Express. PPG Chestnut brown metallic pearl. Love the flop in the sunshine! Will add a couple of coats of good clear coat. Very similar to 'Turbine Bronze' stock Dodge color..


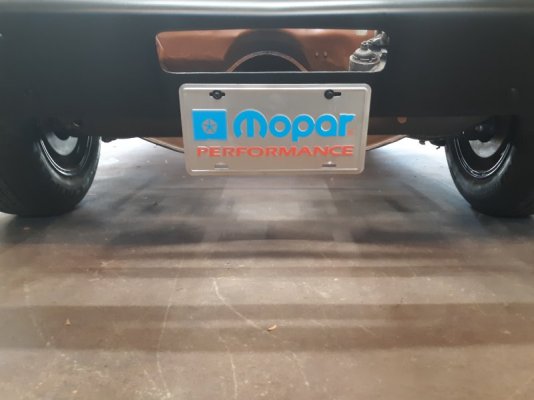
Final mock up of trunk latch and lock.

Final mock up of inner trunk rear face close out panel


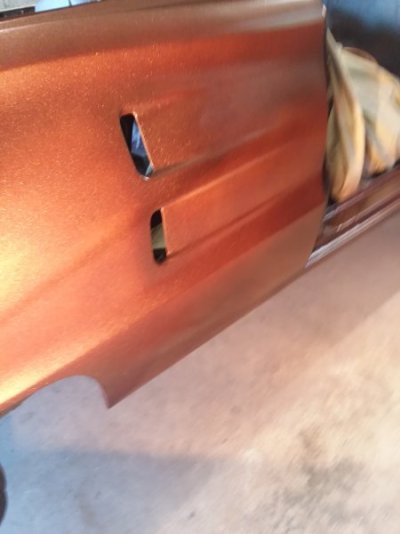
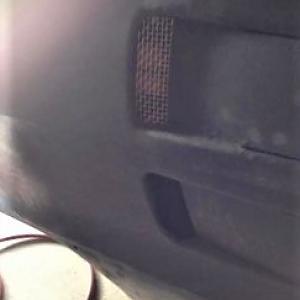
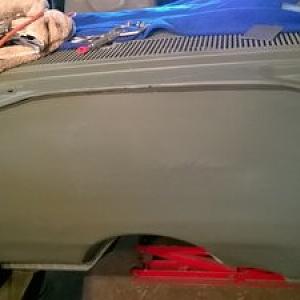
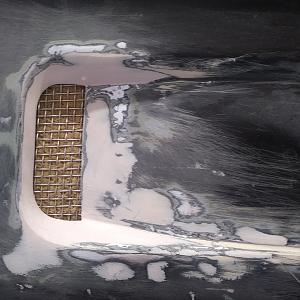
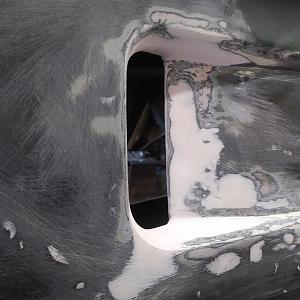
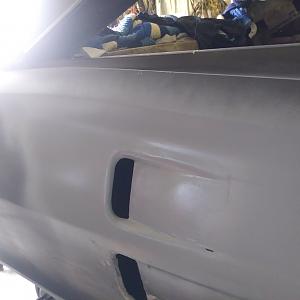
First scoop hole cleaned up and filler applied and shaped to the final shape of opening with SS wire mesh held up against the inside by a sponge placed between the scoop and the rear window inner panel. This will have black painted steel behind it when done to close them off from the inside of the car.

Audi dash shell out of the car.

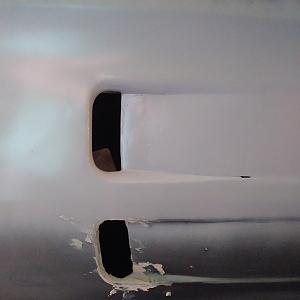
scoops in primer initially.


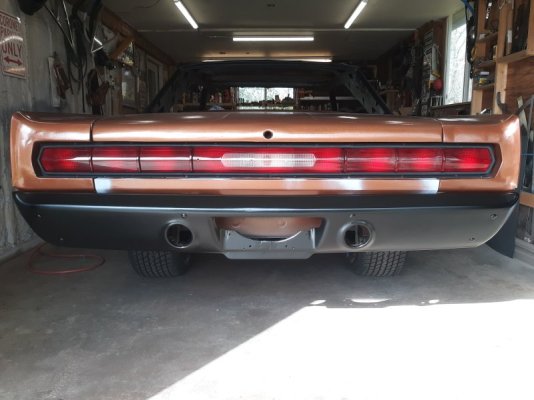
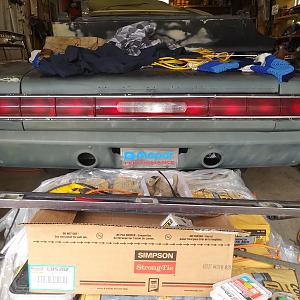
Left & right gas filler pop ups in primer & total rear section look in final draft.


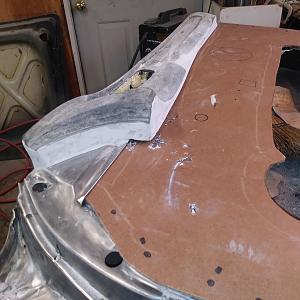
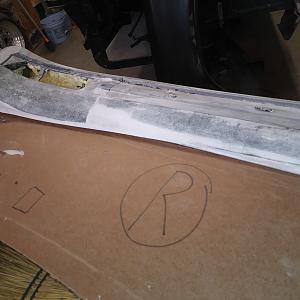
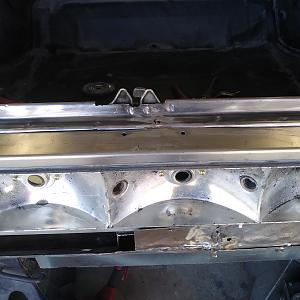
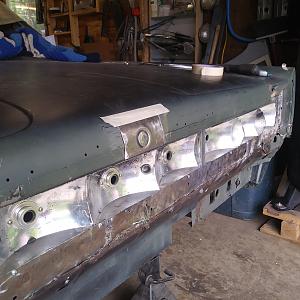
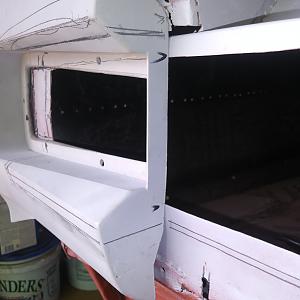
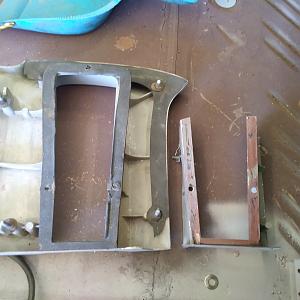
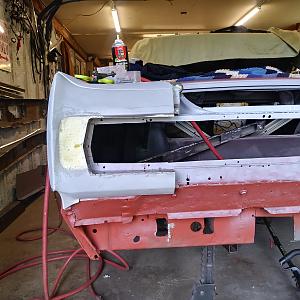
Fabrication of 2nd draft tail light end quarter extensions. This draft has the tail light base panel mounting from the INSIDE of the trunk.

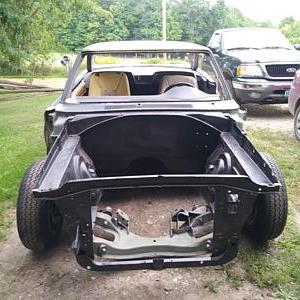
 Roadster style panels behind the front seats and the 67 Satellite rear seat topper fabrication final length and placement just behind the front buckets. SWEET!
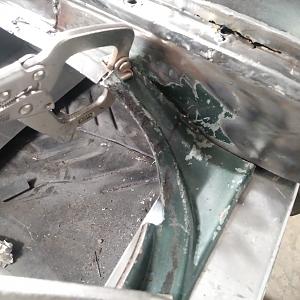
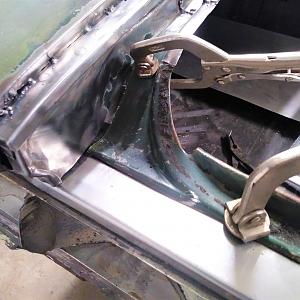
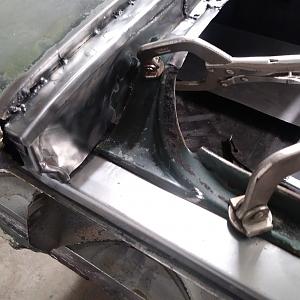
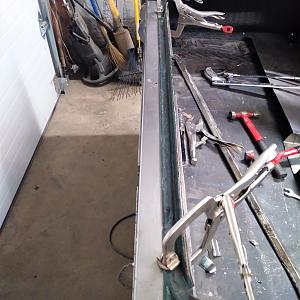
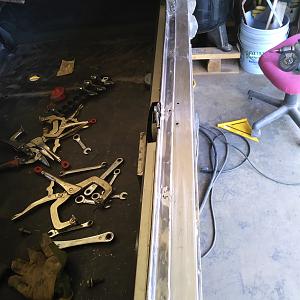
 right side of car showing the fabrication of the rear lower quarter panel

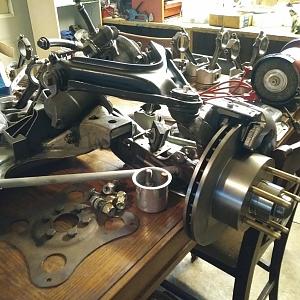
 Mock up of new disc brakes and front suspension


440 again..lol


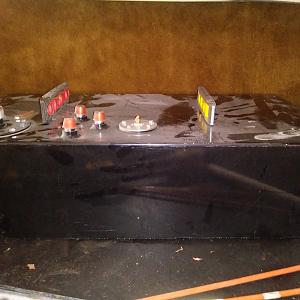
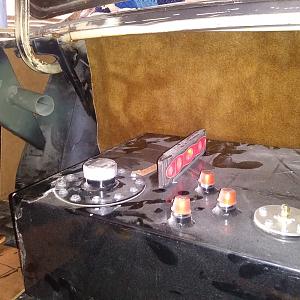
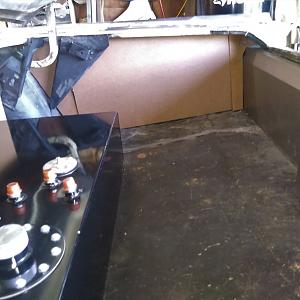
 Adding the second filler neck to the fuel cell for the right side filler cap.


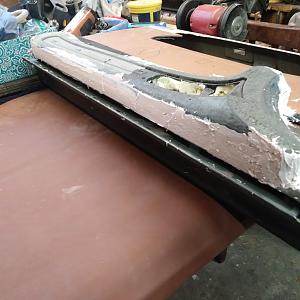
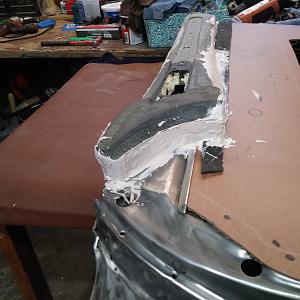
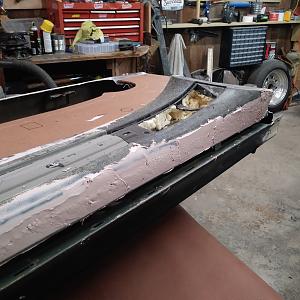
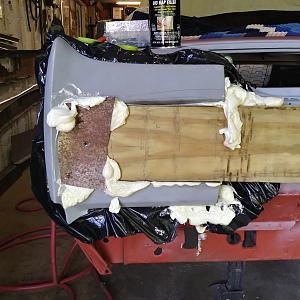
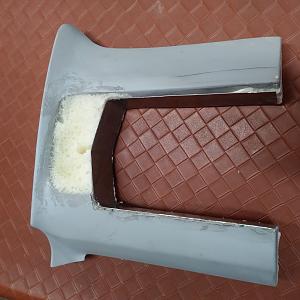
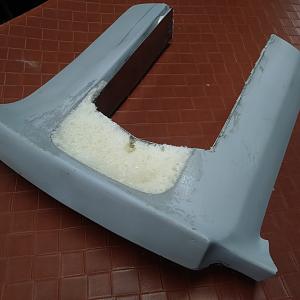
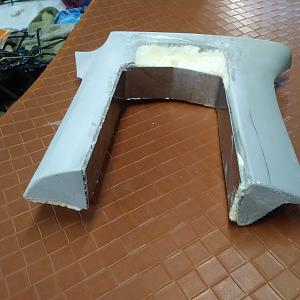
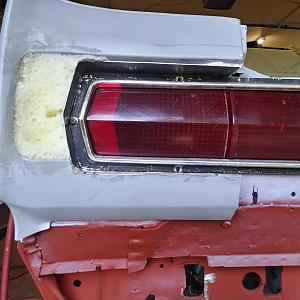
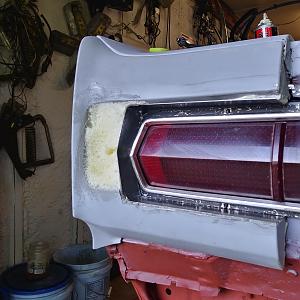
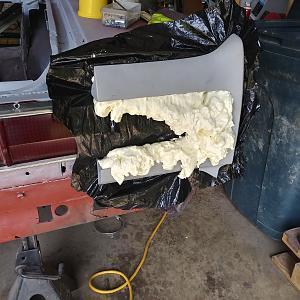
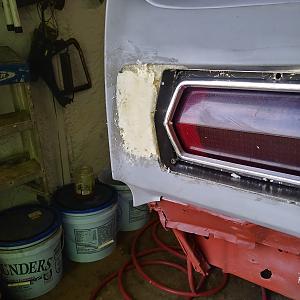
Fabrication of quarter tail extensions tail light enclosures using industrial strength expanding foam and body filler.


My aim for this build was to create a car that would turn heads but not because it's gaudy or overdone but because it's sublime in it's overall appearance. So close to factory that it all flows together and is difficult to realize offhand just exactly all that has been changed. I wanted onlookers to say to themselves, upon seeing it, " Wait...what? That doesn't look stock but what is different?"
I'm going symmetry and flow through of design. Like, for instance, the hood has the depression running up the center that's about 15" wide. The trunk lid has the same. " Flow through" is achieved by the Roadster panels center depression that is exactly as wide and aligns with those front front to back, all the way through the car. It may seem overkill but it's a detail that brings it all together. Another is cutting the angles off of the fender front noses. One, I never liked them, two it's a subtle change that could very well go unnoticed by 95 % of people unless someone pointed it out. It was part and parcel with the changes to the front bumper. In order to have that bumper flow straight across the front the ends had to be re positioned, so, then the fender noses had to be swept back. I thought about it for weeks. How they would look together once done. Whether they would be an abomination or a sublime detail that goes in noticed. I took cues from the 2015 Ridler award winner, the Chip Foose built 65 " Imposter"Impala. Unless you had the stock car sitting next to it you almost couldn't tell what all had been done, BUT, something had clearly been changed and it looked "Right". MASSIVE cutting and moving of key body parts. But the finished car looked like it could have been factory built. It looked right, not out of whack. That has been my goal as well.
The car as it was the day I drove it into the garage. With my pals hood scoops he gave me sitting on the hood. As If, lol...
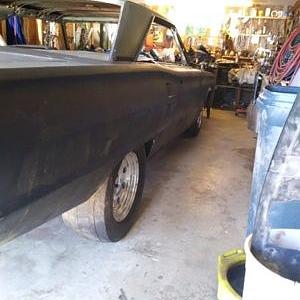
With the 1970 Road runner rear bumper mocked up.
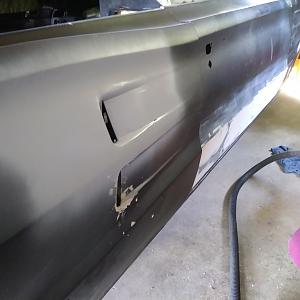
After cutting the fake scoops open initially.
Right inner cleaned up and primed.
1966 Thunderbird tail lights first draft, that I later changed because I didn't like the way I had done it.
The 2004 Audi A6 dash and console mocked up in the Coronet shell on the Audi aluminum dash frame suspended between A pillars.
1974 motorhome 440 block and heads.
Smoothed firewall.
8 3/4 stock rear cleaned up and brakes replaced and refreshed.
gas cap smoothed over
Body in black epoxy primer
beginning to fill the dents and dings
T bird Tail Lights 1st draft
the remaining lines after removing the outer verticals that caught my interest as a possible final scheme for accent stripes..
Audi steering wheel mounted for the first time in order to work out shaft placement and attachments mechanics
Left and right inner fender close out panels first draft mock up for fit and changes
440 with single plane M1 intake, and Holley 750 CFM, Mallory elec dizzy and 8mm racing plug wires..
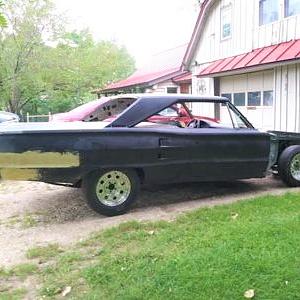
The Express sitting on it's own tires for the first time and backed out of the Garage for the first time so I could get a look at my results in a full side view from more than 2 feet away. Just checking,,lol.
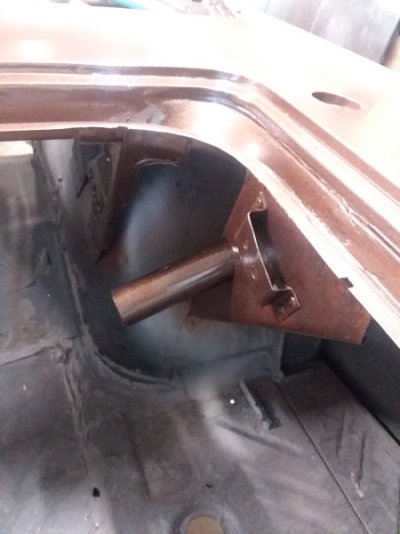
Left side Rullo Motorcycle pop up gas cap and filler neck installed on top of the quarter.
Front bumper end view after slicing and dicing it to pull it in and shorten it up to hug the fender indents.
New 727 'car' length tail shaft for the truck 727 I had.
New dual chamber master mounted in mock up to the smooth firewall in the stock position in order to see how much needed to be trimmed from the corners on one side to clear the inner and the cowl edge.
Gas filler pop up primered and filled around the installation area.
Inside trunk rear face of tail light area that I became unhappy with and changed.
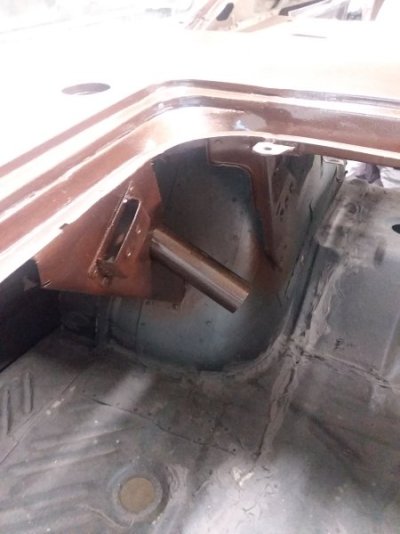
Right side Rullo motorcycle pop up gas cap and filler neck installed on top of the right quarter for symmetry. lol.
The 1966 Charger hidden headlights and grill mock up after all of the work fabricating the electric motor mounting and alignment for both sides. Sweet.
1973 727 trans rebuilt. It's a 440 six pac trans that has had the addition of a list of beef up parts and racing parts added to it, it's sitting after being painted on the case.
Door panel build pics. Adding elements of the Audi door panels to the 67 door & the finished view of how they line up with the dash elements. They will be covered in Leather later on.
The installation of the 2nd draft of the rear face including the new replacement gutters and cross piece rail and the new tail light in trunk rear face covering and trunk latch fabrication.
First draft finished fabrication of rear face and tail lights. With rear bumper fabrication as well, in primer.
1973 452 heads ported and polished, port matched and cleaned up. Fresh valve job.
Fuel cell mock up to figure out angles and fitment of gas lines and filler hoses. Mock up of trunk close out panels all around with carpet attached for mock up of finished trunk.
Spray out of final choice for foundation color of paint for the Express. PPG Chestnut brown metallic pearl. Love the flop in the sunshine! Will add a couple of coats of good clear coat. Very similar to 'Turbine Bronze' stock Dodge color..
Final mock up of trunk latch and lock.
Final mock up of inner trunk rear face close out panel
First scoop hole cleaned up and filler applied and shaped to the final shape of opening with SS wire mesh held up against the inside by a sponge placed between the scoop and the rear window inner panel. This will have black painted steel behind it when done to close them off from the inside of the car.
Audi dash shell out of the car.
scoops in primer initially.
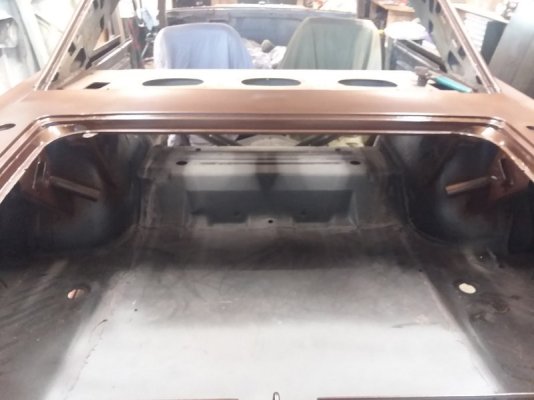
Left & right gas filler pop ups in primer & total rear section look in final draft.
Fabrication of 2nd draft tail light end quarter extensions. This draft has the tail light base panel mounting from the INSIDE of the trunk.
440 again..lol
Fabrication of quarter tail extensions tail light enclosures using industrial strength expanding foam and body filler.


nice color & nice work/craftsmanship too