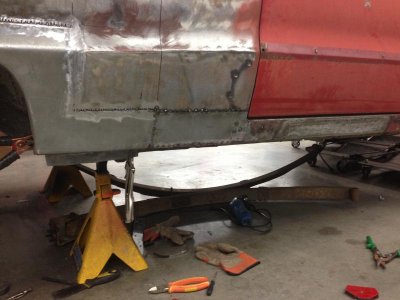
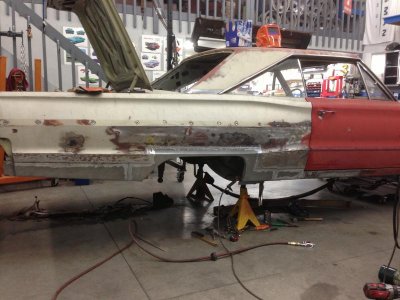
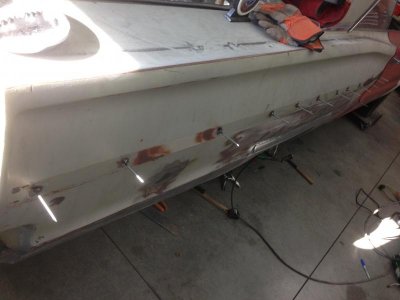
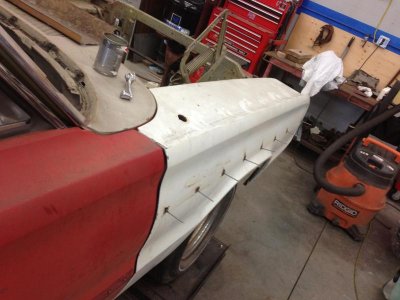
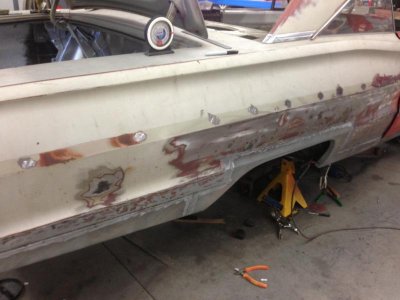
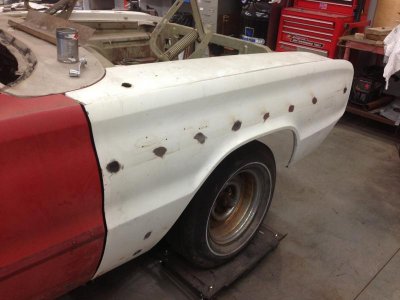
I think your fabrication is coming along great, im no pro with welding by any means myself and i use this small outfit (except face shield although is handy) and like you im very happy with it.. great work on the rocker and P-side quarter area!

You are using an out of date browser. It may not display this or other websites correctly.
You should upgrade or use an alternative browser.
You should upgrade or use an alternative browser.
1966 Coronet 440 field find
- Thread starter gdrill
- Start date
gdrill
Just enjoying "B"-ing here
- Local time
- 8:10 PM
- Joined
- May 29, 2013
- Messages
- 6,719
- Reaction score
- 13,749
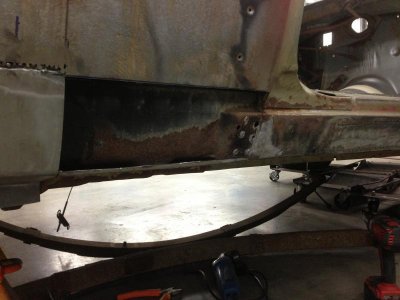
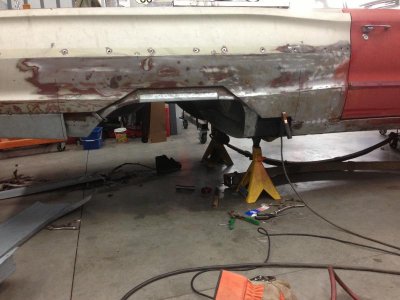
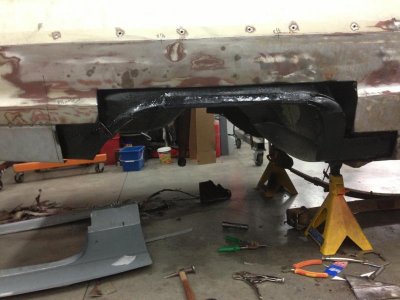
I got a little more done today. I just finished patching up the inner wheel house on the passenger side. It has a coat of paint drying on it now. I am having a beer while I wait and if it doesn't turn into more than a couple I might go back and cut and fit the Sherman quarter patch panel. :icon_mrgreen:


- Local time
- 9:10 PM
- Joined
- Jan 1, 2013
- Messages
- 8,038
- Reaction score
- 3,467
- Location
- Mascoutah, Illinois
This car looks so cool .. thanks for the updates
Basket case
Well-Known Member
great job
gdrill
Just enjoying "B"-ing here
- Local time
- 8:10 PM
- Joined
- May 29, 2013
- Messages
- 6,719
- Reaction score
- 13,749
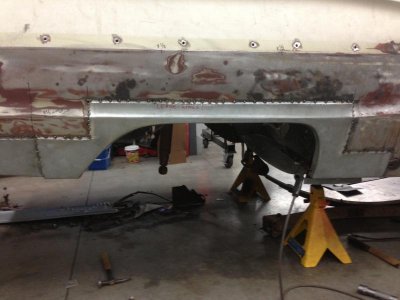
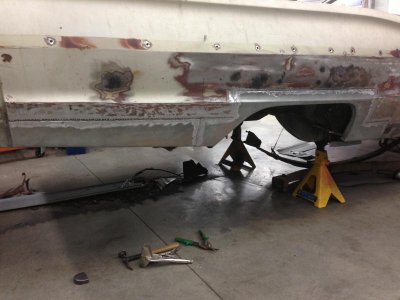
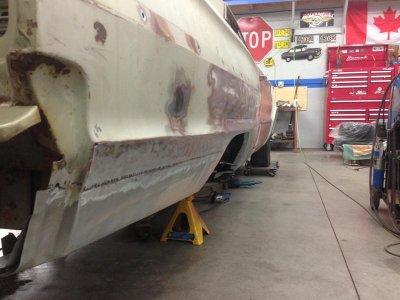
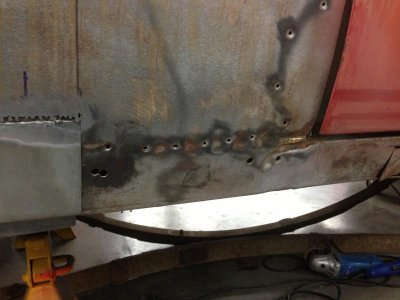
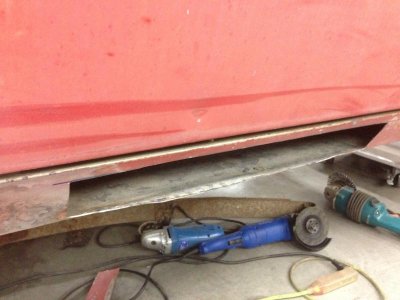
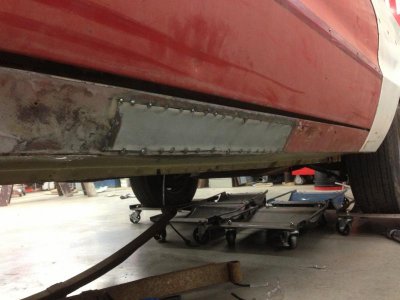
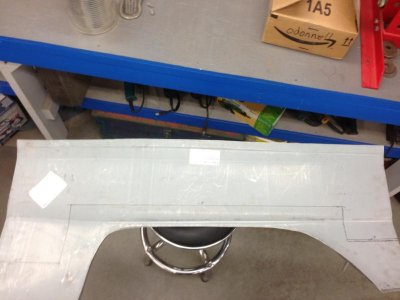
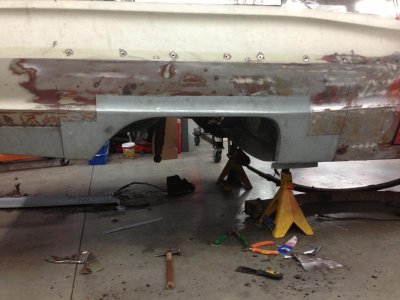
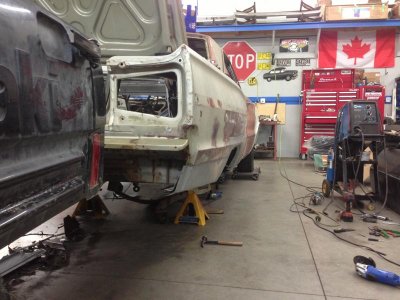
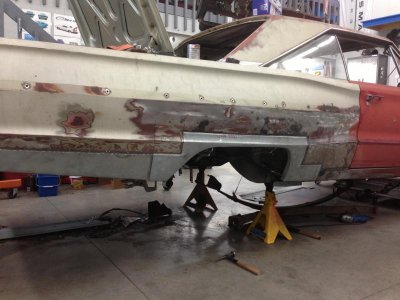
Well I got the courage up and cut the patch panel. It does take a bit because once its done there's no going back. I measured everything 147 times or so and then drew some lines. I made my first marks by hanging it on the car and reaching from the inside to make my corners. I made the original cut 3/4" larger than measured and hung it on the outside. This was so I could confirm all my marks were lining up and it was square. When I was happy it was right, I trimmed it down and crimped the horizontal edges. I will say that when using an overlap it is key to clean all the factory sound deaden-er from inside so your lap fits nice. For this I use a small 90deg pick and scrape all the edges clean. The vertical edges will be butt welded and they have a .023 gap more or less. Now just 2-3000 spot welds and it will be permanent!



gdrill
Just enjoying "B"-ing here
- Local time
- 8:10 PM
- Joined
- May 29, 2013
- Messages
- 6,719
- Reaction score
- 13,749
gdrill
Just enjoying "B"-ing here
- Local time
- 8:10 PM
- Joined
- May 29, 2013
- Messages
- 6,719
- Reaction score
- 13,749
Thanx 747. "Done this before", haha, nope, but I do hope to do many more after all this learning on the Coronet.
Basket case
Well-Known Member
looks great!
gdrill
Just enjoying "B"-ing here
- Local time
- 8:10 PM
- Joined
- May 29, 2013
- Messages
- 6,719
- Reaction score
- 13,749
gdrill
Just enjoying "B"-ing here
- Local time
- 8:10 PM
- Joined
- May 29, 2013
- Messages
- 6,719
- Reaction score
- 13,749
gdrill
Just enjoying "B"-ing here
- Local time
- 8:10 PM
- Joined
- May 29, 2013
- Messages
- 6,719
- Reaction score
- 13,749
For not doing it before .............hell even if you have done it before it looks great. Are you going to keep welding until the weld is solid? I'm always worried about moisture coming threw and ruining the body work so I always turn off the lights and put a light on the inside to show where I may have missed and still seal the inside with seam sealer just for insurance. Your work is looking top notch "keep it up"
gdrill
Just enjoying "B"-ing here
- Local time
- 8:10 PM
- Joined
- May 29, 2013
- Messages
- 6,719
- Reaction score
- 13,749
Thank you very much guys. Man is spot welding time consuming. Weld, blow cool, weld, blow cool, weld, blow cool........
You bet, I am making sure all the line is sealed. It is kind of deceiving because of my overlap area. It doesn't look complete, but it's just that some of my welds are a little long! I feel the same as you about moisture maybe getting in behind. I am going to seam seal and spray sound deaden-er on the inside. At least as good as I can get at it. Now the only parts I haven't tackled are where I have to lay down and weld up. That should be a learning curve of it's own!
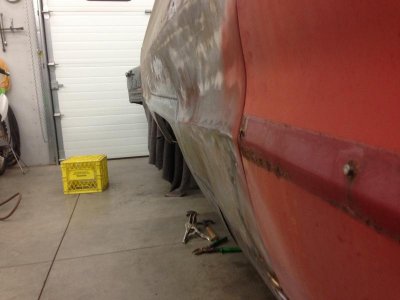
Any of you who have done this kind of reclamation before can understand how happy I am. It sure is a good feeling to see the majority of the rust eliminated. Then it will be on to "Learn to use putty 101"!
- Local time
- 9:10 PM
- Joined
- Jan 1, 2013
- Messages
- 8,038
- Reaction score
- 3,467
- Location
- Mascoutah, Illinois
very nice work brother ... I think your welds look awesome.
- Local time
- 4:10 AM
- Joined
- Oct 16, 2013
- Messages
- 1,695
- Reaction score
- 3,048
- Location
- Kiel Germany (back again)
Awesome fabrication there gdrill. I cant wait to see your project finished. Its going to be top notch :jerk:
Basket case
Well-Known Member
he's not fooling me. he must be a pro......:grin:
gdrill
Just enjoying "B"-ing here
- Local time
- 8:10 PM
- Joined
- May 29, 2013
- Messages
- 6,719
- Reaction score
- 13,749
Similar threads
- Replies
- 47
- Views
- 3K
- Replies
- 7
- Views
- 498
What's it Worth
1970 Dodge Charger R/T 440 Manual Track Pack Car Barn Find
- Replies
- 73
- Views
- 4K
- Replies
- 32
- Views
- 752

