• When you click on links to various merchants on this site and make a purchase, this can result in this site earning a commission. Affiliate programs and affiliations include, but are not limited to, the eBay Partner Network.

1966 Coronet 440 field find

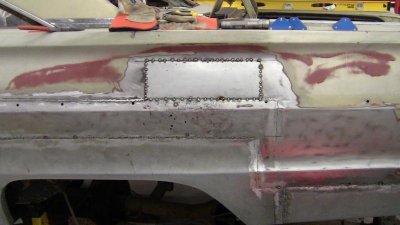
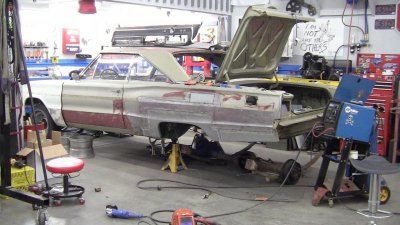
Well I got distracted by other stuff today, so I didn't get the panel welded up completely. Darn life getting in the way of hobbies! But I did final fit and tack weld the quarter extension on. That's it for the night, it's Friday, I'm gonna relax, suck back a couple beer and admire my accomplishments!

View attachment 151654

Ya know that looks pretty damn cool gdrill. Just clear it and run with it. Kind of a masculine, machine, army of the future, mel gibson / terminator kind of thing.
 
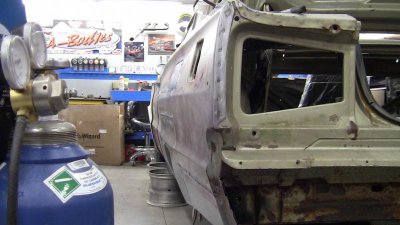
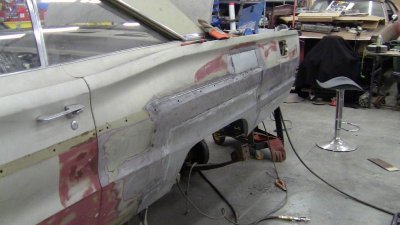
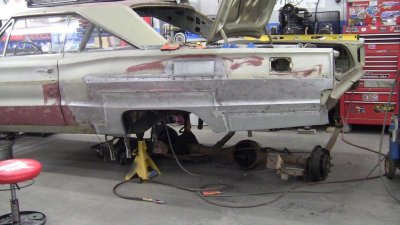
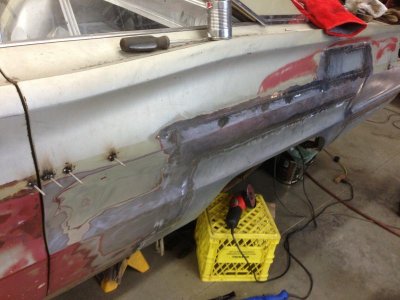
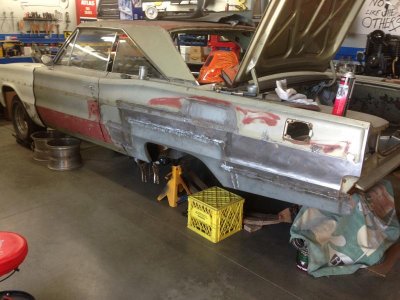
Well that's it for another two weeks. Gotta head back to work tomorrow. It is all welded and mostly ground. Today I replaced the patch at the top. I wasn't happy with my first attempt so out it came and in went a new chunk. It sure is nice to see one side of the car all steel again. The passenger side is not as bad, so hopefully I will be able to complete it a little faster.

IMG_1495.jpg

IMG_1499.jpg

IMG_1500.jpg

IMG_1504.jpg

IMG_1502.jpg
 
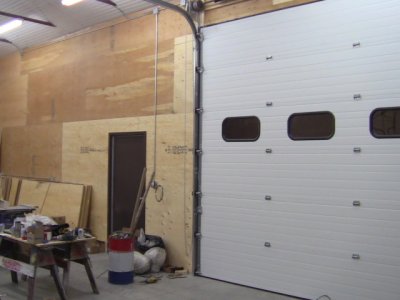
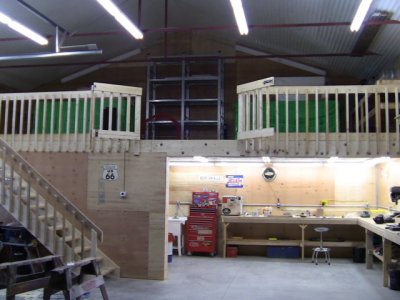
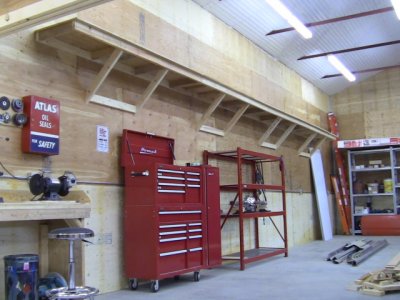
nice looking shop and the car is looking good thanks for the updates ,we will waiting :headbang:
 
Thanx Snake, appreciate that. I built the shop a year and a half ago after the wife told me she wanted her car in the garage! I can say, I would not hesitate to do it earlier in life if I had to do it over!

IMG_0321.JPG

IMG_0431.JPG

IMG_0418.JPG

IMG_0427.JPG IMG_0431.JPG IMG_0418.JPG IMG_0321.JPG
 
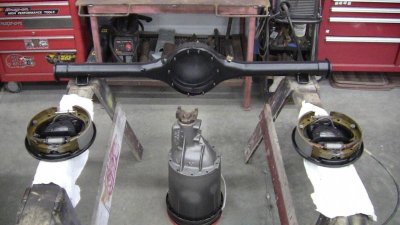
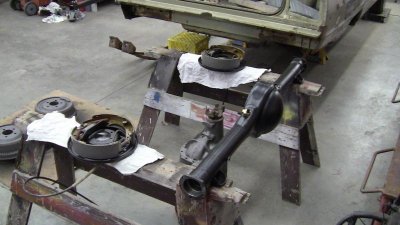
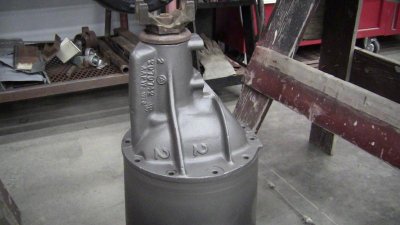
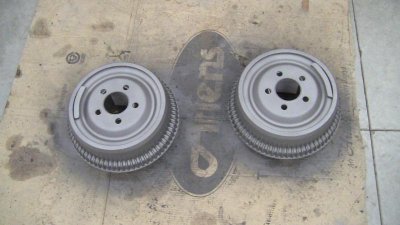
Well I haven't had the opportunity to get back at the body work due to using the shop for other vehicles repairs. That's OK I'll get to it eventually. But I did dig out the diff and associated parts. I cleaned, scraped, de-greased, blasted, painted and partly assembled. I didn't get any thrust buttons when I got this center section so those are on order. The center and drums are done in Cast Blast and the diff is satin. I think it'll look good when put together. I also came across a brand new in the box power booster, master cylinder and proportioning valve assembly this week, so now that decision is made! It cost me $300 plus $30 to ship it here. I found the same one at Year One for $300 and we all know shipping from there is more than $30!!

IMG_1524.jpg

IMG_1527.jpg

IMG_1526.jpg

IMG_1522.jpg
 
Thanx Tallhair. I painted the yoke black at first, but didn't like it so I painted it cast as well.
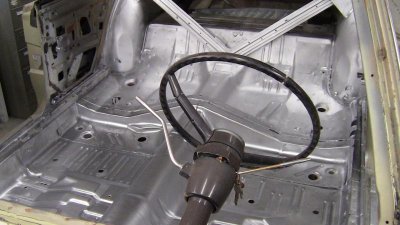
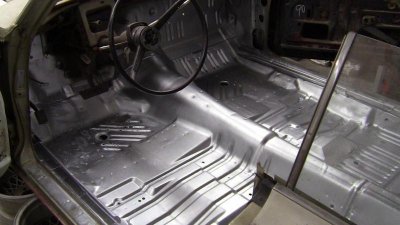
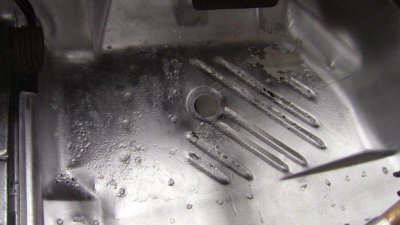
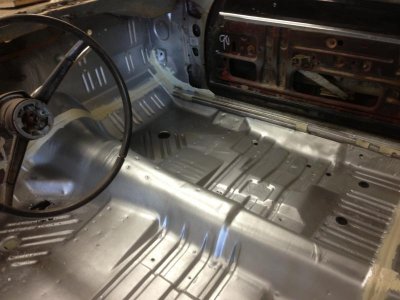
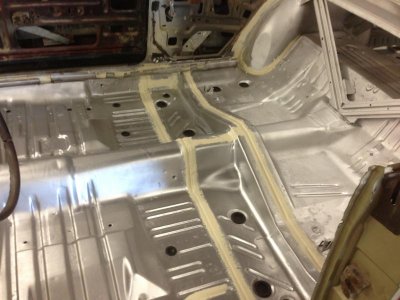
Yesterday I ground down the floor pan. It is basically as good as it originally looked. There is a little more rust in the drivers side but I don't think I will buy a replacement pan. I will probably just make some patches and piece it together. I painted it with the only silver I had, Argent! It is a little shiny, but that's OK, it will be hidden by carpet. At least it is covered and protected.

IMG_1528.jpg

IMG_1529.jpg

IMG_1530.jpg
 
The floorpan looks brand new now :) I like the cast iron paint on the chunk. It's gonna contrast nicely with the black housing and that's probably what I'll do. Leaf springs too
 
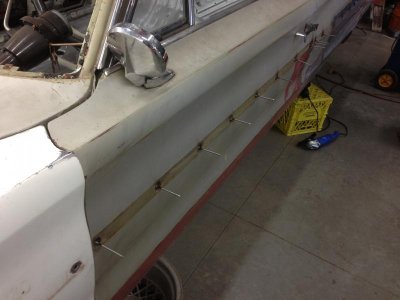
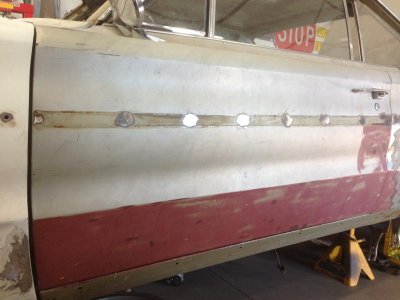
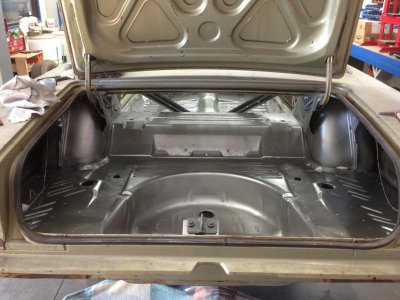
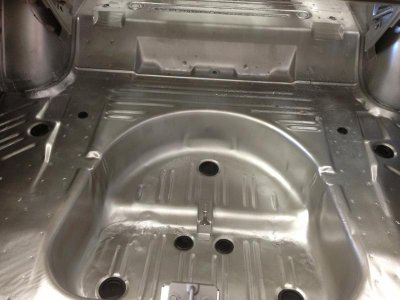
It's been a while since I updated anything here. So I figured I had better get back to work. I cleaned and painted the floor and trunk area. The floor is sealed and I will do the trunk once I am done the quarters. I can't remember who mentioned the nail trick for filling molding holes, but it works great. I did the drivers door and quarter panel. It was a breeze.
IMG_0334.jpg

IMG_0335.jpg

IMG_0336.jpg

IMG_0337.jpg

IMG_0342.jpg

IMG_0341.jpg

IMG_0339.jpg

IMG_0340.jpg
 
Auto Transport Service
Back
Top