• When you click on links to various merchants on this site and make a purchase, this can result in this site earning a commission. Affiliate programs and affiliations include, but are not limited to, the eBay Partner Network.

1968 Charger, Ray Barton 528 Hemi, Pro-touring.

Bolt-on my ***!
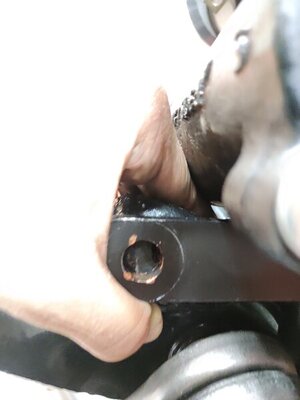
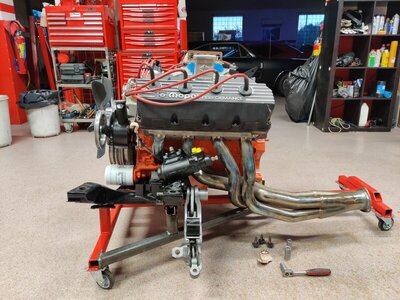
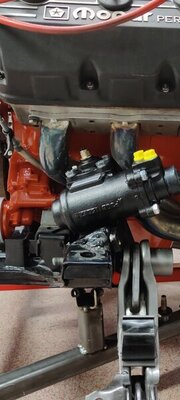
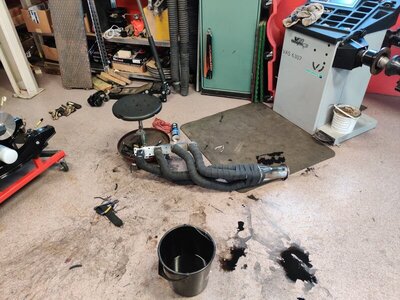
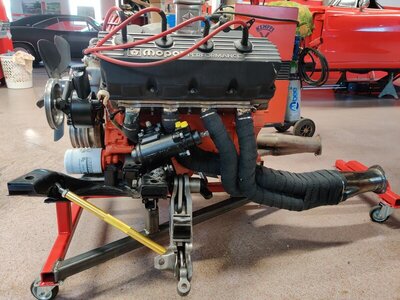
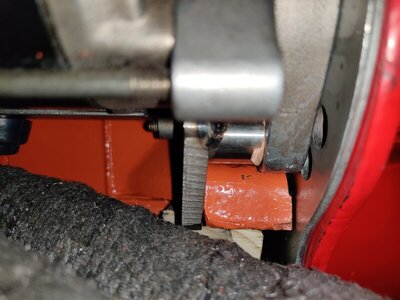
Big Clash between the headers and the borgeson p/s box.. the car I removed the engine and headers from had an oem p/s box and that fit well so what to do now? There is a chance that the rear part of the engine is a tad to low vs the k-frames position. I'll try and raise it slightly to see if that clears the header tube.
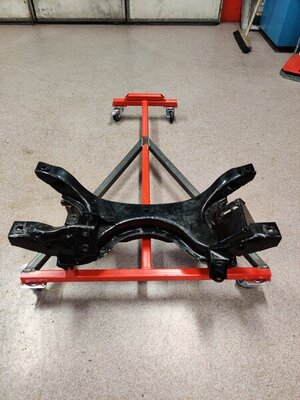
But I'm glad I built this dolly..
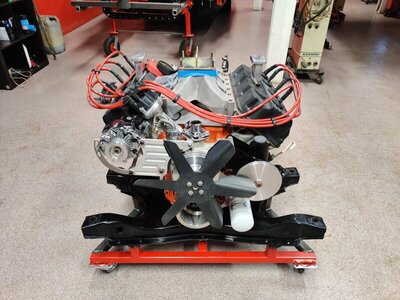
IMG_20200916_185124.jpg IMG_20200916_191126.jpg IMG_20200916_191142.jpg IMG_20200916_195205.jpg IMG_20200916_195211.jpg IMG_20200916_195424.jpg
 
Yeah right:bs_flag:

Screenshot_20200916-222232.jpg

When looking at the pictures I'm thinking it might be possible to shim it some to move it slightly closer to the 2nd tube. Right now the big clash is with the 1st tube. Screenshot_20200916-222946.jpg
 
What headers are u running I’m using TTI no clearance issues only with my firm feel fast ratio pitman arm ,and with that i put small indentation on headers
C1854456-CD94-4FF9-A4B4-BBC3A07EABF6.jpeg
 
When u shim, or if u shim box Double check your steering shaft for the angle and double check length before u cut it otherwise it could be to short or angle is to far of for your liking.
 
Well, it took a lot of blood, sweat and tears but now it fits, somewhat.
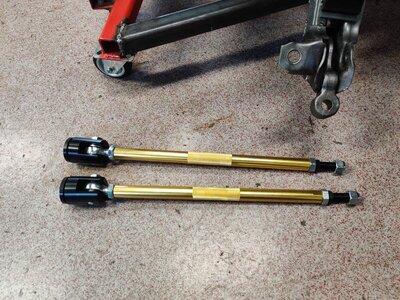
Trial fitted the qa1 adjustable struts, nice pieces.

IMG_20200917_172323.jpg IMG_20200917_172315.jpg IMG_20200917_181945.jpg
 
Well, it took a lot of blood, sweat and tears but now it fits, somewhat.
Trial fitted the qa1 adjustable struts, nice pieces.

Luckily you are able to work on it out of the car - I can't imagine how hard that would be to fit if it were in the car!
 
Toss some heat wrap on those two tubes to help keep some heat out of the steering box.
 
Toss some heat wrap on those two tubes to help keep some heat out of the steering box.
Plan on completeley heat-wrapping them. But I need to massage them some more unfortunately.
 
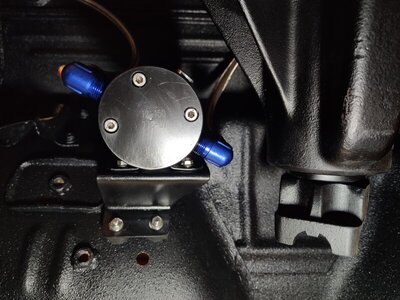
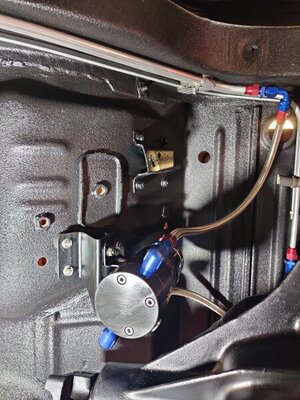
Changed the hose connectors to straight and fitted 3/8npt angles instead. That gave me some more wiggle room around the pump. Turned it slightly also to maximise distance to the dana and the U-joint.

IMG_20200920_112313.jpg IMG_20200920_112329.jpg
 
What a mess, but one side completed!
It's a good feeling bolting on stuff that's been lying on shelves for almost ten years. Edelbrock shocks on in the rear.

IMG_20200920_170607.jpg IMG_20200920_170613.jpg IMG_20200920_173145.jpg IMG_20200920_110516.jpg IMG_20200920_111803.jpg
 
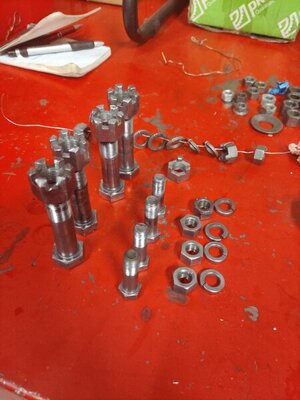
Cleaned a bunch of fasteners again in the strip-all tub and polished them with the wire wheel afterwards. It makes the zink look much better.
Stuck on the left side motor mount, seems Corona has stopped the deliverys!? So I've contacted a company that can reglue the rubber and steel plate again.. I'm at a halt until this is resolved.

IMG_20200921_194506.jpg IMG_20200922_104040.jpg IMG_20200922_104104.jpg
 
Been slow lately, struggling to keep my daytime job from taking over right now. Very hectic now.. so I've only managed to fiddle around with some zinc plating but I've atleast found some new motor mounts!
I let a friend borrow the flywheel, he also has a 426 Hemi that is being overhauled and they needed a flywheel when starting up the old beast. But they're experiencing some issues with the lifters so it's dragging out in time. Hope to get it back soon.. need it now.
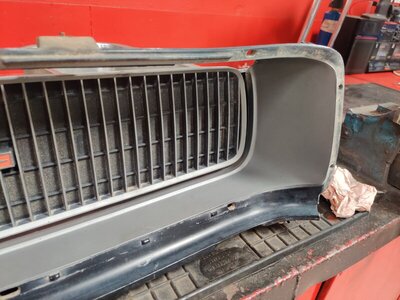
Trying out some different silver/grey spray paints for the grille but I haven't nailed yet. Need something more "greyish"..

IMG_20200930_203444.jpg IMG_20200930_191502.jpg IMG_20200930_203500.jpg
 
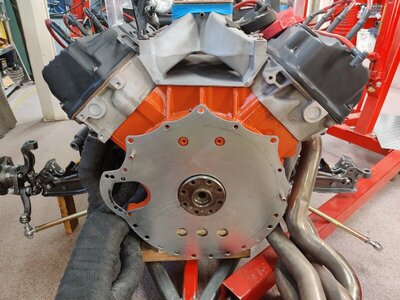
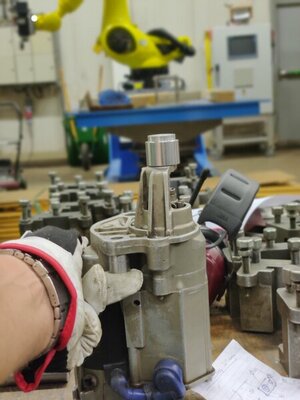
Got my flywheel, ministarter and lakewood bellhousing back. Well, it's not easy to get this things to fit properly. It seems I need an adapter kit that isn't for sale anymore.
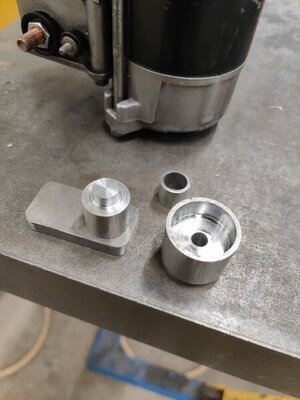
So what to do.. i guess it's time to fabricate something.
Luckily I have a lathe at my work place but it's ages since I last tried working on one..
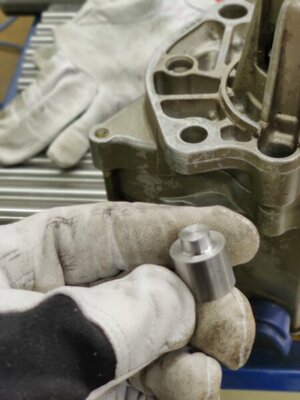
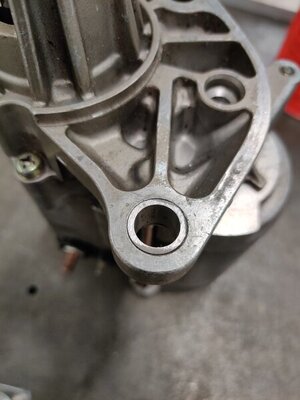
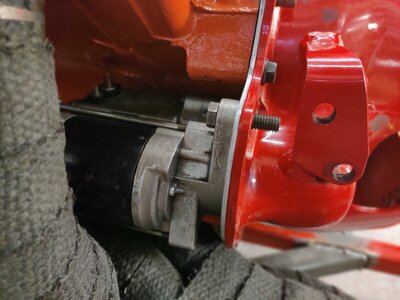
Made a bushing to remove play in the starters upper mount. Made a inner support for the starter gear and a bracket for the starters lower support.
And I'll be damned, it fits!
The bellhousing is an old lakewood safety bellhousing for both 130 and 143 tooth flywheels.
It also came with a "block saver" plate, #15765.

IMG_20201010_105752.jpg IMG_20201010_110936.jpg IMG_20201010_105848.jpg IMG_20201010_155156.jpg IMG_20201010_160643_Bokeh.jpg IMG_20201010_160707_Bokeh.jpg IMG_20201010_162554.jpg IMG_20201010_162625.jpg
 
Slowly coming together, now it's time to fit the Mcleod twindisc incl hydraulic clutch.

IMG_20201010_171745.jpg IMG_20201010_171719_Bokeh.jpg IMG_20201010_173020.jpg IMG_20201010_175041_Bokeh.jpg
 
I find fabrication very satisfying and I imagine you do too! Carry on!
Mike
 
The machine shop working on my friends Hemi ended up borrowing all my stuff, flywheel, bellhousing, starter and adapterkit I made. Good thing is, it all worked out! Now it's back again so I can continue.
Zincplated the adapterkit and some other stuff I did for the hydraulic clutch.
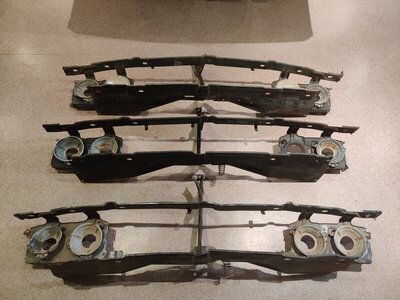
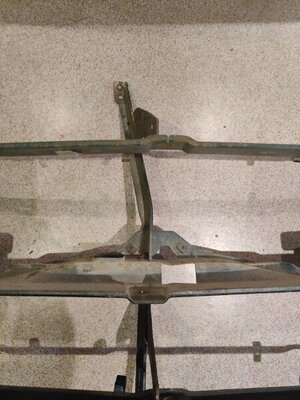
Had a look at the grilles we have, they all have various small damages so I've decided to send them all out for an acid bath. I'll probably try and repair them all to see who turns out best.

IMG_20201021_202754_Bokeh.jpg IMG_20201021_201251.jpg IMG_20201021_201257.jpg IMG_20201021_201326.jpg IMG_20201021_201331.jpg
 
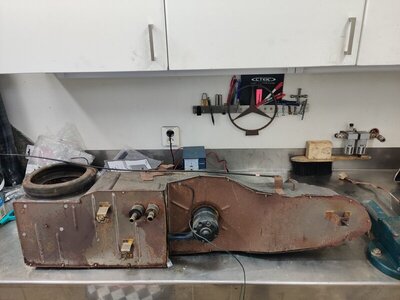
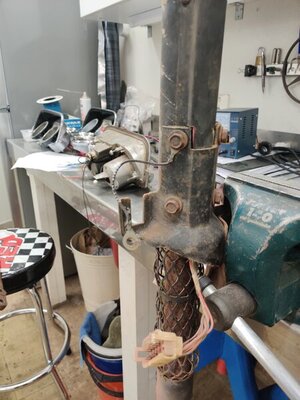
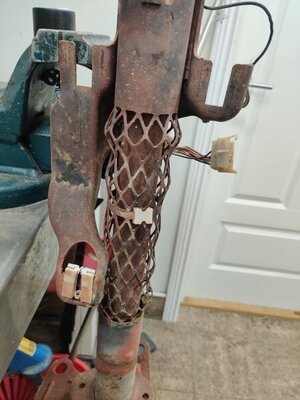
Not much going on actually, dismantling stuff that's going into the acid bath. The steering column and the heater box and all three grille frames.
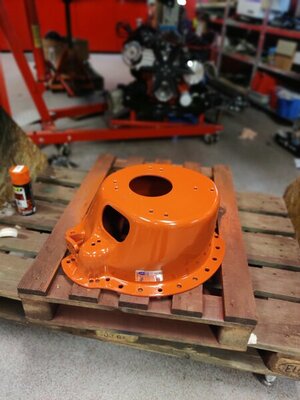
Painted the bellhousing Hemi orange.

IMG_20201025_122249_Bokeh.jpg IMG_20201024_103717.jpg IMG_20201024_110624.jpg IMG_20201024_110748.jpg IMG_20201020_180334.jpg IMG_20201020_180347.jpg
 
Auto Transport Service
Back
Top