I sure like how well you are doing that project.
You are using an out of date browser. It may not display this or other websites correctly.
You should upgrade or use an alternative browser.
You should upgrade or use an alternative browser.
1968 Charger, Ray Barton 528 Hemi, Pro-touring.
- Thread starter Jarven1977
- Start date
Jarven1977
Well-Known Member
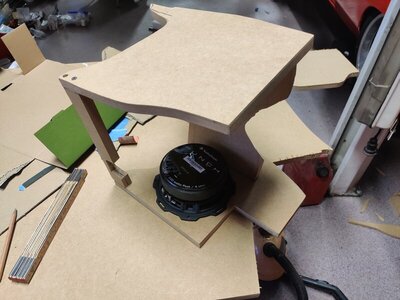
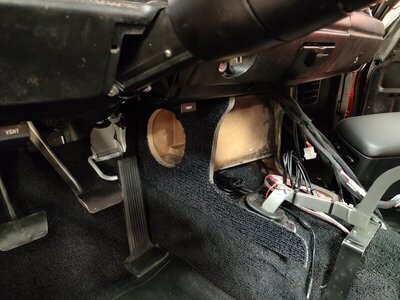
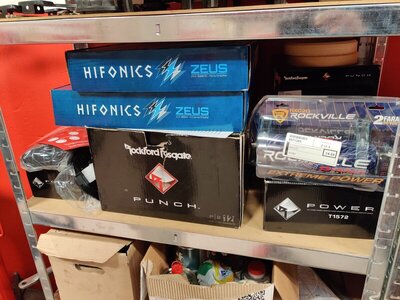
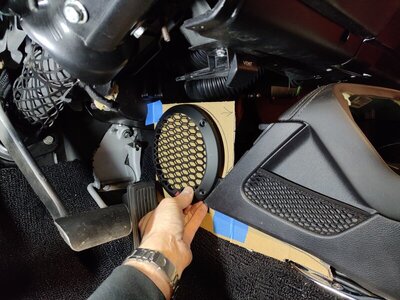
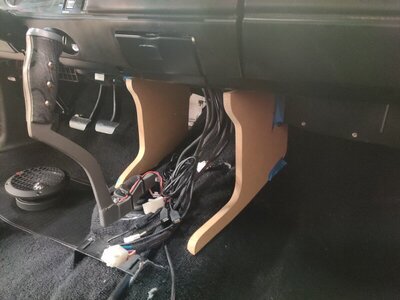
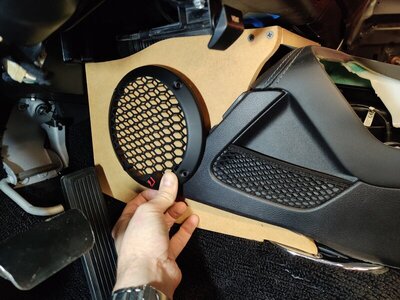
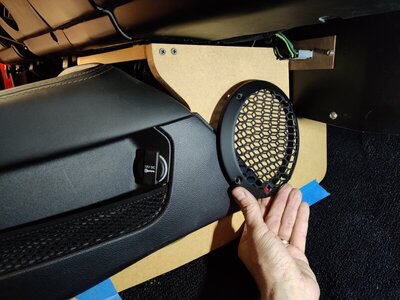
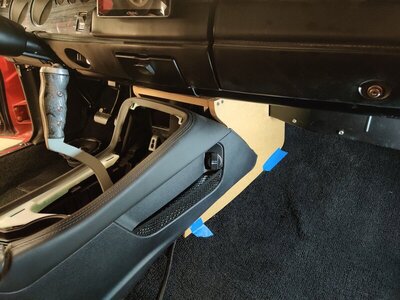
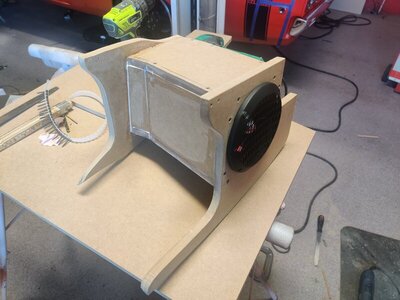
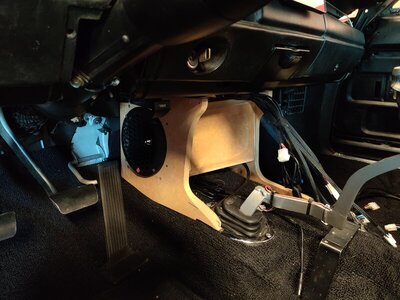
Started the audio installation with trying to squeese in a midbass box in front of the center console. It's a tight fit but probably doable. I'm re-living my early twenties here! I used to build this stuff and compete sometimes like twenty-twentyfive years ago so out of nostalgic reasons I've collected the brands that was the **** back then but probably not the best choice of components today. System is as follows:
Amps, Hifonics Zeus 4-ch to the forward and rear speakers.
Hifonics Brutus mono-block for the Subwoofer
Hifonics Zeus 2-ch for the midbass speakers.
Subwoofer is the iconic Rockford Fosgate power punch 12" in a vented box.
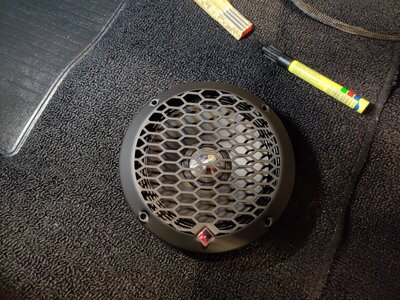
Midbass is four Rockford punch 6,5". Two in the center box and two in the rear seat armrest side panels.
Two Rockford punch 5"*7" in the rear deck.
Two Rockford punch 4" in the kick panels.
Made templates out of cardbord first and then cut out the first baffles in mdf board.


Jarven1977
Well-Known Member
biomedtechguy
Accelerati Rapidus Maximus
- Local time
- 11:07 PM
- Joined
- Mar 28, 2014
- Messages
- 35,871
- Reaction score
- 59,530
- Location
- South Louisiana
Again...

Jarven1977
Well-Known Member
biomedtechguy
Accelerati Rapidus Maximus
- Local time
- 11:07 PM
- Joined
- Mar 28, 2014
- Messages
- 35,871
- Reaction score
- 59,530
- Location
- South Louisiana
Gotta have one! I carry a ABC on the floor behind the driver's seat, the kinda big one, like they have in lots of buildings. (It was free)
Jarven1977
Well-Known Member
Best thing is it's not corrosive or harmful as powder extinguishers are.Gotta have one! I carry a ABC on the floor behind the driver's seat, the kinda big one, like they have in lots of buildings. (It was free)
Jarven1977
Well-Known Member
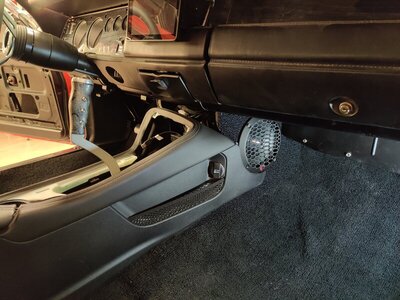
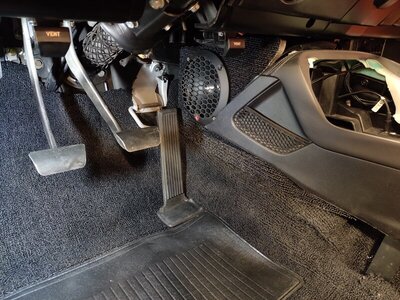
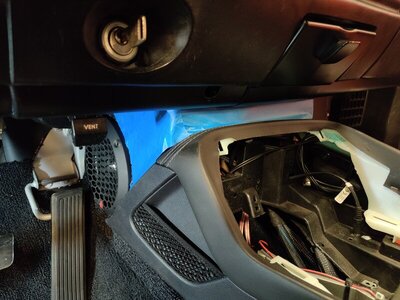
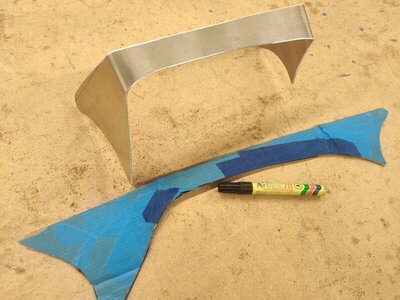
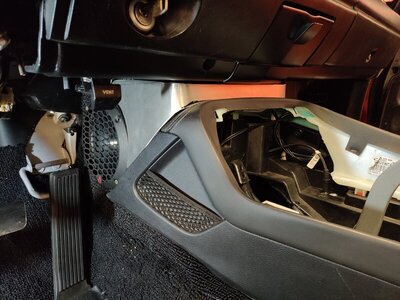
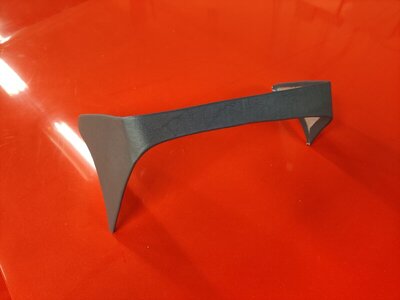
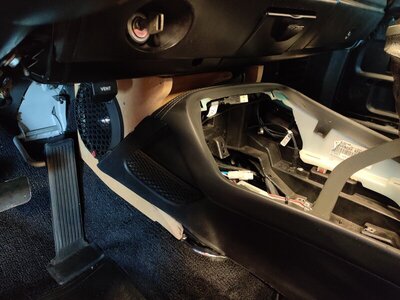
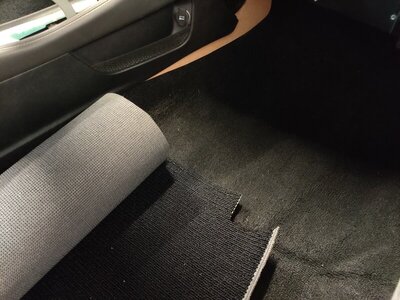
Box done, complicated shape so it took a while.. Found a loop carpet similar to the Charger floor carpet. This one is slightly more shiny but I hope it will blend ok. Sides will be wrapped in this carpet and I'll make an alu trim piece between console and dash that I'll wrap in vinyl. Just need to trim down the console sides to meet the speakers in a nice way first. But I'm happy.. after this it's time for the door and rear side panels.




Nice wood skills you have. Me? I'm a good wood butcher.
biomedtechguy
Accelerati Rapidus Maximus
- Local time
- 11:07 PM
- Joined
- Mar 28, 2014
- Messages
- 35,871
- Reaction score
- 59,530
- Location
- South Louisiana
Nothing like rowing your own gears!
biomedtechguy
Accelerati Rapidus Maximus
- Local time
- 11:07 PM
- Joined
- Mar 28, 2014
- Messages
- 35,871
- Reaction score
- 59,530
- Location
- South Louisiana
Since you already have the McLeod dual disc clutch, you should look at the HitMaster launch control. Same guy who does the ClutchTamer.
He recently posted a brilliant article on this forum.
He recently posted a brilliant article on this forum.
Jarven1977
Well-Known Member
Never heard of this so I read through your thread, cool stuff!Since you already have the McLeod dual disc clutch, you should look at the HitMaster launch control. Same guy who does the ClutchTamer.
He recently posted a brilliant article on this forum.
biomedtechguy
Accelerati Rapidus Maximus
- Local time
- 11:07 PM
- Joined
- Mar 28, 2014
- Messages
- 35,871
- Reaction score
- 59,530
- Location
- South Louisiana
Although I was going to go to a hydraulic throwout bearing setup, because I needed a strong clutch and I've used first a Borg and Beck 3 finger 3,000 pound pressure plate and single disc, and a 2,900 pound diaphragm style pp with a single disc, my knee pays the price. I am happy to say the combo of a dual disc setup and the hydraulic throwout bearing has made the clutch pedal the gateway to Nirvana. After reading the way the Clutch Tamer works, I figured with the kind of HP and Torque my 572 RB will make when it's under the hood (and your Hemi) the HitMaster would be a better choice, and it can also soften the hit between gears.Never heard of this so I read through your thread, cool stuff!
READ the GENIUS of Grant, aka @weedburner the guy who makes these products, and this article only further reinforces I know I bet on the right horse:
https://www.forbbodiesonly.com/mopa...orque-numbers-on-a-stick-shift-launch.237138/
Jarven1977
Well-Known Member
Jarven1977
Well-Known Member
INTMD8
Well-Known Member
Nice work!
funknut
Well-Known Member
Looks awesome! You're really making some fast progress now.
biomedtechguy
Accelerati Rapidus Maximus
- Local time
- 11:07 PM
- Joined
- Mar 28, 2014
- Messages
- 35,871
- Reaction score
- 59,530
- Location
- South Louisiana
Jarven1977
Well-Known Member
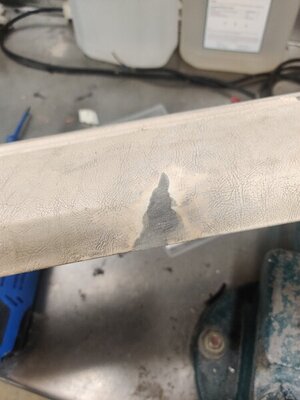
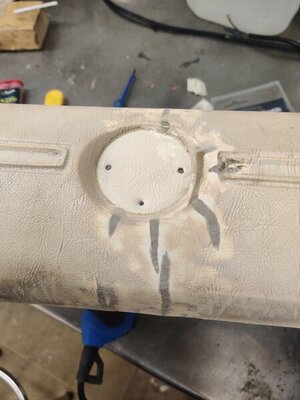
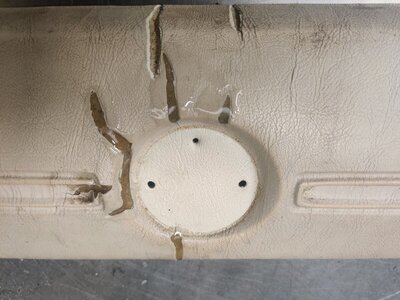
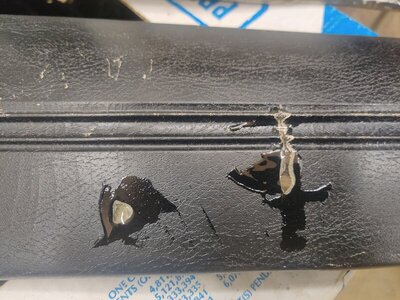
Had a setback with the door pads. I delivered them to a really talented guy in Sweden which would have made them like new or better.
He had a look at them and said "sure they're salvagable and I can fix them for you, but they wont be ready until sometime next winter since I'm really overwhelmed with jobs."
So I picked them up and will give it a go myself.. I appreciate his honesty though. They probably wont look as nice but what the hell.. I need this thing completed. It'll be fun though.
So this evening I got started. Gave them a good clean, used the dremel to grind down all cracks, shaped them like a V-groove and started to fill them up with epoxy.
After some rounds with this I'll smooth it out with a flexible bondo and wrap them in the same vinyl I used on the console piece.


Jarven1977
Well-Known Member
Similar threads
- Replies
- 28
- Views
- 4K
- Replies
- 6
- Views
- 405
- Replies
- 11
- Views
- 513

