You are using an out of date browser. It may not display this or other websites correctly.
You should upgrade or use an alternative browser.
You should upgrade or use an alternative browser.
1968 Charger, Ray Barton 528 Hemi, Pro-touring.
- Thread starter Jarven1977
- Start date
Jarven1977
Well-Known Member
When do you sleep?
Mike
Mike
Jarven1977
Well-Known Member
When do you sleep?
Mike

Dude, this project has been asleep for years, I'm determined to have this car, maybe not completed, but atleast on its wheels and moving by itself this Summer.
We have like 2-3 hrs of dark in Sweden this time of year so its I guess its not impossible?
Jarven1977
Well-Known Member
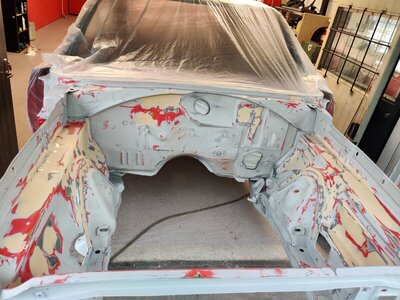
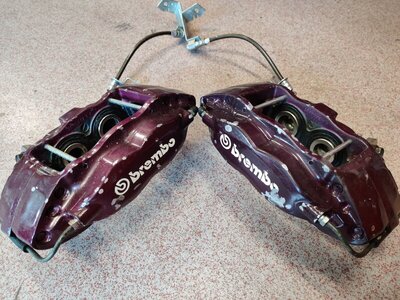
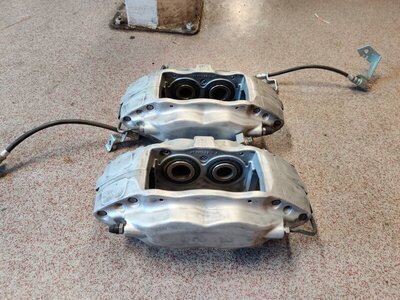
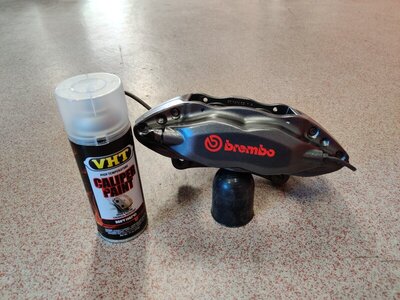
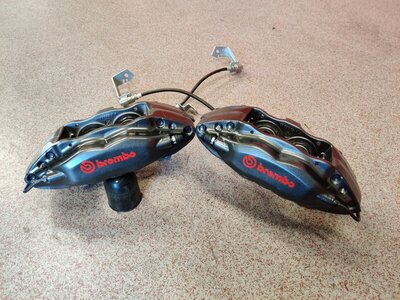
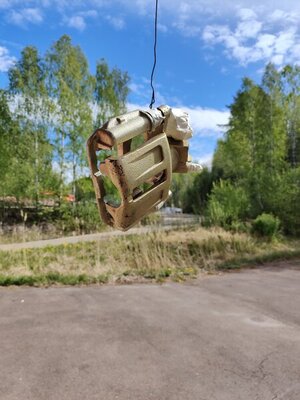
While I'm waiting for my brother finish sanding the enginebay I cleaned, glassblasted and painted the Brembo calipers. Purple wasn't really my colour..
I also painted the rear calipers to match.
Bought a couple of Brembo stickers a while ago and slapped them in and painted again with clear to keep the stickers from falling off.
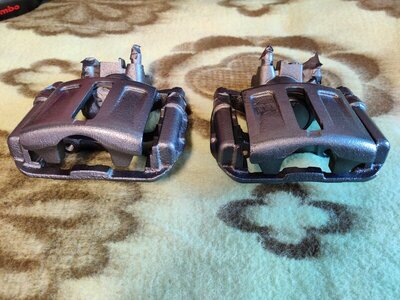
I also painted the rear calipers to match.
Bought a couple of Brembo stickers a while ago and slapped them in and painted again with clear to keep the stickers from falling off.


Jarven1977
Well-Known Member
Jarven1977
Well-Known Member
Jarven1977
Well-Known Member
Jarven1977
Well-Known Member
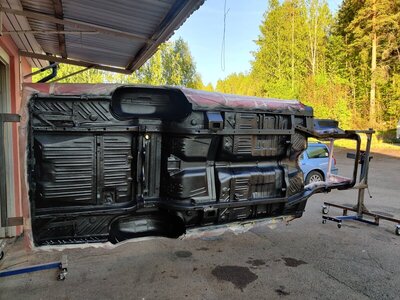
I'm jealous! I've been humping to get mine ready to spray tomorrow. Man that masking is a pain. I'm tinting my Raptor gray. Did you do the fenders?Bedliner done, note to self: wear gloves next time dumbass.
View attachment 956379 View attachment 956380 View attachment 956381
Mike
Jarven1977
Well-Known Member
Not yet, I have 2/3 of a bottle left so I'll wait until I have my inner fender guards ready as well.I'm jealous! I've been humping to get mine ready to spray tomorrow. Man that masking is a pain. I'm tinting my Raptor gray. Did you do the fenders?
Mike
And yes, the masking was a pain!
Well, I got mine "Raptored" today!
Mike


Mike
Jarven1977
Well-Known Member
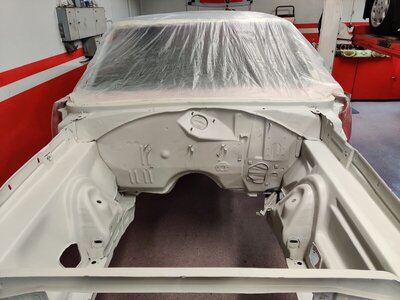
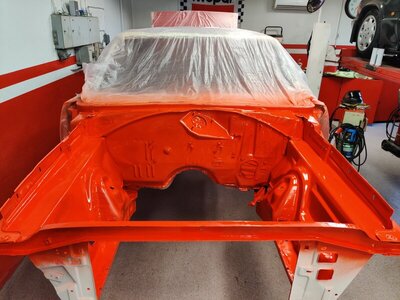
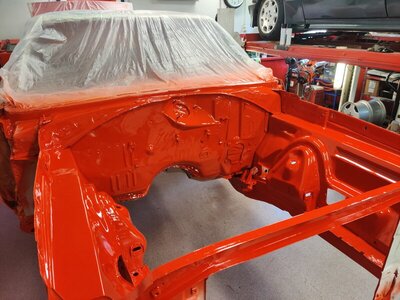
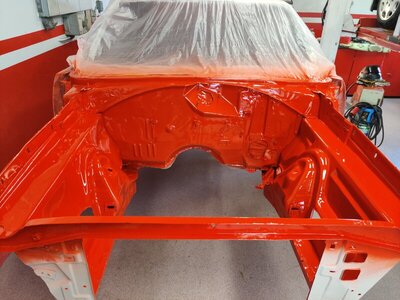
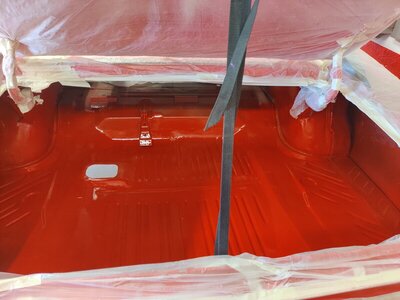
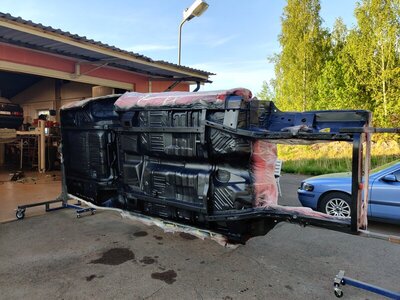
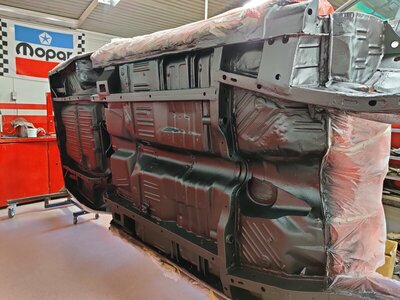
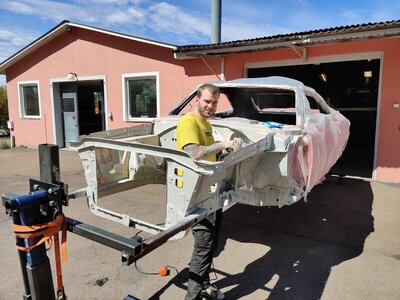
Blacked out the tailpanel and radiator support today. Used a semigloss black. I also resprayed the interior with a slightly glossier black. The first one I used was flat black and I wasn't really pleased with how it looked.
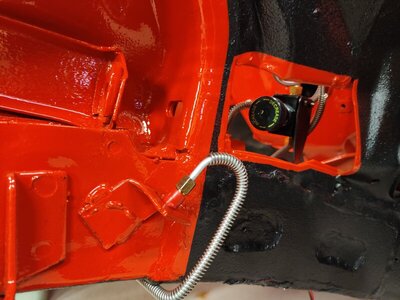
Couldn't stop myself from removing all masking! Very satisfying seeing it again. Now it's actually time for assembly! I'll start with plumbing, brake and fuel lines while I can work on it with the car in the rotisserie.
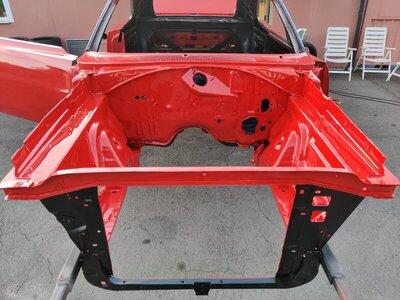
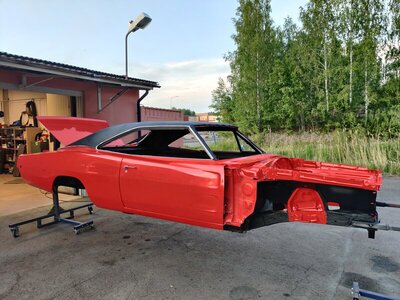
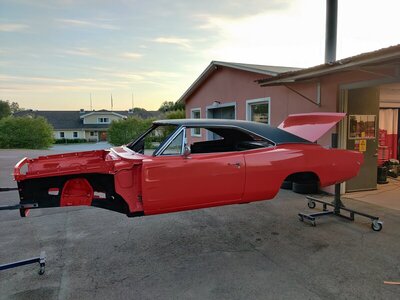
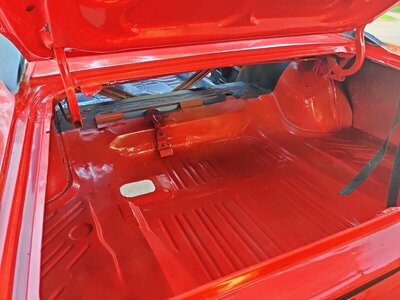
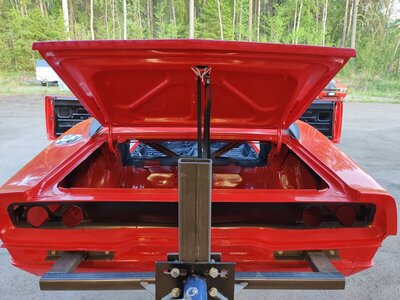
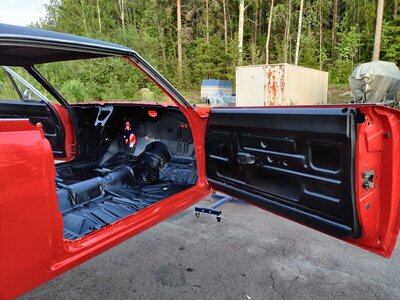
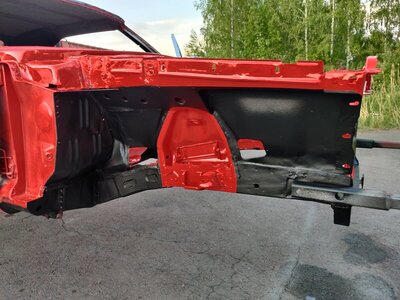
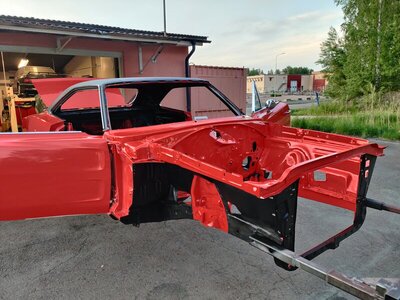
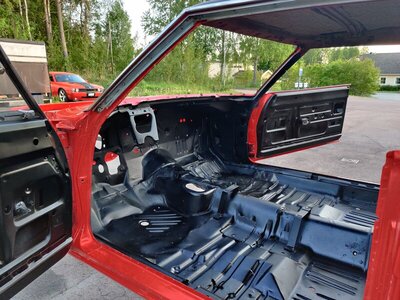
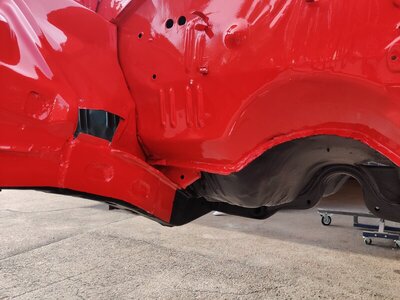
Couldn't stop myself from removing all masking! Very satisfying seeing it again. Now it's actually time for assembly! I'll start with plumbing, brake and fuel lines while I can work on it with the car in the rotisserie.


Ahh! The fun begins.Blacked out the tailpanel and radiator support today. Used a semigloss black. I also resprayed the interior with a slightly glossier black. The first one I used was flat black and I wasn't really pleased with how it looked.
Couldn't stop myself from removing all masking! Very satisfying seeing it again. Now it's actually time for assembly! I'll start with plumbing, brake and fuel lines while I can work on it with the car in the rotisserie.
View attachment 958458 View attachment 958459 View attachment 958460 View attachment 958461 View attachment 958462 View attachment 958463 View attachment 958464 View attachment 958465 View attachment 958466 View attachment 958467
Mike
sprayed before work? musta made for an easy day at work
nice
watermelon
nice
watermelon
Jarven1977
Well-Known Member
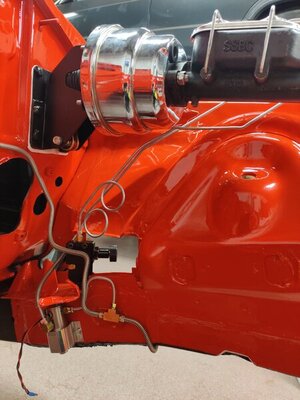
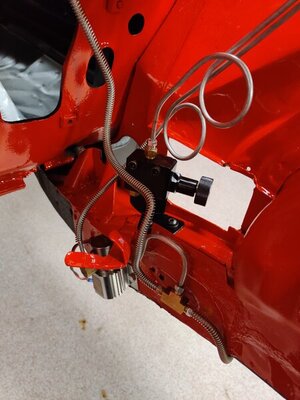
Started to fiddle around with brake lines. Inherited parts from a stainless kit that I'll try and get use of.
The passenger and driver side line fit pretty well.
But the threads into the proportion valve wasn't correct. The valves female threads were 7/16" and the lines were 3/8"?
Well, anyhow. Since I'm using a mix of components.. Main cylinder from SSBC(also inherited) big Brembos upfront and an SSBC kit on the dana I decided to follow KISS. Keep it simple stupid.
I will tee the front brake line from the main cylinder and fit an adjustable pressurevalve on the rear line.
One funny thing, the brake line fittings into the main cylinder was swapped? The rear outlet(closest to the firewall) had the fitting and line that was meant to go to the rear inlet port on the proportion valve and vice versa.
Could this be why so many have had issues with this SSBC main cylinder and poor brakes?
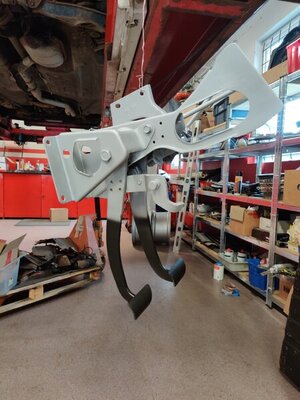
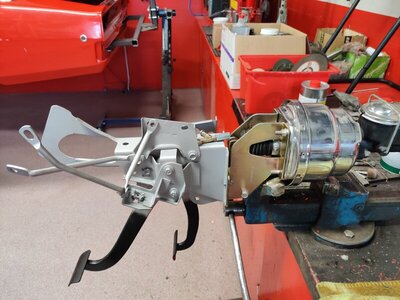
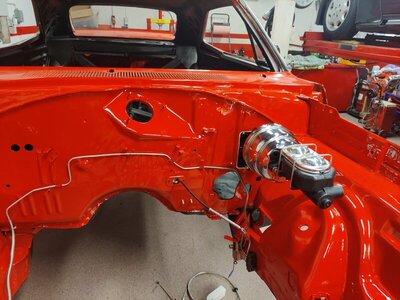
Trial fitted the cylinder and pedals, need to do some cutting and welding to get it all aligned Good. I Guess this is common with "bolt on" stuff.

Jarven1977
Well-Known Member
Finally got something done again.
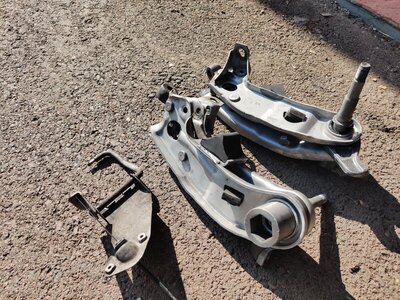
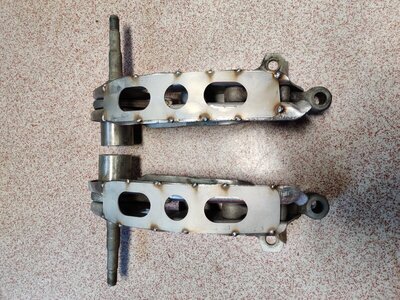
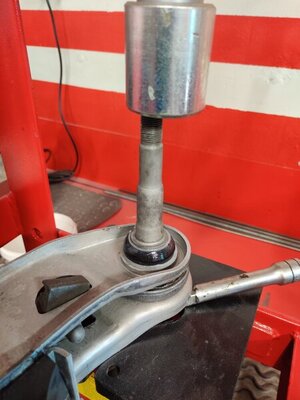
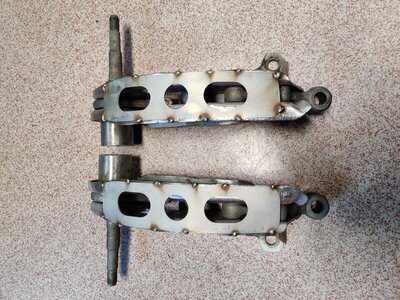
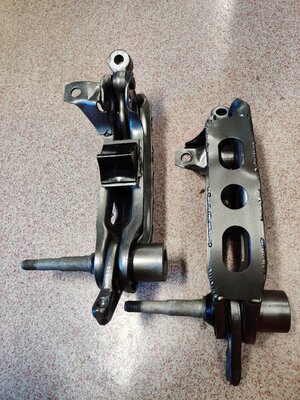
Fished up the lower control arms from the strip-all bath. Cleaned and removed the bump stops, fitted the poly bushings and tacked the reinforcement plates.
Finished the brake cylinder assembly. I'm hesitant to fitting this SSBC master cylinder, many over att Dodge Charger.com who has had issues with poor braking power with these cylinders. I checked and mine has a 1-1/8" Piston. They usually swap them for Corvette C4 cylinders since they are 7/8" bore and fit the bolt pattern. Time will tell...
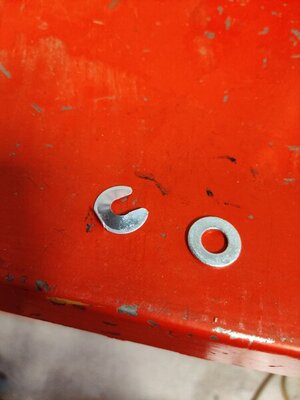
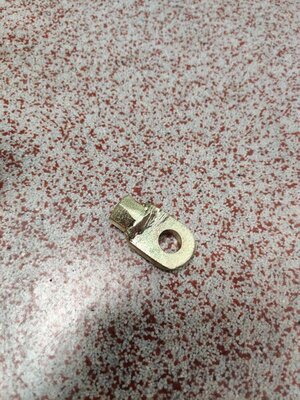
Cleaned up the gas pedal assembly and couldn't stop myself from starting up the zink-bath again for the small bits and pieces.
Managed to zink-plate the park brake cable also.
My son (12 years) helped me fit the brake assembly in the car! I could use a helper.. Guess I need to bring him more often to the shop.
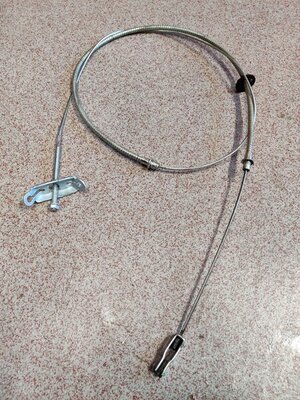
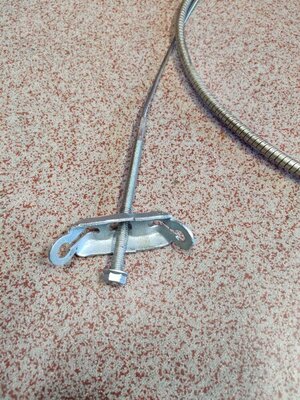
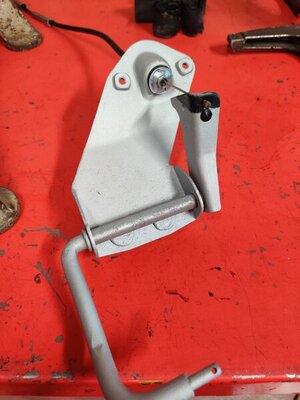
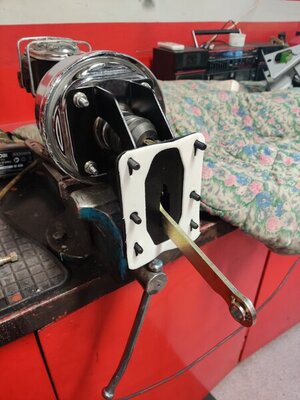


Jarven1977
Well-Known Member
Had a nice vacation and haven't touched a screw on the Charger but now I'm at it again.
Cleaned, reinforced, pressed on new poly bushings and painted the lower control arms.
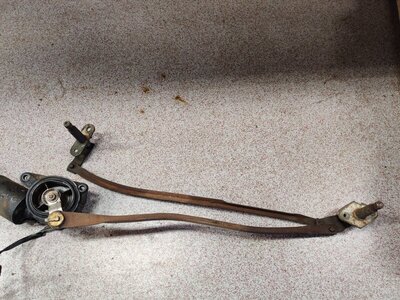
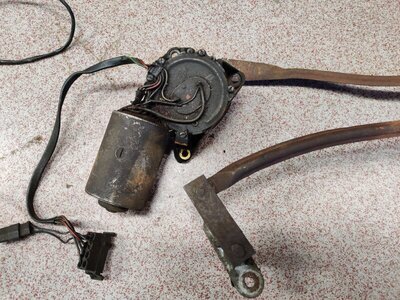
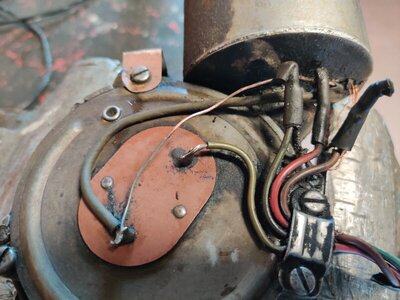
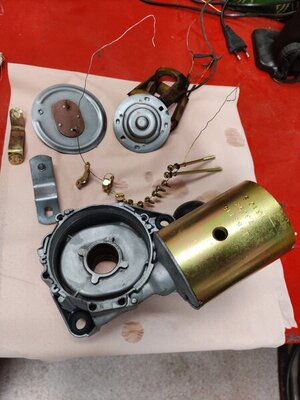
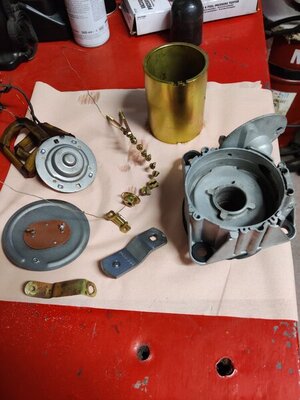
Got hold of a 3-speed wiper motor and linkage in poor condition. Cleaned, blasted, painted ,zincplated and finished with some yellow chromate on some parts. Gonna let it rest some days before reassembling. The wiring is shot so that will have to be swapped out.


Jarven1977
Well-Known Member
Man you've been on a mission since I last looked, it looks amazing!!! Way to go, now the fun begins.
How did the Raptor spray, nice texture, did you use the supplied throw away gun? I'm almost ready to paint my dad's truck and will be doing the underside in bed liner as well, been looking at Raptor.
How did the Raptor spray, nice texture, did you use the supplied throw away gun? I'm almost ready to paint my dad's truck and will be doing the underside in bed liner as well, been looking at Raptor.
Similar threads
- Replies
- 28
- Views
- 4K
- Replies
- 6
- Views
- 411
- Replies
- 11
- Views
- 523

