• When you click on links to various merchants on this site and make a purchase, this can result in this site earning a commission. Affiliate programs and affiliations include, but are not limited to, the eBay Partner Network.

1969 Dodge Super Bee Coupe Restoration

Mixed up some plastic welder and sucked into a syringe.

Injected the shear pin holes, with a scrap of aluminum blocking the other side.

Looks just like original. Will clean the smears off when it's hard.

Not that I plan to be judged, but if you are (and I don't know which is correct) here is the 11/32" PVC/booster hose I removed from days of old (slightly bigger O/D than repro), the Gates date coded (Jan '69) hose from Year One and the same date coded hose I got from National Moparts yesterday. Shows slightly different letter font and spacing

Hoses installed.

Just another engine shot...
yesnod.gif


View attachment 580277 View attachment 580278 View attachment 580279 View attachment 580280 View attachment 580281 View attachment 580282
The gates lettered/dated hose is still debated today.....Some folks have cars that survived with no lettering. Same question always gets raised that through time, cleaning etc the lettering got worn off......Plant dependent maybe but I have seen lettered hose on some survivors....

The guys at NM and Badalson have the correct hose fonts.....

Also pitch that tag on the resto battery......The original line batteries never had that......

I love those direct connection covers......Looks great and sounds great, congrats!
 
Great info. Was just pointing out different fonts from different folks selling "correct" hose. My old (believe to be original hose) has faint 11/32 markings in white @ about 1/2 the height of the gates lettering. It is also slightly larger in O/D. "NM".. you saying National Moparts? or someone else? As in I have the correct Font on what I installed or no?

I know the battery tag is wrong.. it's plastic even!

The rocker covers I have had since 1988. Darn near grabbed the ones for sale here the other day for spares, but was toooo slow.

Really happy how quickly it fired.. and that the lifter stopped knocking!
If you were a block frost plug and a prick, which one would you be that drips?? :mad:

.. and THANKS! Tomorrow I hope to put my column back together.
Interesting you mentioned the white lettering....That also is a discrepancy thats debated also....One vendor is eventually going to offer the white lettering and several date choices....He has original examples showing both the white and the yellow lettering....

Possible plant variation....I think this area will never get proven but is rather interesting the subtle differences.....

My prick is to big for a frost plug...So neither :lol: So you have a leaky freeze plug?

Ohh its a fresh start and it takes a bit for the lifters to pump up sometimes....Glad it smoothed out....
 
I had checked all the lifters on the drill press, in oil, when I changed all the valve stem seals. All pumped solid, so was a tad "ticked" lol that one was clacking away for 10 minutes. All seems fine now though. Will start her up again tomorrow to see if it is still quiet.

Water dripped on floor, ever so slightly when everything had been running for some time. Frost plug behind the drivers motor mount of course. Sure hope it seals itself...
I think you will be fine.....your temp on the rad got to 192.....so everything got heated up and more than likely sealed up after it cools down....
 
Other than that I'm a very happy lad. Fuel gauge works, temp gauge works, oil pressure works, alternator is charging, tach works.. as does the clock! No rad hose leaks, thermostat opened, distributor wasn't 180* out, no fuel leaks. Carb a bit rich, but not touching until I can drive it for real. Exhaust sounds sweet, very close to what I removed.
 
Other than that I'm a very happy lad. Fuel gauge works, temp gauge works, oil pressure works, alternator is charging, tach works.. as does the clock! No rad hose leaks, thermostat opened, distributor wasn't 180* out, no fuel leaks. Carb a bit rich, but not touching until I can drive it for real. Exhaust sounds sweet, very close to what I removed.
Very nice and of course it wasn't 180 out....that only happens on a particular TV show:D
 
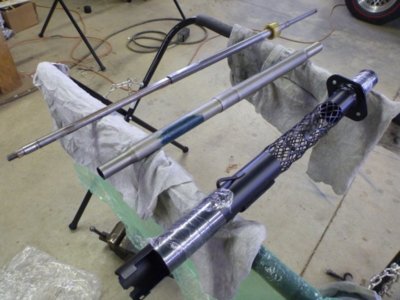
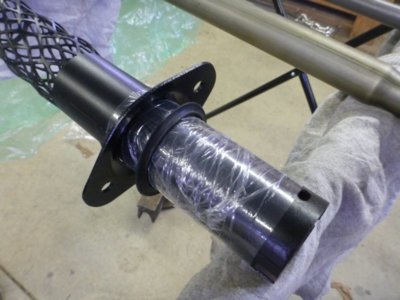
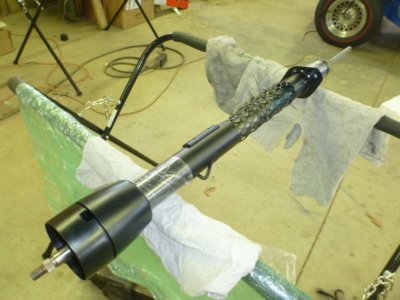
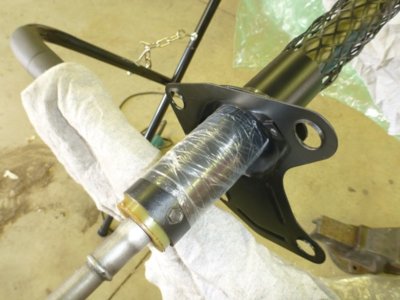
Parts all ready to assemble the steering column. Shrink wrap works nice, so I don't scratch the paint.

Disappointed that the Precision Gasket's firewall kit didn't include the rubber seal, so I had to use the old one. Still in nice shape anyhow.

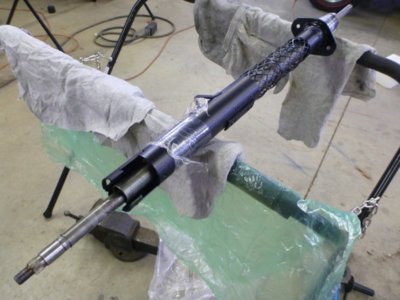
Inner tube with it's spring on the lower end and the steering shaft inserted into the main column.

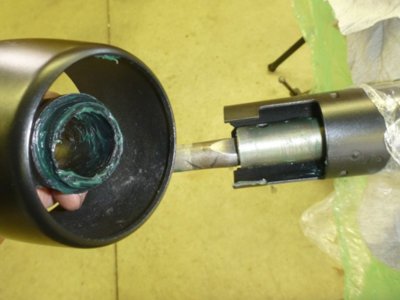
Wavy washer in the main tube and a bit of grease on the collars. Realized this is really unnecessary as none of these collars or tubes turn on a floor shift car. Looks like I need to get a Q tip out and get that blob of grease off the outer collar ring before it drips on the column tube on a hot day.

Column collars both in place, bolted to the outer tube. Went together very nicely.

You have to put the mounting plates on before you install the lower bearing retainer bolts.

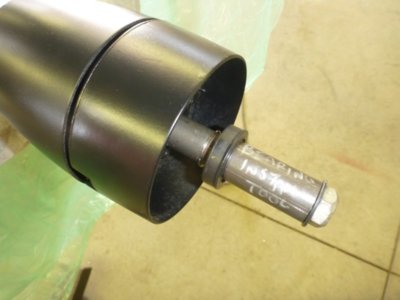
Using the "tool" I made to press the upper bearing into place using the nut.

Could have just stood the shaft up and used a longer piece of tubing to tap it into place. Picture shows the lock ring in place.

mar1118a.jpg mar1118b.jpg mar1118c.jpg mar1118d.jpg mar1118e.jpg mar1118f.jpg mar1118g.jpg mar1118h.jpg
 
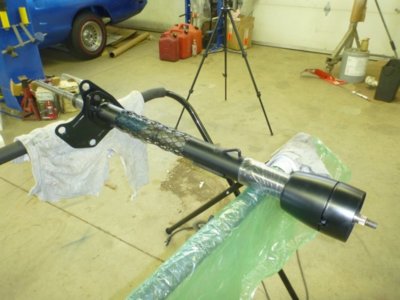
Everything together, waiting for signal light switch to arrive so I can install it, the steering wheel and horn ring.

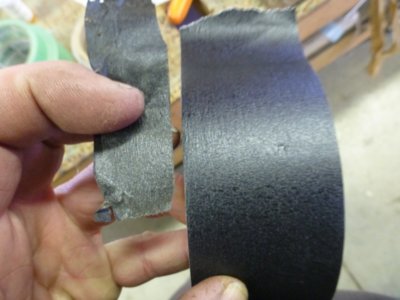
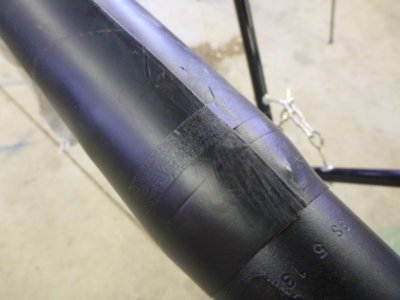
Was nice of David Patik to suppy a roll or tape in with the door vapor barrier kit. Darn near perfect..

Looks just like original.

Drained a gallon and a half of water out and refilled with antifreeze. If you've never done it... there's your perfect funnel lads!

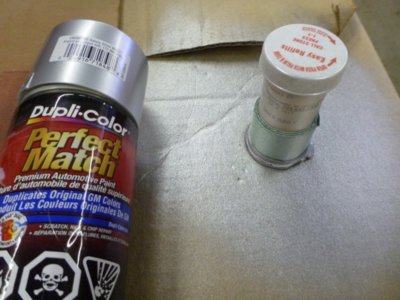
Horn ring medallion. Face polished and rim being repainted argent. I noted they are $60 US for repops and a guy claiming he has OEM for $92 US but "the box in the picture is for show".. yah okay!

mar1118i.jpg mar1118j.jpg mar1118k.jpg mar1118l.jpg mar1118m.jpg
 
Last edited:
And a word on shop safety !!
yesnod.gif


I walked into the shop today and it smelled kind of like electrical fire vs the day before it had smelled of reducer. Mystified what the cause was, but as I worked I realized my lungs were killing me, was getting light headed and had to go outside. I opened all the shop doors to clear the place out.

My conclusion is it was either the vapours from all the RPM burning off the exhaust system, or thinking some more it was similar to when I baked the ceramic paint I put on the HP manifolds. Either way, be sure to ventilate your shop WELL after running your fresh set up!

And a video from today. Started just like days of old. Hit the key, tap the gas and VROOM !

 
Looks and sounds awesome!!:thumbsup:
 
Everything together, waiting for signal light switch to arrive so I can install it, the steering wheel and horn ring.

Was nice of David Patik to suppy a roll or tape in with the door vapor barrier kit. Darn near perfect..

Looks just like original.

Drained a gallon and a half of water out and refilled with antifreeze. If you've never done it... there's your perfect funnel lads!

Horn ring medallion. Face polished and rim being repainted argent. I noted they are $60 US for repops and a guy claiming he has OEM for $92 US but "the box in the picture is for show".. yah okay!

View attachment 581430 View attachment 581431 View attachment 581432 View attachment 581433 View attachment 581434
Yeah...the medallion and the box is a farce.....The medallions came in a small sealed envelope....

Good work on the column, looks great!
 
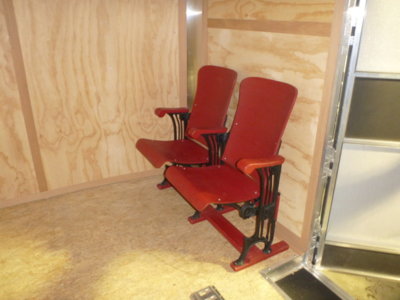
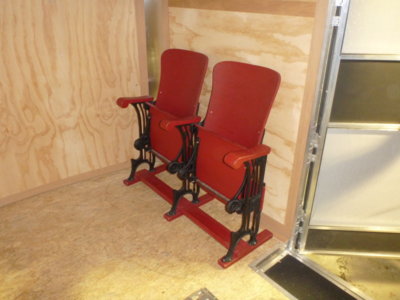
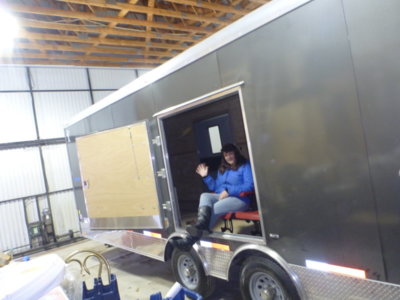
Not much accomplished today, as My wife of 35+ years told me last night that she bought something a few towns (40 miles) over on the Buy and Sell and needed me and my truck to help her go fetch it. Gals got a heart of gold I'll tell ya. Somewhere for her to sit while I'm loading or working on the car.. or if we haul the Bird to Talladega 2019. Perfect fit in the trailer and I think I'll mount them with a quick release bracket somehow so they can be moved around when a car is not in the trailer.

enclosedatlastrailer24 095.JPG enclosedatlastrailer24 096.JPG enclosedatlastrailer24 097.JPG enclosedatlastrailer24 098.JPG
 
Last edited:
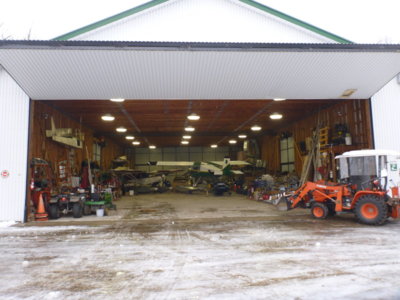
You forgot to turn on the heat in the garage!!
 
Not much accomplished today, as My wife of 35+ years told me last night that she bought something a few towns (40 miles) over on the Buy and Sell and needed me and my truck to help her go fetch it. Gals got a heart of gold I'll tell ya. Somewhere for her to sit while I'm loading or working on the car.. or if we haul the Bird to Talladega 2019. Perfect fit in the trailer and I think I'll mount them with a quick release bracket somehow so they can be moved around when a car is not in the trailer.

View attachment 582062 View attachment 582063 View attachment 582064 View attachment 582065
They do look comfortable.....Happy wife happy.......
 
All I got done today. Another quick shot of Argent paint on the horn medallion and I threw fate to the wind and tried "Wipe New" on the horn pad. Looks great and ready to install. Just waiting on my signal light return mechanism to show up.
beerestoration2018 1636.JPG
modify_inline.gif
 
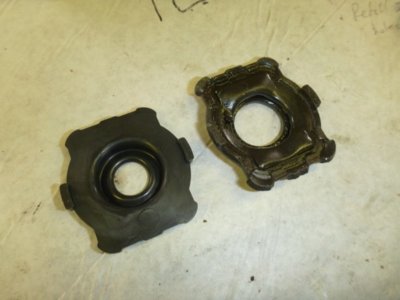
Sourced the correct looking / shaped steering knuckle seal from DMT (Detroit Muscle Technologies).

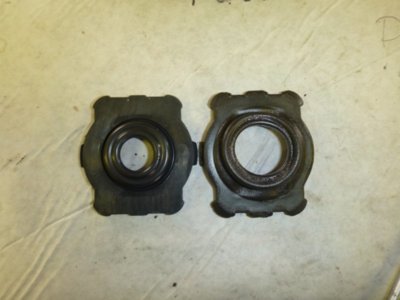
Repro seal has the correct bumped out shaft sealing area and even has the correct middle tabs.

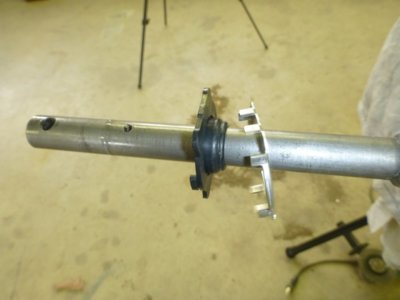
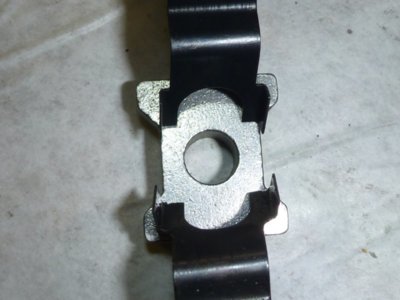
On the steering shaft c/w the DMT stainless steel retainer. Still considering using the original removed steel one, as the tabs are nicely shape formed to lock in place.

Don't waste your money buying a rebuild kit for $20US from Partsmix. Turns out I'm using NONE of it as it's all junk. Seal is totally wrong, cross pin is junk, wear blocks are porous. Even the spring clip is wrong and formed too narrow to fit the blocks. Repro top, OEM bottom. Take yours apart and see what you really need, then order it from DMT or track down some $$ NOS.

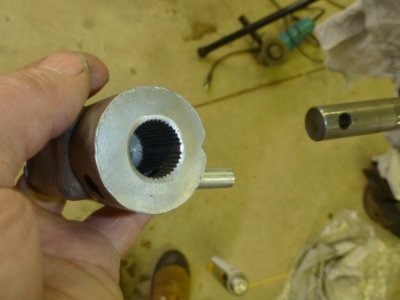
Shows correct alignment for assembly and how it will sit in car with wheel centered. Small hole in shaft, small hole in knuckle and alignment notch in knuckle all up.

Untoothed "key" in knuckle matches steering box shaft for wheel centering.

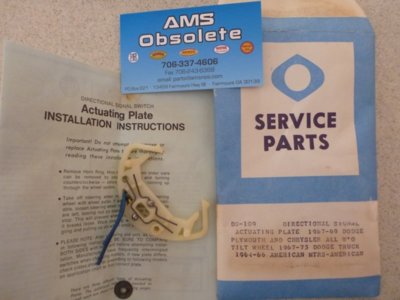
Hot out of the mail box. My signal light cancel mechanism. $10 bucks and hope it works vs $300+ for a complete NOS assembly.

mar1318a.jpg mar1318b.jpg mar1318c.jpg mar1318d.jpg mar1318e.jpg mar1318f.jpg mar1318g.jpg
 
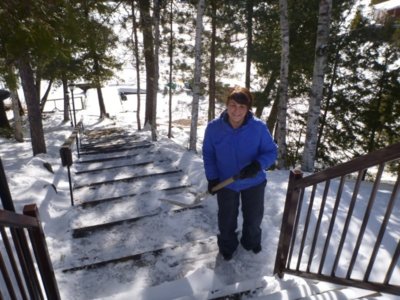
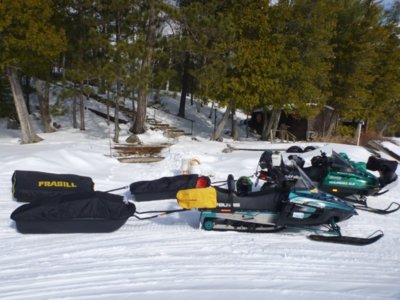
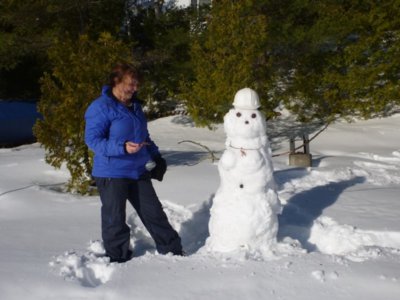
Another week shot, but like they say "a happy wife equals a happy life" ! :) She wanted to go up to our Northern island camp for a week and try out the "new" sled I bought her and do some fishing. Hard to beat -4C days, sunshine and no wind on top of 24" of ice in late March.

BTW.. she's building a girlfriend for my buddy that was dropping by! :bananadance:

Numerous car parts arrived in the mail while we were gone, so hopefully back in the shop tomorrow to get a bit done before I start the yearly ritual of corporate tax returns :mad:

mar2118a.jpg mar2118b.jpg mar2118c.jpg mar2118d.jpg mar2118e.jpg
 
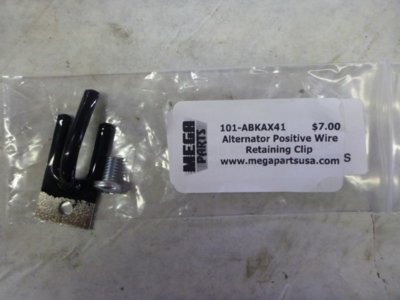
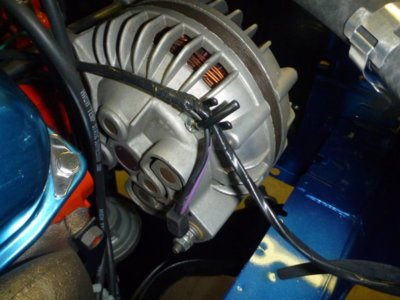
Alternator +, horn and windshield washer pump wire holding clip.

It's the little things.. lol

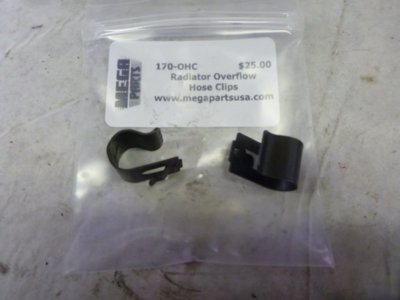
Radiator overflow hose retainer clips. Stupid money! Should have taken them off my old radiator.

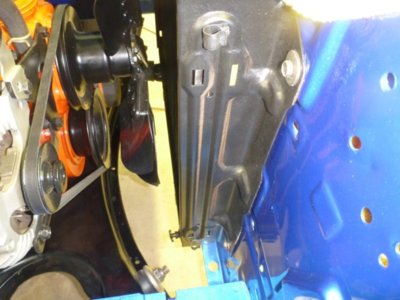
Clips in place.

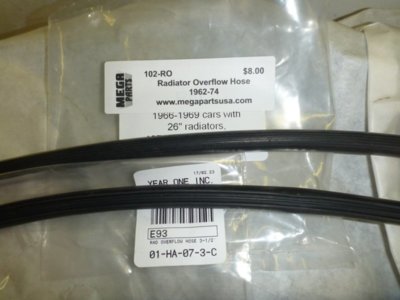
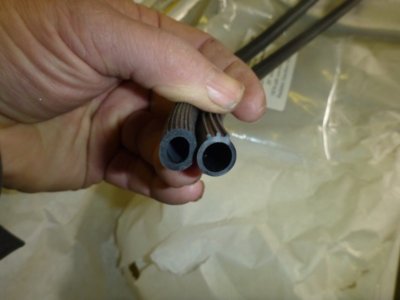
Radiator overflow hoses. One is thicker with 6 light ribs, the other thinner and 3 large ribs. Which is correct for my 22" radiator???
Another view of the two hoses. I know the 6 rib is supposed to be corrrect for the 26" radiators, which is correct for the 22"?

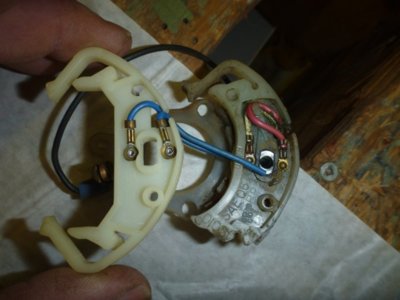
Comparing the $10 replacement signal light plate to the old broken OEM that would have been $300.

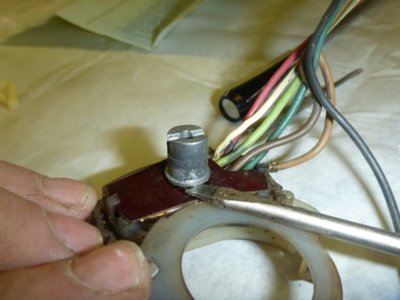
Carefully prying the shaft out of the signal plate.

mar2218a.jpg mar2218b.jpg mar2218c.jpg mar2218d.jpg mar2218e.jpg mar2218f.jpg mar2218g.jpg mar2218h.jpg
 
Auto Transport Service
Back
Top