Outlaw525
Well-Known Member
FYI, that front bumper in your parts photos is for a 72, not a 71.
Thanks. Yea, I know it's got the jack slots, but since I'm not shooting for a concourse car and it was rechromed, I'm going to use it.
FYI, that front bumper in your parts photos is for a 72, not a 71.


Great looking project!
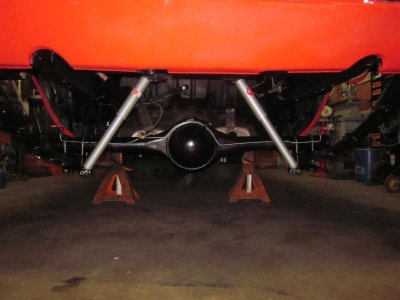
Where did you get these rotors?


 .
.


") . Great thread!!
. Great thread!!