• When you click on links to various merchants on this site and make a purchase, this can result in this site earning a commission. Affiliate programs and affiliations include, but are not limited to, the eBay Partner Network.

1973 Road Runner resto

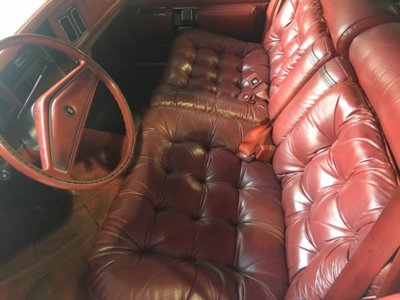
Today I changed out the six way switch for the drivers seat. The end switches for the tilt were not returning to their rest position so I had a switch from my wagon and between the two of them I made one good one.
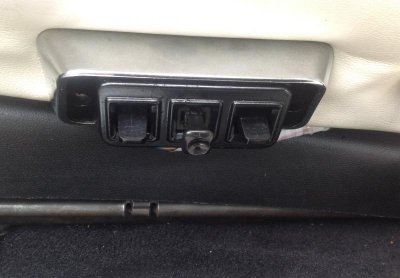
image.jpg
Not my finest work but I did manage to do it while cleaning up my work space in my garage. All switches now work and snap return to their neutral position.

Heres a view of the seat belt hangers and dome light I installed earlier this week...
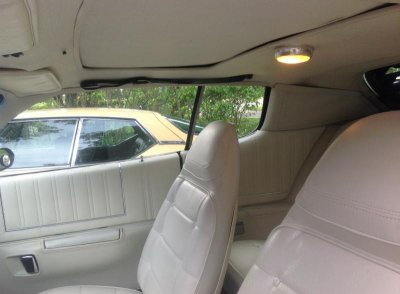
image.jpg

Today I need to sort through some boxes of parts in my garage and get ready to unload the boxes of parts I had over at Ivan's shop.... that are now filling my trunk.
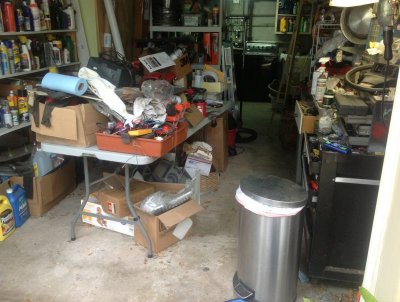
image.jpg
At least now I can walk through it... And almost enough room for this....
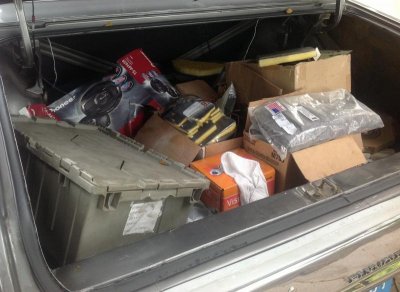
image.jpg

Then I can finally install the spare and start closing things up.

while I was working and putting together the seat switch, my nephew Josh drove by to shoot the breeze a bit.... You guessed it....I put him to work!

Because the car has been in the shop for literally years, the engine bay was covered in soot and grey greasy shop dust.... You know what it is....

So I had him work on the inner fenders for a while..... Here's the results of Josh's efforts.... Not bad kid!
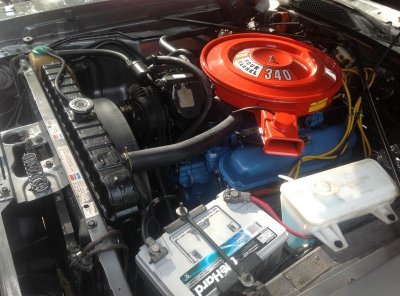
image.jpg

He even spent about an hour after doing the inner fenders carefully cleaning the spokes on my tuff wheel.
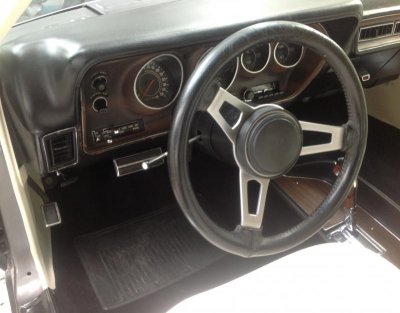
image.jpg

Looks great!!! He got all the rusty specks and green stuff off with a light oil soaked fine steel wool pad. Thanks again Josh!

still lots to do but that's the fun part!!!!
 
Still working through shake down and tuning issues.

A/C quit today. Had been cooling a little less every day but the site gas line was clear with only the occasional tiny bubble. Put the gauges on it. The high side was barely 180 and the low was 81. Compressor is dead...
 
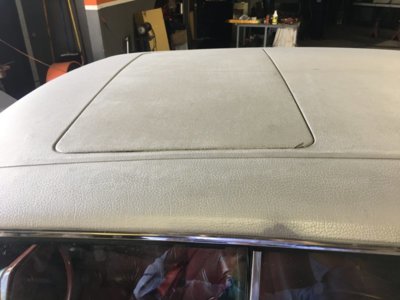
Soooooooo...... since i was waiting for a new compressor .......Began polishing the paint to get ready for the stripe kit....( White is the color I chose because of the interior color .... Though reflective red was a close second.....) and noticed a few very small shop dents and chips that needed working out and a minor stress crack in the finish at the rear passenger corner of the sunroof that only I could have noticed ( perfectionist curse!!!)... No big deal really.

Went to the body shop for some advice about paintless dent removal and some help working them out.... perhaps some touch-up paint....

My friend Costas of TSA Motors who handled the heavy lifting for the cowl rust repairs noticed them as well and suggested I reprint the areas.... First thought was oh no ... Not again... Last time I ended up taking the whole damned car apart....

After several aspirins, Costas assured me it would be quick, cheep and no trouble really... And th right way to do it given how far we had come on this little project.....

There was a very small dent in the roof and one on the front valance and a ding on the passenger side in front of the rear wheel well that I didn't even notice! Costas (whom I've known for over 15 years and am godfather to his middle son Lucas), told me that the car was so perfect that I would be a shame to finish it with the defects.... Said he would do it for the cost of material just to make it perfect....

i couldn't argue with that so in it went yesterday to have the whole rear end of the car shot. Took the rear bumper off, rear side markers, rear window trim, pulled back the sunroof seal ..... it goes into the booth tomorrow....

Ill post some pictures tomorrow!!!!

wish me luck!
 
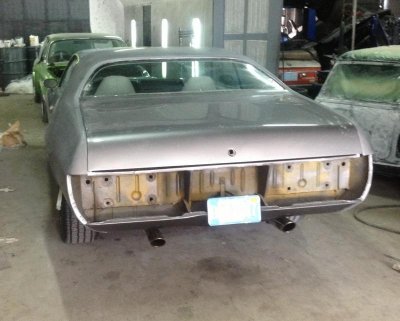
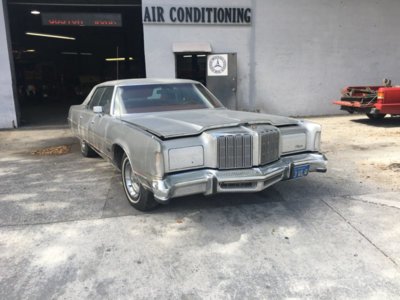
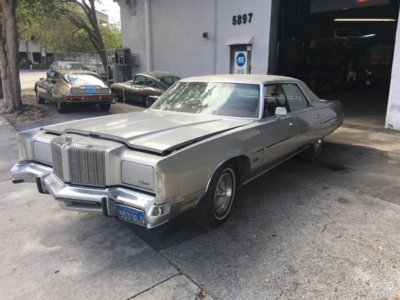
Here's the car back at the body shop.

image.jpg

Bumper pulled and we're painting down to the lower valence only so we left the tag.

image.jpg

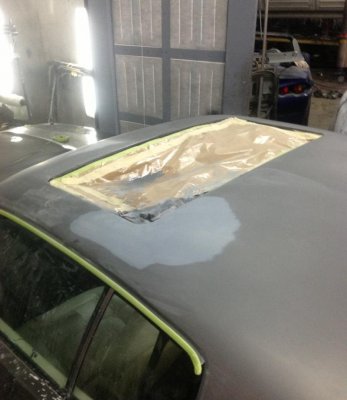
Here's where we found the crack in the paint next to the sunroof.

image.jpg

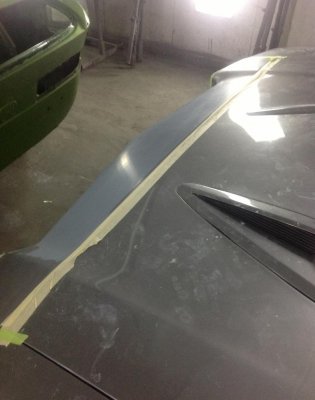
The dent in the front is now gone.

image.jpg

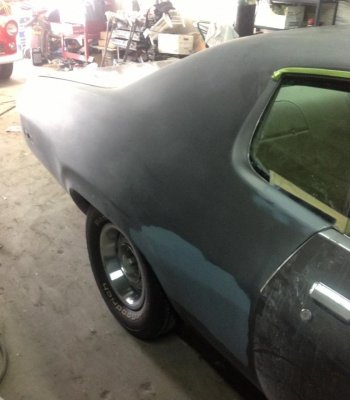
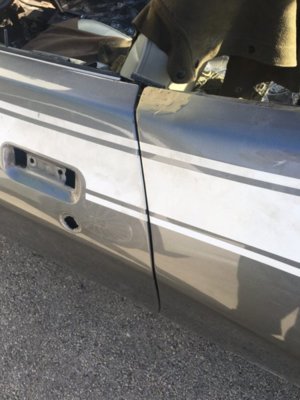
As is the little dent in the lower quarter panel. You can see where we worked the sill of the window as well. There was some rough spots which when we sanded turned out to be some imbedded trash in the base coat.

Should be done by next week.
 
Swapped out the compressor today... Took most of the day.

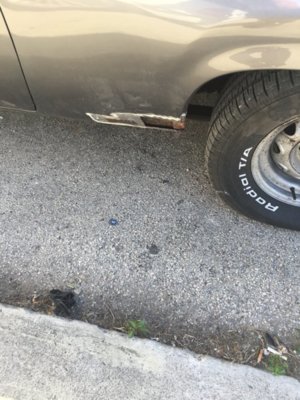
Cleaned off the exhaust tips again... Clear overspray from the painting... It always gets a lover everything no matter how much you mask.

One of the rear sway bar mounts gave up the ghost. It had broken due to rust at the base of the upper end of the mount where it attaches to the plate. I tried eluding a bolt but the weld gave way... Looks like I'll have to adapt some front sway bar mounts.
 
Nice job, 80 pct done with my 73 RR. Can you tell me where I can find the rear bumper filler? Saw it on e-bay once last year but wasn't ready for it yet, now wish I had bought it because I can't seem to locate it.
 
I need the roadrunner 71 top cowl panel. If you have or know some people that have this parts please send a message.

Thanks
Juan
 
Well... Today I built the new bathroom cabinet. Took most of the afternoon but at least now I know where to put the reinforcement in the wall to hang it.

I was finally able to turn my attention to the road runner for some small things I could manage between the rain showers.

First, I got a new a/c vent for the drivers side from fleEbay. I noticed that the outer rim was originally chromed.

View attachment 131340
Heres a detail:
View attachment 131341
I decided to go back to the Bare Metal product that worked so well for me on the road runner emblem.
View attachment 131342
This stuff is a pain to use.. It's thin and difficult to work with... Did I say thin?? It's actually really really thin.
View attachment 131343
I found that the best burnishing tool was actually my thumb nail.
View attachment 131344
Here it is installed...
View attachment 131345

Now I need to do the ralley dash bezels and trim... That's sure to be a whole days work....and a/c vents.

If you looked closely to the backgrounds from the above views you can see what else I was up to at the same time. The tail light bezels were also bright finished at the interior rim of the bezels. For this, because it is an exterior finish, I went with a Krylon paint pen from the local craft store. I found it in the gold and silver leaf section and is very easy to use. First I washed it in Dawn soap as a mild degreaser to get any remaining road film off the black plastic bezel..

View attachment 131350

And here it is on the car

View attachment 131351

I was able to do all this on my kitchen counter where I do a lot of the little things I do.

And here is why....

View attachment 131352

Tomorrow I take the car in for the headliner. Wish me luck!

Where did you get that "Bare metal" stuff from?

Any advice in using it?

This car brings back memories. My dad had one when I was a kid. Same color but it had a black vinyl roof
 
Wow... It's been a year since I posted to this thread.... Car needs to go back in to paint because we had a rust spot come through where we reworked it last time. I guess we didn't get it all... No big deal but hurts to look at it....

Thanks to rrTor-red for the the kind words... By way off reply... The BareMetal material is a thin adhesive back foil leaf product for use in the model making hobby.

Available on fleEbay and higher end hobby stores. Little goes a long way if you are careful.

I was actually turned on to it by a member from the 75 to 79 crowd by the name of MAGNUM-GT-XS22L9R he did a detailed explanation with great pictures.

You peel, stick, trim, burnish and polish it to whatever clean surface you want for a chrome like finish.... A simpler solution to chrome paint or plasticky electro plate chroming like on models or original trim...
Been on there for over a year now with only minor nicks and one section that I had to re-do.
 
Last edited:
Wow. It’s been 2-1/2 years since I last posted on this tread regarding the restoration of my ‘73 road runner. Many happy miles and smiles since.

Well. She went back into the shop for some further rust repairs. They never seem to end.

I’ve also swapped out a rebuilt rear differential as my original pinion crush sleeve was beyond crushed and actually allowing the pinion to bounce back and forth on and off load. And man.... the howl coming from it finally got past my radio so it was time. I also changed out the lower control arm bushings as they finally failed. Both these mechanical repairs were done in prep for starting the body work repairs.

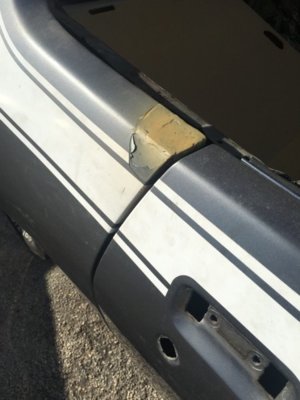
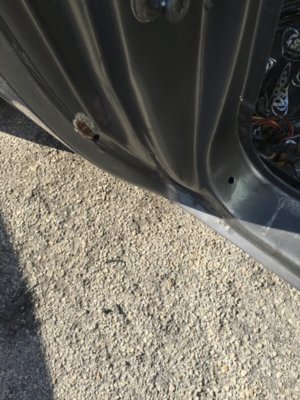
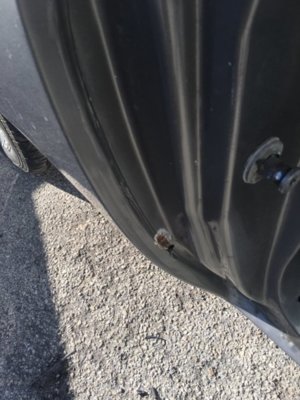
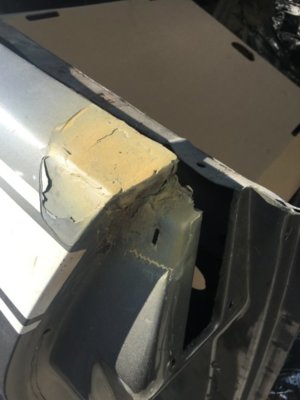
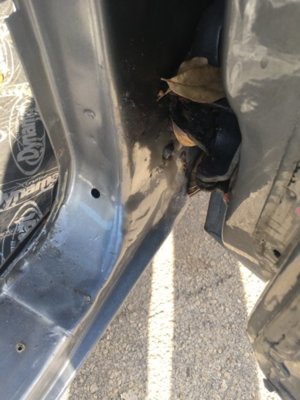
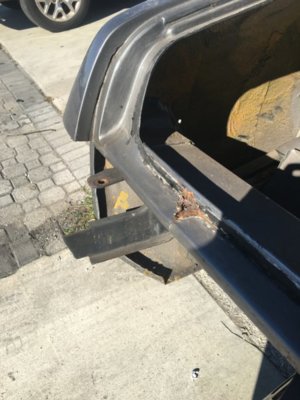
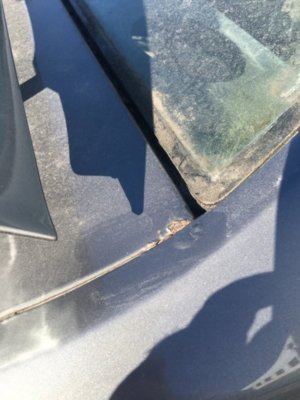
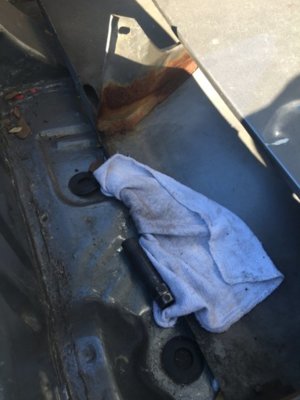
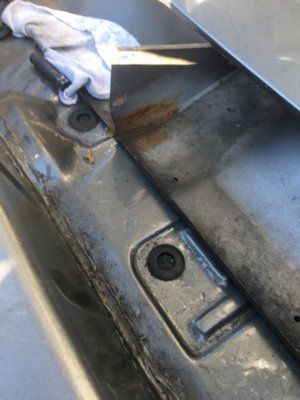
Rust was beginning to bloom at the front of the rear window sills near the door and was working its way down the door jamb. Front of the header panel also had a few small pimples as did the front lower lip of the hood and bottom of the doors. There was a spot of rust at the passenger side lower right hand corner of the rear window that came up. We had repaired the opposite side 5 years ago and was still holding well. The lower trunk along the bumper also developed a rust hole which will be patched. There is some rust in the lower front passenger A Pilar that will get some attention and a spot on the lower deck overs side fender where we cut in a patch panel over 30 years ago.

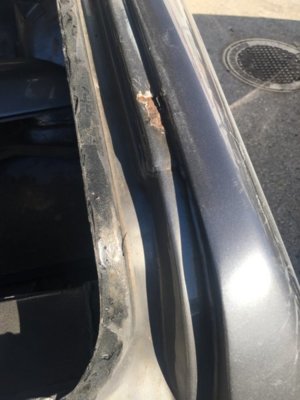
The worst rust was around the opening for the sunroof. We are at the point of either patching some major sections or cutting out the whole front of the opening.

Pictures to follow...
 
Out with the family... Enjoying a new automotive adventure... Bought it in late December ( merry Christmas to me!) but got hit head on coming back from a project for the office on Jan 8th and couldn't get it til now.... Good Christmas and crappy New Year!

Had the title, plate and insurance in the car with me when i got hit. Lucky to have survived... At all.

My life was saved by my 26000 mile 76 Seville ... Unfortunately the car did not make it... I don't know what hurt more, the compound fracture of my left leg or watching the car slowly burn after they got me out.

Just started walking without a cane two weeks ago....

Here's one of the reasons I'm pushing this project over the finish line.... Besides the fact that I truly love my not so old road runner.

View attachment 121476View attachment 121477View attachment 121478

Any of you guys remember what this is?????

Handicapped parking I got from the accident has come in handy.

So far so good... Made it from New York to Penn. today.

Wish me luck!!!
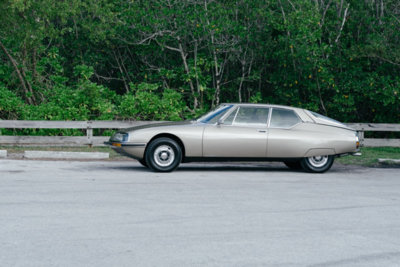
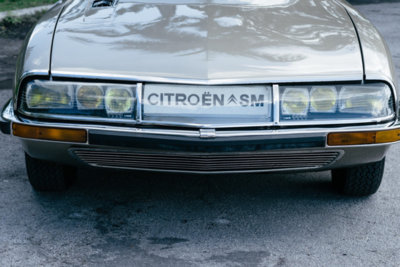
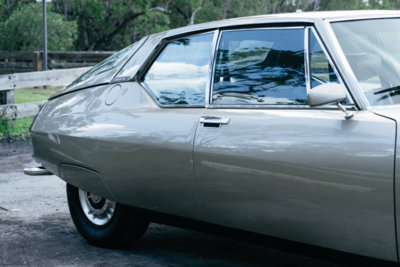
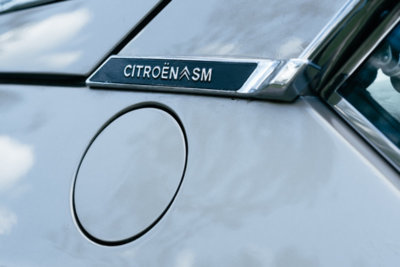
Meantime... while I get the pictures of the road runner thought you’d all enjoy a picture of my SM that was finished restoring two years ago.

B32AD418-FC83-4CE2-901D-F95A9CFD2EB4.jpeg 27E99238-4270-4BBE-BEFE-22AFDDCDCA83.jpeg EA299C2E-D7DA-49DB-9390-4486700D2F2A.jpeg C31EFABB-7E19-48CE-8139-8BC69DF29D37.jpeg
 
Progress. Finally.

It seems the last 5% takes 50% longer than anything. I guess that's because all the little things that have been put off or worked around until now are now critical.

Example.... Headliner. Yes I wanted to get the original material and yes I guess I could have ordered it earlier. But who knew SMS would take 8 weeks just to ship the material? Usually it takes them two weeks max. I just ordered some original top material for another car and they took a week to get it including getting me a sample to approve. And I couldn't finish putting in the interior rear panels until the headliner was in because the rear trim around the window also holds in the sail panel and etc. etc. etc......

So here it is. Finally.

View attachment 133586View attachment 133587

Now that the front and rear of the headliner is in and tight, I will be loosening the sides to install the seat belts, and hangers, coat hook.


Cant wait. ... More to come soon.... now!

How many bows is the sunroof headliner? I have one and I am missing the bows.
 
Auto Transport Service
Back
Top