themechanic
Oklahoma is OK
- Local time
- 5:08 PM
- Joined
- Nov 11, 2012
- Messages
- 22,666
- Reaction score
- 29,417
- Location
- Moore, Oklahoma
1969 Dodge Coronet R/T with A/C, 727 AT, stock 440, purple cam, TTI 2 inch headers, Edelbrock 750 carb.
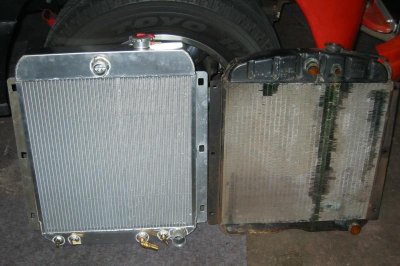
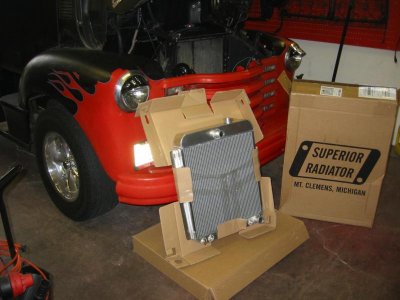
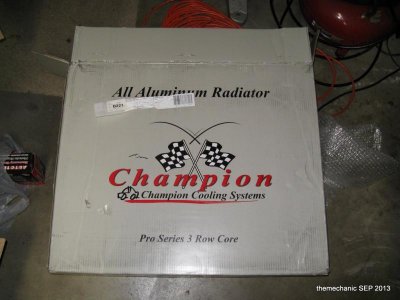
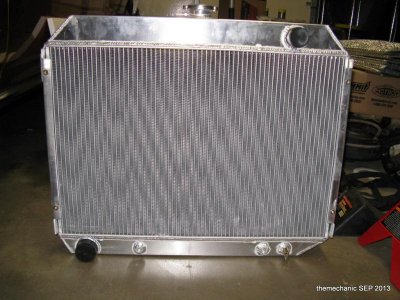
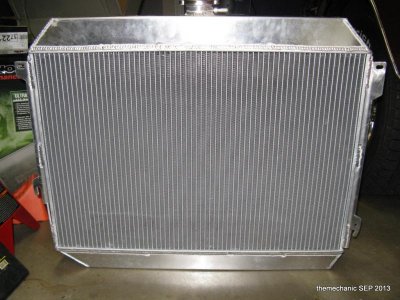
My engine was overheating due to my 3-row copper/brass 2949054 OEM radiator being clogged. Local Oklahoma temps were in the high 90s and the car's gauge was reading 220 degrees F before I shut the engine off. A local guy wanted $500 to re-core. So, I bought the 3-row Champion aluminum radiator due to mostly positive reviews here and elsewhere on the web. It cost about $223 including shipping. Quite a bargain. It arrived in about 5 business days. It was packed in a cardboard box with styrofoam and cardboard bracing/protection. I unpacked it and right away could see my OEM cowl would not fit due to the flanges being different, one of the bungs for the AT line was not welded straight/parallel to the core and the welds on the top tank were questionable in some places. The top tank was made of 3 pieces welded together which was ugly. Kudos to the eBay seller who gave me a full refund (cost me $30 to ship back, though.)
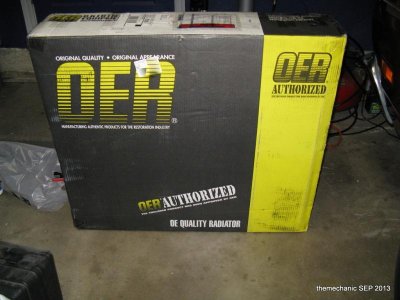
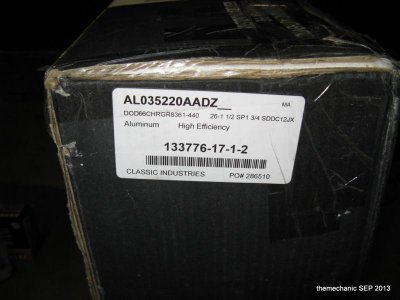
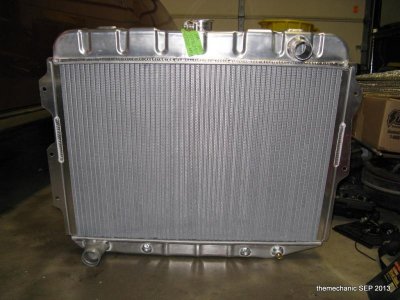
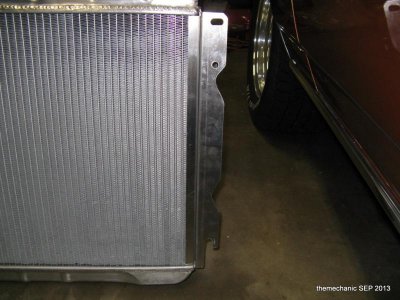
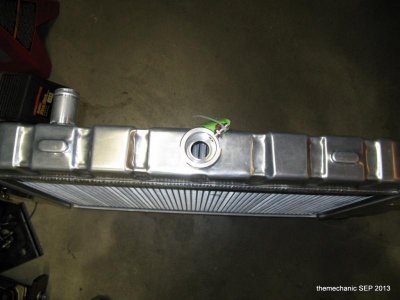
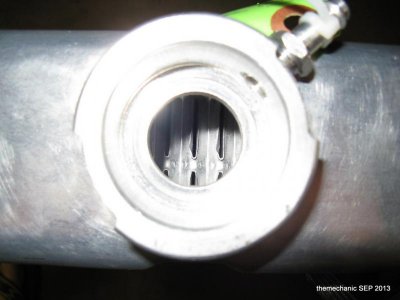
I viewed the video tour of US Radiator's production shop and was impressed. I decided to give them a try due to positive reviews. I received a 20% off coupon via email from Classic Industries which gave me $80 off the US Radiator 2-row aluminum radiator Classic Ind. part #AL035220AADZ. This made the cost $320 plus $50 for shipping. It arrived in about 5 business days. The US radiator was packed in a much larger box than the Champion with much better insulation made of plastic bags filled with expanding foam that form-fitted the radiator, suspending it in the box. Cardboard bracing was added, as well. Once unpacked, I could see the difference in quality was much greater than the Champion. The top and bottom tanks were stamped from one piece of aluminum. The brackets appeared to be identical to the OEM radiator (more on those later) and all the welds looked exceptional. The AT line bungs were parallel to the tank and the filler neck was machined from billet aluminum.
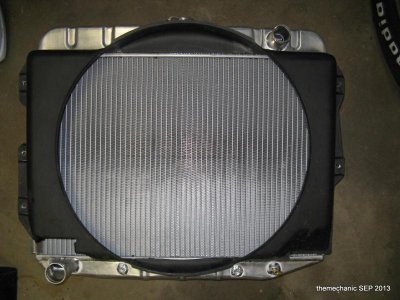
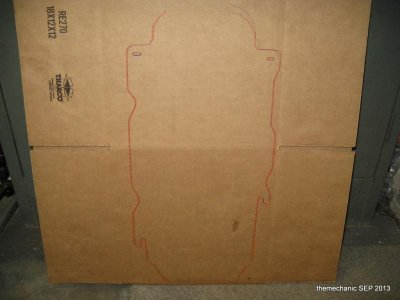
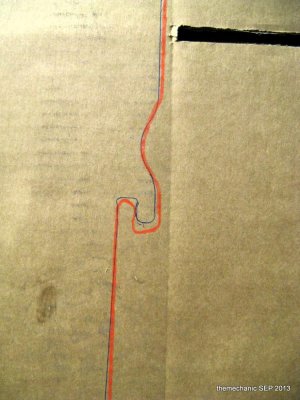
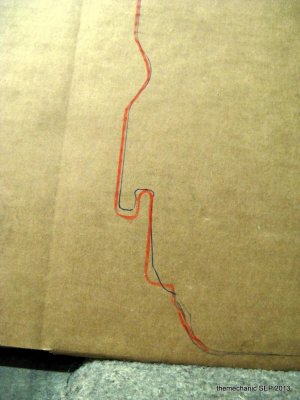
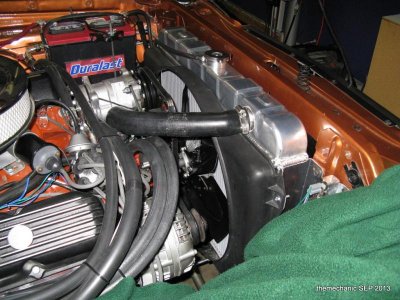
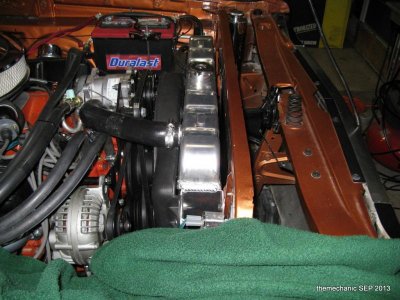
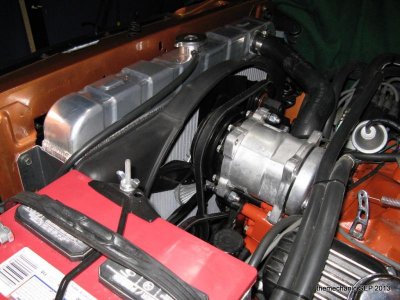
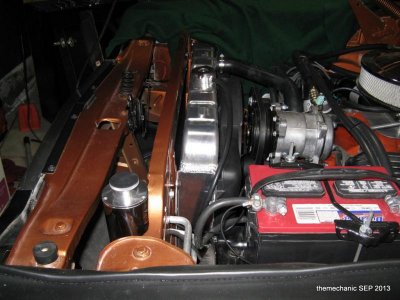
Pleased with the quality of my purchase, I fitted the OEM fan shroud to the radiator and all the mounting holes lined up; sweet! I compared the mounting flanges and noticed a significant difference that made it impossible to install the radiator in the car. See the photo of the cardboard drawing. The orange line is the outline of the US radiator and the blue line is the OEM radiator. After some minor grinding I was able to install the radiator in the car. One additional note on the fan shroud bracket: there are bolt holes drilled where the OEM radiator has studs welded on. So, I used machine screws, washers, and nuts to mount the shroud to the radiator. After much swearing and trying not to dent the delicate fins on the radiator I got the fan, fan clutch, and shroud installed. The fan clutch was about 3/8 to 1/2 inch from the radiator which is the same as with the OEM radiator.
I filled the radiator with 50/50 mix of Auto Zone green antifreeze and warmed up the engine. The temp in the garage was 80 degrees F. The car's temperature climbed to just under 180 degrees F and stayed there. I waited another 10 minutes for all the air bubbles to flow out and put the cap on. No change in temp. I checked but no leaks and shut her off.
I hope this helps anyone in the market for a new radiator.
My engine was overheating due to my 3-row copper/brass 2949054 OEM radiator being clogged. Local Oklahoma temps were in the high 90s and the car's gauge was reading 220 degrees F before I shut the engine off. A local guy wanted $500 to re-core. So, I bought the 3-row Champion aluminum radiator due to mostly positive reviews here and elsewhere on the web. It cost about $223 including shipping. Quite a bargain. It arrived in about 5 business days. It was packed in a cardboard box with styrofoam and cardboard bracing/protection. I unpacked it and right away could see my OEM cowl would not fit due to the flanges being different, one of the bungs for the AT line was not welded straight/parallel to the core and the welds on the top tank were questionable in some places. The top tank was made of 3 pieces welded together which was ugly. Kudos to the eBay seller who gave me a full refund (cost me $30 to ship back, though.)
I viewed the video tour of US Radiator's production shop and was impressed. I decided to give them a try due to positive reviews. I received a 20% off coupon via email from Classic Industries which gave me $80 off the US Radiator 2-row aluminum radiator Classic Ind. part #AL035220AADZ. This made the cost $320 plus $50 for shipping. It arrived in about 5 business days. The US radiator was packed in a much larger box than the Champion with much better insulation made of plastic bags filled with expanding foam that form-fitted the radiator, suspending it in the box. Cardboard bracing was added, as well. Once unpacked, I could see the difference in quality was much greater than the Champion. The top and bottom tanks were stamped from one piece of aluminum. The brackets appeared to be identical to the OEM radiator (more on those later) and all the welds looked exceptional. The AT line bungs were parallel to the tank and the filler neck was machined from billet aluminum.
Pleased with the quality of my purchase, I fitted the OEM fan shroud to the radiator and all the mounting holes lined up; sweet! I compared the mounting flanges and noticed a significant difference that made it impossible to install the radiator in the car. See the photo of the cardboard drawing. The orange line is the outline of the US radiator and the blue line is the OEM radiator. After some minor grinding I was able to install the radiator in the car. One additional note on the fan shroud bracket: there are bolt holes drilled where the OEM radiator has studs welded on. So, I used machine screws, washers, and nuts to mount the shroud to the radiator. After much swearing and trying not to dent the delicate fins on the radiator I got the fan, fan clutch, and shroud installed. The fan clutch was about 3/8 to 1/2 inch from the radiator which is the same as with the OEM radiator.
I filled the radiator with 50/50 mix of Auto Zone green antifreeze and warmed up the engine. The temp in the garage was 80 degrees F. The car's temperature climbed to just under 180 degrees F and stayed there. I waited another 10 minutes for all the air bubbles to flow out and put the cap on. No change in temp. I checked but no leaks and shut her off.
I hope this helps anyone in the market for a new radiator.
Attachments
-
 Champion Radiator.jpg50.5 KB · Views: 3,105
 -
 Champion Radiator-004.jpg86.2 KB · Views: 3,454
 -
 Champion Radiator-005.jpg84.2 KB · Views: 3,153
 -
 US Radiator.jpg57.8 KB · Views: 3,000
 -
 US Radiator-001.jpg47.7 KB · Views: 2,792
 -
 US Radiator-003.jpg72.8 KB · Views: 2,839
 -
 US Radiator-005.jpg72.1 KB · Views: 2,797
 -
 US Radiator-004.jpg69.8 KB · Views: 2,846
 -
 US Radiator-006.jpg44.8 KB · Views: 2,791
 -
 US Radiator-007.jpg37.4 KB · Views: 2,776
 -
 US Radiator-009.jpg74.8 KB · Views: 2,842
 -
 US Radiator Mounting Flanges.jpg38.2 KB · Views: 2,794
 -
 US Radiator Mounting Flanges-004.jpg108.8 KB · Views: 2,765
 -
 US Radiator Mounting Flanges-003.jpg96.8 KB · Views: 2,790
 -
 US Radiator Installed 9-29-016.jpg89.8 KB · Views: 2,826
 -
 US Radiator Installed 9-29-015.jpg79 KB · Views: 2,816
 -
 US Radiator Installed 9-29-13.jpg73.3 KB · Views: 2,771
 -
 US Radiator Installed 9-29-014.jpg67.5 KB · Views: 2,779