• When you click on links to various merchants on this site and make a purchase, this can result in this site earning a commission. Affiliate programs and affiliations include, but are not limited to, the eBay Partner Network.

CDN72SE's Restoration Thread

Got the front sway bar finished.

Dsc06044_sml_zpsqnnafo1k.jpg


IMG_2791_zpsgrh9zzz6.jpg


Used Eastwood Chassis black, Seymour's Stainless steel paint and the bushings are Moog.

IMG_2792_zpsexgcugm9.jpg
 
Rear Taillights

Decided to take a look at these this past weekend, I have one NOS black and one a nice argent taillight. The plan is to re-finish them both with the tri-colour effect, black, grey (or darker argent) and argent. I am not too concerned with them looking OEM exact. I've got so many different cans of silver, argent, aluminum, grey it's getting nuts so whatever I have on my shelf that is the closest I think I will use.

Here's the black bezel.

black_bezel_zpstiyugdyt.jpg


and the argent:

Dsc06079_sml_zps3lbbrmim.jpg


Started masking:
Dsc06080_sml_zpsz5jbgius.jpg


Got it painted:
Dsc06130_sml_zpsykxyqj7f.jpg


Ready to spray some argent I had kicking around for the outer part of the bezel:
Dsc06112_sml_zpswwkla8lz.jpg


Thought I'd share my mistake, I painted these two bezels two weeks apart and somewhere along the line I mixed up the finishing paint, one I used Eastwood's Spray Gray and the other is Detail Gray. I think the top is Detail Gray, when I have made the correction I'll straighten it out. :brickwall: Well at least I have two different samples.

Dsc06136_sml_zpswzmte0ik.jpg


Installed:
rear_bumper_taillights_zpss3ctq7p3.jpg


rear_with_bumper_zps70e50e29.jpg
 
Rust Bullet

Applied the first coat this past Sunday and used about half of the one gallon container; I did the engine compartment, the interior, tail panel and most of the trunk, I used a sponge roller.

Before:
IMG_3281_zps3vfxcq9k.jpg


After:
IMG_3309_zpsczrnipsd.jpg


IMG_3284_zpscgsnceju.jpg


IMG_3322_zpswozh5hsz.jpg


Few more:
IMG_3308_zpsfztnqn8d.jpg


IMG_3306_zpsciogk5mg.jpg


IMG_3307_zpspiuqohil.jpg


IMG_3323_zpst3de7dvl.jpg


IMG_3314_zps6cl6li5h.jpg


IMG_3313_zpsgl0e3cwd.jpg


Did a little fender clean up as well.

old Walmart primer which wasn't the best idea:
IMG_4594_zpsq6o28xxc.jpg


Not looking too bad:
IMG_4637_zpszr19ayic.jpg


Fun stuff, not too bad to get off and the metal is perfect underneath:
IMG_4649_zpszmmroacc.jpg


Fast foward and I realize that I will not be able to get into all the nooks and crannies so I decide to take my pair of fenders to Technostrip (www.technostrip) which is close by here in Brampton, Ontario. $300 for the pair, came out really nicely and just so nice to see so clean. Here are a few shots:

First:
fender_1_zps32338e30.jpg


Second:
fender_2_zpsd2805c73.jpg


Last:
fender_3_zpsf7f286c2.jpg
 
Have the k-frame kicking around the garage so I thought I would start sprucing it up a bit. Unfortunately I did not loosen the front nuts on the strut rod when they were attached to the LCA's and on the car. This makes it a bit more difficult to keep the rod from spinning when turning the nut.

IMG_4465_zpsqofseje3.jpg


Did a search on the topic and read about the idea of using a torsion bar tool, have one of those, now I have a second use for it.

IMG_4471_zpsin66edcs.jpg


Tightened it and stepped on it with my 245lbs and turned.

Success

IMG_4473_zpskuitdawv.jpg


I purchased Moog kit K7026, but I think I may end up just buying the bushings and re-use my original parts. Yes these are the originals that were on there.
 
Door Hinges
My door's have never closed (hinged) correctly and I was never really sure what part(s) I may be missing for the hinges. One side had a roller the other didn't, one side had the little piece the roller rolls on and the other didn't and the hinges were just loose.

Many years ago I bought the door pin and bushing repair kit from the local parts store (Canadian Tire) and had it laying around, then I thought I may need something better. so I purchased the Door Hinge Pin Kit you see on the right in the first picture.

hinge_1_zps56deb538.jpg


Bought the drill bit and gave it a shot, had a hard time with the drill bit and then gave up. Figured I would bite the bullet and get the hinges rebuilt instead of buying the new AMD hinges. Searched around with what others were saying and decided on SMS.

hinge_2_zps0f726bc4.jpg


Here they are cleaned up and lubed and the rods and rollers look very solid, better than originals.

When received:
hinge_3_zpsc6f42303.jpg


lower hinges:
hinge_4_zps6b0c612b.jpg


Upper hinges:
hinge_5_zps7ecaf4e7.jpg


Close up of pin:
hinge_6_zps735f5752.jpg


Another view:
hinge_7_zpsce852833.jpg


Lower installed:
hinge_8_zps4b7ed515.jpg


Upper installed:
hinge_9_zps99cff815.jpg


My car is nowhere near ready and I only installed the doors to get them out of the way but it's nice to see the doors open and stay open and close smoothly.
 
Rear Defogger
Rather simple just took apart, soaked some parts in Evaporust and others I stripped and repainted. The finish may not be exactly correct but in my opinion looks better.

defog_1_zps963116a8.jpg


defog_2_zpsc5c27342.jpg


defog_3_zpsf2f94038.jpg


defog_4_zpsfc47d425.jpg


defog_5_zps76e05c9e.jpg


defog_6_zps7e53cbbb.jpg


defog_7_zpsa615bc47.jpg


defog_8_zps369a4ffe.jpg
 
Below is US Cartools that I bought to roll the car around on.
Rgds,
Alan

bbody_front_dolly_zpslunwdmvc.jpg


Here is the car on the way to our new downsized house. Where am I gonna put everything, lol.

IMG_0016_zpsawkz24bm.jpg


Arriving, was fun watching it "drive" down the road.

IMG_0025_zpsfbqruf1s.jpg


Currently looking for someone local to take the car on for body work and paint, finding it a bit challenging. Will talk to a couple of shops next week before the Canadian long weekend Thanksgiving.
 
Last edited:
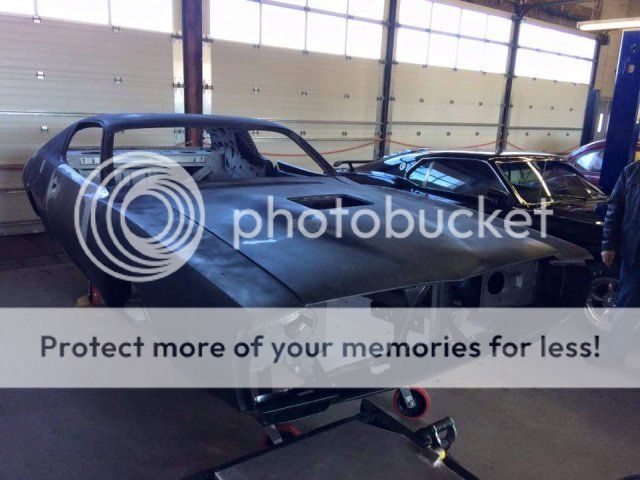
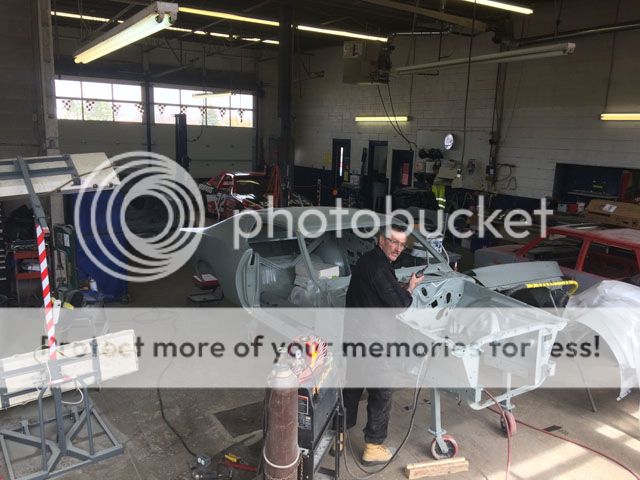
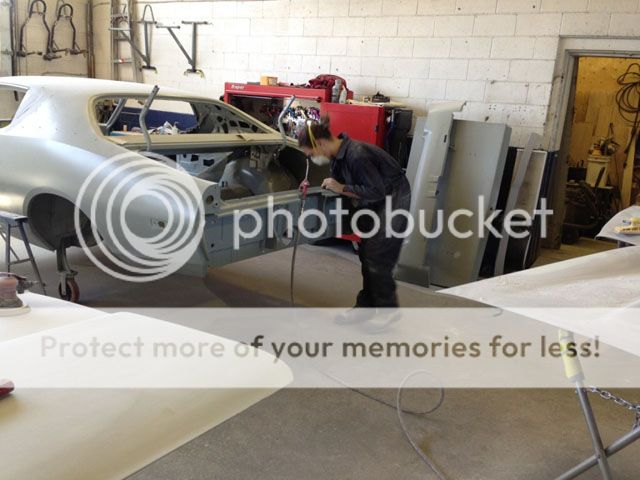
First day of spring, thought I'd take a trip out to the shop.

Here she is sitting next to a rare Ford.

1_zpshao5y0la.jpg


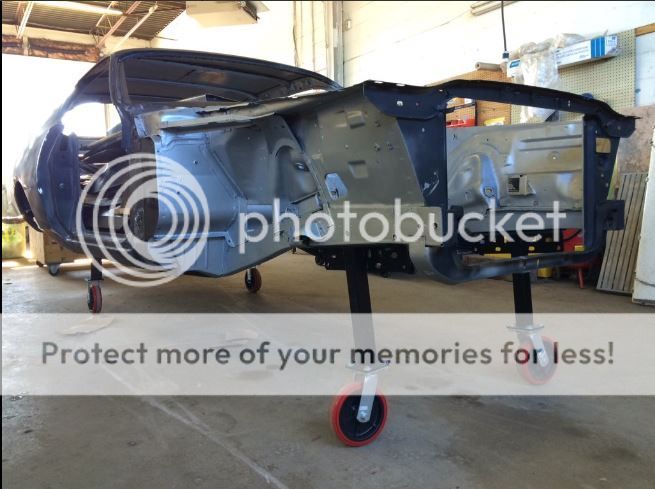
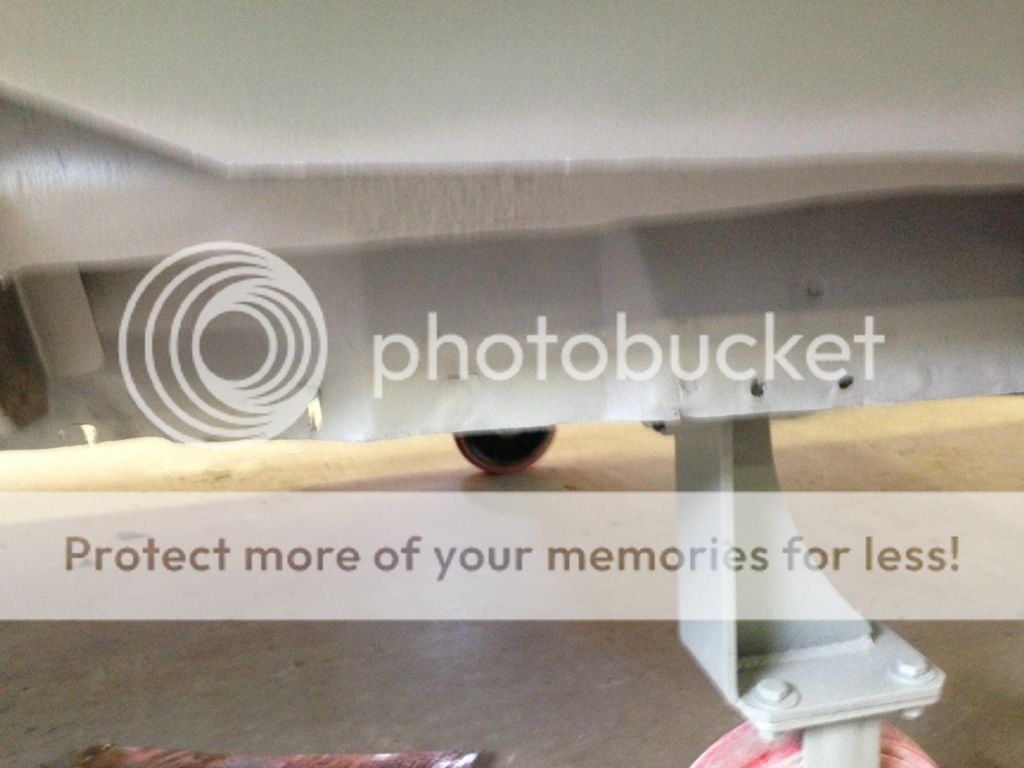
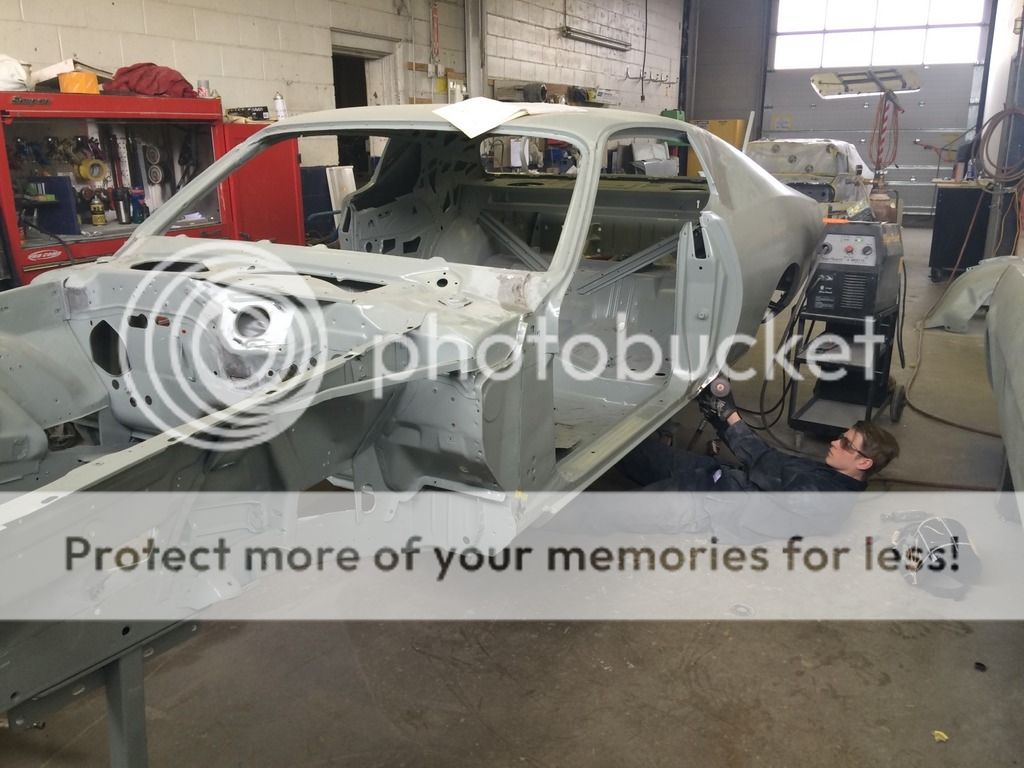
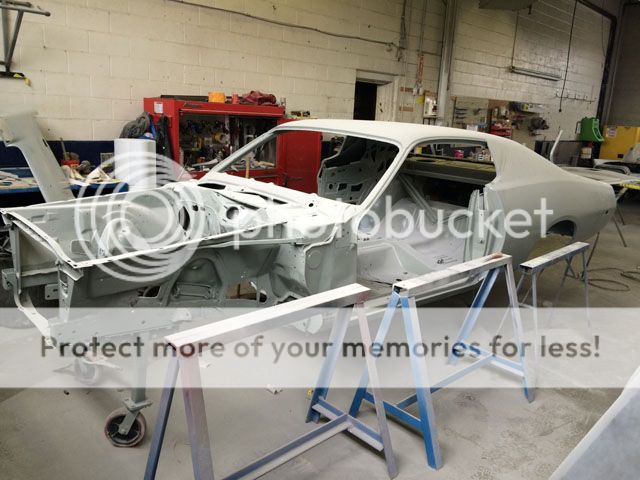
Primered inside and out, bottom stripped of all undercoating (what was left) and primered.

2_zpsr1waq22f.jpg


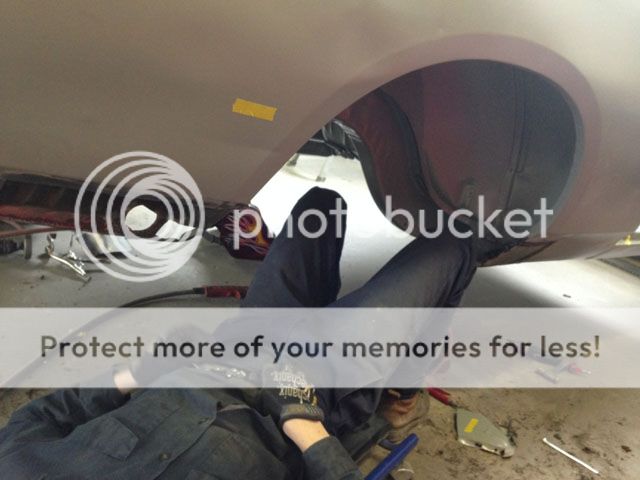
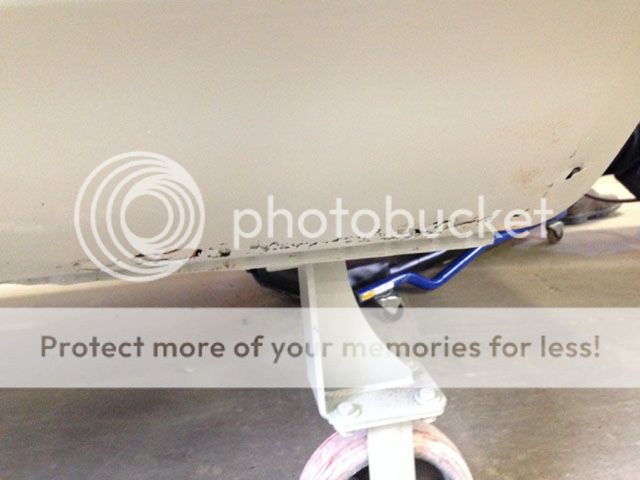
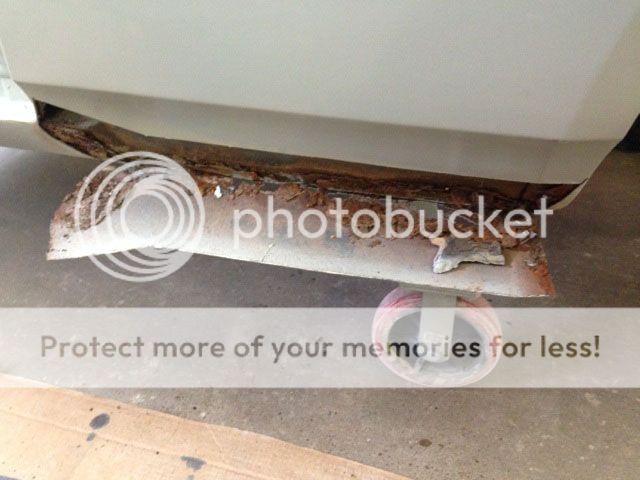
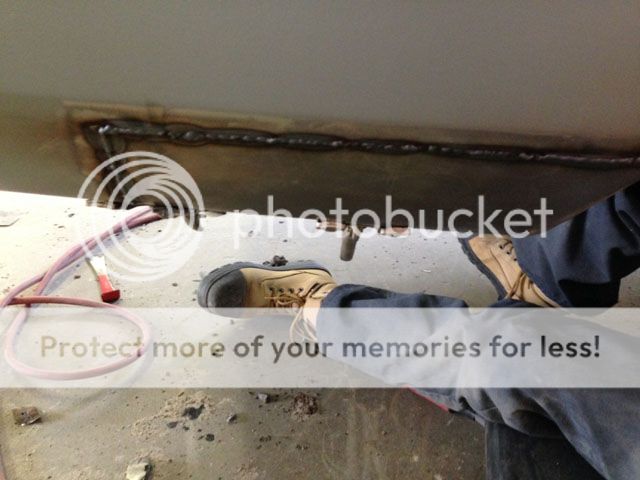
Just two little pin holes on the drivers side rear lower quarter.

3_zpsu7xujqzm.jpg


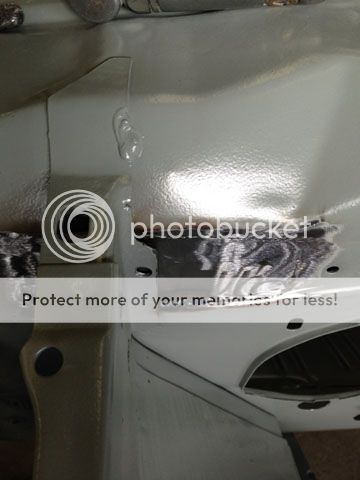
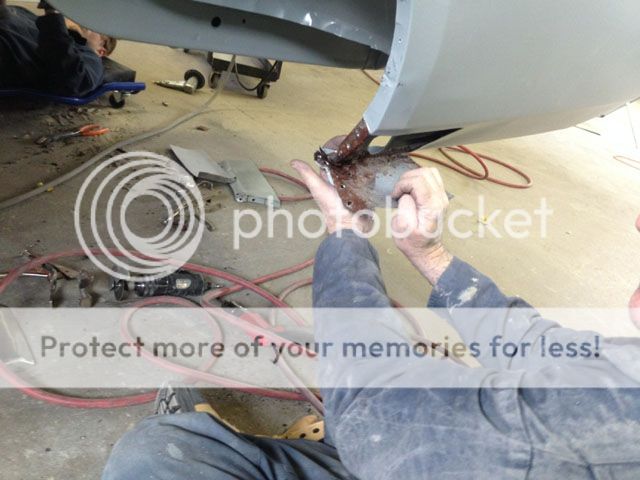
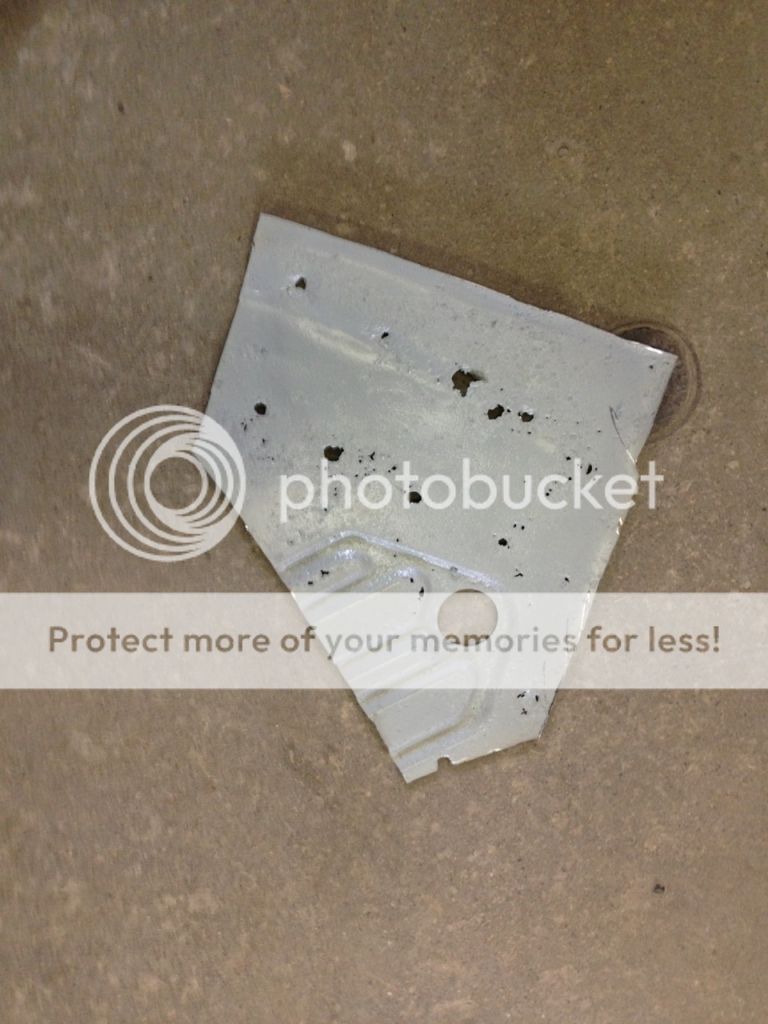
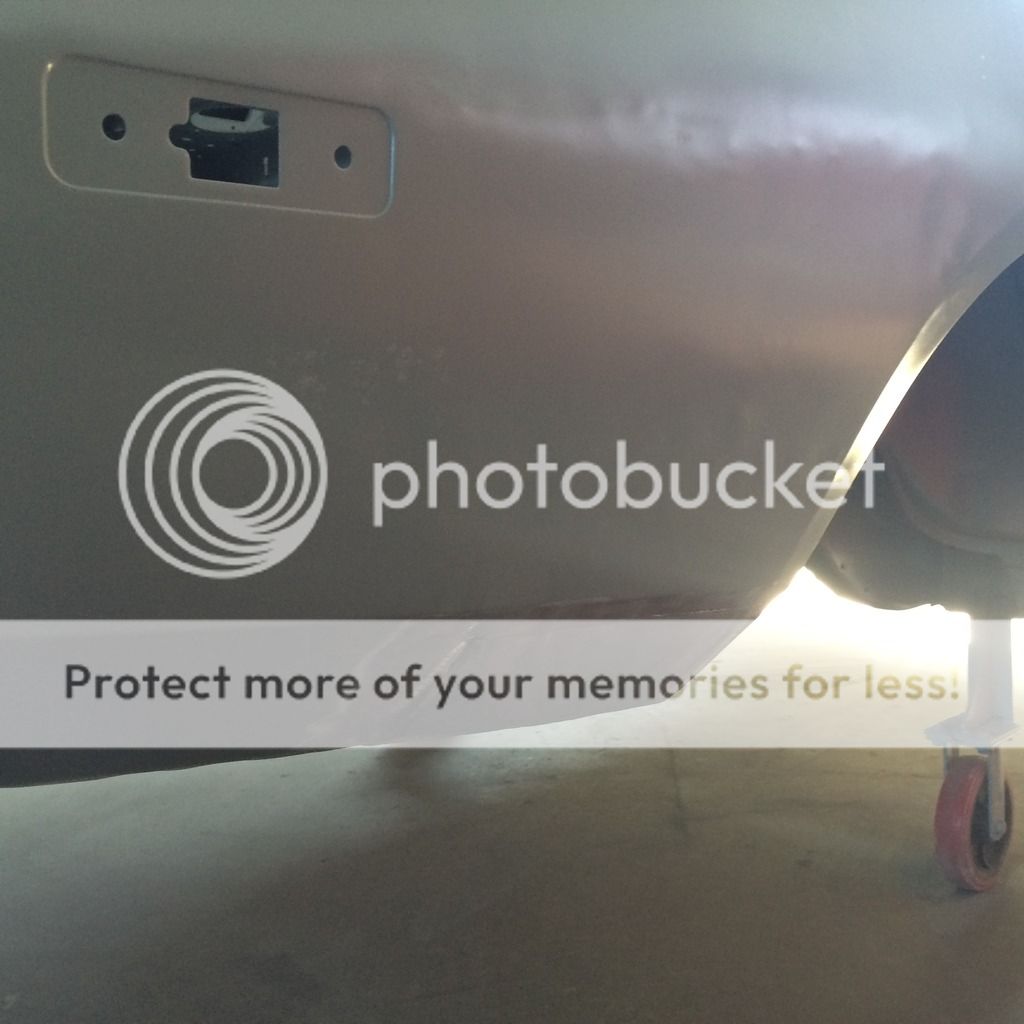
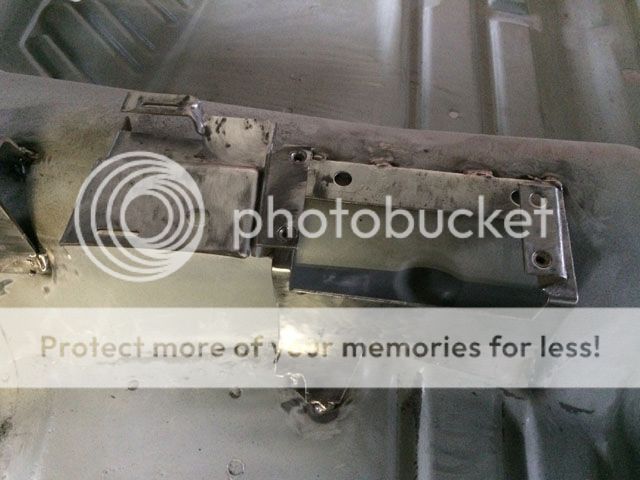
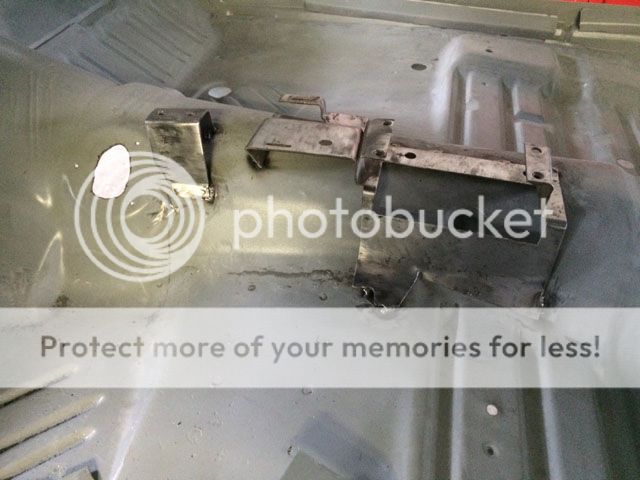
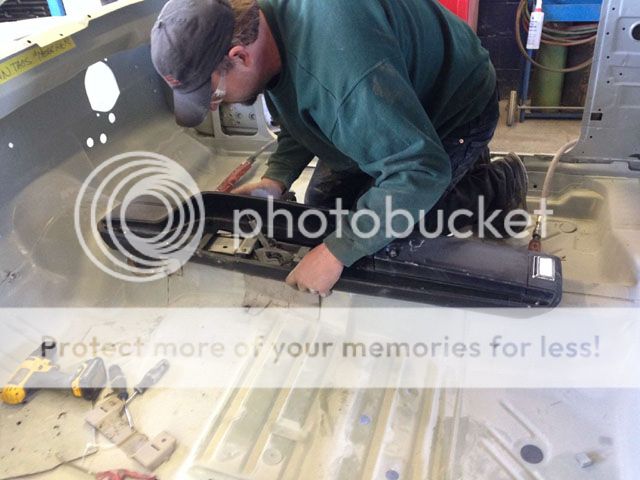
Well you can see the mistake from my youth, 5 spoiler leg support holes instead of 4. :brickwall: Will be welded instead of electrical tape being there.

4_zpsc8acerip.jpg


Driver's door, not bad, couple of small dings and a little damage from not having the door hinges do their job properly along the front edge of the door.

5_zpsphuym4ni.jpg


Passengers door, one little ding and a dent that's been there since the late 80's, soon to be gone.

6_zpscgp0vtdz.jpg


Passenger fender, rust-free and nice shape.

7_zpsuro7t2ha.jpg


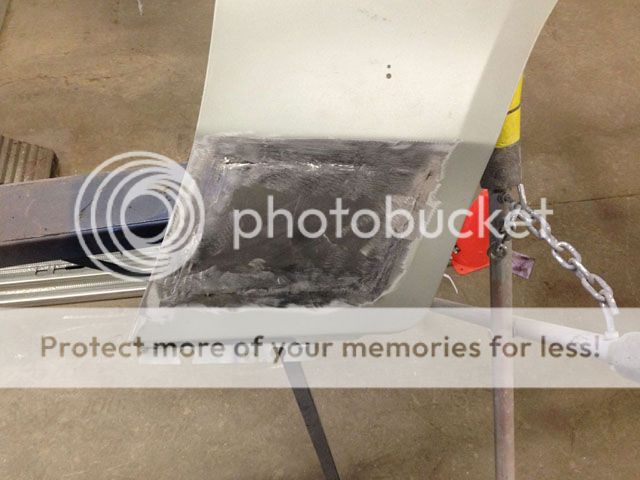
Driver's fender has a few more dings:

8_zpsiap1gwzs.jpg


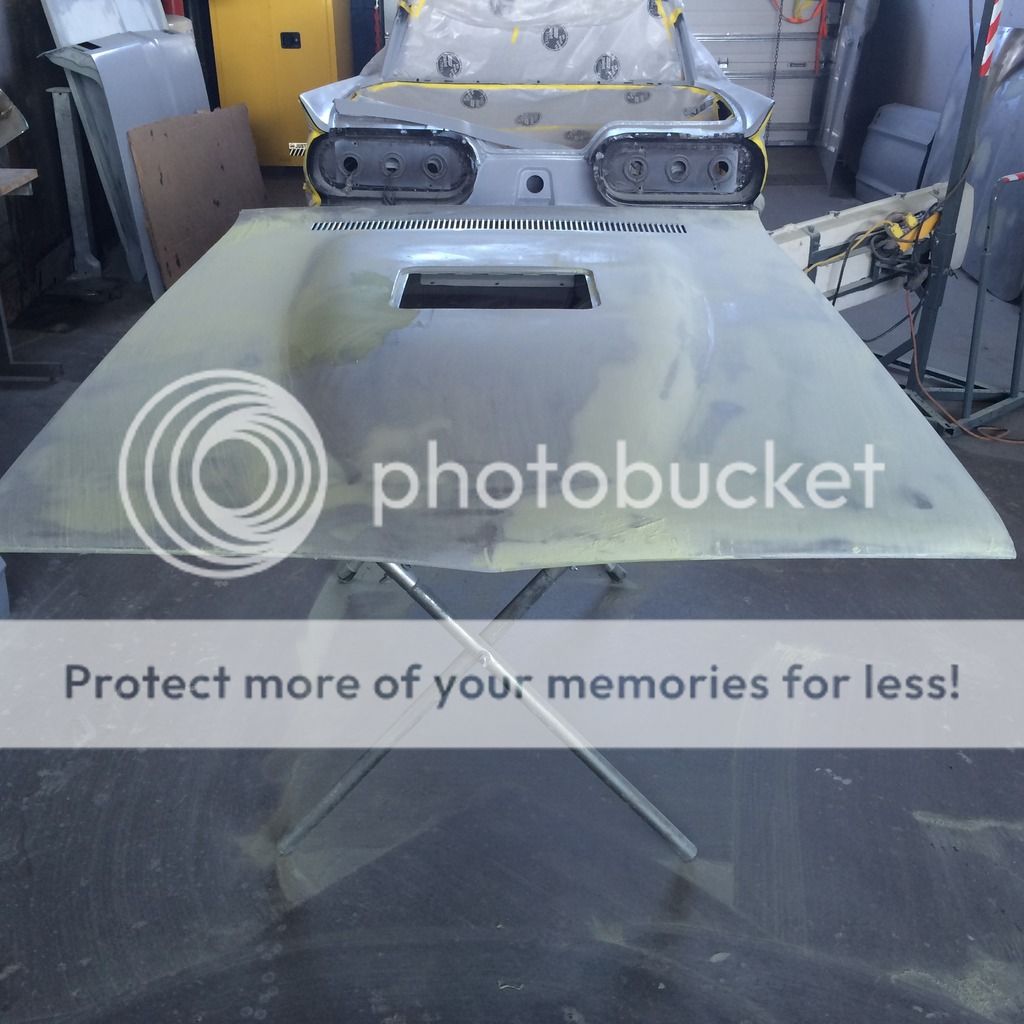
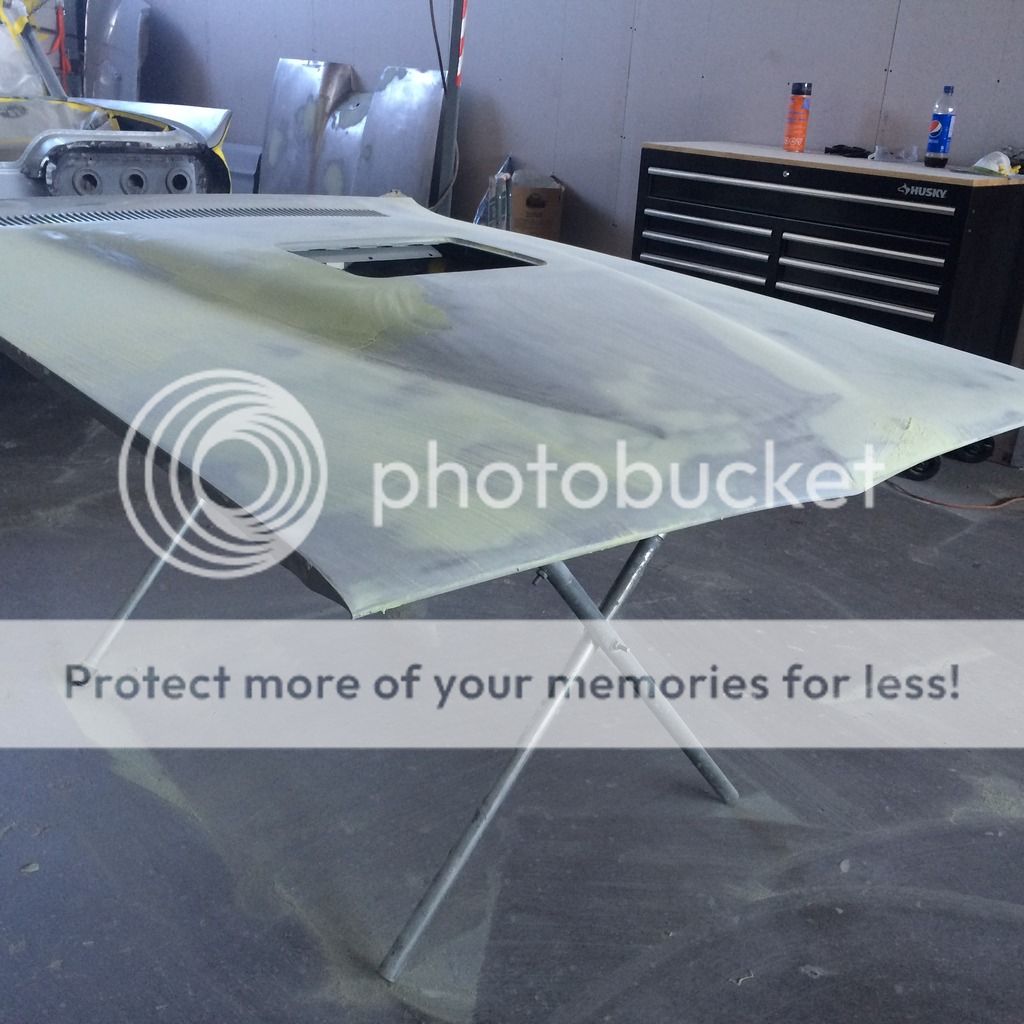
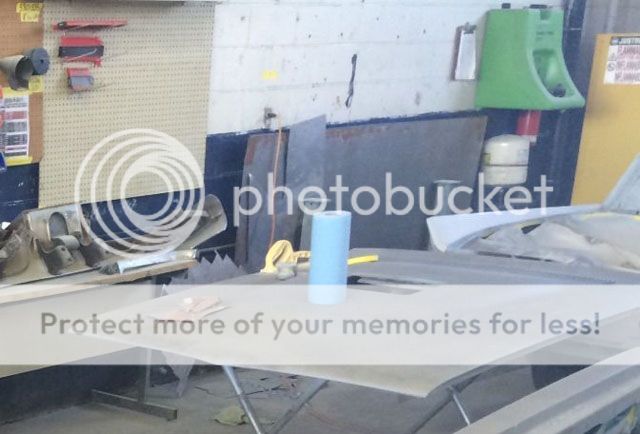
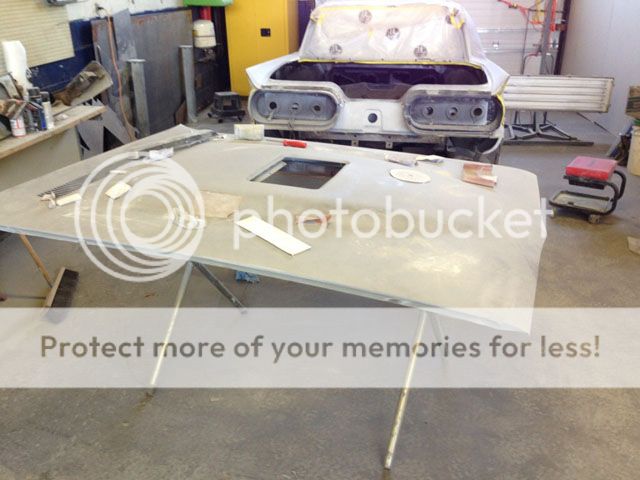
The Hood, looking good, just some minor work, there's my cars notebook, outlining what we have discussed about the car and kind of a record log.

9_zpshnlwy7km.jpg


Looking forward to this view as I have not been behind the wheel since 1992.

10_zps07khrqqt.jpg


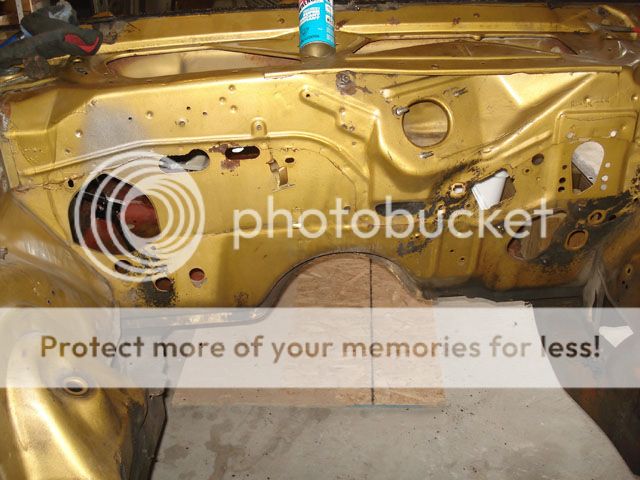
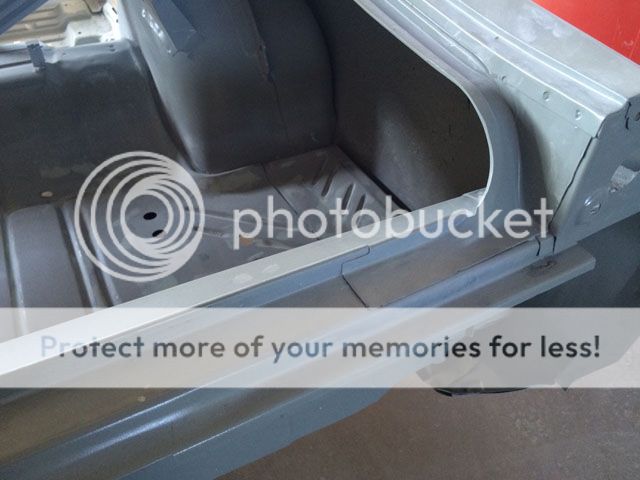
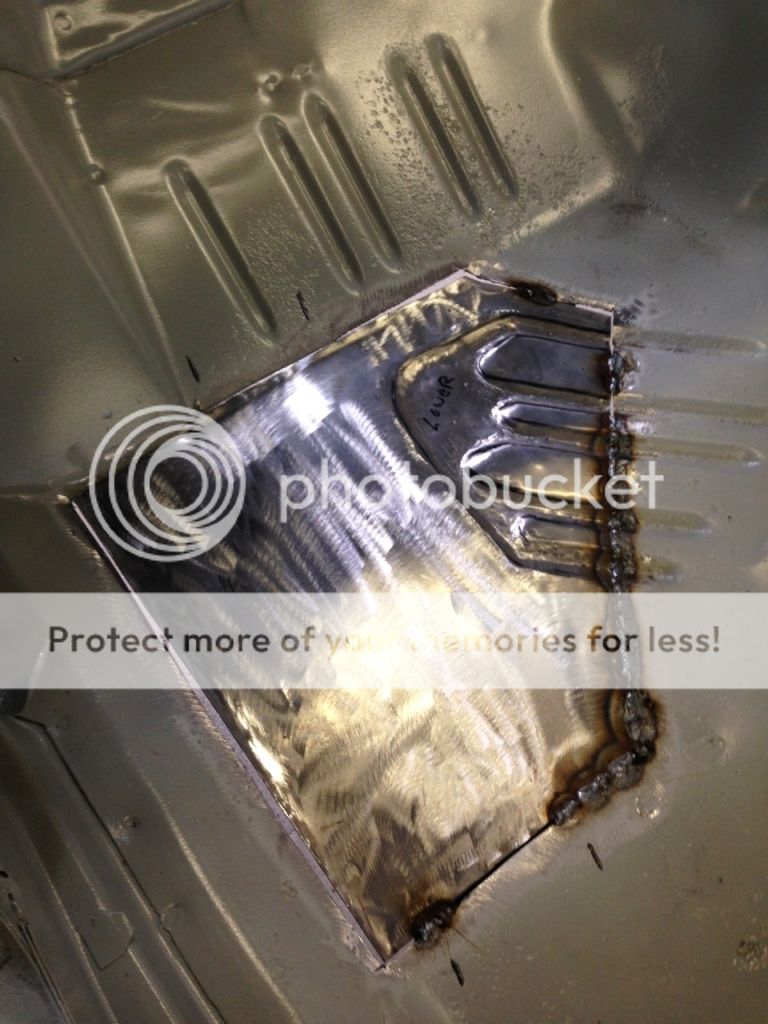
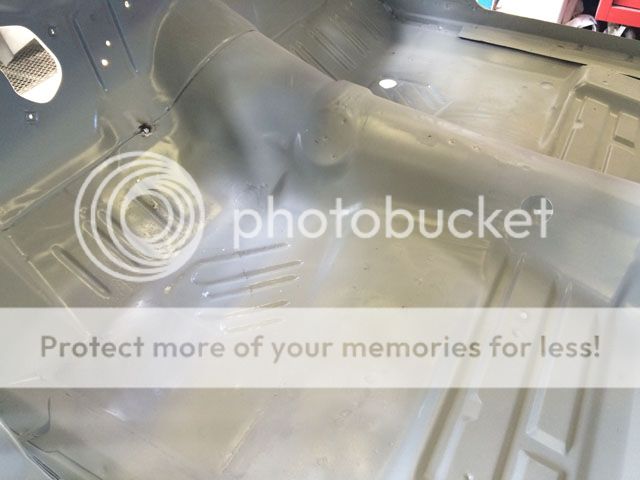
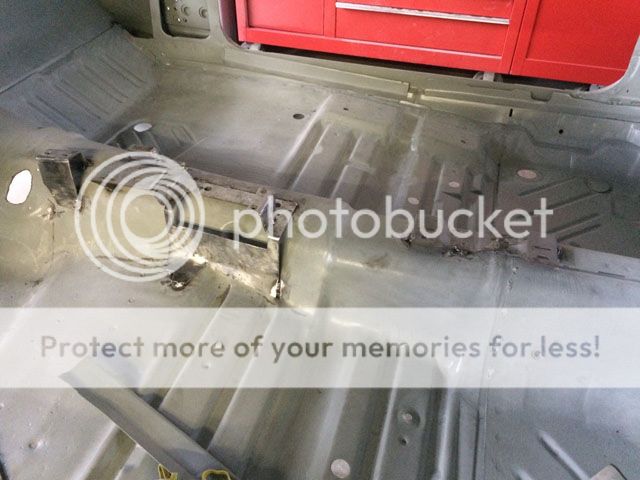
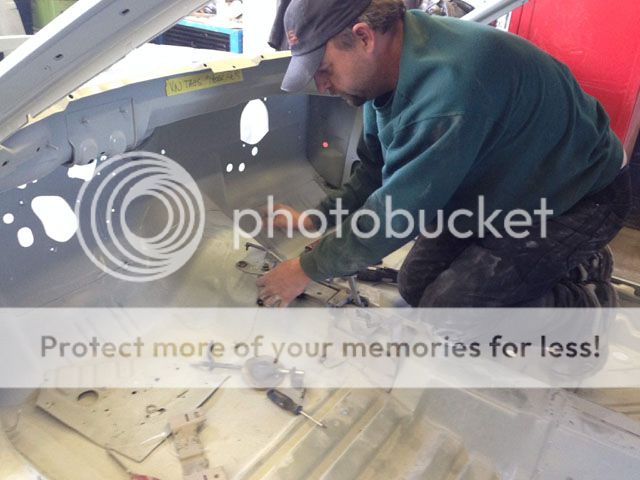
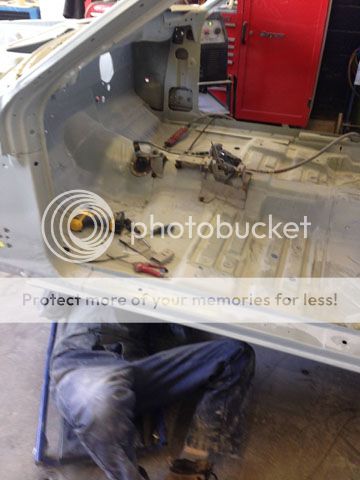
Interior shot, some pin holes on the drivers side floor, not bad at all, also my AMD front and rear valences sitting inside.

12_zpsmp9dgkqo.jpg


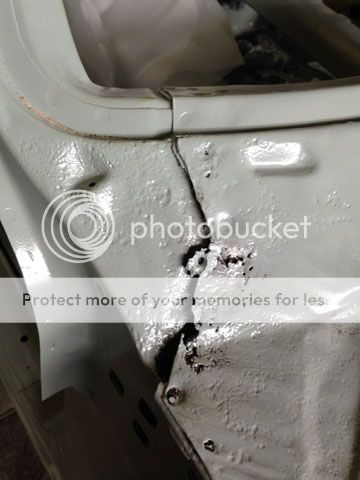
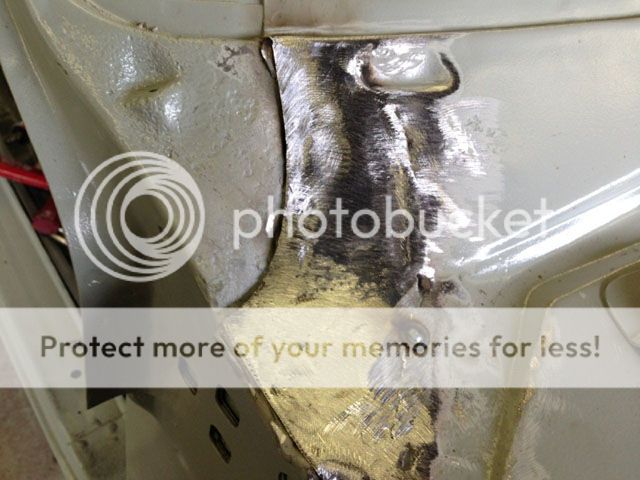
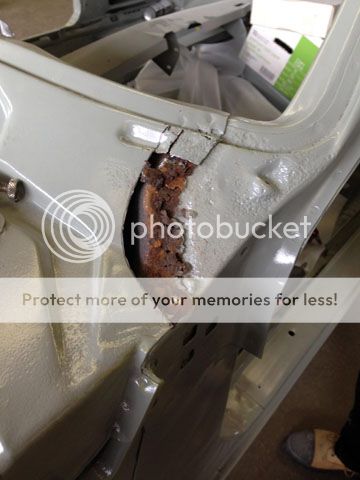
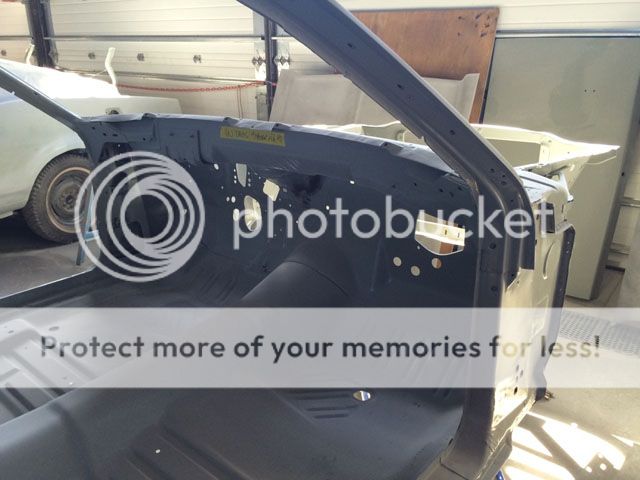
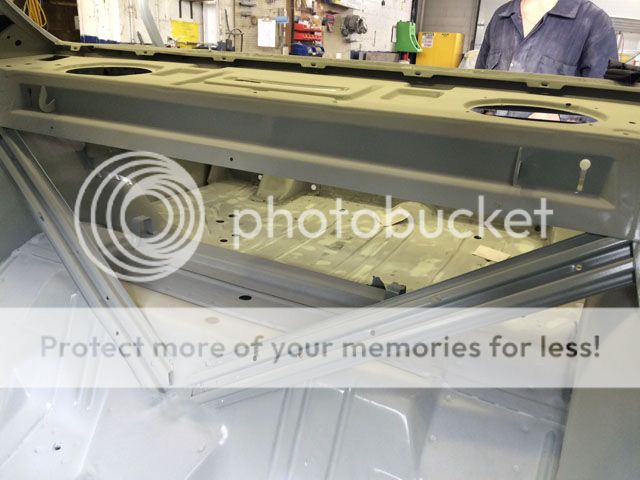
Have to figure how to treat the corner part that has had some rust damage near the bottom of the window.

13_zpsosaizt33.jpg


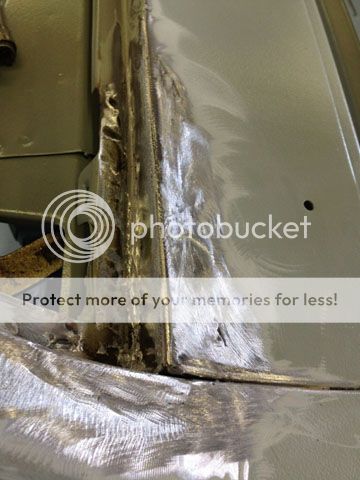
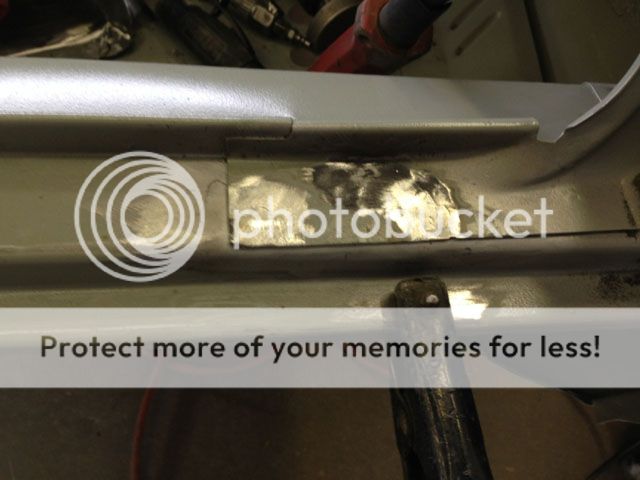
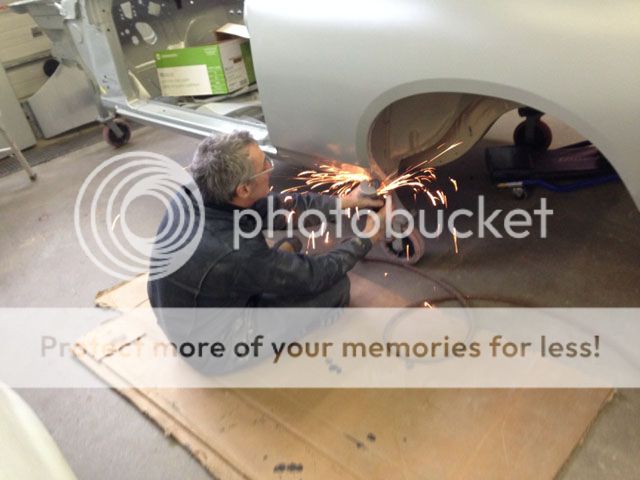
Blasting cleaned this area up better than I did.

14_zpswixqpttx.jpg


The three tape references say it all, not bad.

15_zpsmnzylah9.jpg
 
The repairs have started!

Alvin_shop_zpsrsoz3vhs.jpg


Common rust area, will be fixed right, passenger side lower windshield.
passenger_under_windshield_zpsvkqf36v1.jpg


passenger_under_windshield_repair_zpsuow1vcwk.jpg


Area previously stripped:
cowl_zpsfpspval0.jpg


The extent to any cowl damage, just some pinholes, again on the passengers side:
cowl_area_zpswmkwzcln.jpg


Passenger fender was a little thin, needed a fix:
pass_fender_repair_zpsy2eihexo.jpg
 
Rear Quarter work:
rear_quarters_zpsc46xxk6g.jpg


Lower rear quarter on the drivers side:
lower_quarter_rear_drivers_zpsystlys9i.jpg


Much needed rocker panel repair, drivers side:
rocker_panel_drivers_zpszccwnwty.jpg


Right rear trunk lip area:
right%20rear%20trunk_zpswawygavo.jpg


After:
rear_passenger_trunk_lip_zpsftgoalsf.jpg


Been wondering what was behind this rocker panel.
QP1_zpsvrmjfigs.jpg


Time to cut it out:
QP2_zpsloksf3gx.jpg


So this is what we have:
QP3_zpsqvwh66zu.jpg


Cleaned up and primed:
QP4_zpszvfzsrc7.jpg


Template made for new hand crafted part:
QP5_zpsmxi0dtab.jpg


The new piece with 20 gauge metal:
QP6_zpsgirkevvk.jpg
 
Before shot:
drivers_inner_rear_quarter_before_zpsuuxn4x7w.jpg


Inside done:
QP7_zpsigtfjejb.jpg


Rocker1_zpsnsk0psp0.jpg


Coming together:
QP8_zps70glqgfh.jpg


Funny what gets uncovered, swore this was looking better (drivers side floor):
trunk1_zpskneyhtxi.jpg


Another patch made and fitted, like the detail:
trunk2_zpsbx335w49.jpg


drivers_floor_pan_zps2tmueglx.jpg


passenger_floor_zps63qku9tt.jpg
 
Auto Transport Service
Back
Top