• When you click on links to various merchants on this site and make a purchase, this can result in this site earning a commission. Affiliate programs and affiliations include, but are not limited to, the eBay Partner Network.

Chris' '68 Charger R/T restoration

That is some really good work going on there. I just caught up with all your pics....thanks for sharing and welcome to FBBO. :thumbsup:
 
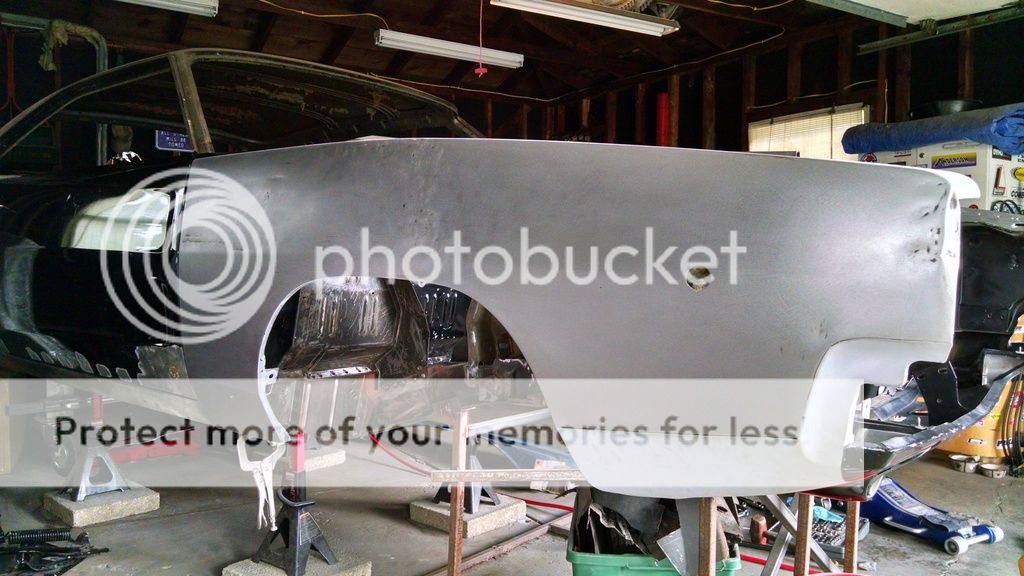
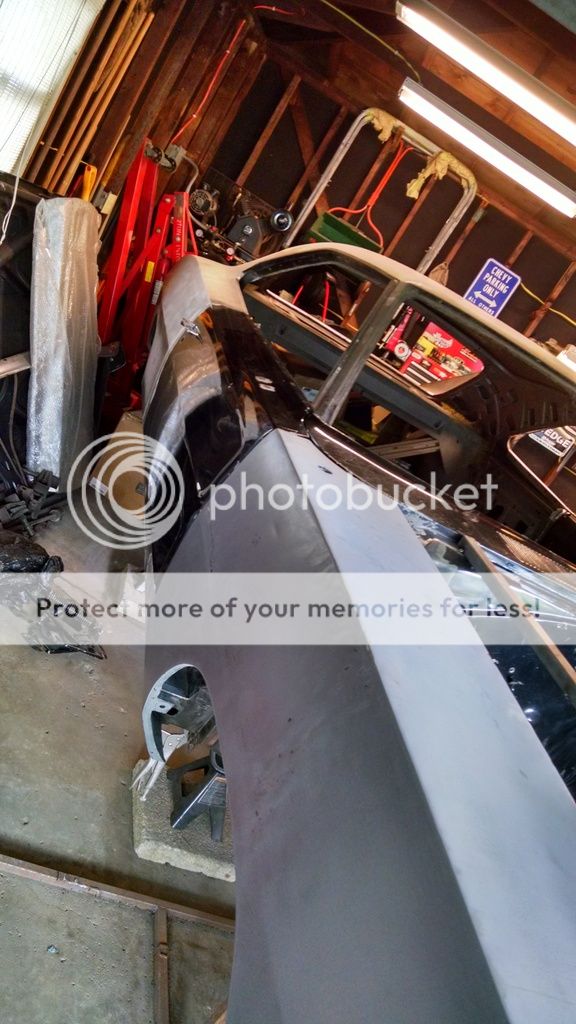
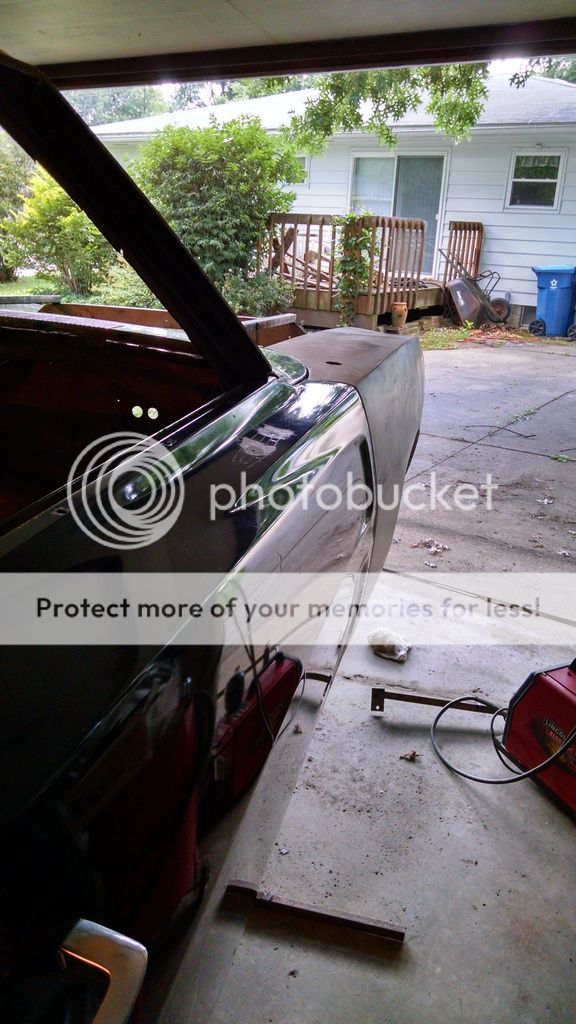
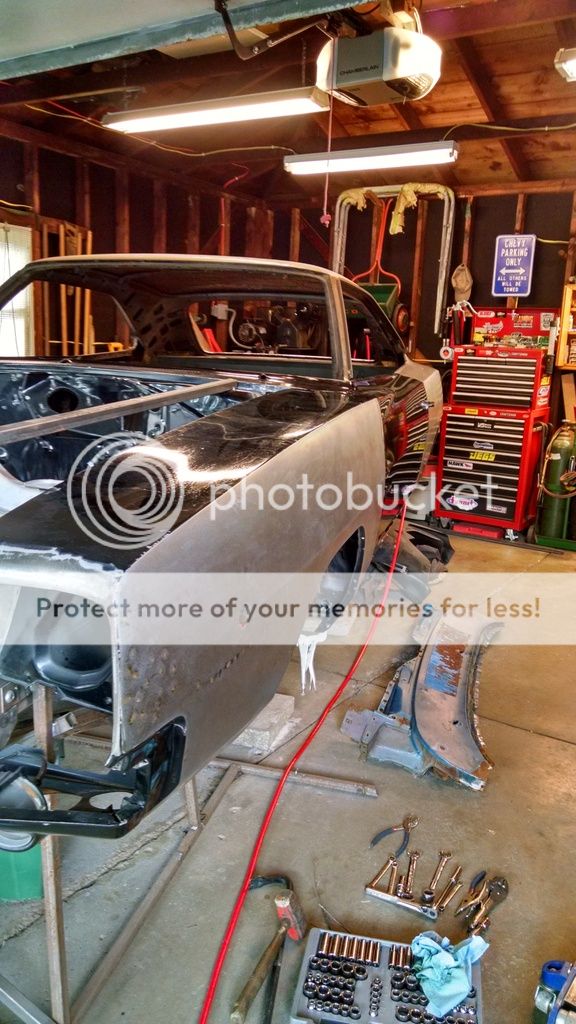
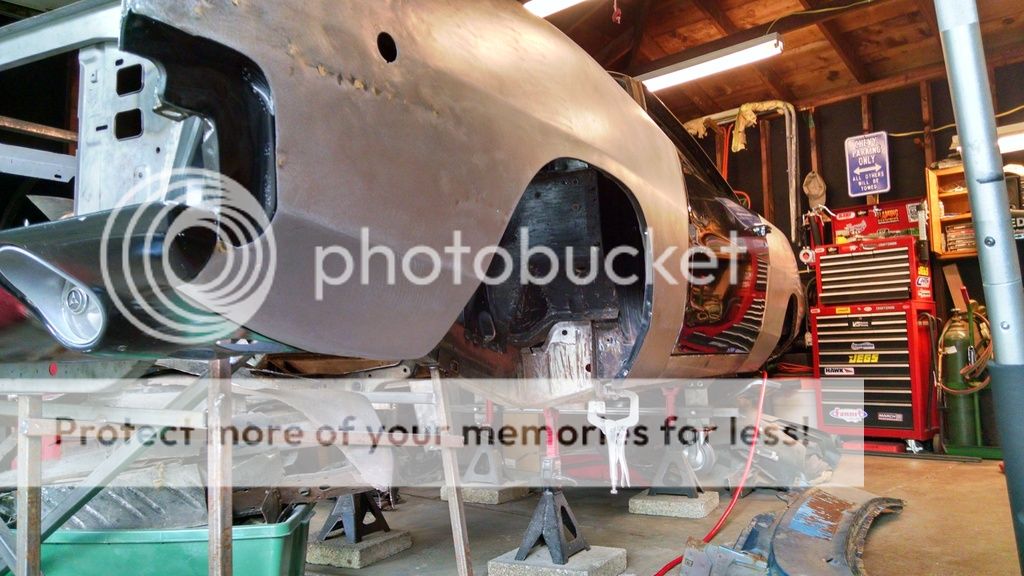
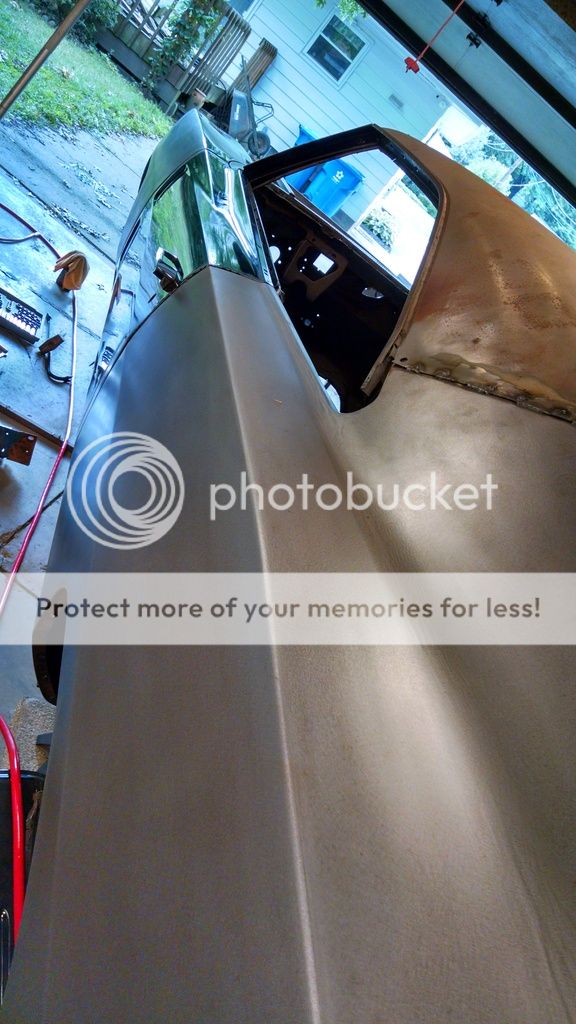
I installed the passenger side fender to get an idea of fitment. We bought this fender at the Nats last year because the fender that was on the car when we bought it is a 69' with the marker light plugged. So I wanted to make sure that I could get the new fender aligned properly. I D.A.ed the side of the fender down to look for any surprises. The guy that we bought it from said that it needed some metal work above the wheel opening and the front of the fender. He was honest because after removing 10 lbs. of Bondo, the only bad areas were where he said that they were, but better yet, not a spec of rust. So when that time comes Ill do some metal work to get it a little better:
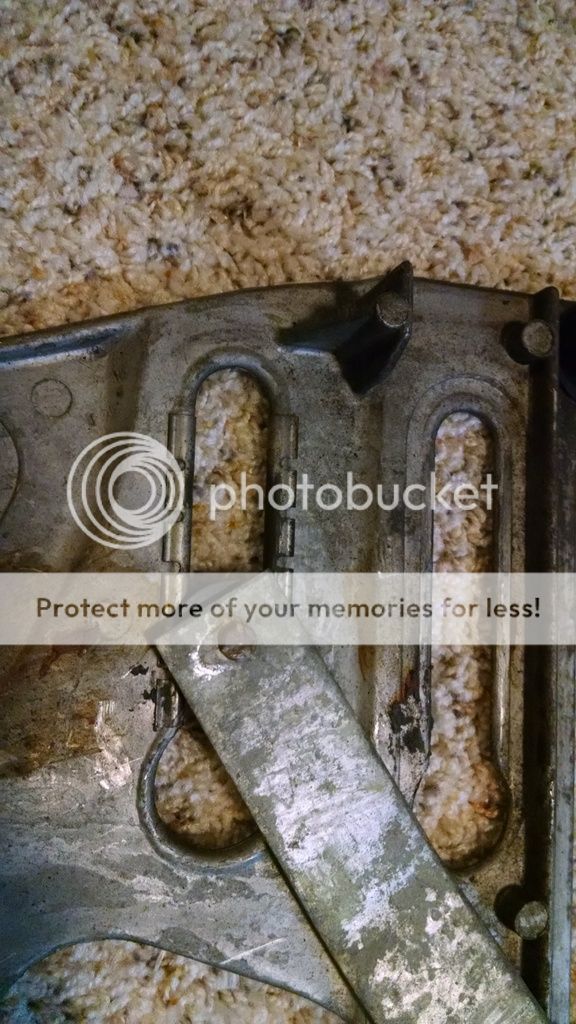


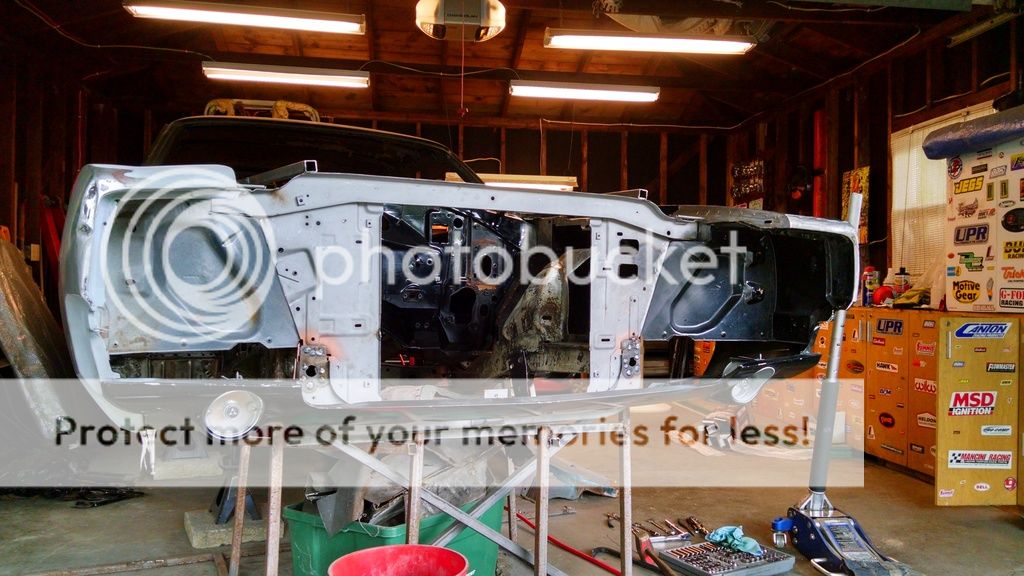
I bolted up the valance to get a visual:


Overall I'm happy with the fit of the front fenders and valance. After I fix the aprons Ill bolt the hood on just to be 100% sure that everything is good.


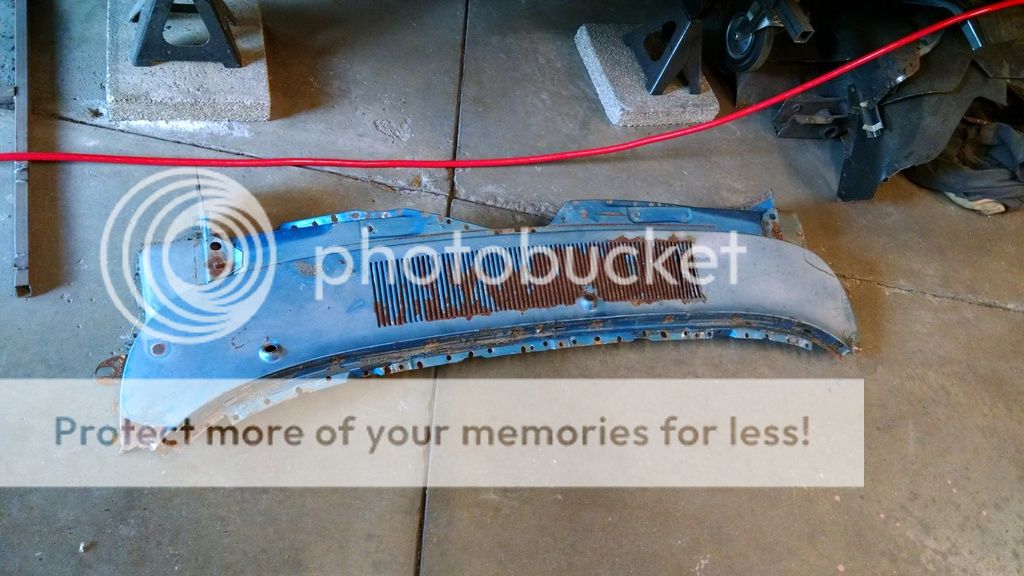
We picked up a cowl in Carlisle. Mine is in good shape except in the lower windshield channel area. The windshield leaked and there are some holes, and back in the day they were repaired, but they just took metal and welded it over the holes covering some of the square stampings that the clips sit in. So rather than try and mess with it, I'm going to section in the areas that I need from my donor cowl. I wish they just made the windshield channel, but Ill cut this cowl up neatly so if anyone needs the front corners for patches on their project it will be useable:

 
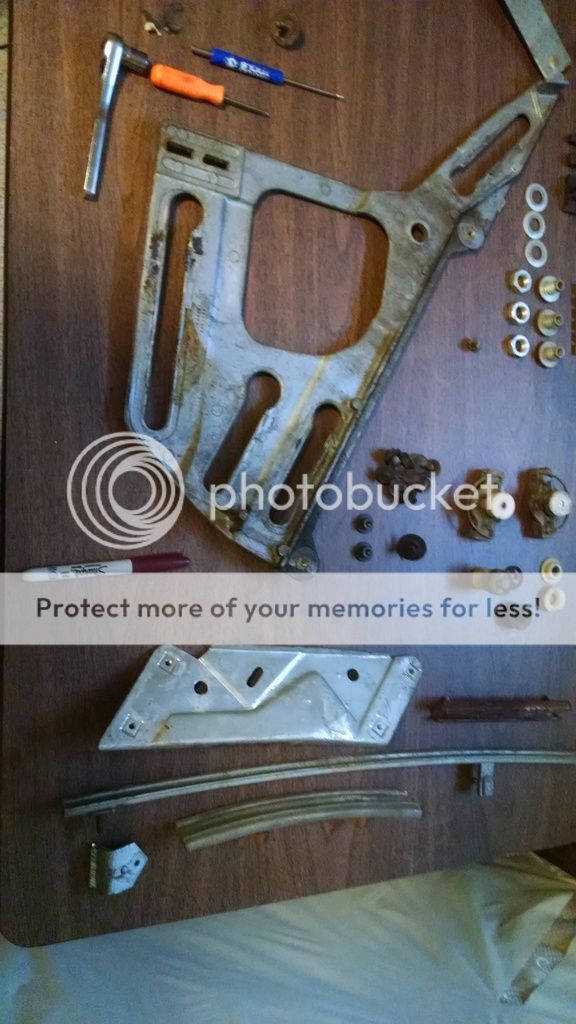
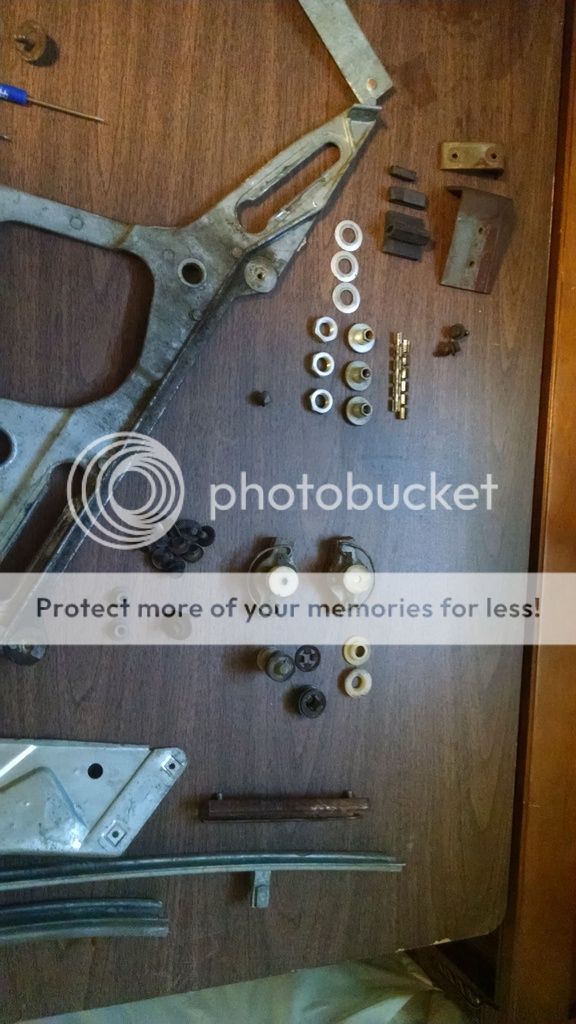
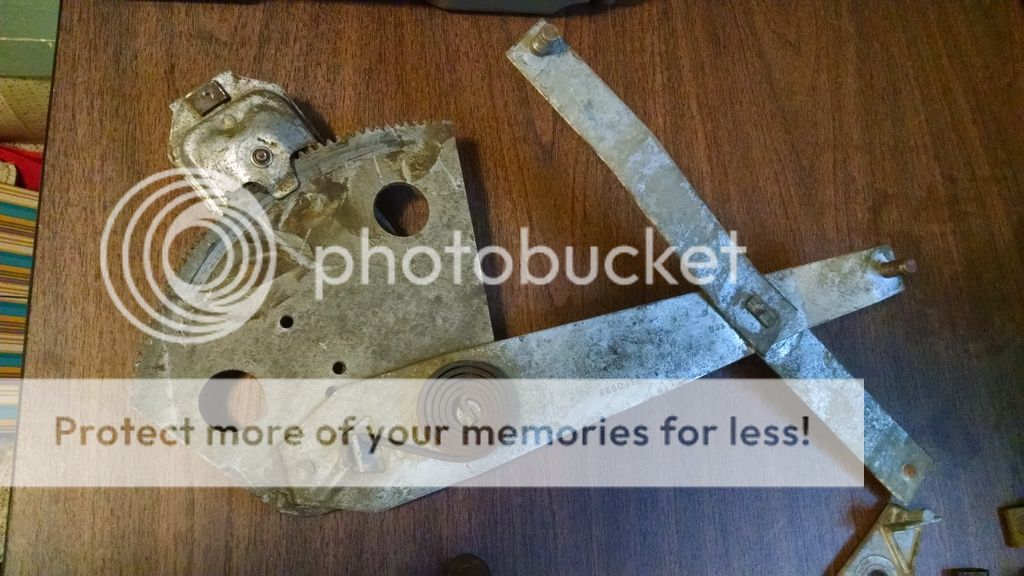
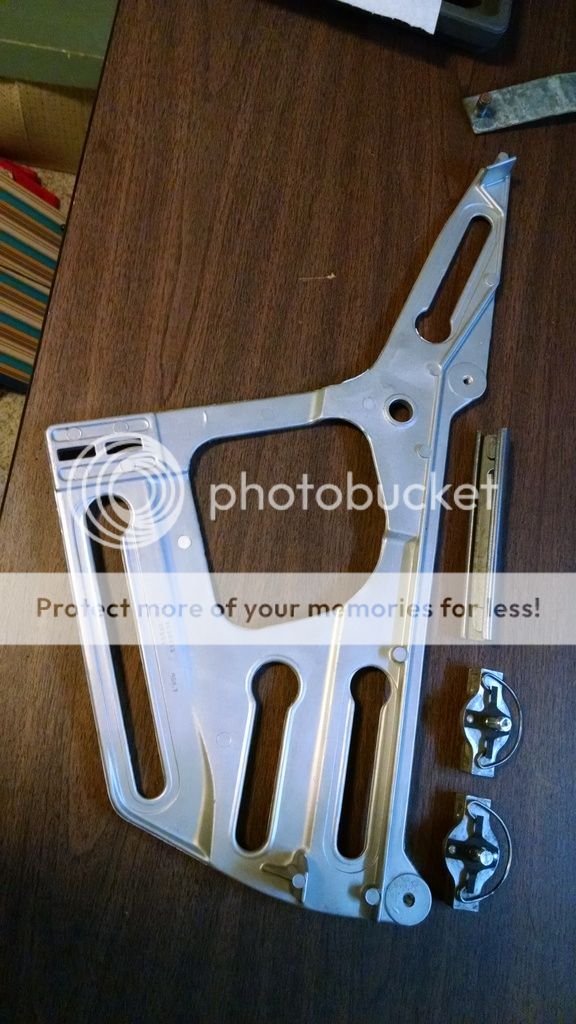
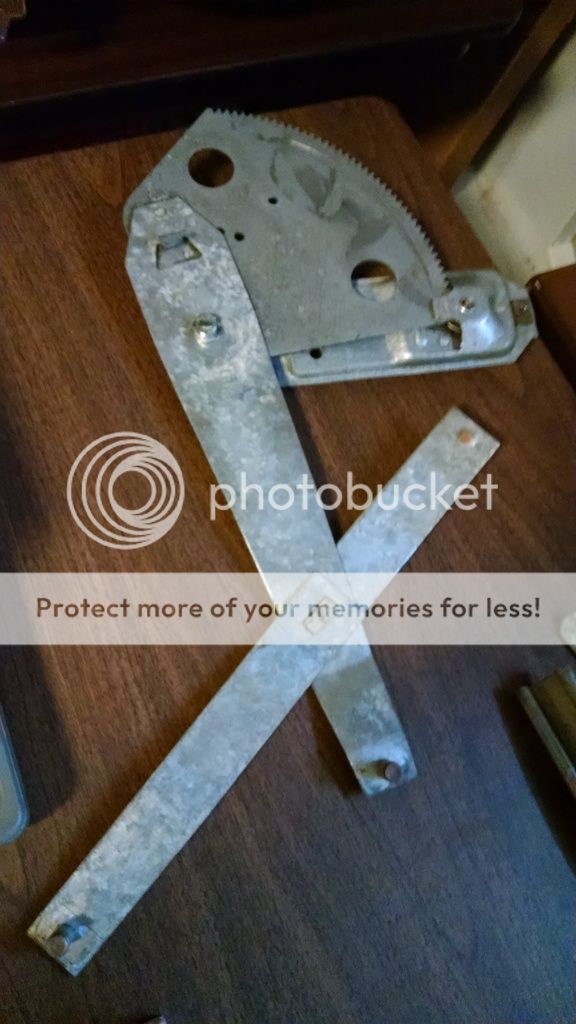
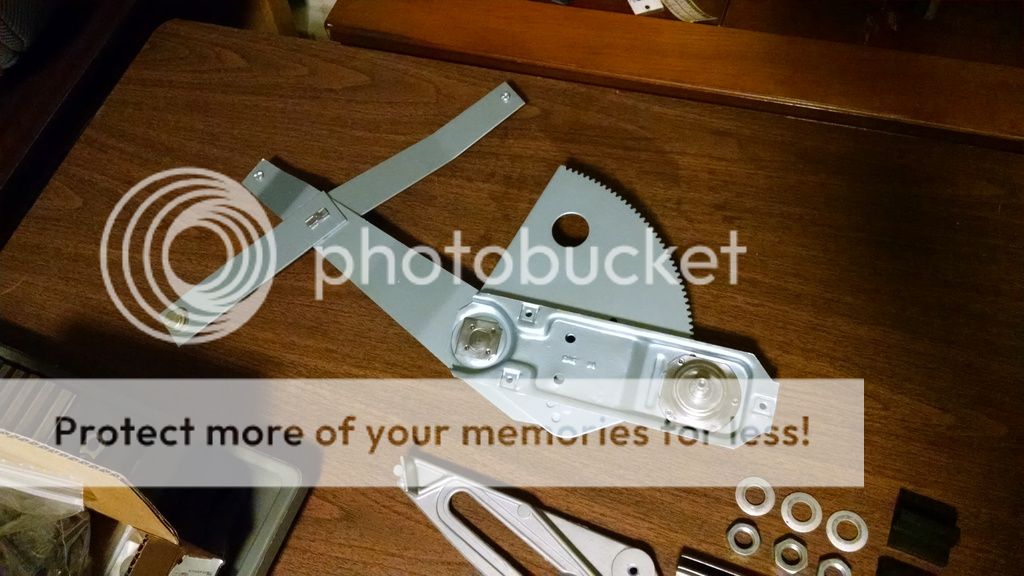
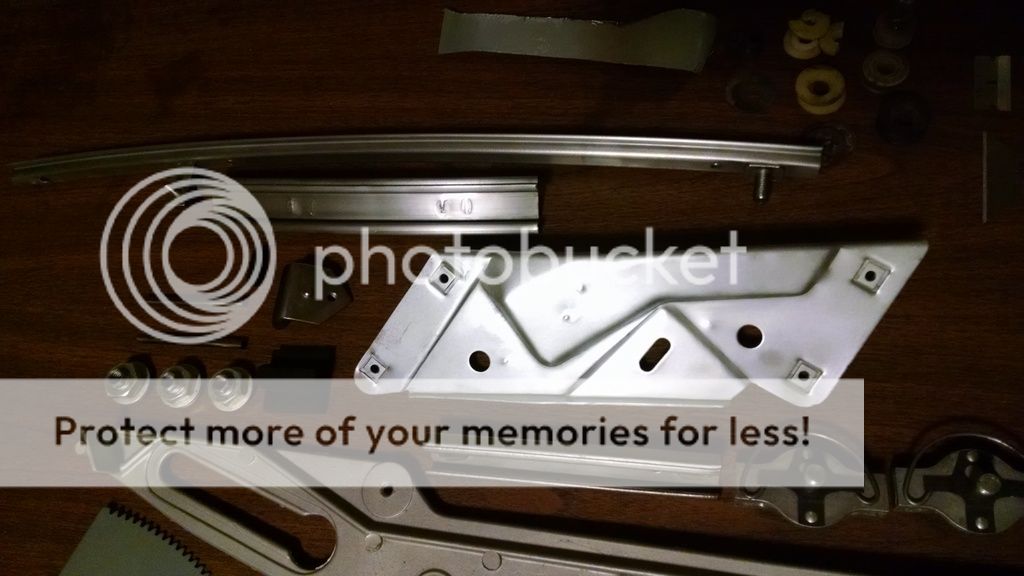
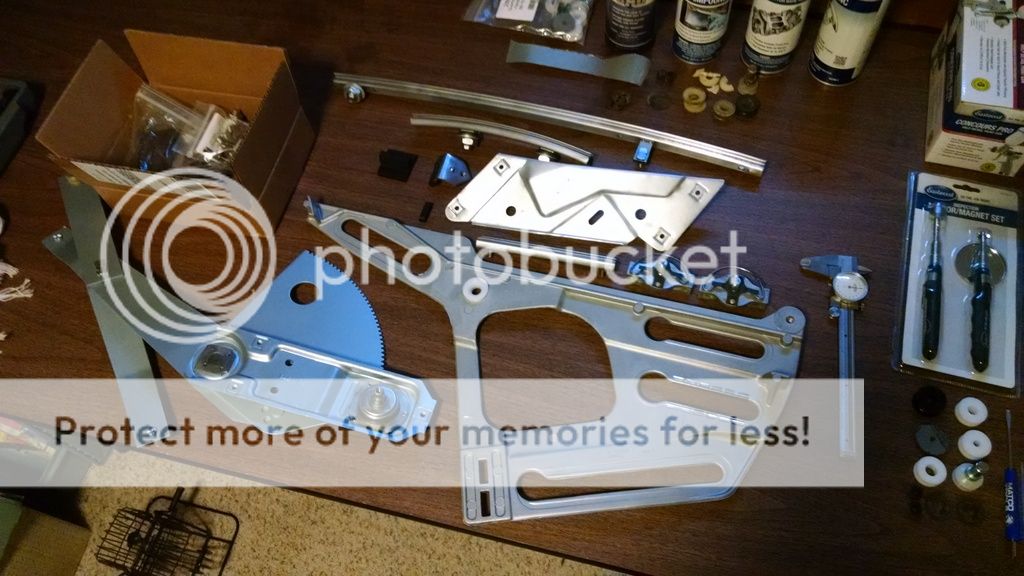
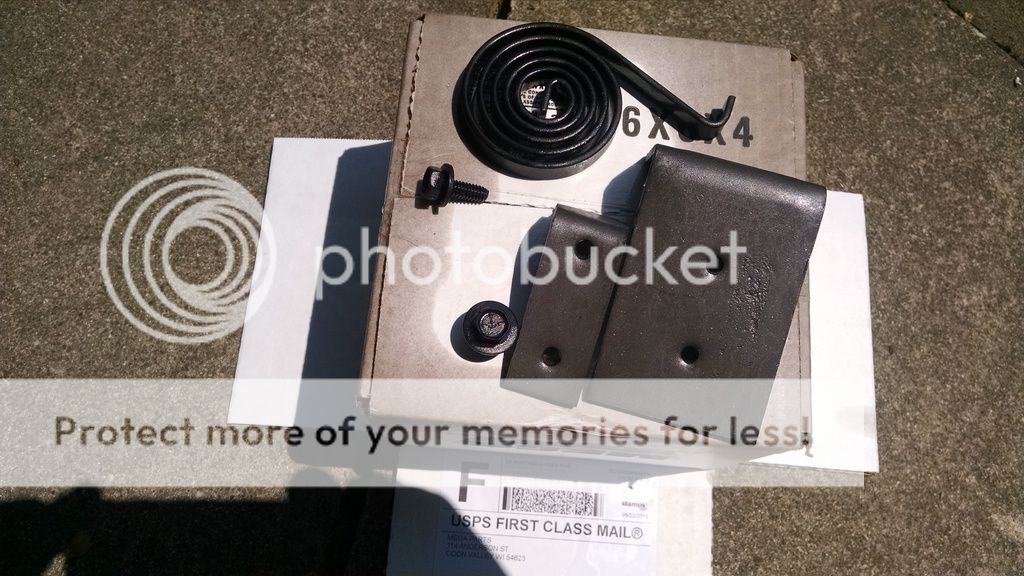
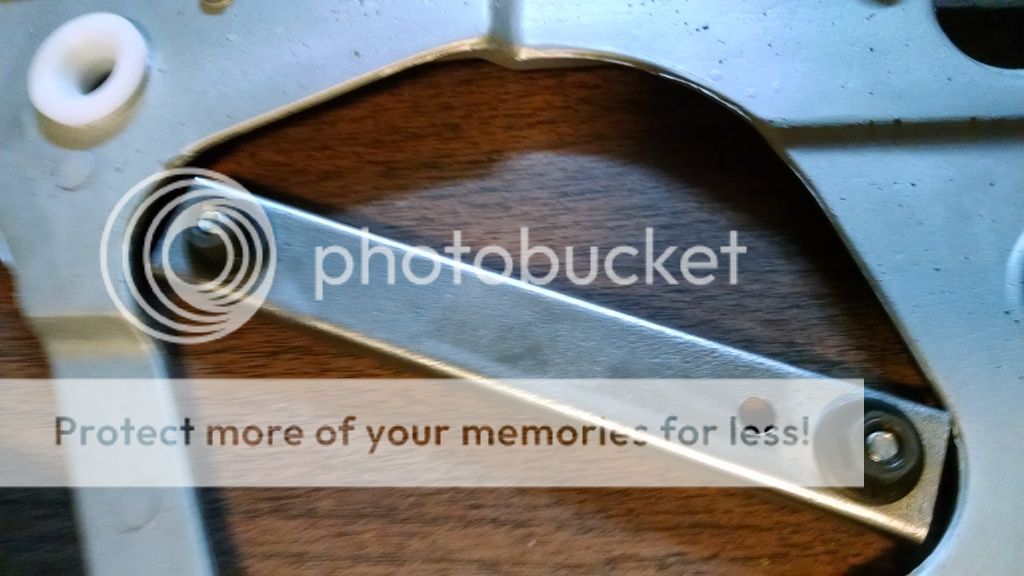
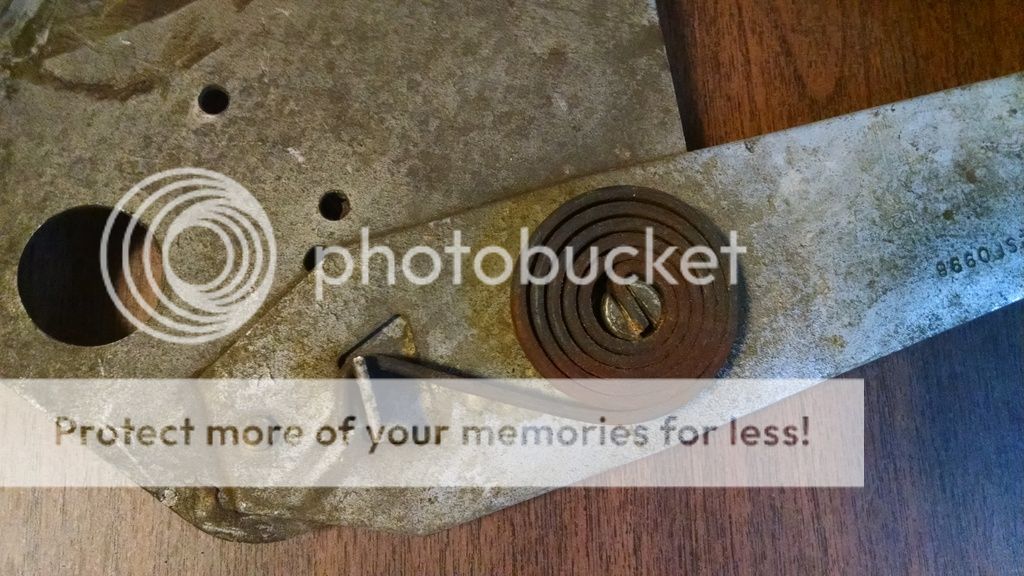
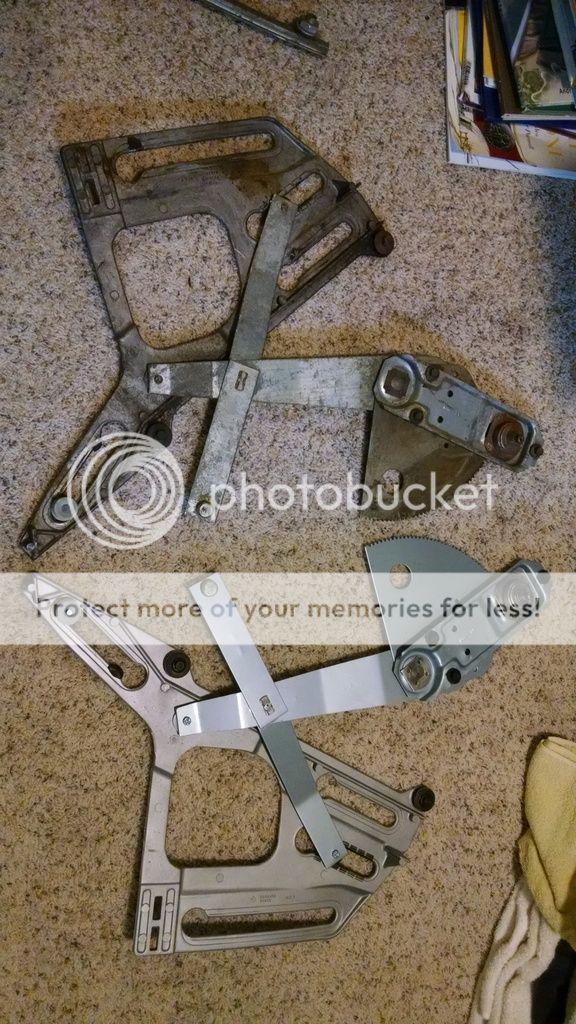
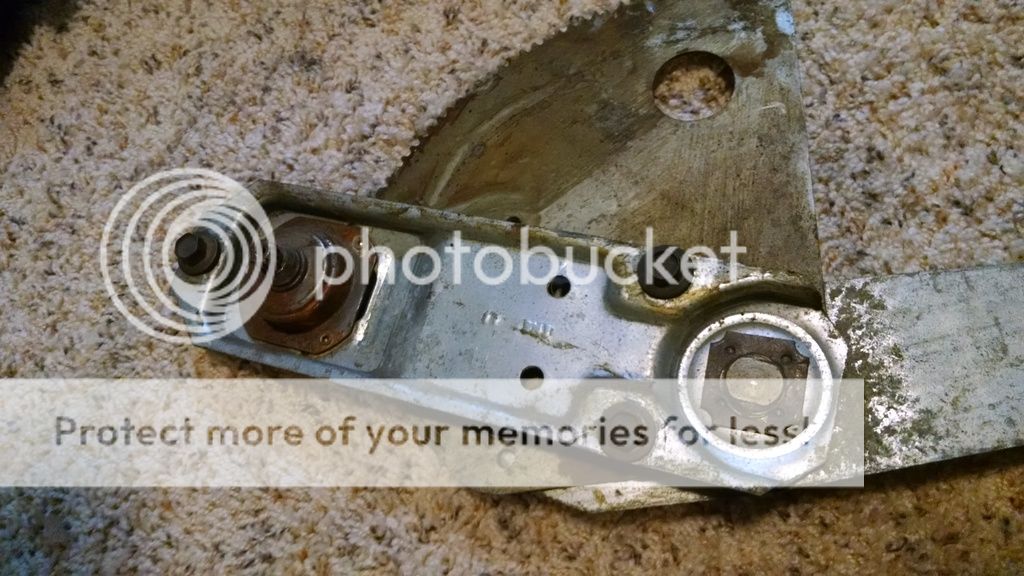
It started to get HOT outside again, so with the front of the car coming along nicely, I decided to continue working in the house in the evenings after work. I chose to restore the quarter window regulators. I started with the drivers side, doing one at a time so I could use the other side as a reference. Even with pictures and a shop manual, I felt better having one assembled in person to use as a cheat. First thing that I did was disassemble everything:


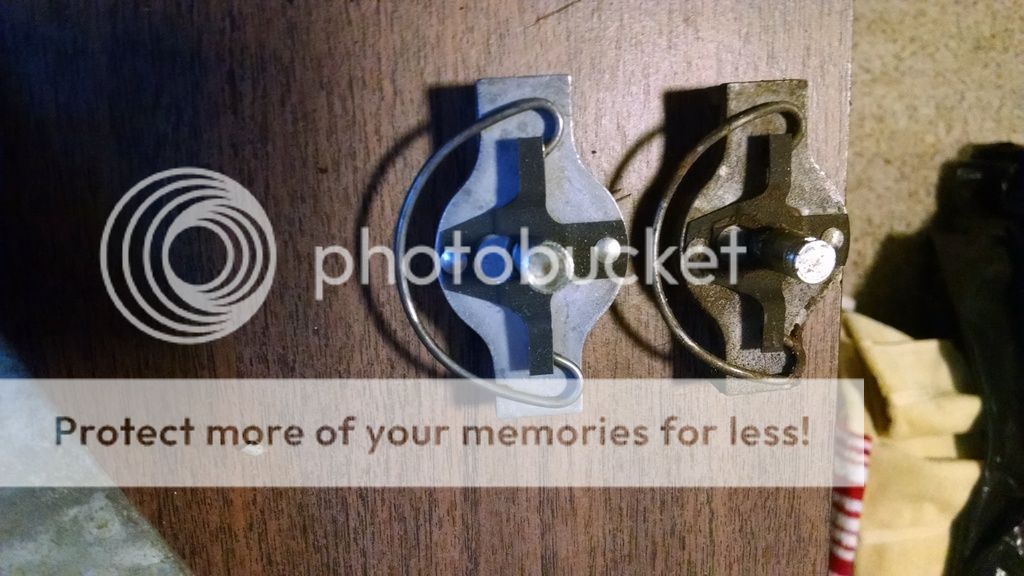
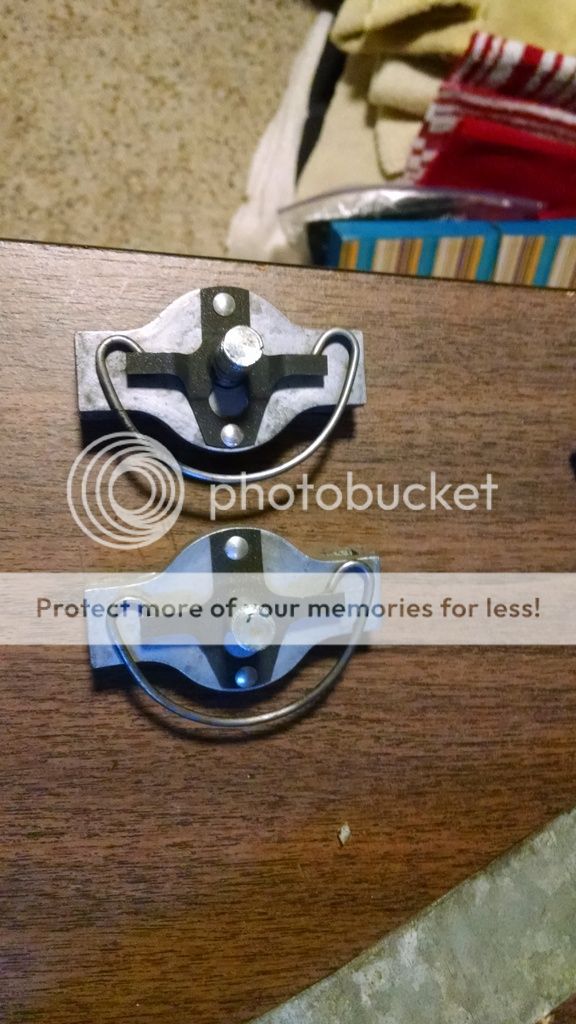
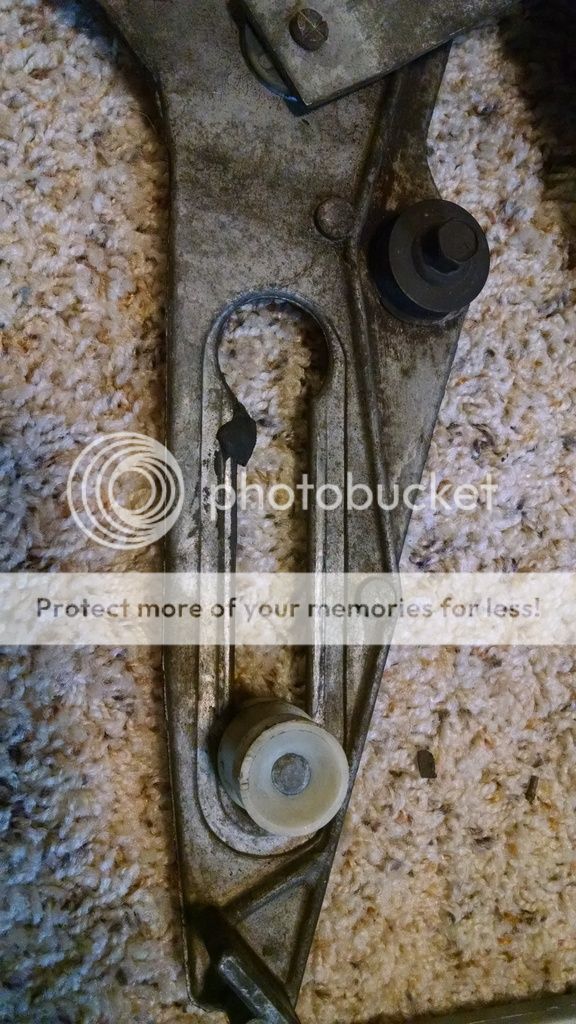
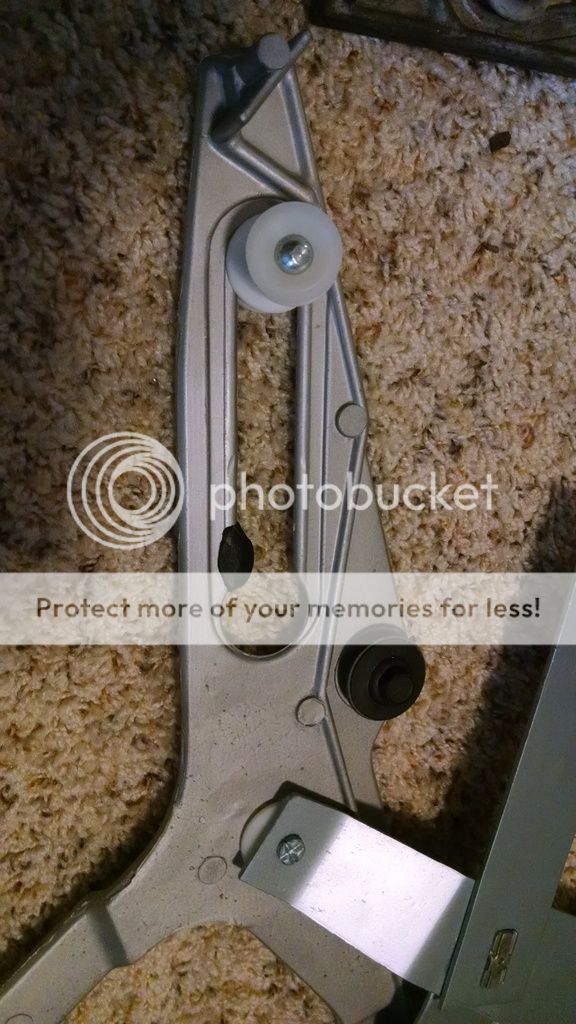
I just cleaned up the roller mechanisms that are on the long track. I lubed up the small rollers and replaced the large rollers from the kit that I bought from 521 Restoration. Heres one cleaned and the other one not cleaned:


Both cleaned:


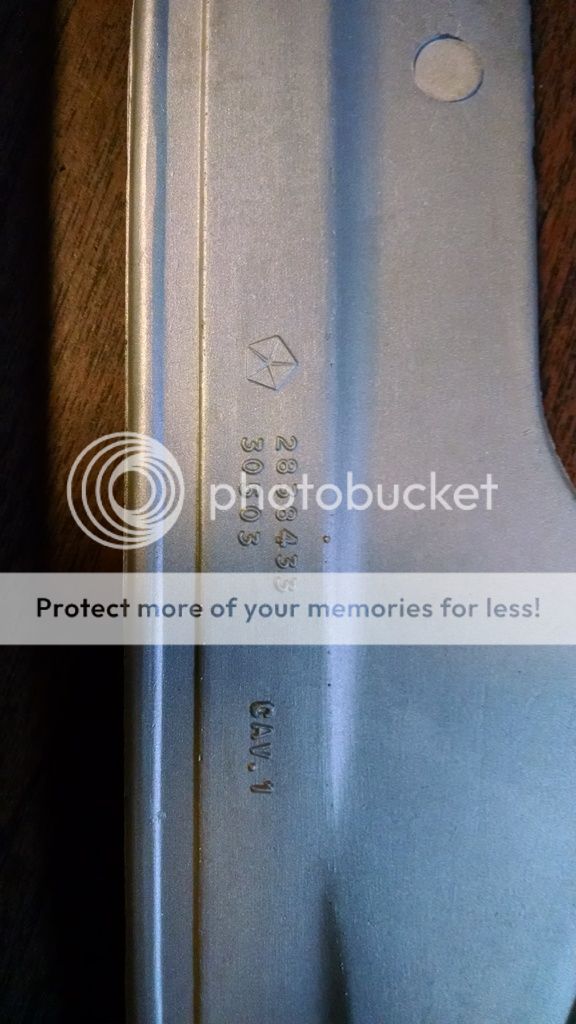
I glass beaded the aluminum frame at work and gave it a coat of satin clear to preserve it. One thing that I'm trying to do with certain components is to not just paint everything. To me it just looks fake and scratches/chips easily making it look bad. So I refinished as much as I could not rattle canning everything:


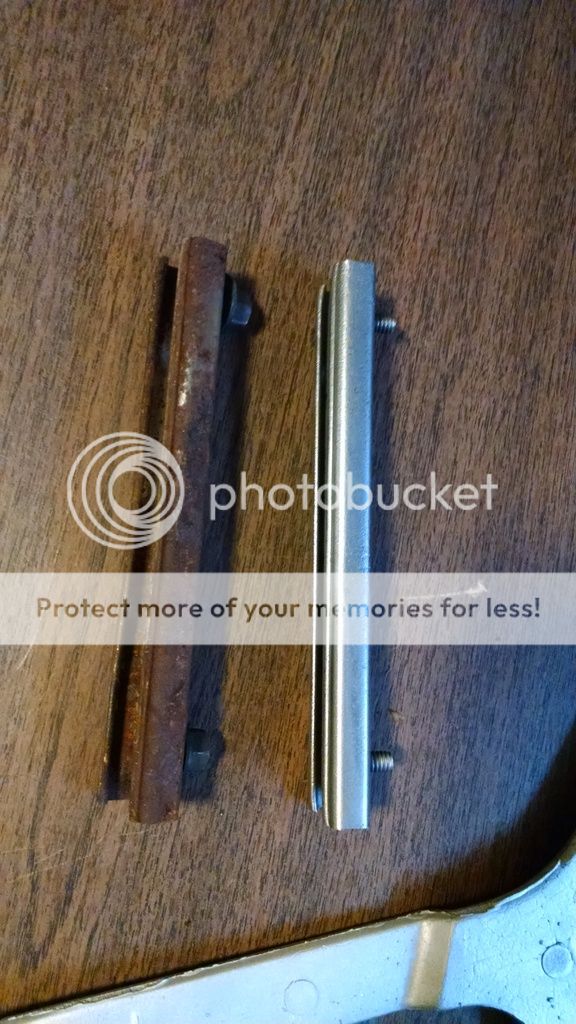
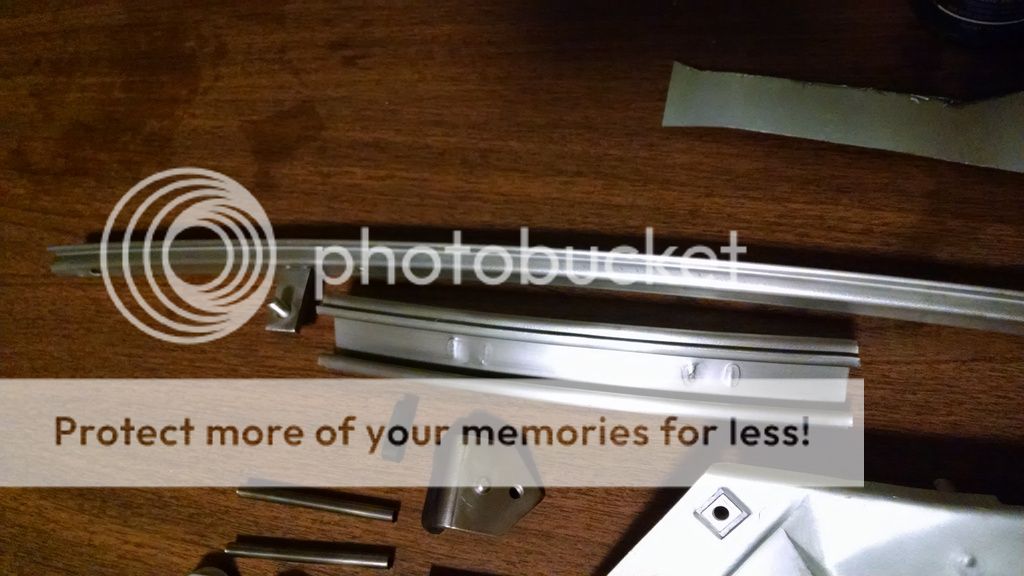
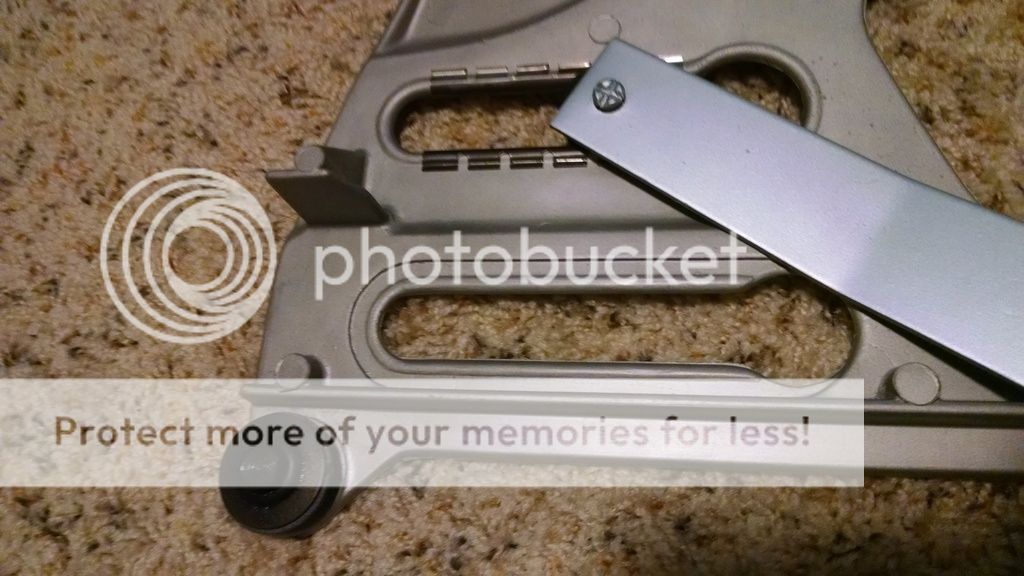
I glass beaded the small track that was unpainted from the factory. It was pretty rusty. I blasted it, wire wheeled it, and put a coat of RPM on it to preserve it. Here it is next to the one from the other side:


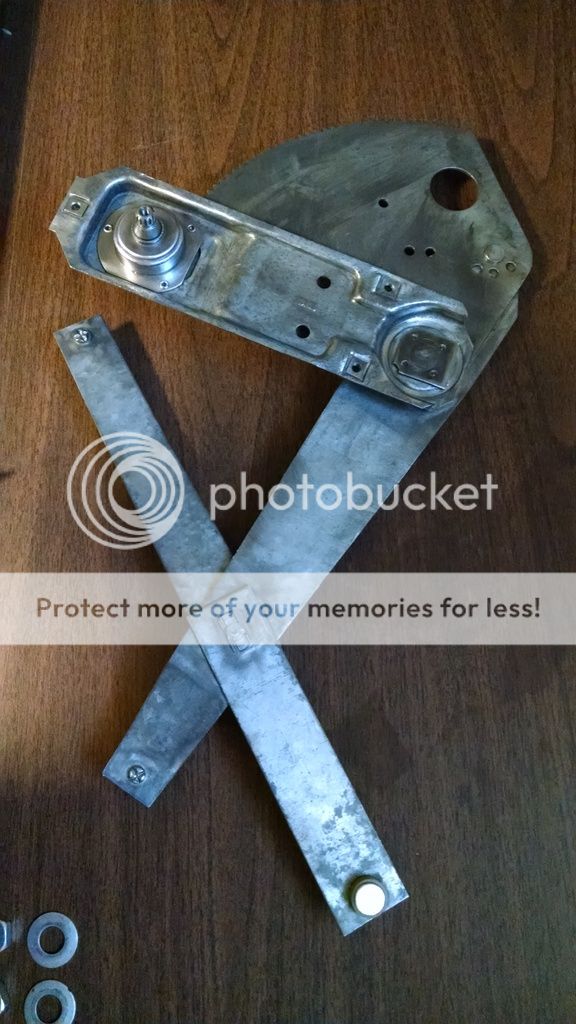
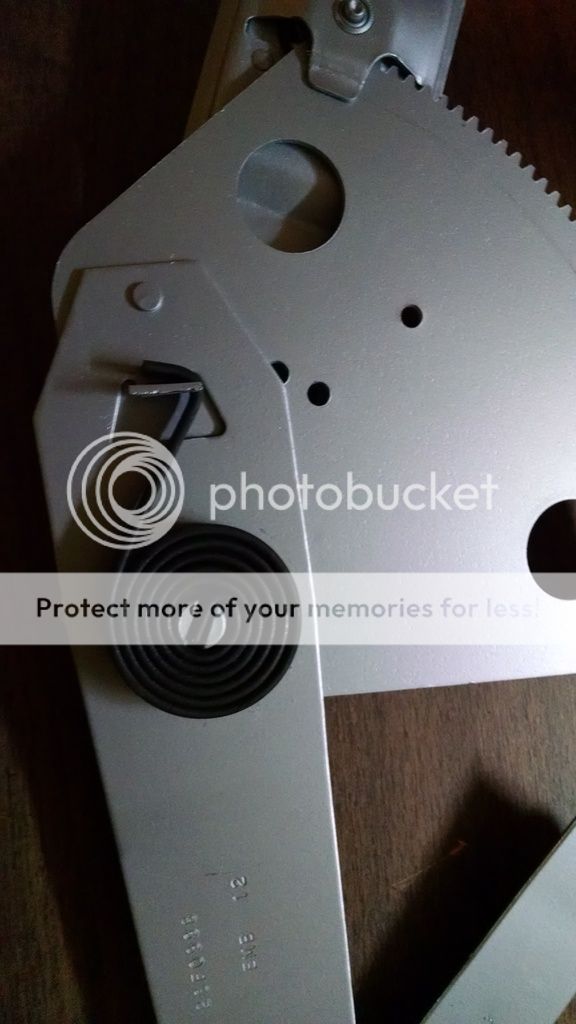
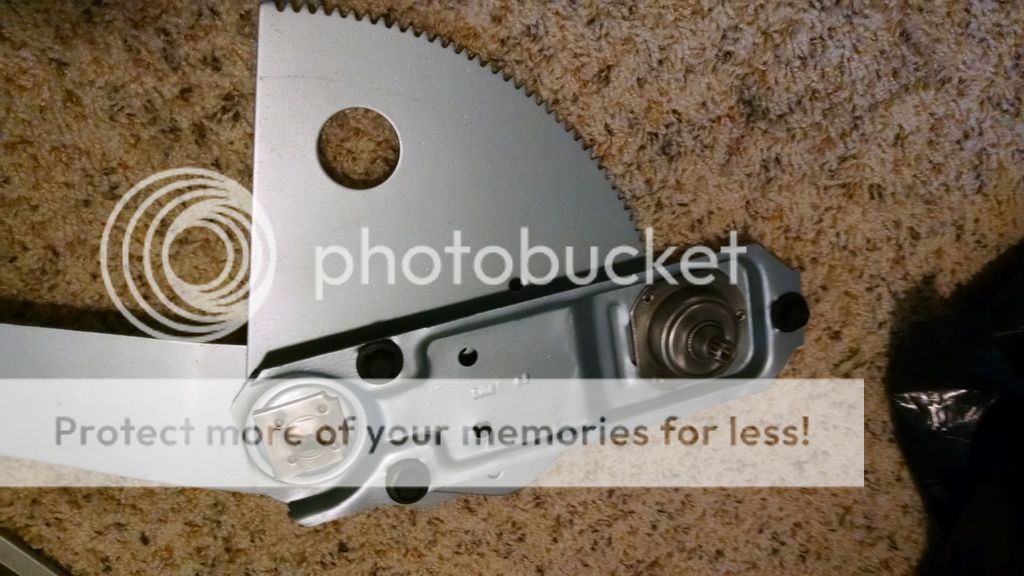
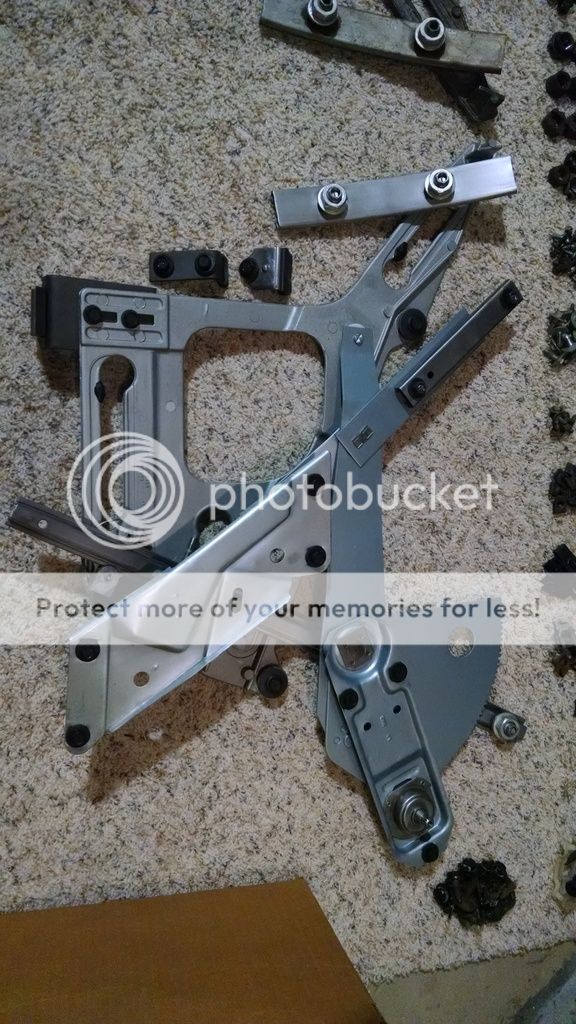
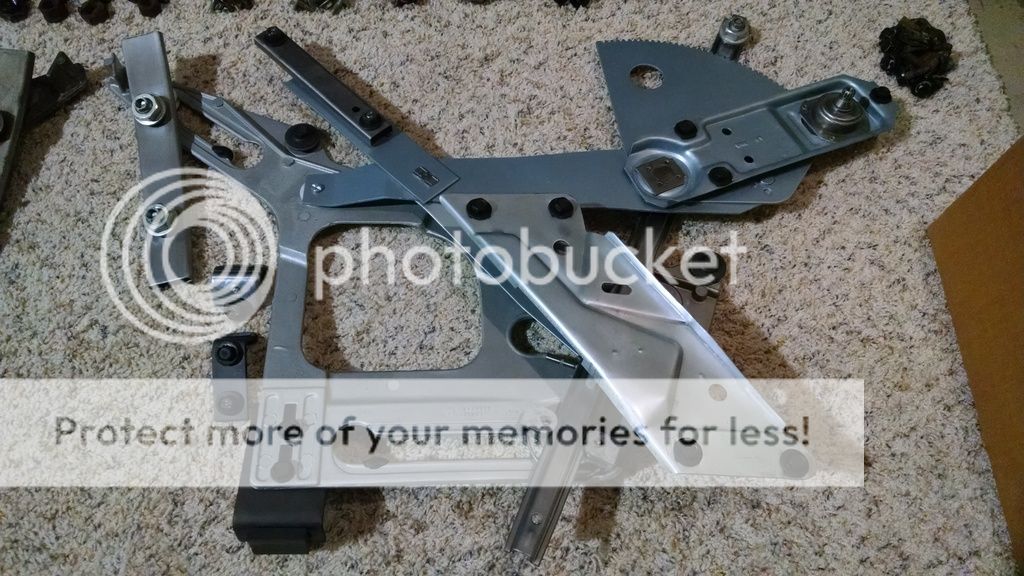
Next was the regulator. Overall its in great shape, but the galvanizing was wearing off and the factory grease was thick, dried out and nasty. So I let it sit in the parts washer for a few hours then I wire wheeled it. Then I masked off some of the riveted on parts and painted it with Eastwood's Silver Cad paint. I hated to just paint it, but being that its all riveted together I was limited with my options. Cleaned and wire wheeled:


And painted. I treated the riveted on parts to RPM so they don't rust. I wanted to give it some detail so it doesn't look like I just spray bombed it:


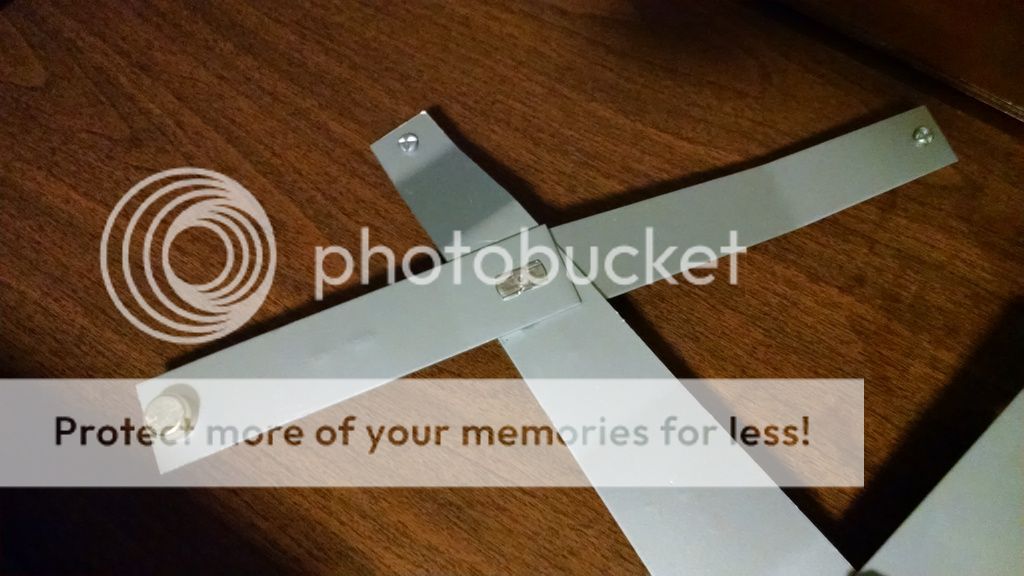
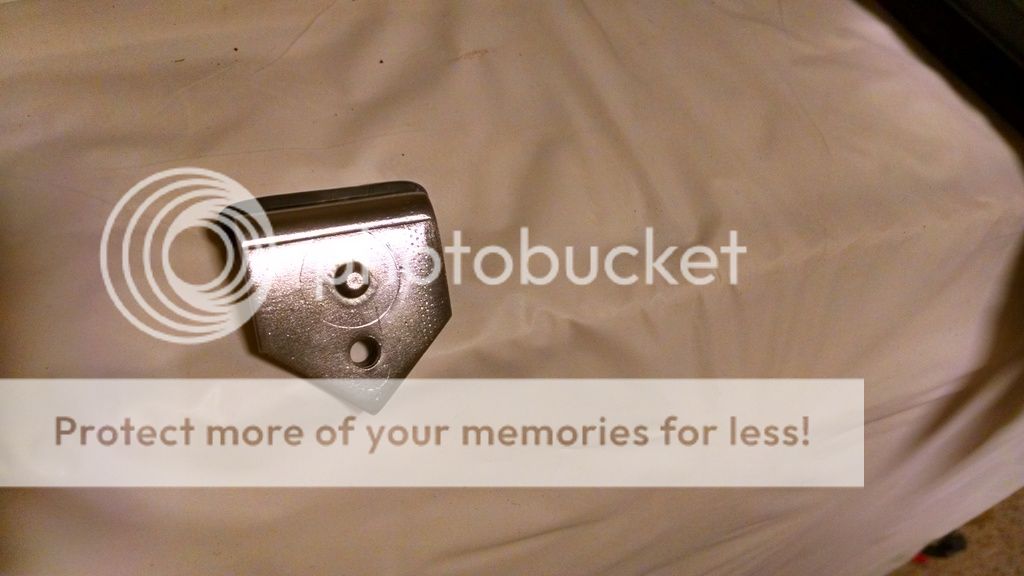
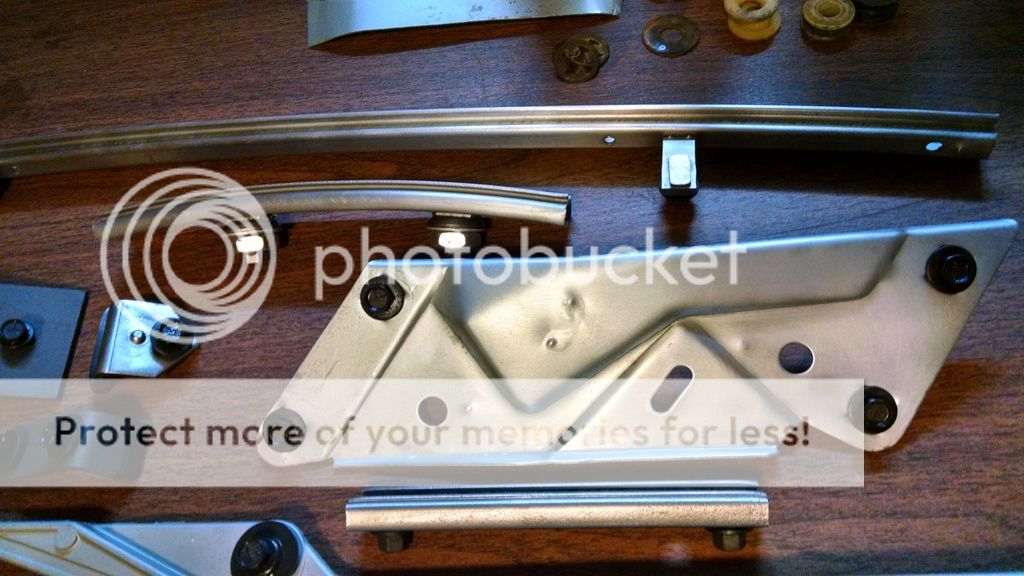
The next pieces were the tracks and bracket that bolts to the body. These were a silver zinc from the factory. I glass beaded them and then I scuffed them by hand with a maroon scotch brite pad. This gives it the dull silvery look that the silver zinc has from the factory. Then I applied RPM to all of the pieces:


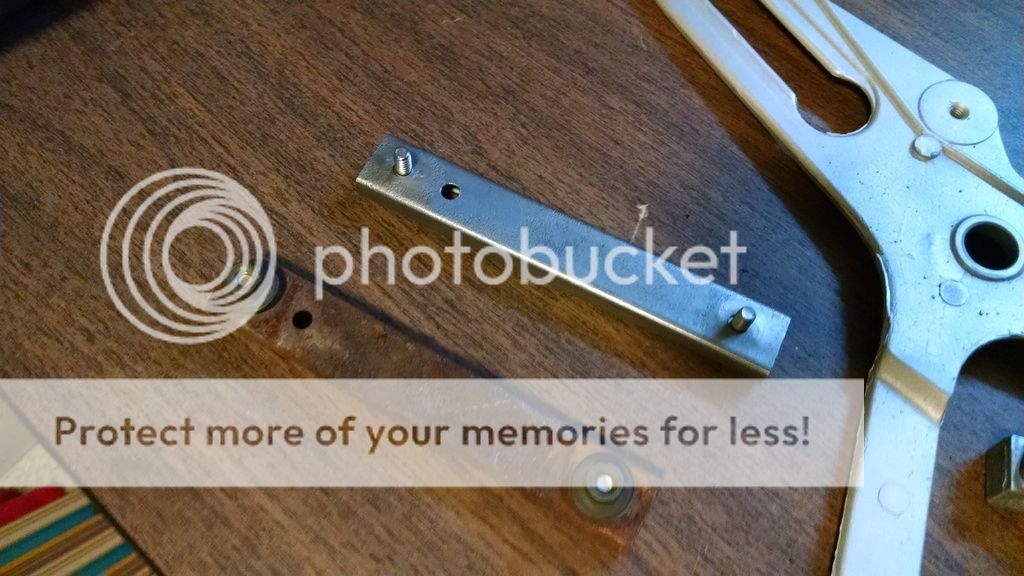
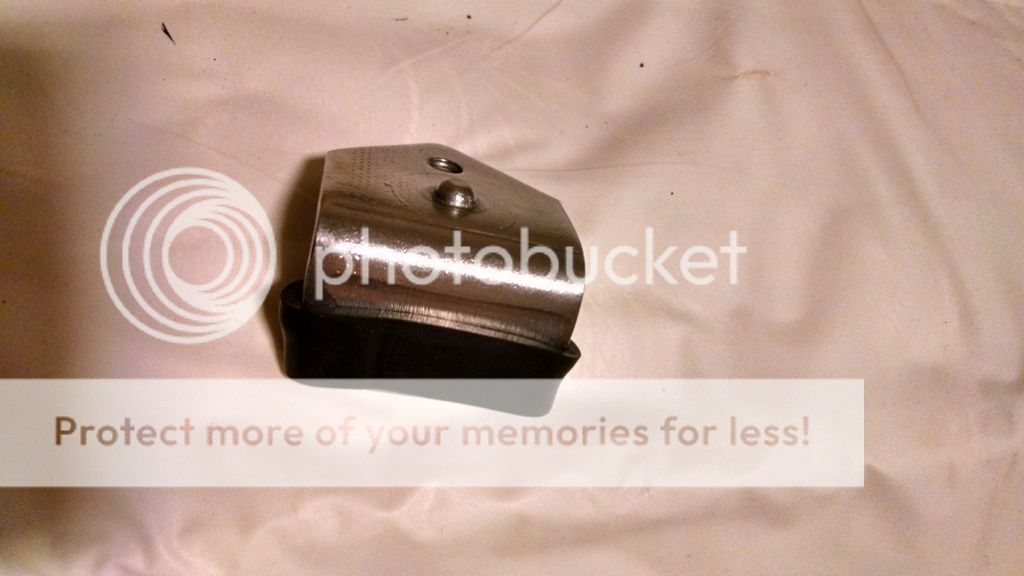
The window stop bracket looked to be a clear zinc which is shinier. I was able to get this look by glass beading it then hitting it on a wire wheel. I also coated it with RPM.


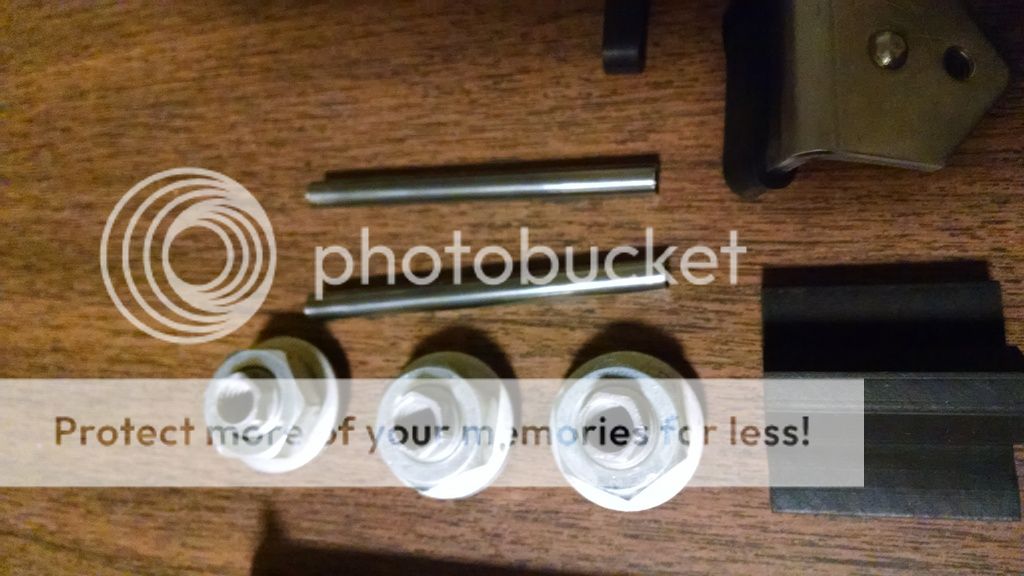
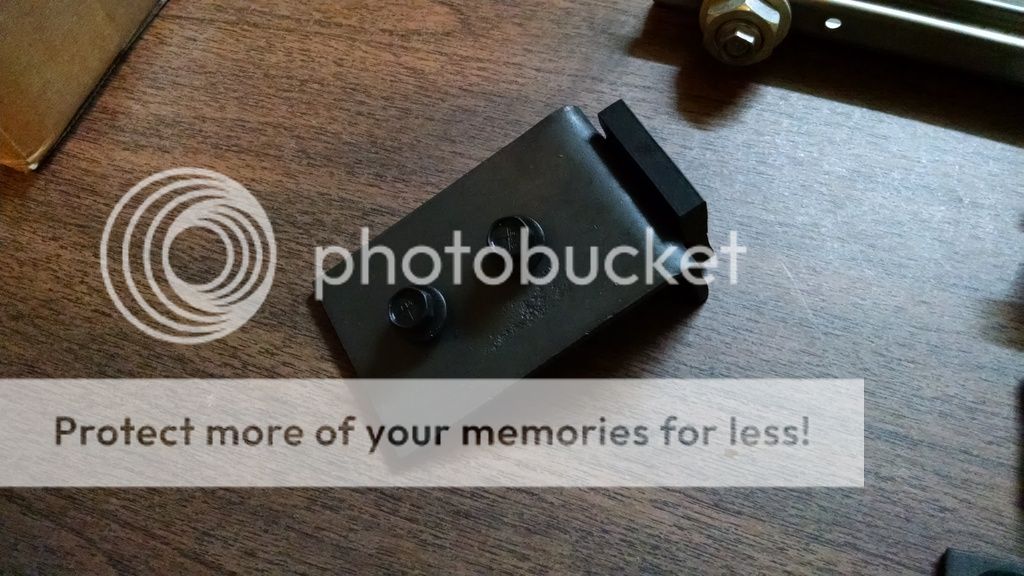
I was able to clean up and reuse all of the rubber pieces on the brackets. I cleaned up the adjuster nuts and wire wheeled the roller strips that clip into the main aluminum bracket:


Just about everything restored:

 
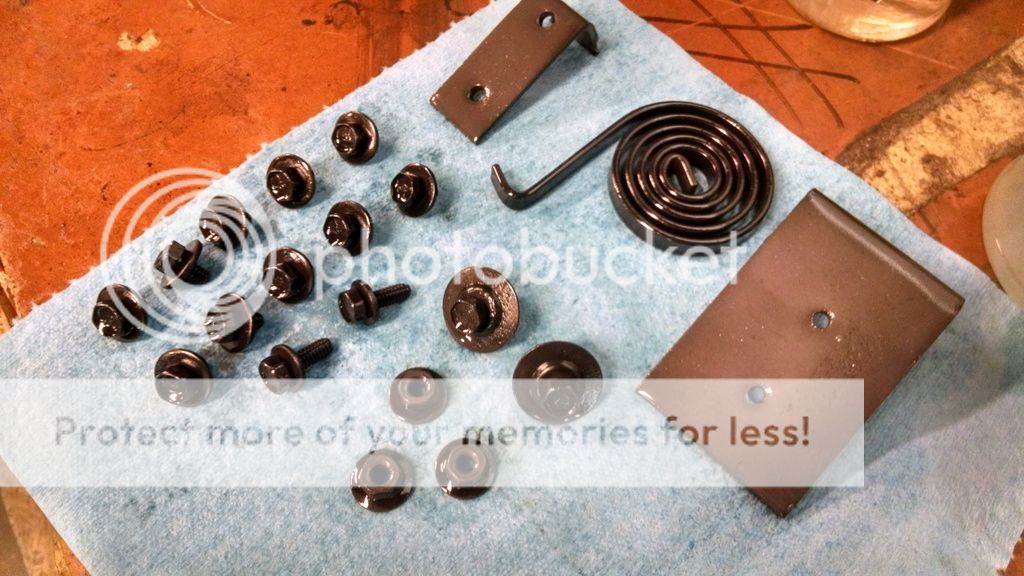
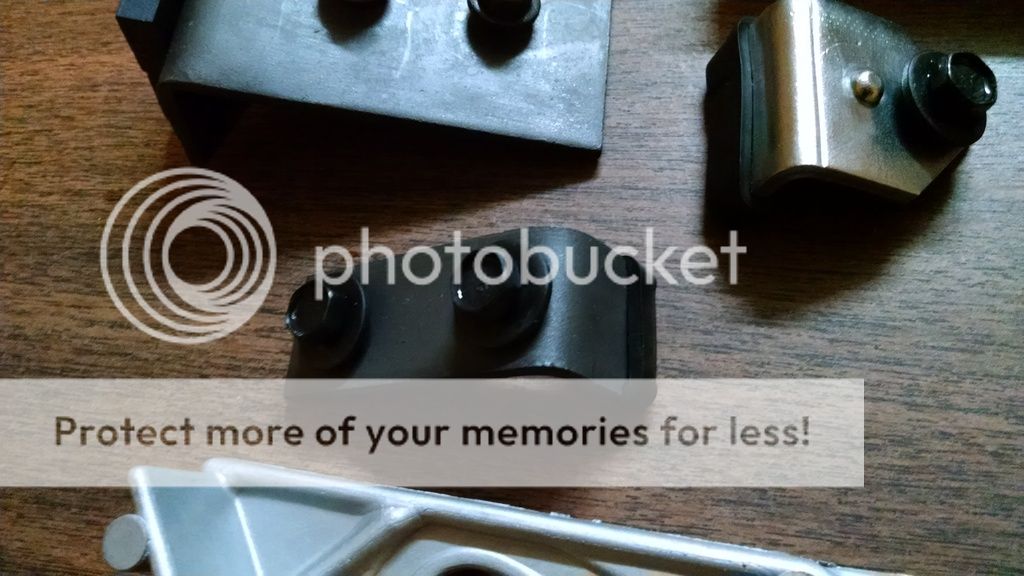
The last thing that I wanted to do was correctly replate the phosphate coating on the hardware and brackets. I bought a quart of manganese from Scott at Palmetto Enterprises and got to work. I glass beaded everything that I wanted to plate. Then I washed it all with thinner, made up my solution, heated it up and replated it. I'm very happy with the results for it being my first time:


Brackets reassembled:


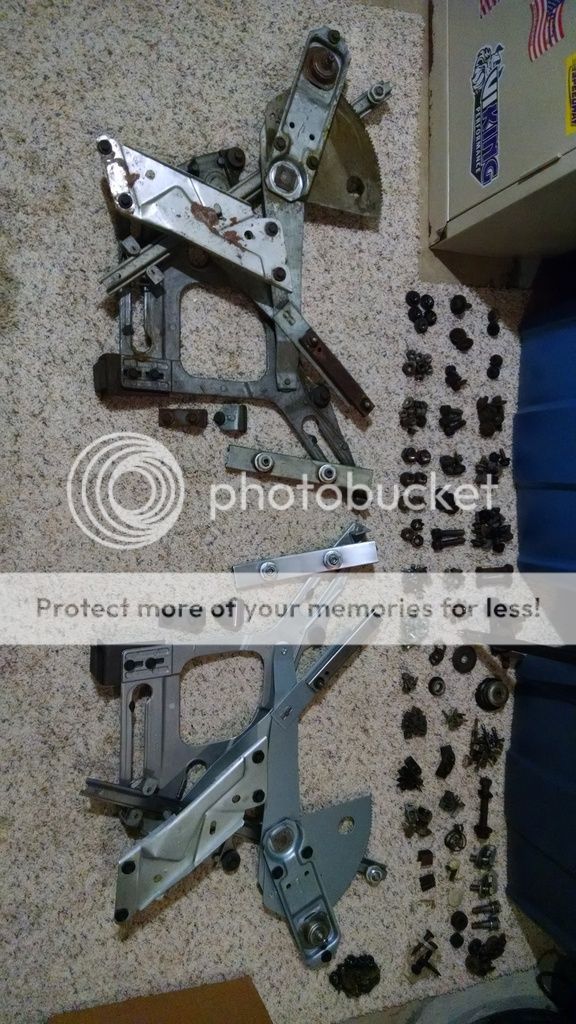
Heres some before and after pics and some comparison photos with the other side:


Overall I'm happy with how it turned out. Ive never restored anything to this detail before so its still a learning curve. Its a nice change of pace from the cutting, welding and grinding too. Thanks for looking!
 
VERY NICE, Looks like a professional did it!
I am bookmarking this for when I redo mine.
 
Ive never restored anything to this detail before so its still a learning curve. Its a nice change of pace from the cutting, welding and grinding too. Thanks for looking!
I don"t know what learning curve your talking about. Than looks like beautiful professional work to me. Thank you for the detailed pictures. They are very helpful for anyone that is trying to figure how to do it themselves.
I just did my quarter window rollers and am glad mine are done because after seeing yours I would have and to spend twice the time to make mine look like yours.

Thanks for the encouraging words. I will post as many detailed pics as I can. One thing that Ive learned while doing research on forums is that some components have a lot of info and photos on them while others don't. So the things that I learn as I research, not only how they go together but correct finishes, hardware used, etc. I will post up what I have learned for anyone that may be looking for the same info. Of course Ive received a lot of great info from the knowledgeable members on here that have been restoring these cars since before I was born!
 
Awesome! Great job you are doing really good! Keep up like that! I'll keep that post too for my rail window when I'll be working on it!
 
Its been really hot here lately so I decided to shift gears and go back into the house and restore some components. I disassembled the grill and fixed all of the cracks and broken/missing pieces. I decided to use acetone and some plastic from a broken '68 grille piece that I bought on ebay. I had to make a couple pieces from scratch that were completely gone. Ive never done any sort of plastic repair like this so I just took my time and did one section at a time:

IMG_20160805_175148638 by Chris Campbell, on Flickr

This piece was completely broken off:

IMG_20160814_185141176 by Chris Campbell, on Flickr

IMG_20160815_182846523 by Chris Campbell, on Flickr

Had to make a couple pieces from my spare grill part:

IMG_20160820_135746183 by Chris Campbell, on Flickr

Clamped into place:

IMG_20160820_141405214 by Chris Campbell, on Flickr

Sanded and shaped:

IMG_20160822_194502733 by Chris Campbell, on Flickr

So the next part of this area that I needed to make was the two stand offs that meet with the stand offs of the end pieces of the grill. I ended up stacking a couple pieces of plastic together and gluing them to get the height that I needed. I drilled a bunch of small holes in the pieces before I glued them to make sure that they stayed secure. Then I drilled holes in my newly made piece of the grill and glued the stand offs in place:

IMG_20160825_184815610 by Chris Campbell, on Flickr

IMG_20160825_194523940 by Chris Campbell, on Flickr

IMG_20160827_165229491 by Chris Campbell, on Flickr

IMG_20160828_105128113_HDR by Chris Campbell, on Flickr

With that part done, I needed to remake the small pins that locate the sections of the grille when put together. I ended up cutting a piece of a "tree" from a model kit, chucking it up in my cordless drill and whittling the shape that I needed. I drilled a small hole in the grill and whittled a small tip on the end of the pin so it would slide into the grill and stop:

IMG_20160829_162728339_HDR by Chris Campbell, on Flickr

IMG_20160829_162719364 by Chris Campbell, on Flickr

I had to do this same repair on both sides of the lower center section of the grill. There were a few other repair spots that I had to fix as well:

This whole corner was blown out. Luckily I had the piece that went there:

IMG_20160814_185111221 by Chris Campbell, on Flickr

IMG_20160828_105219281 by Chris Campbell, on Flickr

IMG_20160828_105236084 by Chris Campbell, on Flickr

Almost every tab that mounts the grill to the frame was split. Probably from being over tightened:

IMG_20160814_185119629 by Chris Campbell, on Flickr

Once I got all of the plastic fixed and roughed in with 36 grit, I masked off the end pieces of the grill and blasted the metal brackets for the headlight door pivots. I sprayed them with etching primer so they hold up until I'm ready to paint the grill.

IMG_20160830_173239832_HDR by Chris Campbell, on Flickr

IMG_20160830_173250460 by Chris Campbell, on Flickr
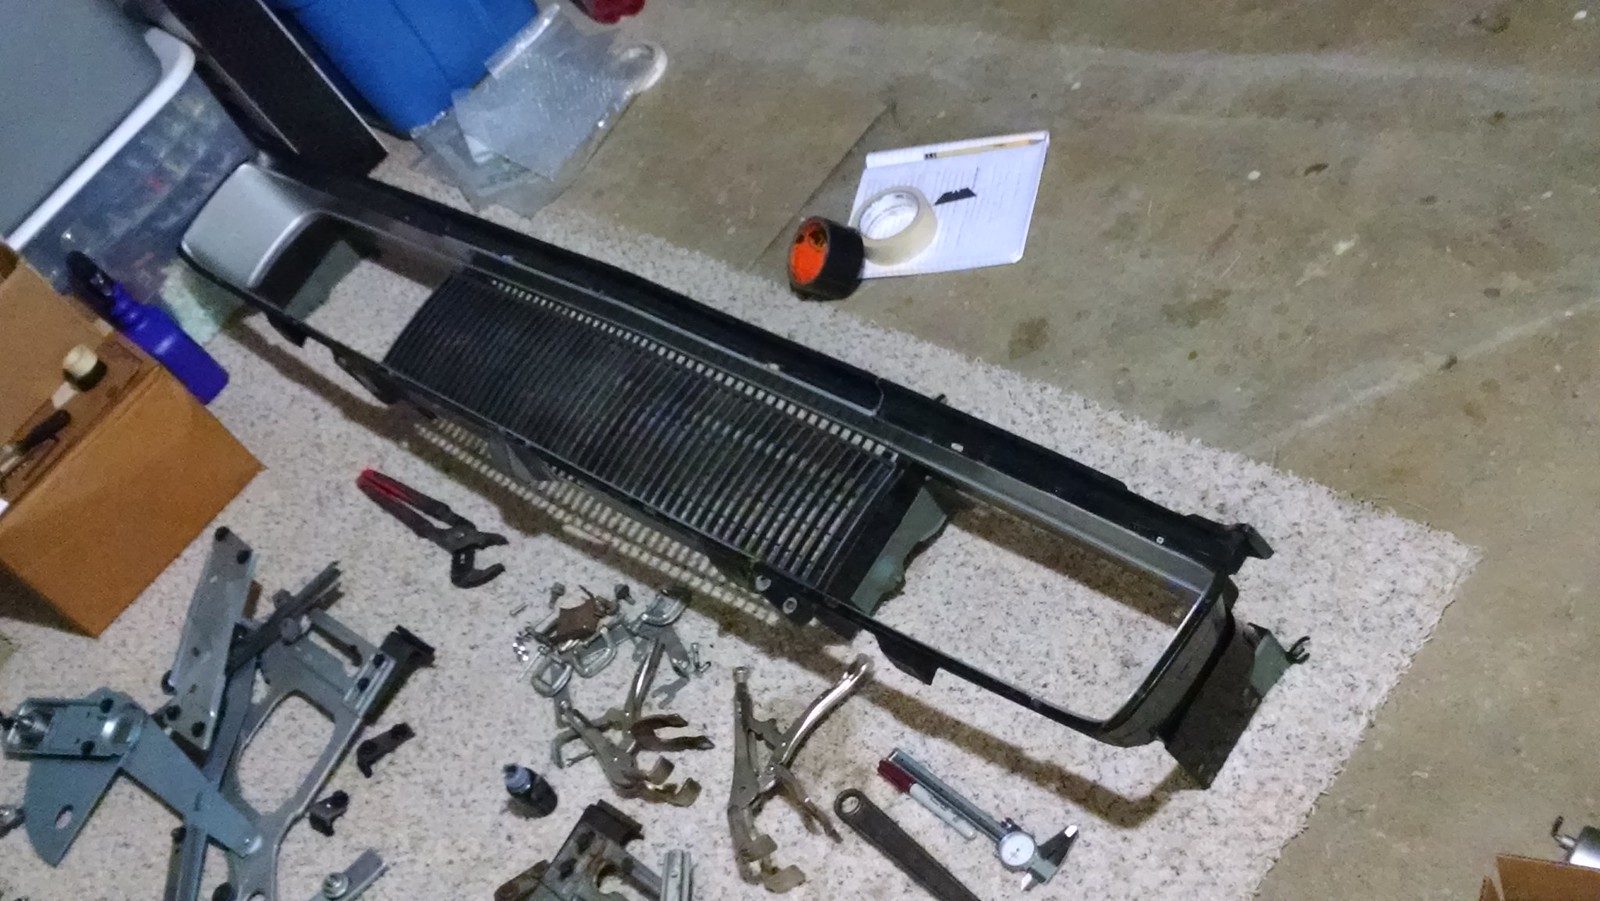
I test fitted everything to make sure it went back together. Next I will skim coat all of my areas with icing and get it all smooth, then Ill wet sand the entire grill and start masking it off to paint it:

IMG_20160903_122947299 by Chris Campbell, on Flickr

IMG_20160903_120745794 by Chris Campbell, on Flickr
 
Nice work, cool car can't wait to see it finished. Looking forward to seeing more of your work.
 
So taking a break from the grill repair, I headed back out to the garage to work on the body. Its been cooler here, so I'm taking advantage of it. I have a lot of work to do on my inner aprons, so I got to work on those:

Layed out my areas to get cut out:

IMG_20160901_193616482 by Chris Campbell, on Flickr

IMG_20160901_193624256 by Chris Campbell, on Flickr

Cut the pieces out, transferred the patterns to my donor aprons, then cut them out:

IMG_20160905_123509535 by Chris Campbell, on Flickr

IMG_20160905_125803853 by Chris Campbell, on Flickr

Then tacked the pieces in:

IMG_20160905_155003301 by Chris Campbell, on Flickr

IMG_20160905_155003301 by Chris Campbell, on Flickr

Did the same to the other side:

IMG_20160906_191958623_HDR by Chris Campbell, on Flickr

IMG_20160906_192025477 by Chris Campbell, on Flickr

Making sure they still fit back into the car LOL:

IMG_20160907_182353481_HDR by Chris Campbell, on Flickr

IMG_20160907_182405679_HDR by Chris Campbell, on Flickr

All of the old shrapnel:

IMG_20160907_182540452 by Chris Campbell, on Flickr

I started my welding on the drivers side. I bolted the apron to the fender and firewall. Then I zip screwed the apron to the firewall flange to keep the piece as rigid as I could. I welded in small increments jumping around and cooling in between. I got a little movement, but nothing that a little hammer and dolly work couldn't take care of:

Fixtured in the car:

IMG_20160910_121738732_HDR by Chris Campbell, on Flickr

IMG_20160910_121722665_HDR by Chris Campbell, on Flickr

All welded up:

IMG_20160910_151244995_HDR by Chris Campbell, on Flickr

Pulled it back out of the car and did my grinding and hammer and dolly work. My goal is to get it welded into the car this week, then Weld and grind the other side this weekend:

IMG_20160911_192158818 by Chris Campbell, on Flickr

IMG_20160911_193219338_HDR by Chris Campbell, on Flickr

IMG_20160911_193255094 by Chris Campbell, on Flickr

IMG_20160911_193248523 by Chris Campbell, on Flickr

IMG_20160911_193306948 by Chris Campbell, on Flickr
 
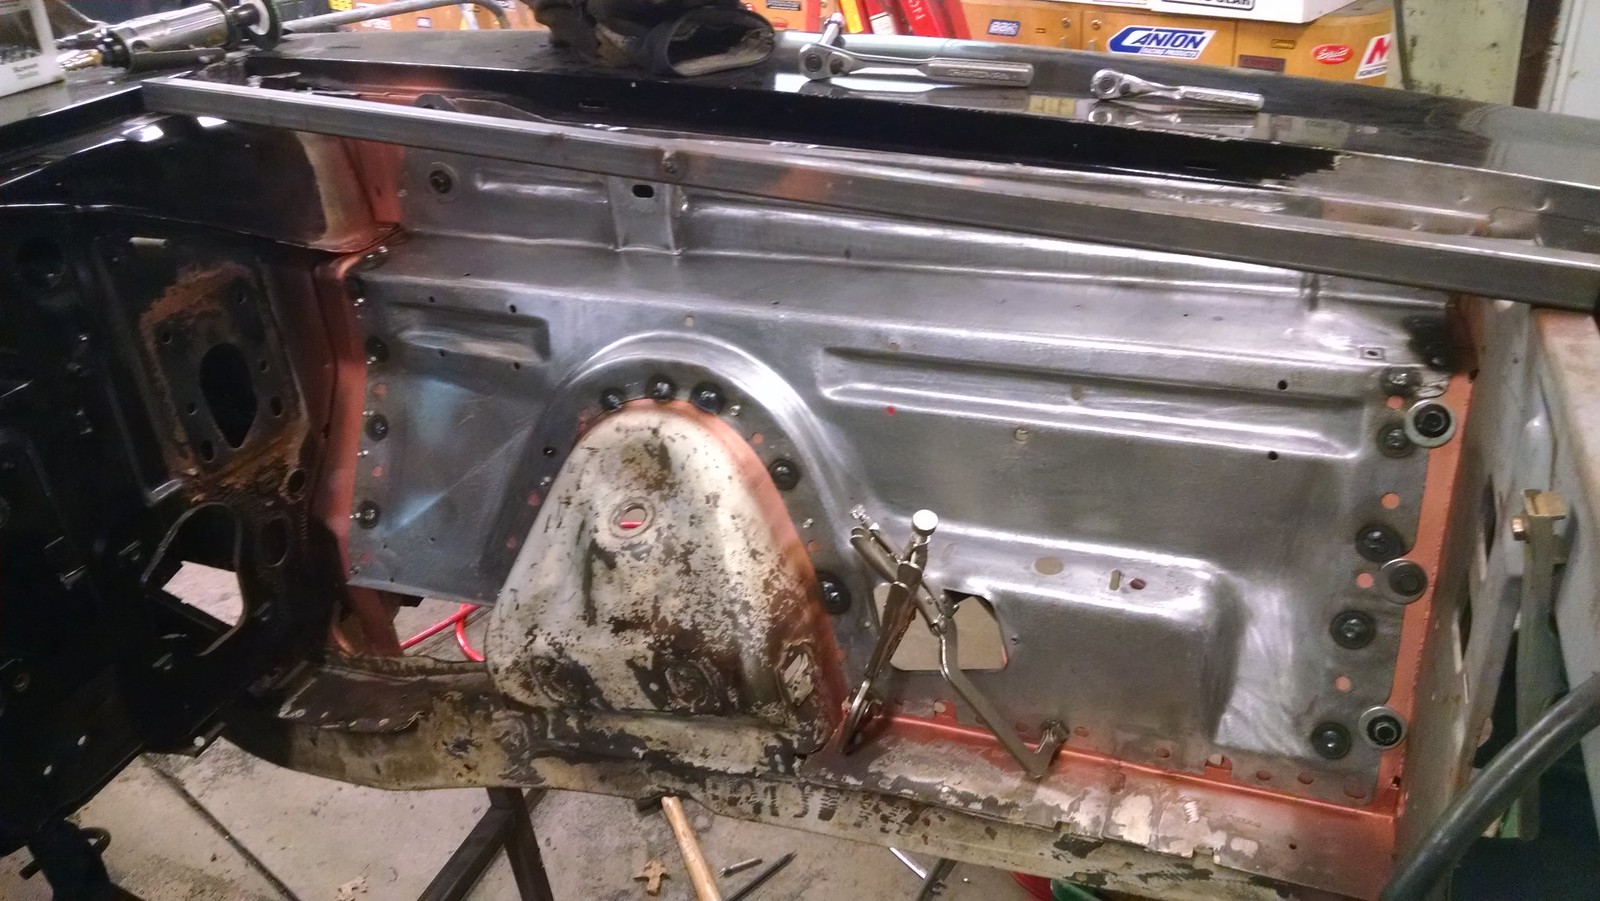
Worked on the Charger for a few hours this past Saturday. I'm a little behind because last week I got sick and didn't make it out to the garage in the evenings after work. So Saturday I wanted to get the drivers side inner apron installed. I ended up cleaning up the flanges on the apron, spraying weld thru primer on them, I touch up welded the spot weld cutter marks on the firewall flange and got that ground flat and burned it in. I had to remove the brace from the shock tower because there was a gap between the inner fender and brace since I was using my original apron with the frame rail from another car. I removed it from its spot, then repositioned it so it lays flat on the apron and rewelded it:

IMG_20160917_122609590 by Chris Campbell, on Flickr

IMG_20160917_122617876 by Chris Campbell, on Flickr

IMG_20160917_125056714 by Chris Campbell, on Flickr

IMG_20160917_130406914 by Chris Campbell, on Flickr
IMG_20160917_133253805 by Chris Campbell, on Flickr

I got to this point with the welding, and of course, I ran out of welding wire. I hate when that happens! So, I grabbed the wife and we took a ride up to Harbor Freight and I bought the last roll of .023 wire that they had. Got back home and finished up:

IMG_20160917_162303467 by Chris Campbell, on Flickr

IMG_20160917_163422229_HDR by Chris Campbell, on Flickr

IMG_20160917_163439151 by Chris Campbell, on Flickr

IMG_20160917_163928648_HDR by Chris Campbell, on Flickr

IMG_20160917_164604255 by Chris Campbell, on Flickr

IMG_20160917_183411931 by Chris Campbell, on Flickr

IMG_20160917_185128981 by Chris Campbell, on Flickr

IMG_20160917_185342605_HDR by Chris Campbell, on Flickr

One side down, one to go!!
 
I gotta bookmark this thread for future use., I will be reworking my window regs and grill same as you did. Thnx for all the pics and details.
 
Auto Transport Service
Back
Top