• When you click on links to various merchants on this site and make a purchase, this can result in this site earning a commission. Affiliate programs and affiliations include, but are not limited to, the eBay Partner Network.

Guage Cluster

LandonE

Well-Known Member
Local time
7:12 PM
Joined
Jul 24, 2010
Messages
51
Reaction score
1
Location
Abbotsford
Alright,
So i've got a 74 roadrunner, and the gauge cluster thats in my car right now is the woodgrain although was painted red and looks stupid, I wouldnt mind changing the cluster and the bulbs in the guages to make the Guages brighter with a newer LED, and I also need to get my heater box and fans/defrost working.. How hard is it to change just the Guage cluster while the whole dash is in, or should i take the whole dash out to do it? Does anyone have a build/pics on this topic?
Thanks.
 
Last edited:
I took out the woodgrain piece and it was easy in my 73 RR. Once that was out, I could easily pop out the lightbulbs although the sockets fall and hang. Then again, the meth head who owned my car at some point lost too many screws.

BTW, how hard is it for you Canadians to find metric gauges for these cars?
 
canadian guages

I took out the woodgrain piece and it was easy in my 73 RR. Once that was out, I could easily pop out the lightbulbs although the sockets fall and hang. Then again, the meth head who owned my car at some point lost too many screws.

BTW, how hard is it for you Canadians to find metric gauges for these cars?

My charger came from the plant without metric, it will stay that way
No need for gauge change. It only takes a second to convert MPH to KPH when sitting behind the wheel
 
I know on 71 & 72 the gauge cluster comes out just by a couple of screws and dropping the column from its mount. The wood grain on the passenger side however is more involved and I believe the dash has to come out. Of course if I am wrong I hope someone will correct me on that.
 
Alright, well so far, I have my cluster loose, and just hanging there, but it seems that there's more to just take out that just unhook the wires now. Is there any screws going into the back of it to hold the gauges in? and just drop down the column so it sits lower for easier access?
 
Last edited:
The rallye dash cluster bezel is secured to the cluster frame with screws from the rear. Remove the radio, disconnect the heater control cables/vacuum lines, drop the column(as mentioned), and disconnect the speedo cable. There are six screws, four accessed through the front of the bezel, two are accessed up from underneath through/near the opening for the steering column. the entire cluster will then come straight out after disconnecting the remaining wiring to the cluster.
 
I have pic's posted if you search my post you will find them..Sorry I can't do it for you because I'm at work....Look for Dash removal or some thing like that under my posts. If you don't find it I'll get you the link tonight.
 
Alright, well so far, I have my cluster loose, and just hanging there, but it seems that there's more to just take out that just unhook the wires now. Is there any screws going into the back of it to hold the gauges in? and just drop down the column so it sits lower for easier access?
There are 6 screws holding the assembly to the dash. The 4 holes that are visable in the grain face and 2 down low, 1 on each site of the column indent. You have to be on the floor and look up. Loosen the column bracket to allow it to drop a little. Place tape or a cloth on the column so you don't scratch it with the cluster. You also have to remove the speedo cable, pull the gauge light sockets, headlight, heater and wiper plugs and + and - wires attached near the voltage limiter. Care must be taken removing the speedo cable. Squeeze the cap clip with thumb, twist gentle to left while pulling away from housing. If you break the clip, you will have to replace the entire cable. Most importantly, disconnect your negative battery cable first.
 
I just removed mine recently and this is what i did.

Removed the guage cluster on my 73 RR since the wood bezel is screwed to the guage cluster from the back. Pulled the wires off and labeled them with blue tape so easier to reinstall. Planning to send out at this point to have the guages checked and calibrated. The wood grain insert on the passeneger side is easy to get out once you know what to look for. The screws are small and removed from the back and are in hard to reach areas - a 1/4 drive with long extension and universal comes in handy. I believe I had the heater box out when I did this since i am in the process of restored that (sent to the heater box guy). If you want some photos PM me with your email address and i will send you what I have
Ralph
 
Alright, I'm pretty sure i've got a good visual idea on what to do now, thanks alot for all the help, and if i need anything else, I'll be commenting for more help. LOL :p
 
I took out the woodgrain piece and it was easy in my 73 RR. Once that was out, I could easily pop out the lightbulbs although the sockets fall and hang. Then again, the meth head who owned my car at some point lost too many screws.

BTW, how hard is it for you Canadians to find metric gauges for these cars?

Metric was introduced later in the 70's (77 or 78 I think) so there were not any metric gauges in these years... well except if the owner put the little sticky backed paper ones on the cover of the spedo (The goverment thought it was a good idea to hand out KM/h stickers for older cars so that you could put the appropriate speed km sticker over the actual mph! It was hilarious!)
 
Hmmmm there may have been if the car was manufactured destines for other countries overseas. I dont know if any were destined for France or their colony countries or anywhere else in Europe where Metric had been adopted.

I'm pretty sure however that many Canadian Dodge's were actually manufactured or at least assembled in Canadian plants. I cannot say however, what other differences there may be between US and exported and foreign manufactuered/assembled cars there may have been.

Once upon a time I did hear there was a difference in the glass tempering and bumper mounts and lighting differences but they may be myths.

There is differences in badging with the ABody cars like Dart-Charger in Austrailia I think. Also Years available, like 76 ABody's in South America using 68 or 69 US stamping die's. (I think Crysler had sold their stamping dies to them or some such nonsence lol)

...sorry looks like I just kept typing through part of my lunch break... lol

Have a great day!
 
Thanks sundance, I took a look at er today. and I took a closer look underneath the dash, and it looks to have a bad quality paintjob. How hard would it be to take the whole thing out and redo it right? It's been a thing ive wanted to get done, although I find electrical stuff so technical and confusing. It's either I do it, or get charged an arm and a leg by a shop..
 
It's not bad...You can't really mess it up because all the wires/lights that go into the back of the cluster have the colors marked on it to tell you what go's where.Take lots of pic's before and during your tear down and if and when all else fails ask us :)

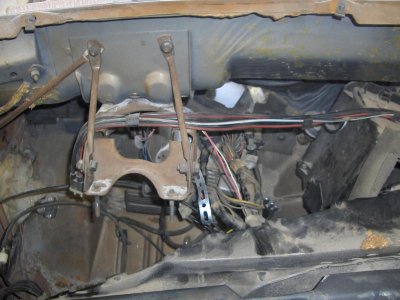
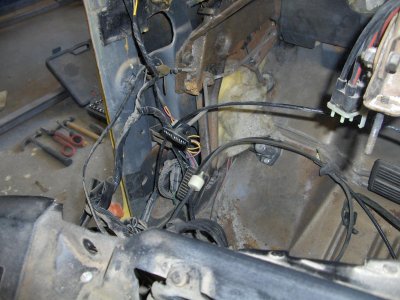
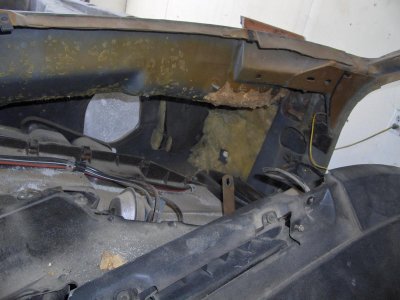
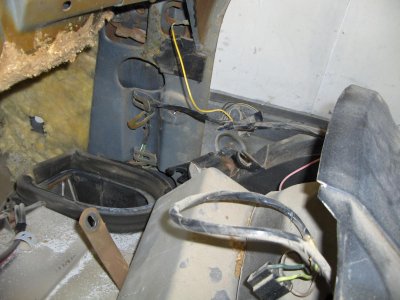
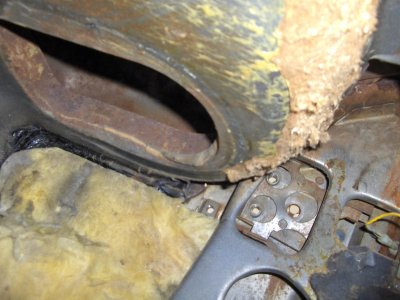
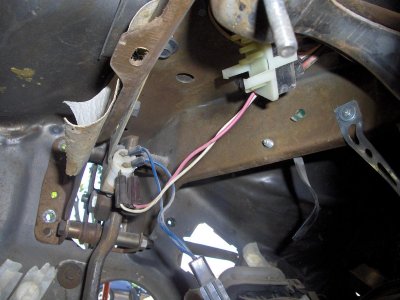
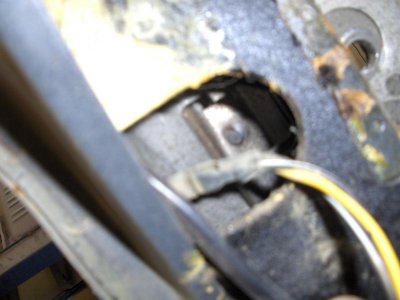
Here are a few pic's I tried to find for some other members.I found them by accedent today while looking for another pic of a dash lol.
Parts car 76 dart sport 002.jpg
Parts car 76 dart sport 003.jpg
Parts car 76 dart sport 004.jpg
Parts car 76 dart sport 005.jpg
Parts car 76 dart sport 006.jpg
Parts car 76 dart sport 007.jpg
Parts car 76 dart sport 008.jpg
 
Auto Transport Service
Back
Top