• When you click on links to various merchants on this site and make a purchase, this can result in this site earning a commission. Affiliate programs and affiliations include, but are not limited to, the eBay Partner Network.

My 68’ Rustic Charger Resto

Thank you Jim! I very well may do that. Unfortunately the car was in such rough shape that I didn’t have much to document measurement wise.

I have about 31-3/16” passenger side.
75A21EFC-C77C-4C13-AFC2-22E9001B2229.jpeg


31” Drivers side.

8490FCB1-C64D-4F67-A2B8-AF845E406621.jpeg


As you can see, the width between the crossmember and the tail panel is not even all the way across.

4A54A658-A142-4B45-BC24-FE0876073F64.jpeg
49A60009-561F-4A3D-85C5-19539D1B1F39.jpeg


Passenger side

F22DE7CA-1F8E-49D3-8466-761FF1A409D6.jpeg


Drivers side

1376AC29-C32C-465B-93D7-2526383EF78E.jpeg
 
Fellow HVAC man,Wow awesome work,awesome project!
I’m starting a 68 project also so really digging it but scary also can’t wait to follow your progress best of luck!
 
Fellow HVAC man,Wow awesome work,awesome project!
I’m starting a 68 project also so really digging it but scary also can’t wait to follow your progress best of luck!

Thank you! You aren’t kidding, It’s scary until you break down the work section by section it seems
 
Guys, it’s been awhile since ive update this thread but....the project has still been rolling along. I’ll try to stay more consistent with the updates.


So, I’ve got the floor permanently plug welded to the frame and the inner/outer wheel houses welded in. For the floor pan, I used 5/16” self tapping screws to pull the floor pan securely to the frame. The trunk extensions are just clamped in until I get them fit to the quarters. I had to fit and remove the quarters more times than I can recall but, finally got wheel houses fitting decent.

F2CF4C10-A419-4E80-A66F-78F7CEA88BDB.jpeg
303B05B8-BBC6-40F7-8BEC-3B3680043C33.jpeg
5FA2AE01-CD58-4A15-AE5F-5EFD567320E0.jpeg


Scuffed down the primer with scotch bright, wiped everything down with wax/grease remover and sprayed this area with PPG epoxy.


4E68449A-0711-4340-BC17-6861DB8390C4.jpeg
A73A6D14-FBE0-4B63-A59A-30776BE36E44.jpeg
CB5D5232-3A27-43CD-9563-6844245759C8.jpeg
 
Next it’s time to concour the door hinges. The hinges this car came with were on the rough side but, still worth trying to repair. The lower hinge on both the drivers and passenger side was cracked right where the hinge forms an L.


First was to dissassemble each hinge. I sand blasted the hinges while they were together but, will go over them again while apart. To punch the pins out, I just used a flat punch and a hammer. To repair the cracked hinge, we took a Dremal and made a “V” where the crack was. Once the prep work was done, it was time to crank up the welder and fill in the void/crack.

The hinge rebuild kit came with an arbor bit, oversized pins for the lower hinges, bushing and standard pins for the upper pins and new S springs.
A5FC1B56-72F5-4BB1-BECC-88F978363D80.jpeg


To remove the rollers, just take a grinder and grind the pin flush with the hinge body. Then, take a center punch and knock them out. They eventually come out...

EB7F51C8-6819-4D25-AB2D-A767EA7818C2.jpeg
AA16813A-94F1-49F1-BC14-5EAF7A30AE09.jpeg
C75AD111-7B78-477F-8D28-C383F996DC81.jpeg


The inner hinge was loose in the outer hinge body so, we tossed the hinge body in the press and gently squeezed them back together to take most of the slop out.

7AEBD2EE-3FE8-4BB6-B271-C8C710084859.jpeg


The original wavy washers were rusted away for the most part, I found a complete assortment on Amazon for $8.00.

5939D030-D049-4CB4-8DF8-7BF18F8B68BB.jpeg
5C8779BE-32FE-47E4-BB79-6566022B0930.jpeg


After sand blasting each piece, replaced the washers, added a little grease then tapped the rollers/pins back in their holes. To keep them from coming out, I tacked the end of the pins with the welder. Once all of that was done, each piece was sanded down, wiped off with wax/grease remover and epoxy primed.

94295378-98DC-4B66-B261-9608FA7596CC.jpeg


Now, this is the finished product.

ED08E05C-20A4-4513-BC6E-D28D41602D87.jpeg


C92E7B79-A1D9-4863-AAB0-25E3BBBA17B9.jpeg
 
I'm back from a long slumber of not updating this thread. I feel as if I made substantial progress looking back on the earlier pictures! :thumbsup: Ill do my best to catch everyone up to speed on the progress that has been made!

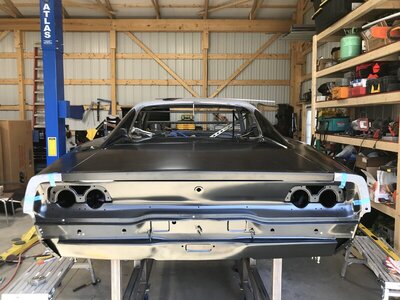
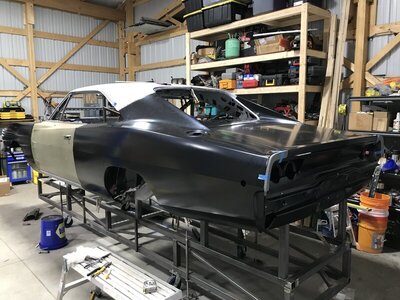
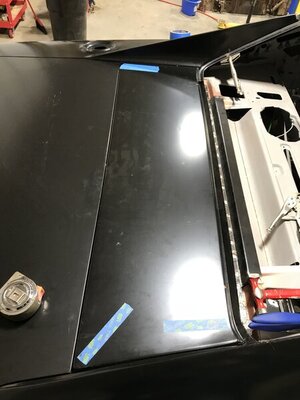
After the wheel tubs and the trunk pan was fully welded in, it is time to start to start fitting up the quarter panels to the doors while also aligning the deck lid.

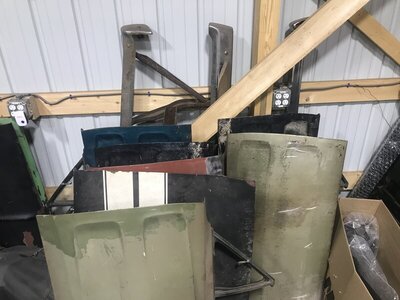
I have seven doors for this car. Yes, I said seven!! :mob: They are all rough by my standards and I cannot justify patching a set of doors when the rest of the car is all new AMD metal. You can see that the best doors I have are filled with a gallon of body filler each. due to this, I ordered a new set of doors from AMD.
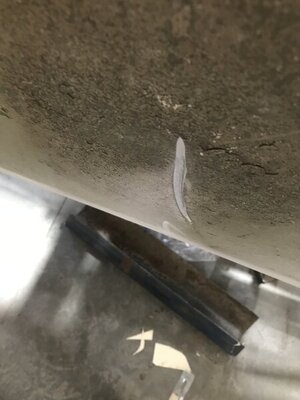
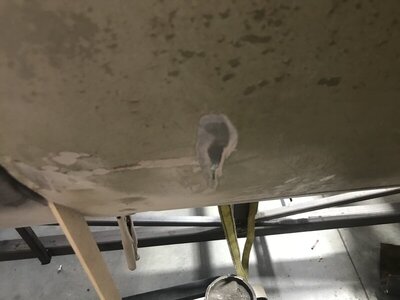
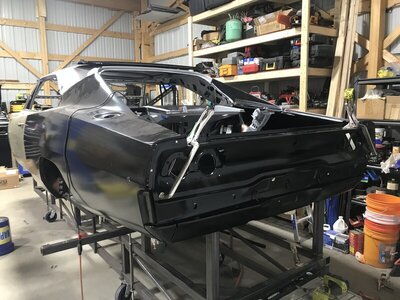
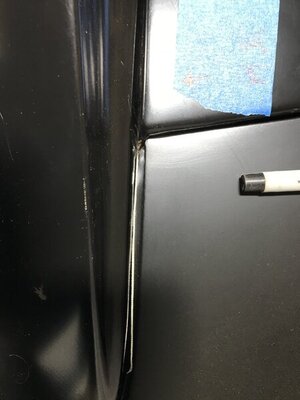
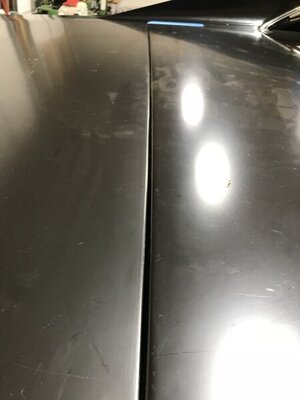
The section that gave me the biggest challenge was the filler panel. Measuring the old rusty filler panel to the AMD panel, the replacement was 1/4" shorter left to right. Based on the researched I've gathered, I'm not the only one who has ran into this.

IMG_6186.JPG IMG_6187.JPG IMG_6213.JPG View attachment 1102540 IMG_6327.JPG IMG_6329.JPG IMG_6330.JPG IMG_6332.JPG IMG_6335.JPG IMG_6337.JPG IMG_6557.JPG
 
Last edited:
Had to hold off on things until the AMD doors came in. Luckily they arrive straight and dent free! Threw the rebuilt door hinges on them and tossed them on the car with the front fenders and the hood.
IMG_6544.JPG


IMG_6556.JPG
IMG_6562.JPG
IMG_6941.JPG


Ended up fighting the doors a good bit in order to line up square with the rockers and with the quarters. What I discovered helps tremendously is bolting in the vent "wing" windows in order to hold the door tighter to the inner structure. The door fit decent if the grabbed the back of it and twisted in IN towards the bottom. Once you twist it in and tighten the vent window bolts, its stayed in that twisted configuration.

The hood and fenders fit OK for the first time being on the car. The hood gaps are a little on the tight side but, I'm sure a little shim here or there will take care of it.
 
Auto Transport Service
Back
Top