• When you click on links to various merchants on this site and make a purchase, this can result in this site earning a commission. Affiliate programs and affiliations include, but are not limited to, the eBay Partner Network.

My charger restoration dream car

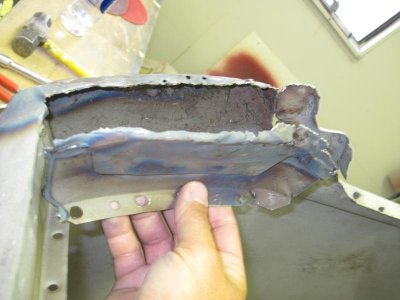
Some time in it's life, someone used the rubber soles from tennis shoes for the shock tower bushings. I thought that was some good red neck engineering.
105_3227.jpg

- - - Updated - - -

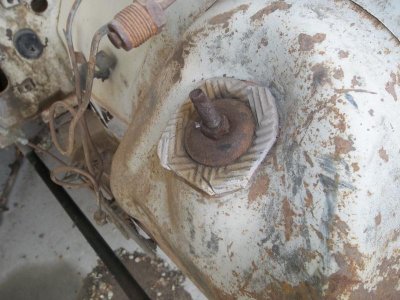
Removing front end parts.
105_3235.jpg
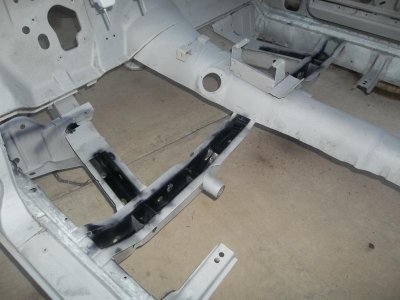
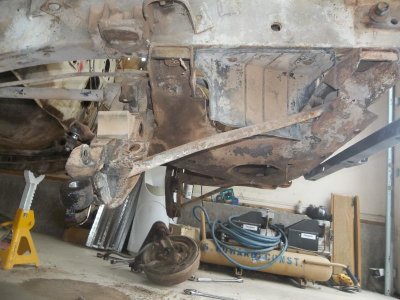
The K frame will need some cleaning. This will go on my list of parts to have powder coated.
105_3237.jpg

- - - Updated - - -

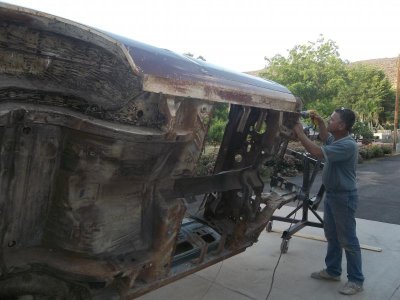
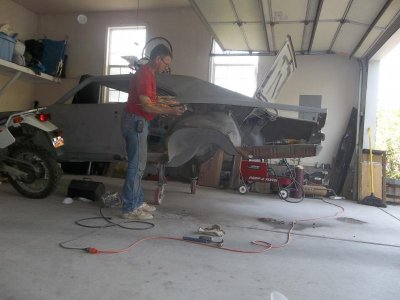
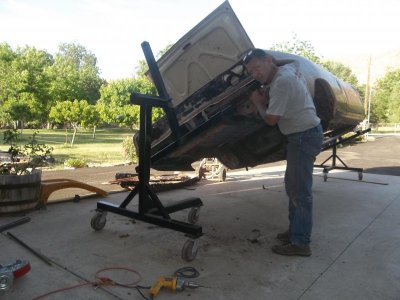
For some time I have wanted to get a rotisserie to put my car on. I have looked at buying one but did not want to spend that much for something that I might only use for one car. I tried to find a used one and decided that maybe I could make one. Later I was talking with a local auto body shop and he had one sitting in his yard. I asked him about it and it was one from a client that didn’t have room to store it at his house and the body shop did not want to store it at the shop so he brought it to my house and told me that I could use it if I stored it at my house. Bargain! It is a home made one but it was built well.
105_3260.jpg

105_3227.jpg 105_3235.jpg 105_3237.jpg 105_3260.jpg
 
Subscribed - is the right side strut rod bent?
Yes, it is. There are a few things on the car that make me think that the previous owner thought it was a Dukes of Hazzard car. The car spent over 20 years hidden in a wrecking yard. Before that I don't know its history.
 
This one is my pick of the older Chargers, something about those tail lights lol Good luck she will be a cool ride when you get done! :)
 
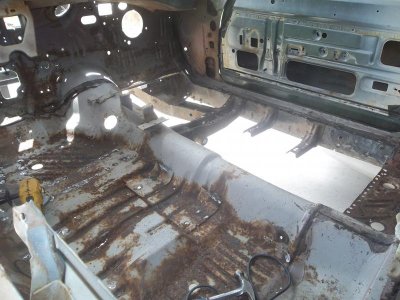
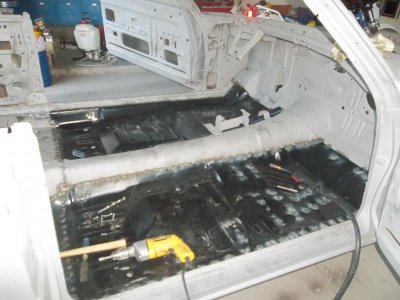
Now that the car was on the rotisserie it made it a lot easier to work on the underneath. I took a little propane torch and heater the undercoating tar and scraped it all off.

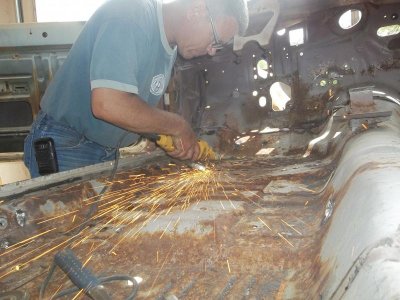
This car sat out in the weather without a front windshield for more than 20 years. That let rain in on the seats and carpet. So my floor pans needed replacing.

105_3256.jpg
I have been geting many pointers by reading and following many of your threads. Thank you for posting. Now I will do my best to post my progress also.
105_3257.jpg
105_3258.jpg
 
I could also see that my rear valance needed to be replaced. It was beat up and I also wanted to be able to get in to the rear trunk supports. They were rusting out.
105_3261.jpg

I am trying to remove all of the parts that I know will need to be replaced so that when I have it media blasted I can get into the places behind and get out as much rust as possible.
 
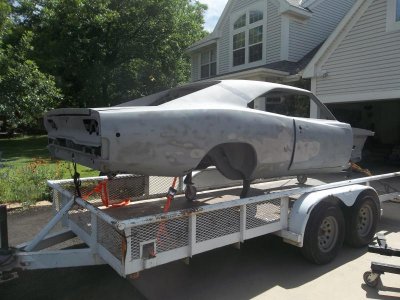
I have been trying to decide how I was going to have my car media blasted. I was planning to do it myself. I also looked into other options. One company said that they could come and do it at my house. There system used a media with water. I thought that sounded good so that it would not heat up the metal and would not make a big mess. There bid was $2,000.00 for what I wanted. I had also found a friend that would let me use his unit. That would end up costing about $200 for material and compressor rental. I decided to take my car into Kenworthy sign. They did it in their booth with mo mess at my house. Total cost was $200 and they did a good job. They did not do the top of the cab or the top of the hood for fear that they might warp.

My car comming back from media blasting.
105_3263.jpg

105_3264.jpg
 
After I brought the car back from media blasting I took a long tube and hooked it to my air hose nozzle and spent 2 hrs blowing all of the extra media out of the rails, holes, corners, and crevasses.

I coated all of the frame rails, everywhere I could reach with a rust treatment before fitting the floor pans.
105_3265.jpg

- - - Updated - - -

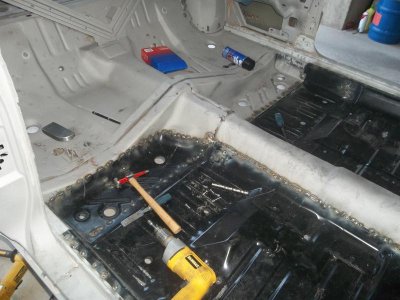
I have watched some threads where the floor pans were fit by but joining them together. I feel that I would make some big gap mistakes so I chose to do a ¼” overlap on the edges.

These AMD pans fit nicely.
105_3268.jpg
I did have to replace the passenger side rear floor piece. The driver side was in better condition so I did not change it out.
105_3269.jpg
 
You sure are going to town! Its looking real good and solid for sure! :)
 
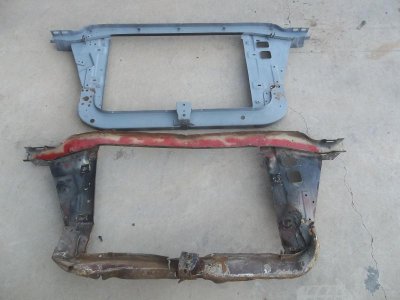
I forgot to mention that my radiator support was messed up. After being pushed around, by forklifts in the wrecking yard, it was bent and ripped.
Dec. 2013 010.jpg

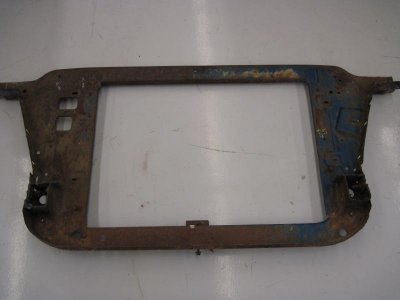
I found a radiator support on the internet that was torched off of a 69 coronet.

radiator support 004.jpg

It needed some minor repairs and cleaning but it was straight.

Radiator support b. 004.jpg

- - - Updated - - -

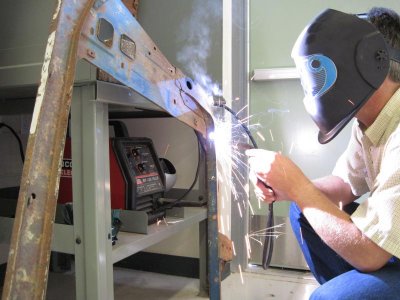
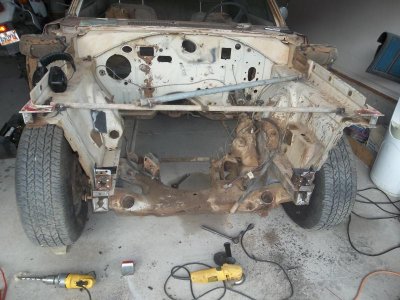
I welded in a couple braces, before removing the old support, to keep it straight whale attaching the new support.

Dec. 2013 011.jpg
68 radiator support.jpg
68 radiator support removed.jpg
 
Good job! Love watching these cars getting restored to their former glory!
 
Great work so far! I love 2nd Gen Chargers and I'm enjoying watching this one get restored. For the radiator support did have to transfer over any vin numbers and if so how did you do it?
 
Great work so far! I love 2nd Gen Chargers and I'm enjoying watching this one get restored. For the radiator support did have to transfer over any vin numbers and if so how did you do it?

There are numbers stamped into the top rail. That section of plate could be cut out and welded into the replacement support.
My car did not have the fender tag so I have not been worrying about making it a numbers matching car. I would like to make it an R/T clone. It came with a 383 but I have a 440 that I will rebuild for it.
I did save that number stamped piece from my old support just incase I ever changed my mind.
 
Great thought to keep the old stamped piece, ive thrown out things that i wished later i kept, without the fender tag i don't know how much weight it holds but everything adds up if you ever need it, An R/T clone to me sounds good, as you said its not a numbers matching you could use now, so making it the way you want is the way to go, Your the one that has to be satisfied when your finished!
 
After media blasting there were several bondo repair spots. After I cleaned out all of the bondo I could see that the left side was in poor condition. It had several holes and poor sheet metal patches. I decided that it would be better to get a whole new rear quarter skin for the left side and a partial lower rear piece for the right side.
105_3272.jpg

I cut out the left rear skin and on the right side I cut off the lower rear section where the trunk extension collected dirt and rusted it out. My skill saw with a metal cutting blade on it made this job easy.

105_3275.jpg
 
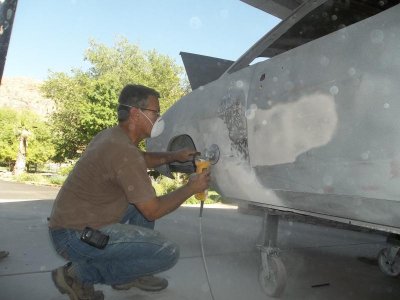
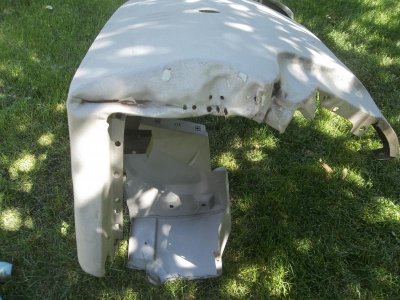
The nose of both of my front fenders are all beat up. They must have been bumped and pushed for many years. I have been trying to decide if it would save me time and money to just buy new fenders. One good thing about my fenders is that they do not have any rust and cancer they are just beat up.

105_3308.jpg

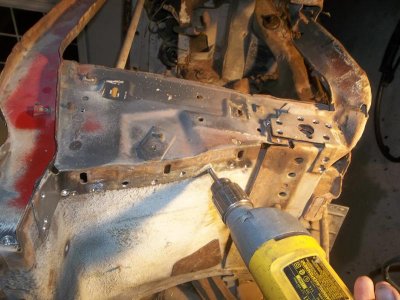
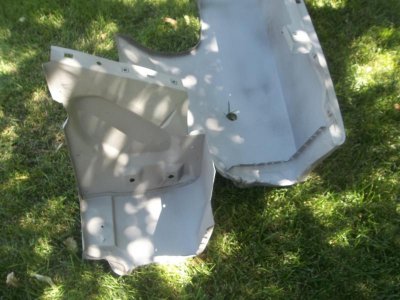
I decided to see what I can do with these fenders. I drilled out the spot welds of the front support so that we could get into the nose to see if we could push it back out. We also split the nose piece in half so we could heat and shape it.

105_3306.jpg
105_3307.jpg

This is as for as I got yesterday. I still have not decided if I should just buy new AMD fenders.

IMG_0534.jpg
IMG_0533.jpg
 
I don't know which way i would go, pretty banged up but some time and work it could be done it would have to be banged up in the worse part of them.. That will be some time for sure. Good luck in what ever decision you make, sometimes we just have to try and especially if there good and solid!
 
Those were my thoughts Ron. I will work with them and see how close I can get them. I like to keep the original parts if I can.
 
Auto Transport Service
Back
Top