• When you click on links to various merchants on this site and make a purchase, this can result in this site earning a commission. Affiliate programs and affiliations include, but are not limited to, the eBay Partner Network.

New Garage

skicker

Well-Known Member
Local time
5:45 AM
Joined
Dec 15, 2011
Messages
1,281
Reaction score
2,818
Location
Cumberland, Maryland
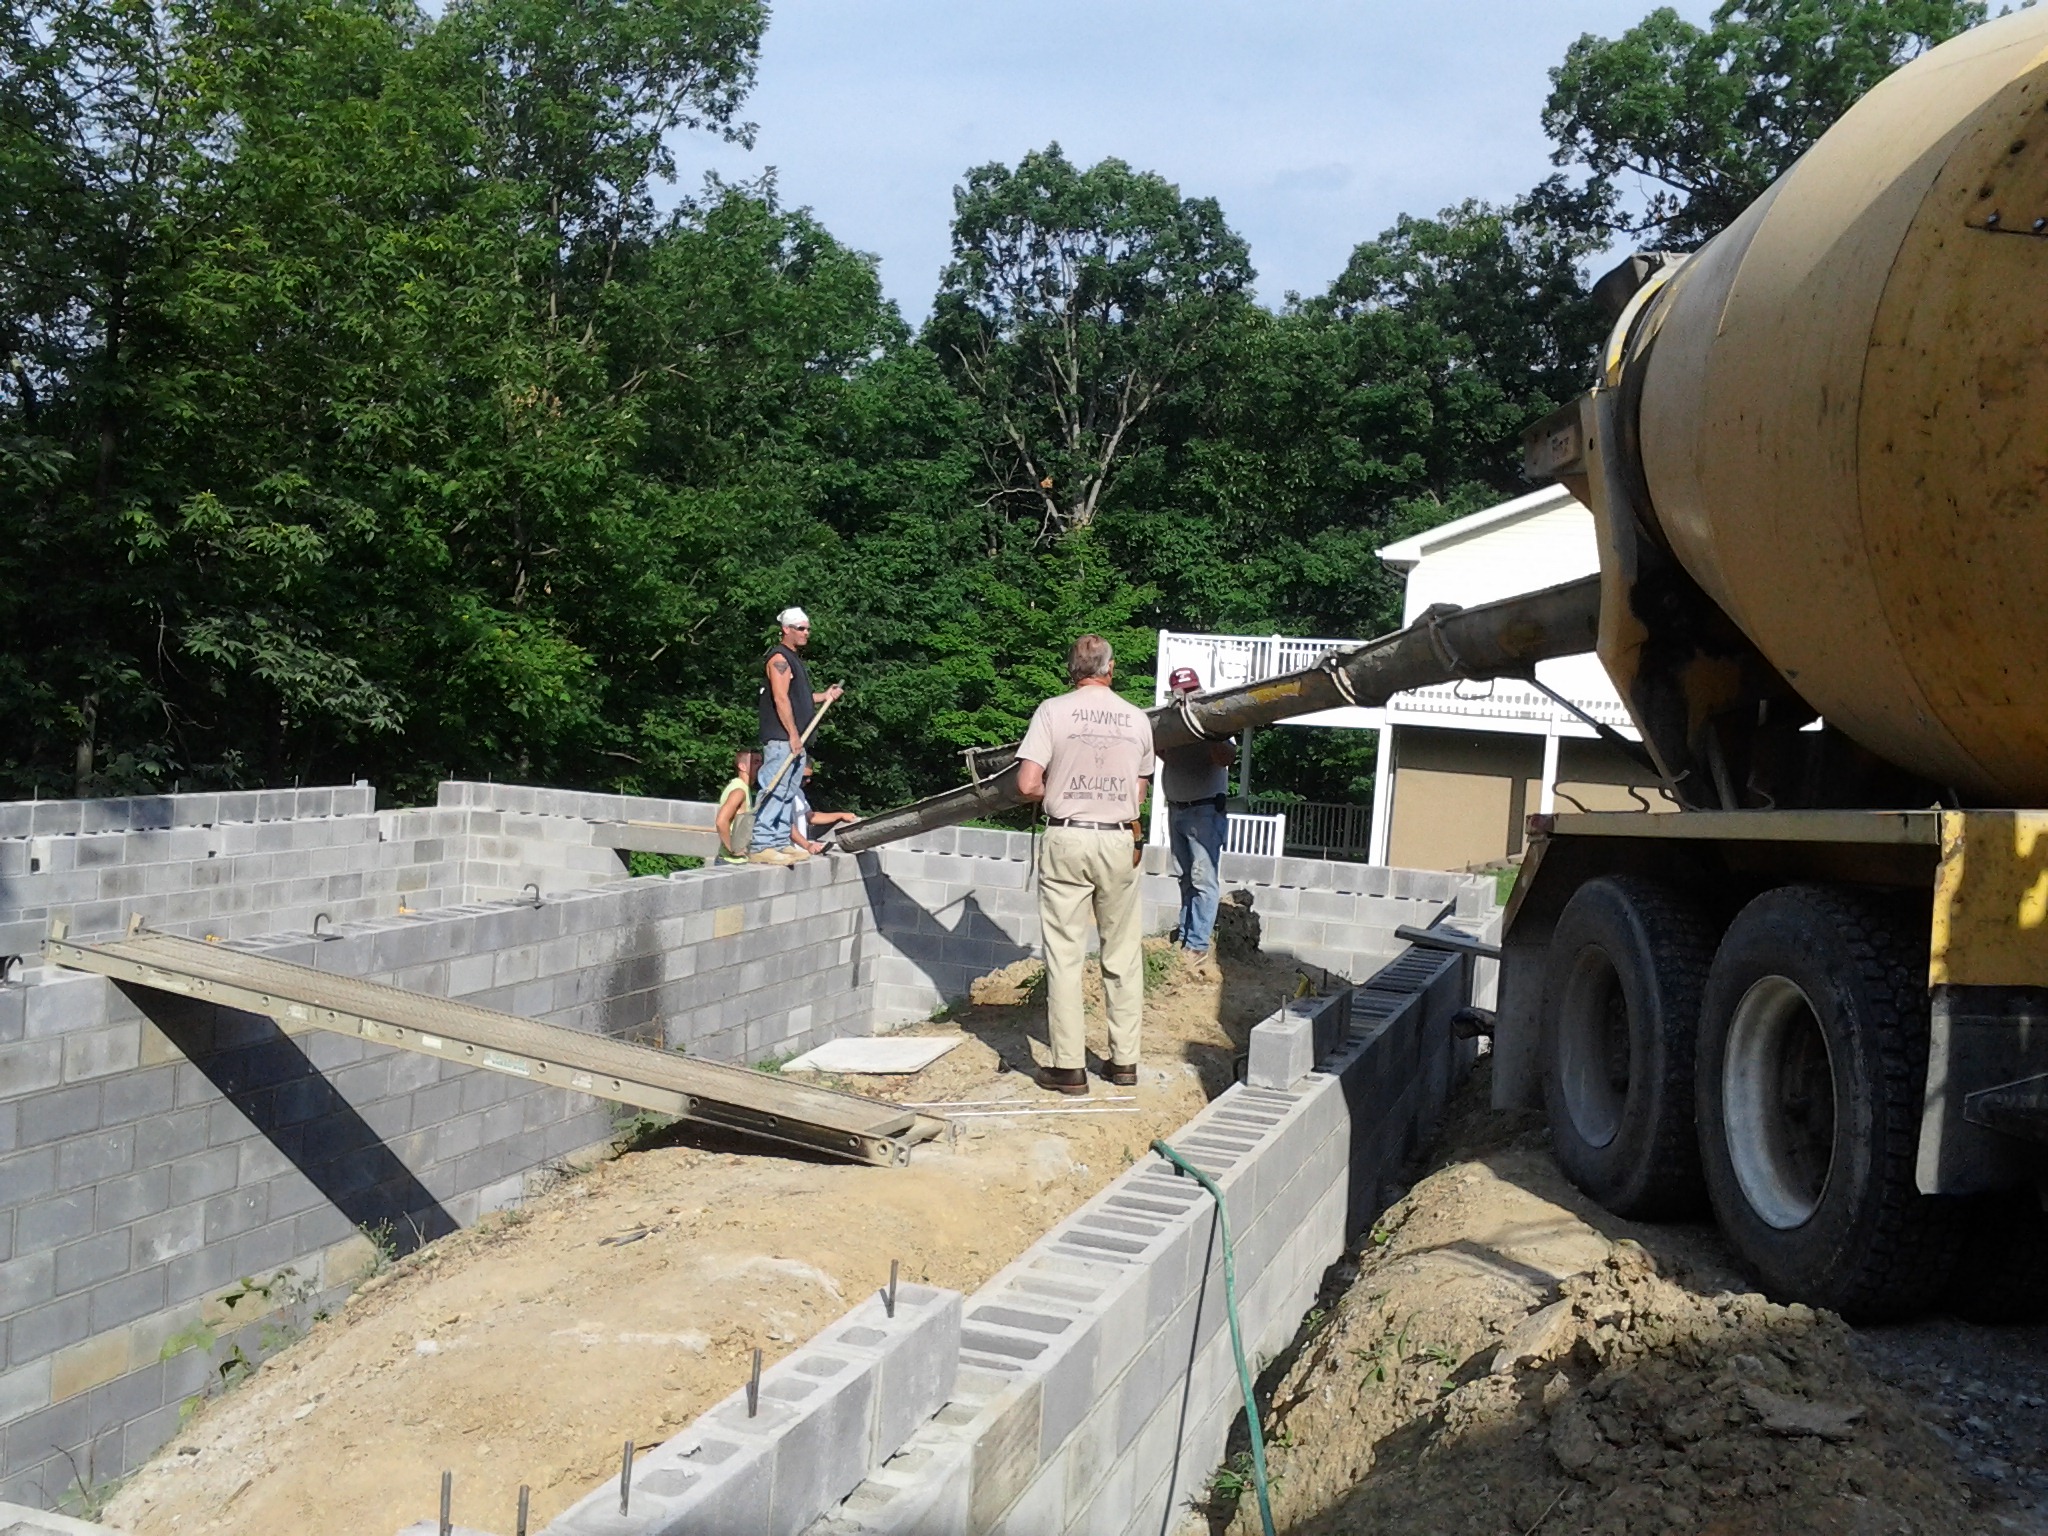
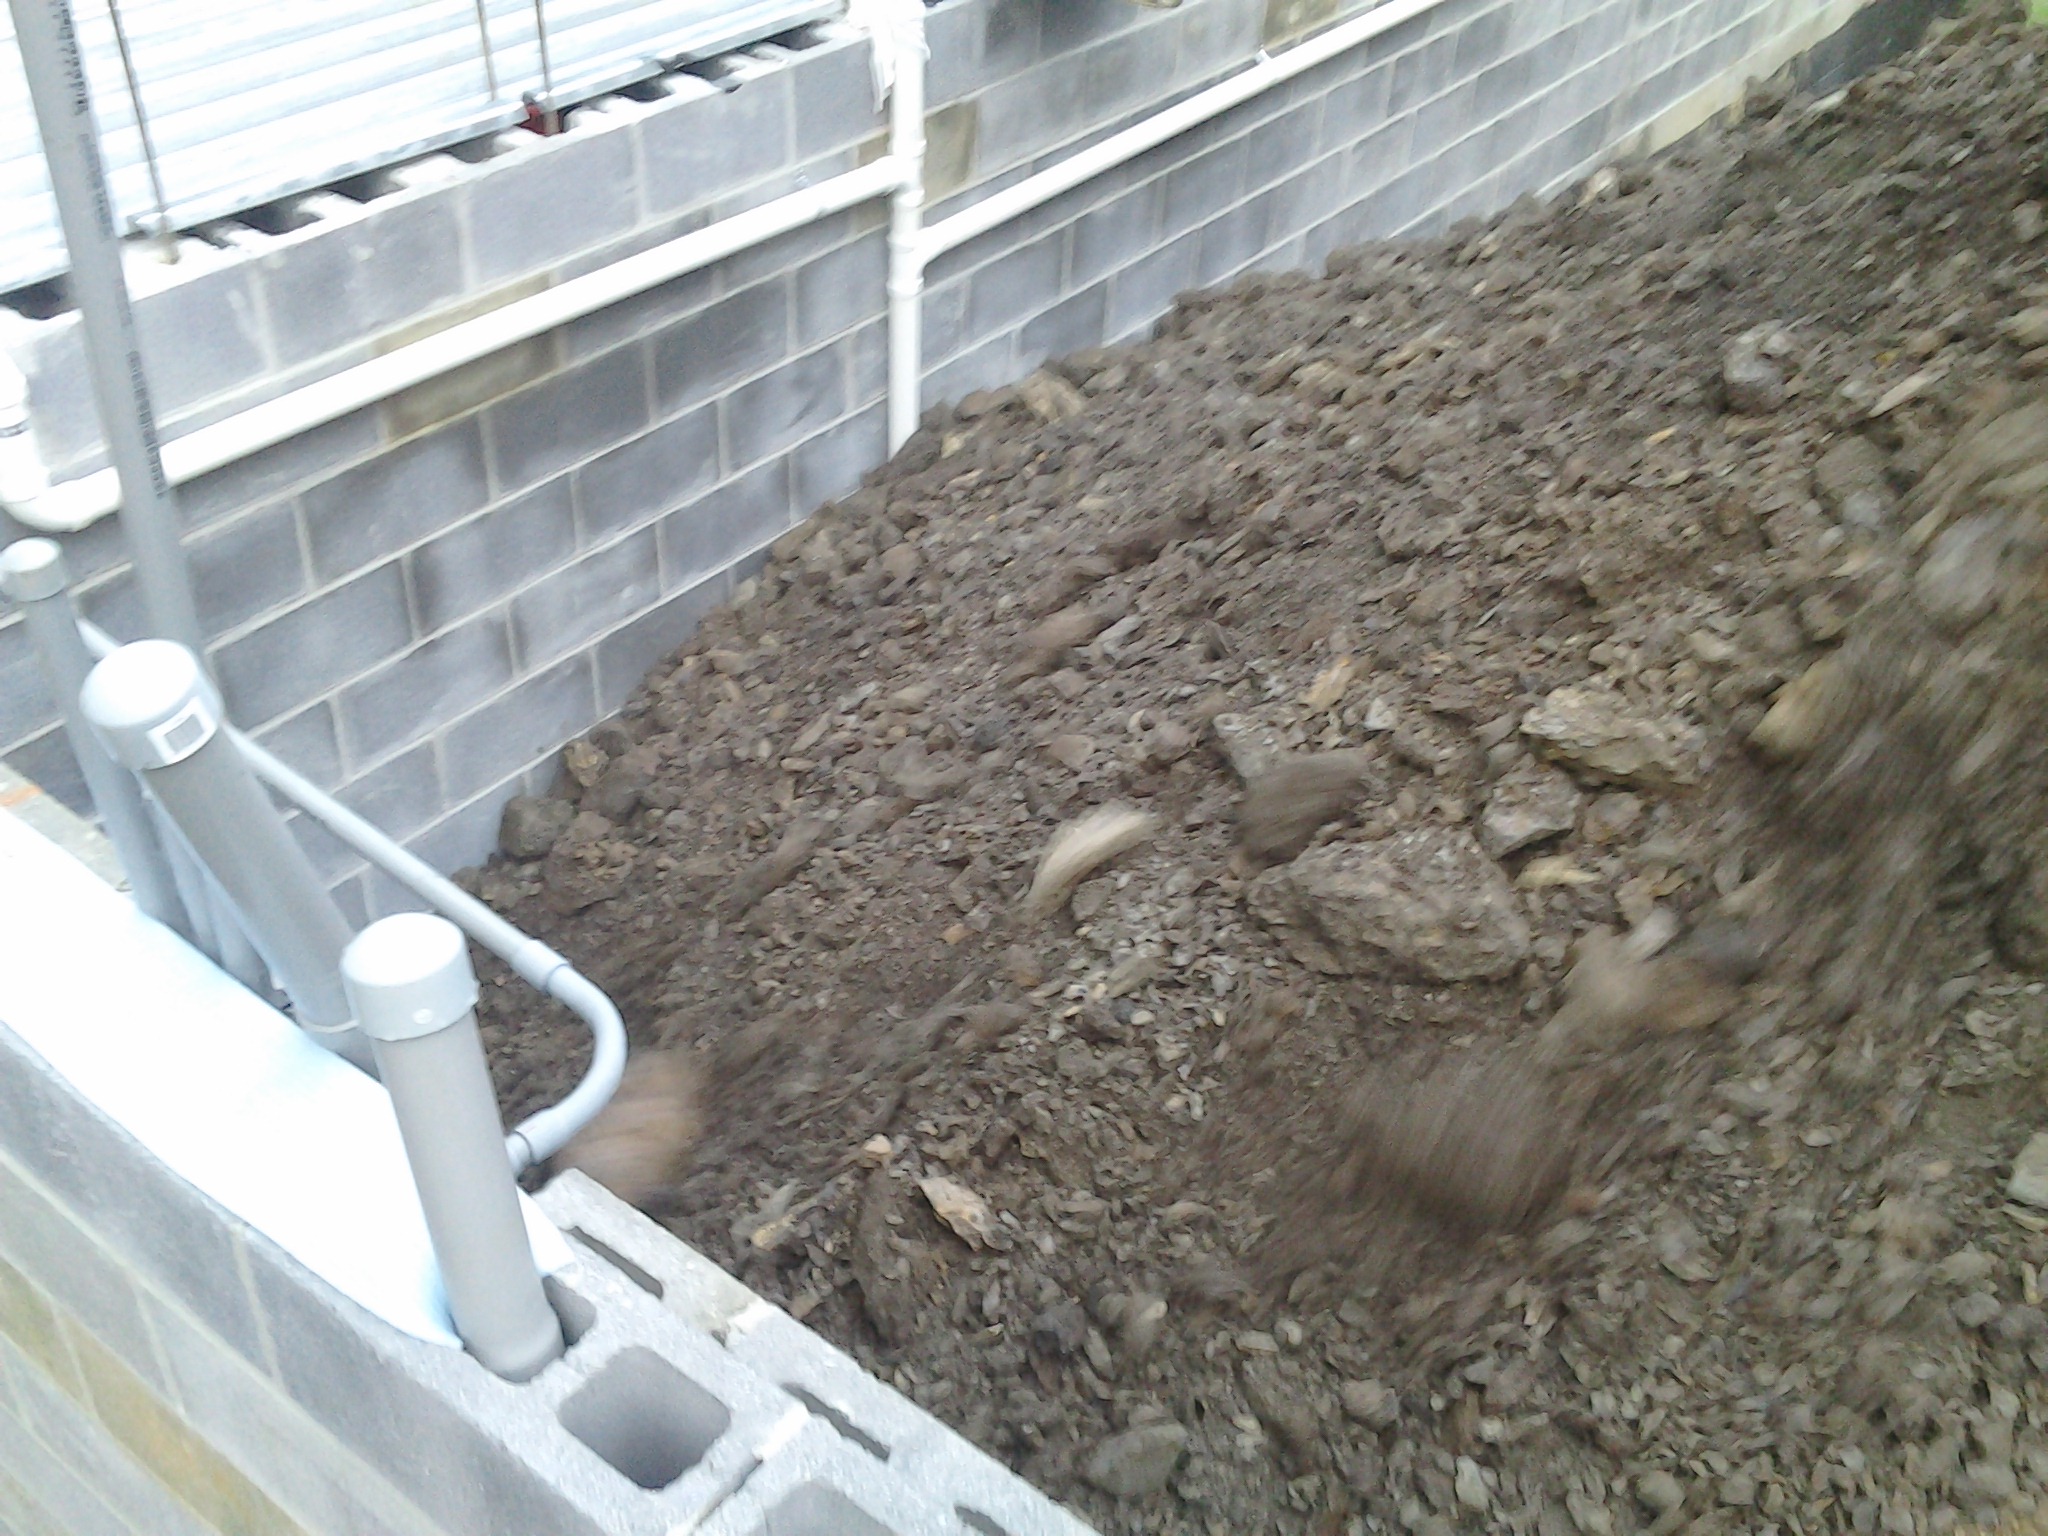
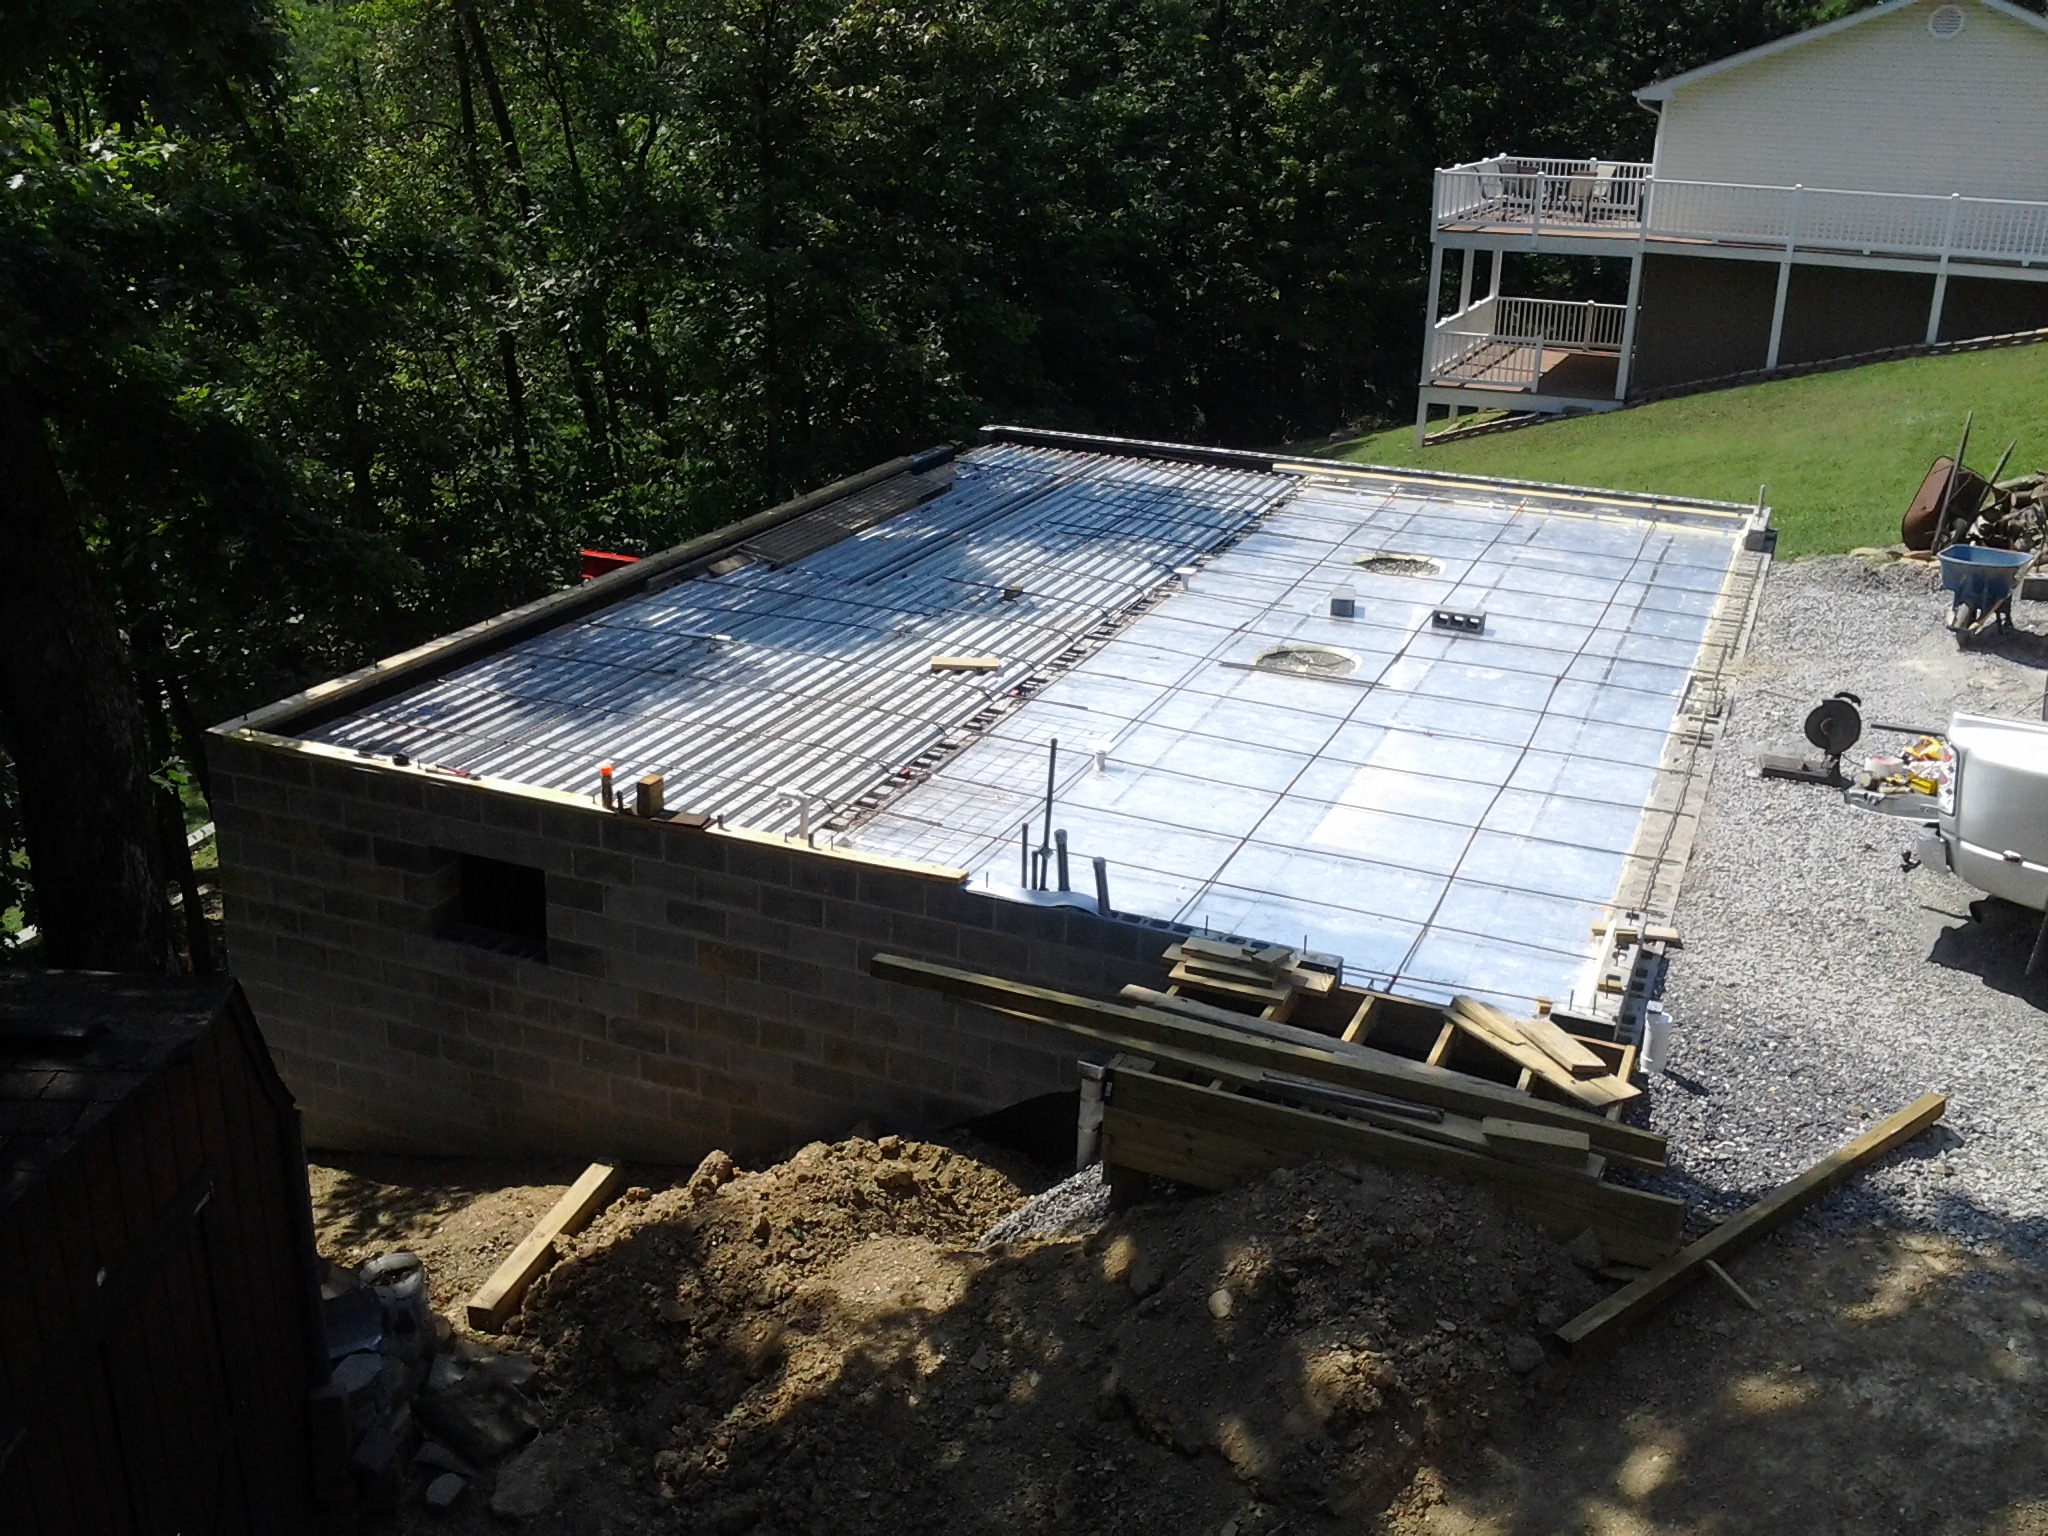
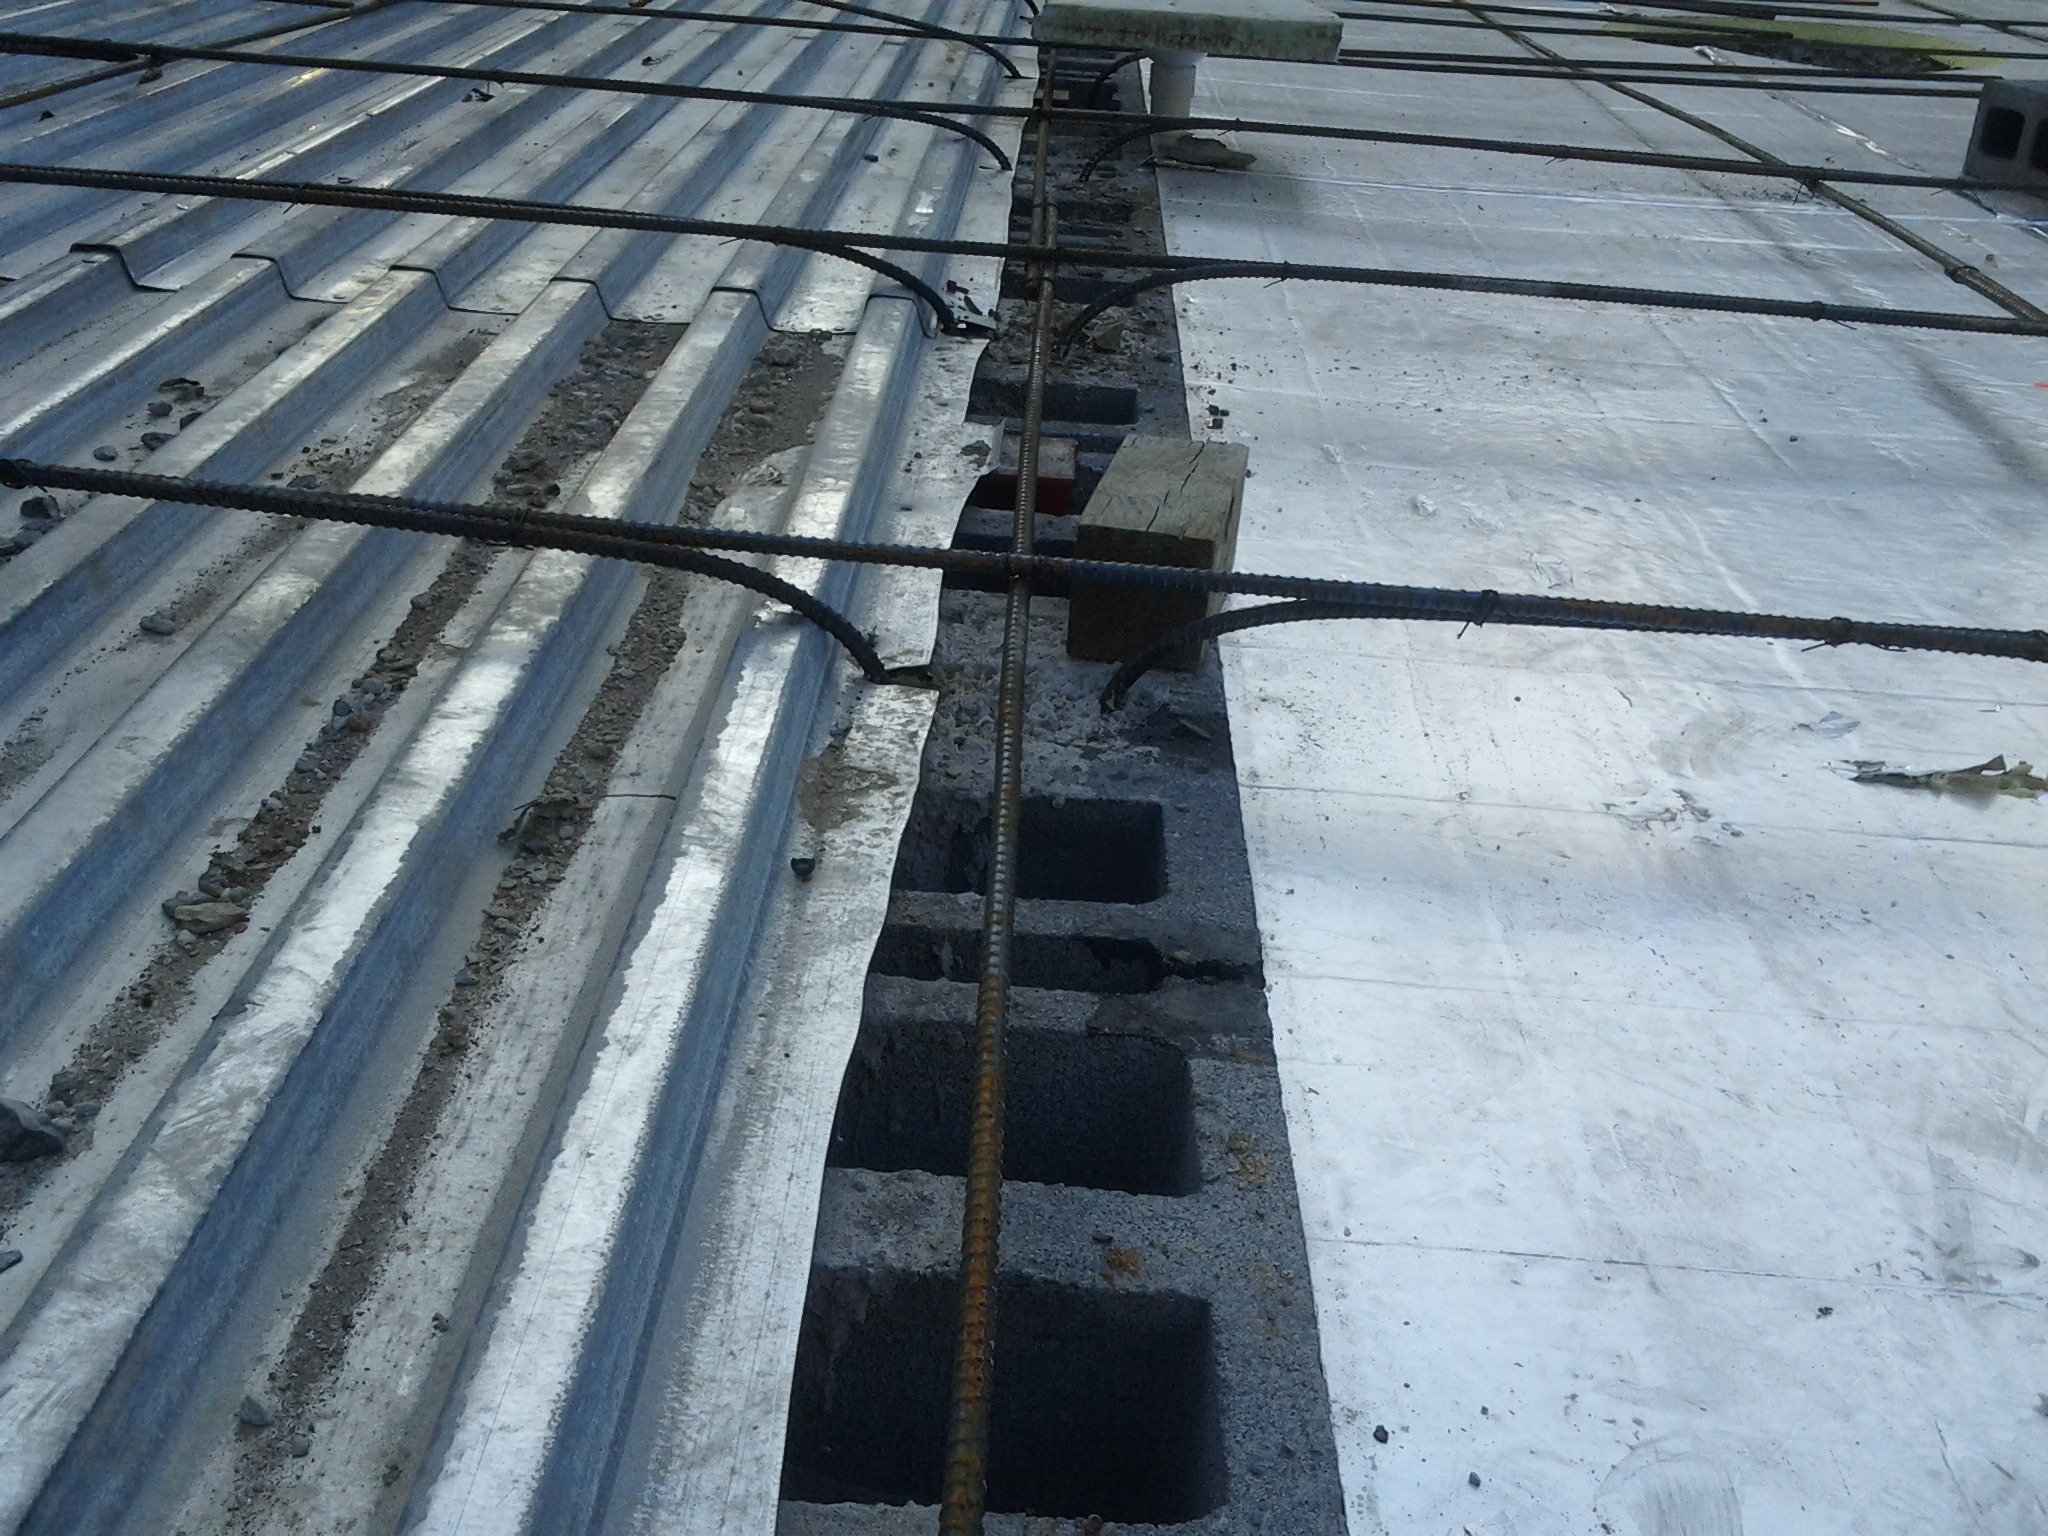
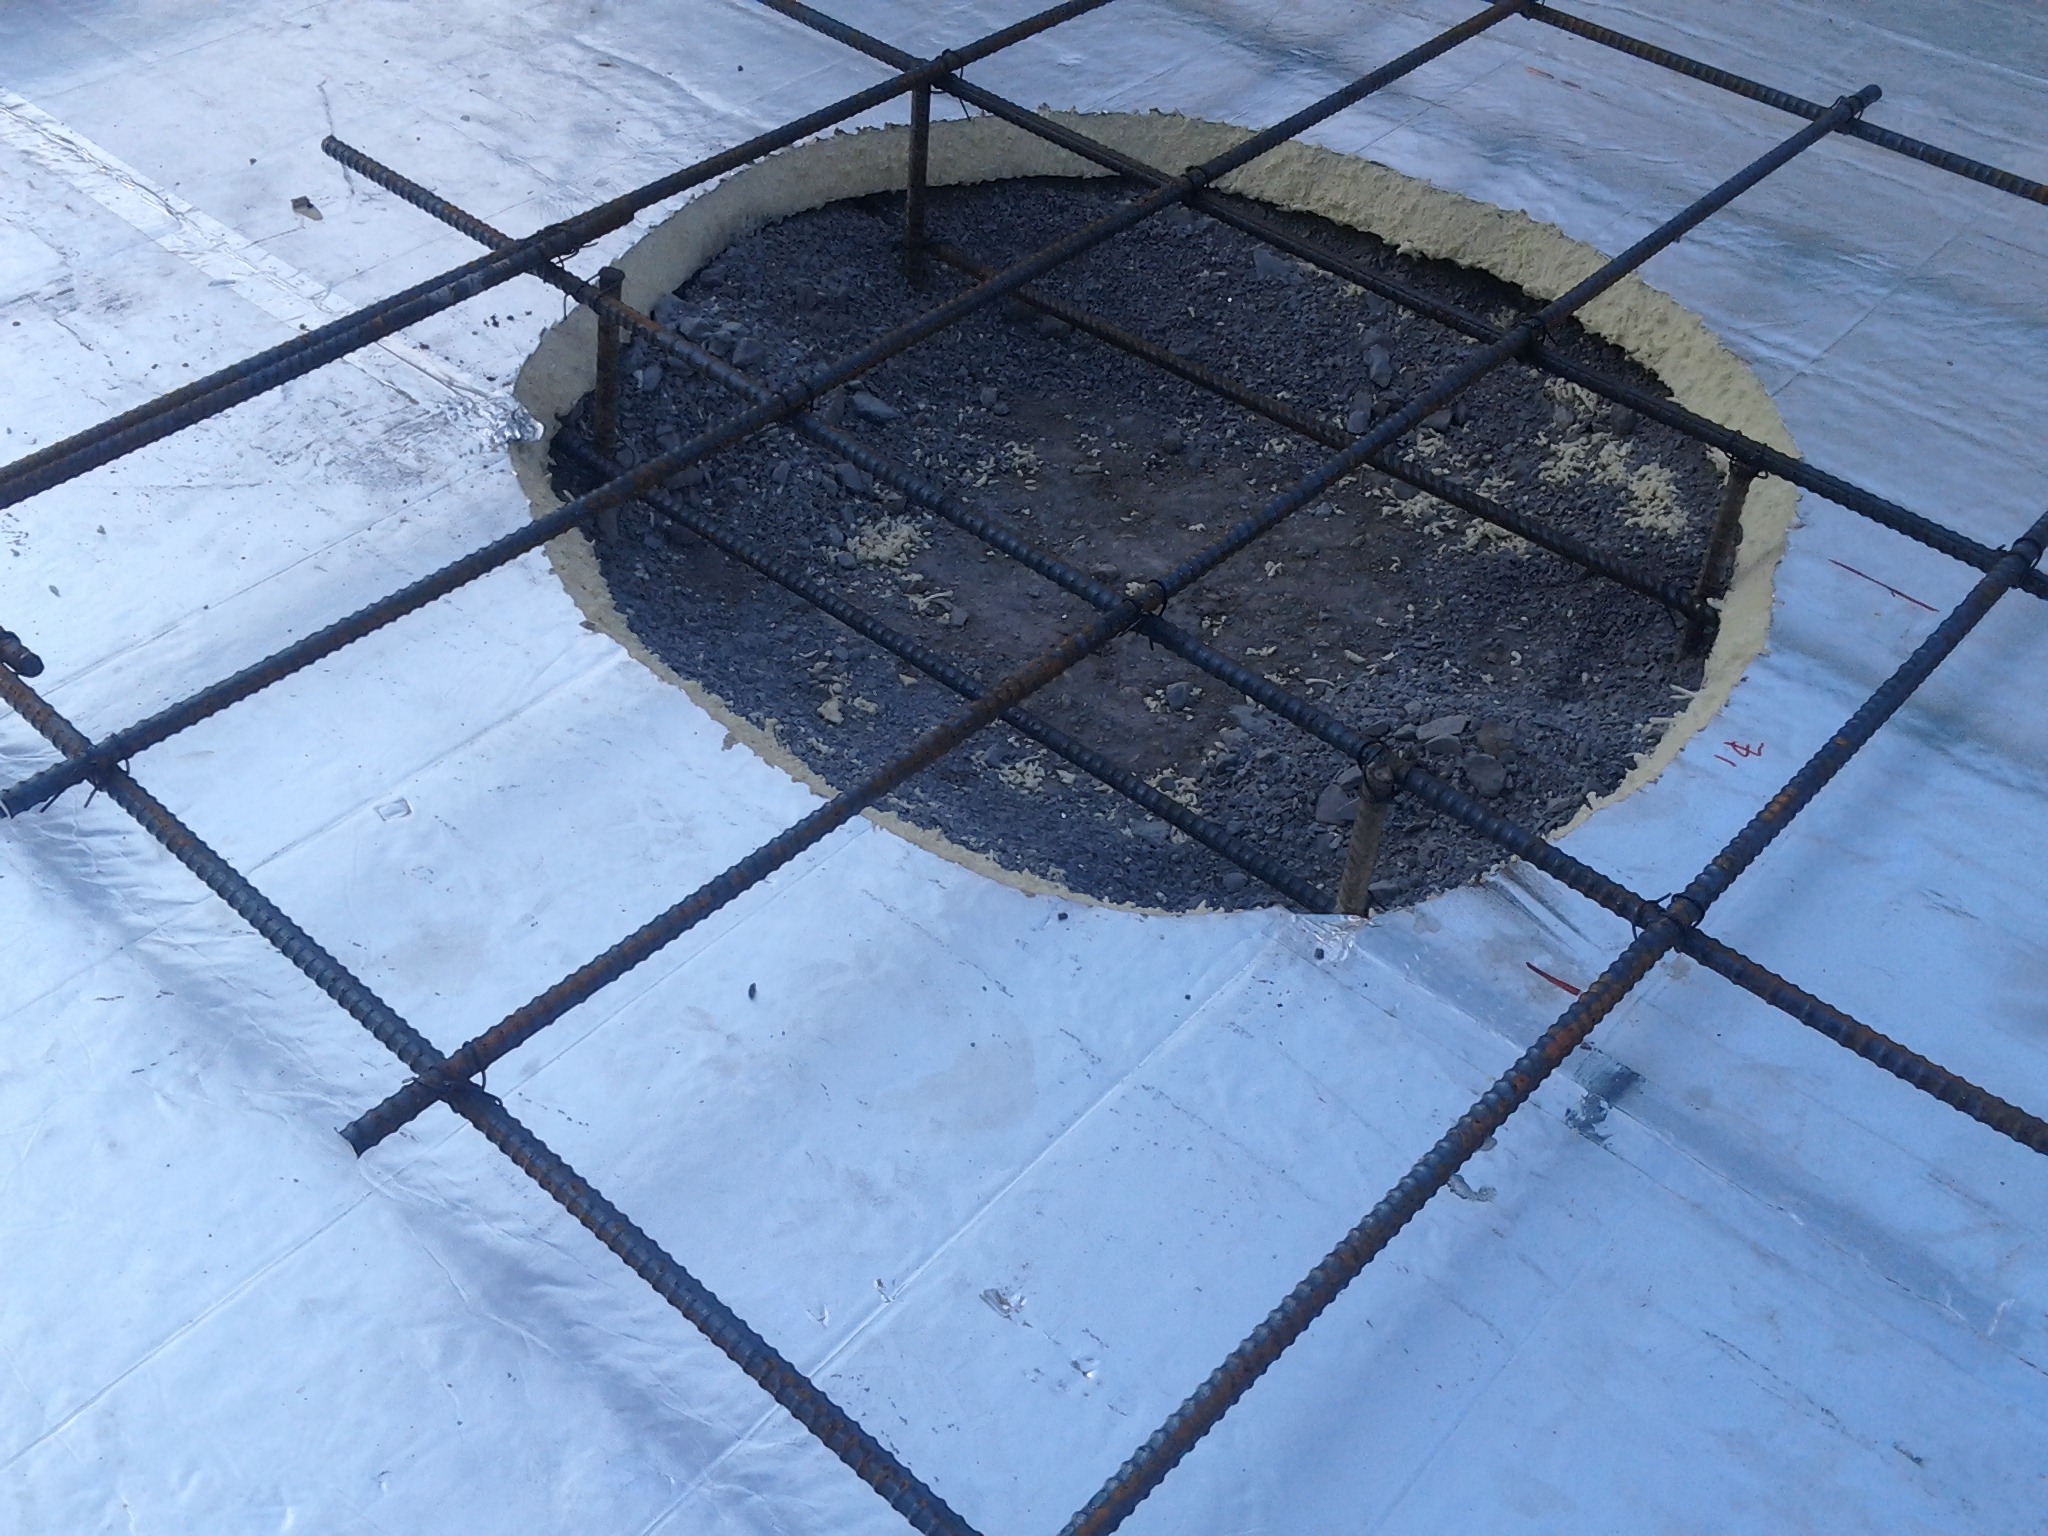
I started building this a couple years ago and am progressing as money will allow.
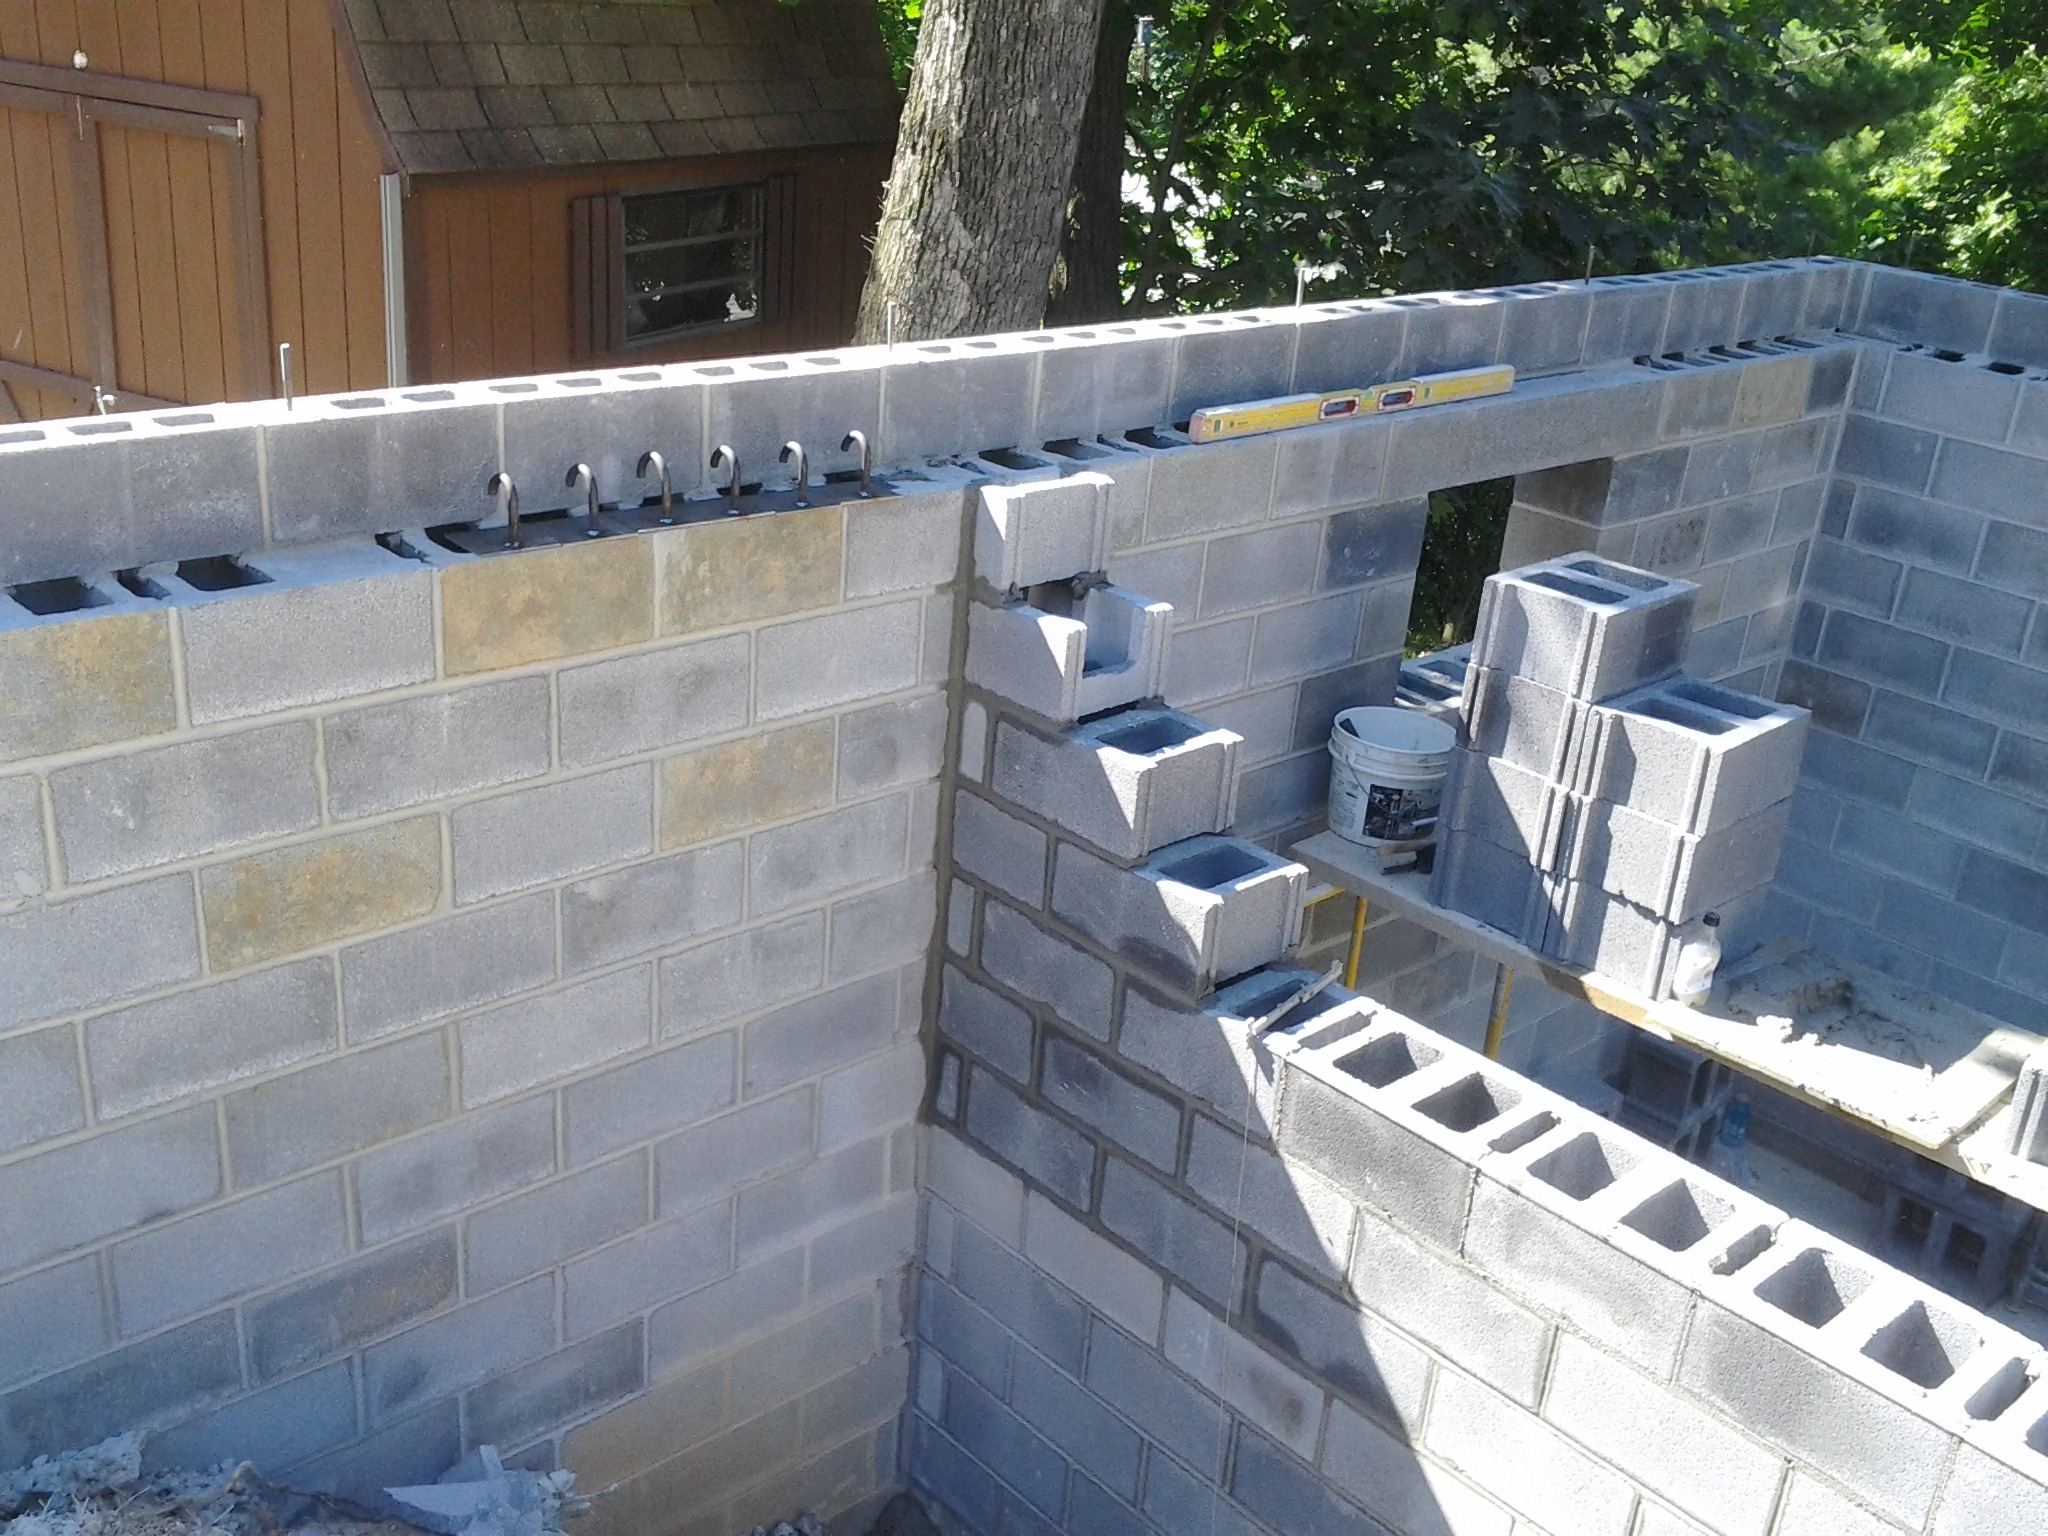
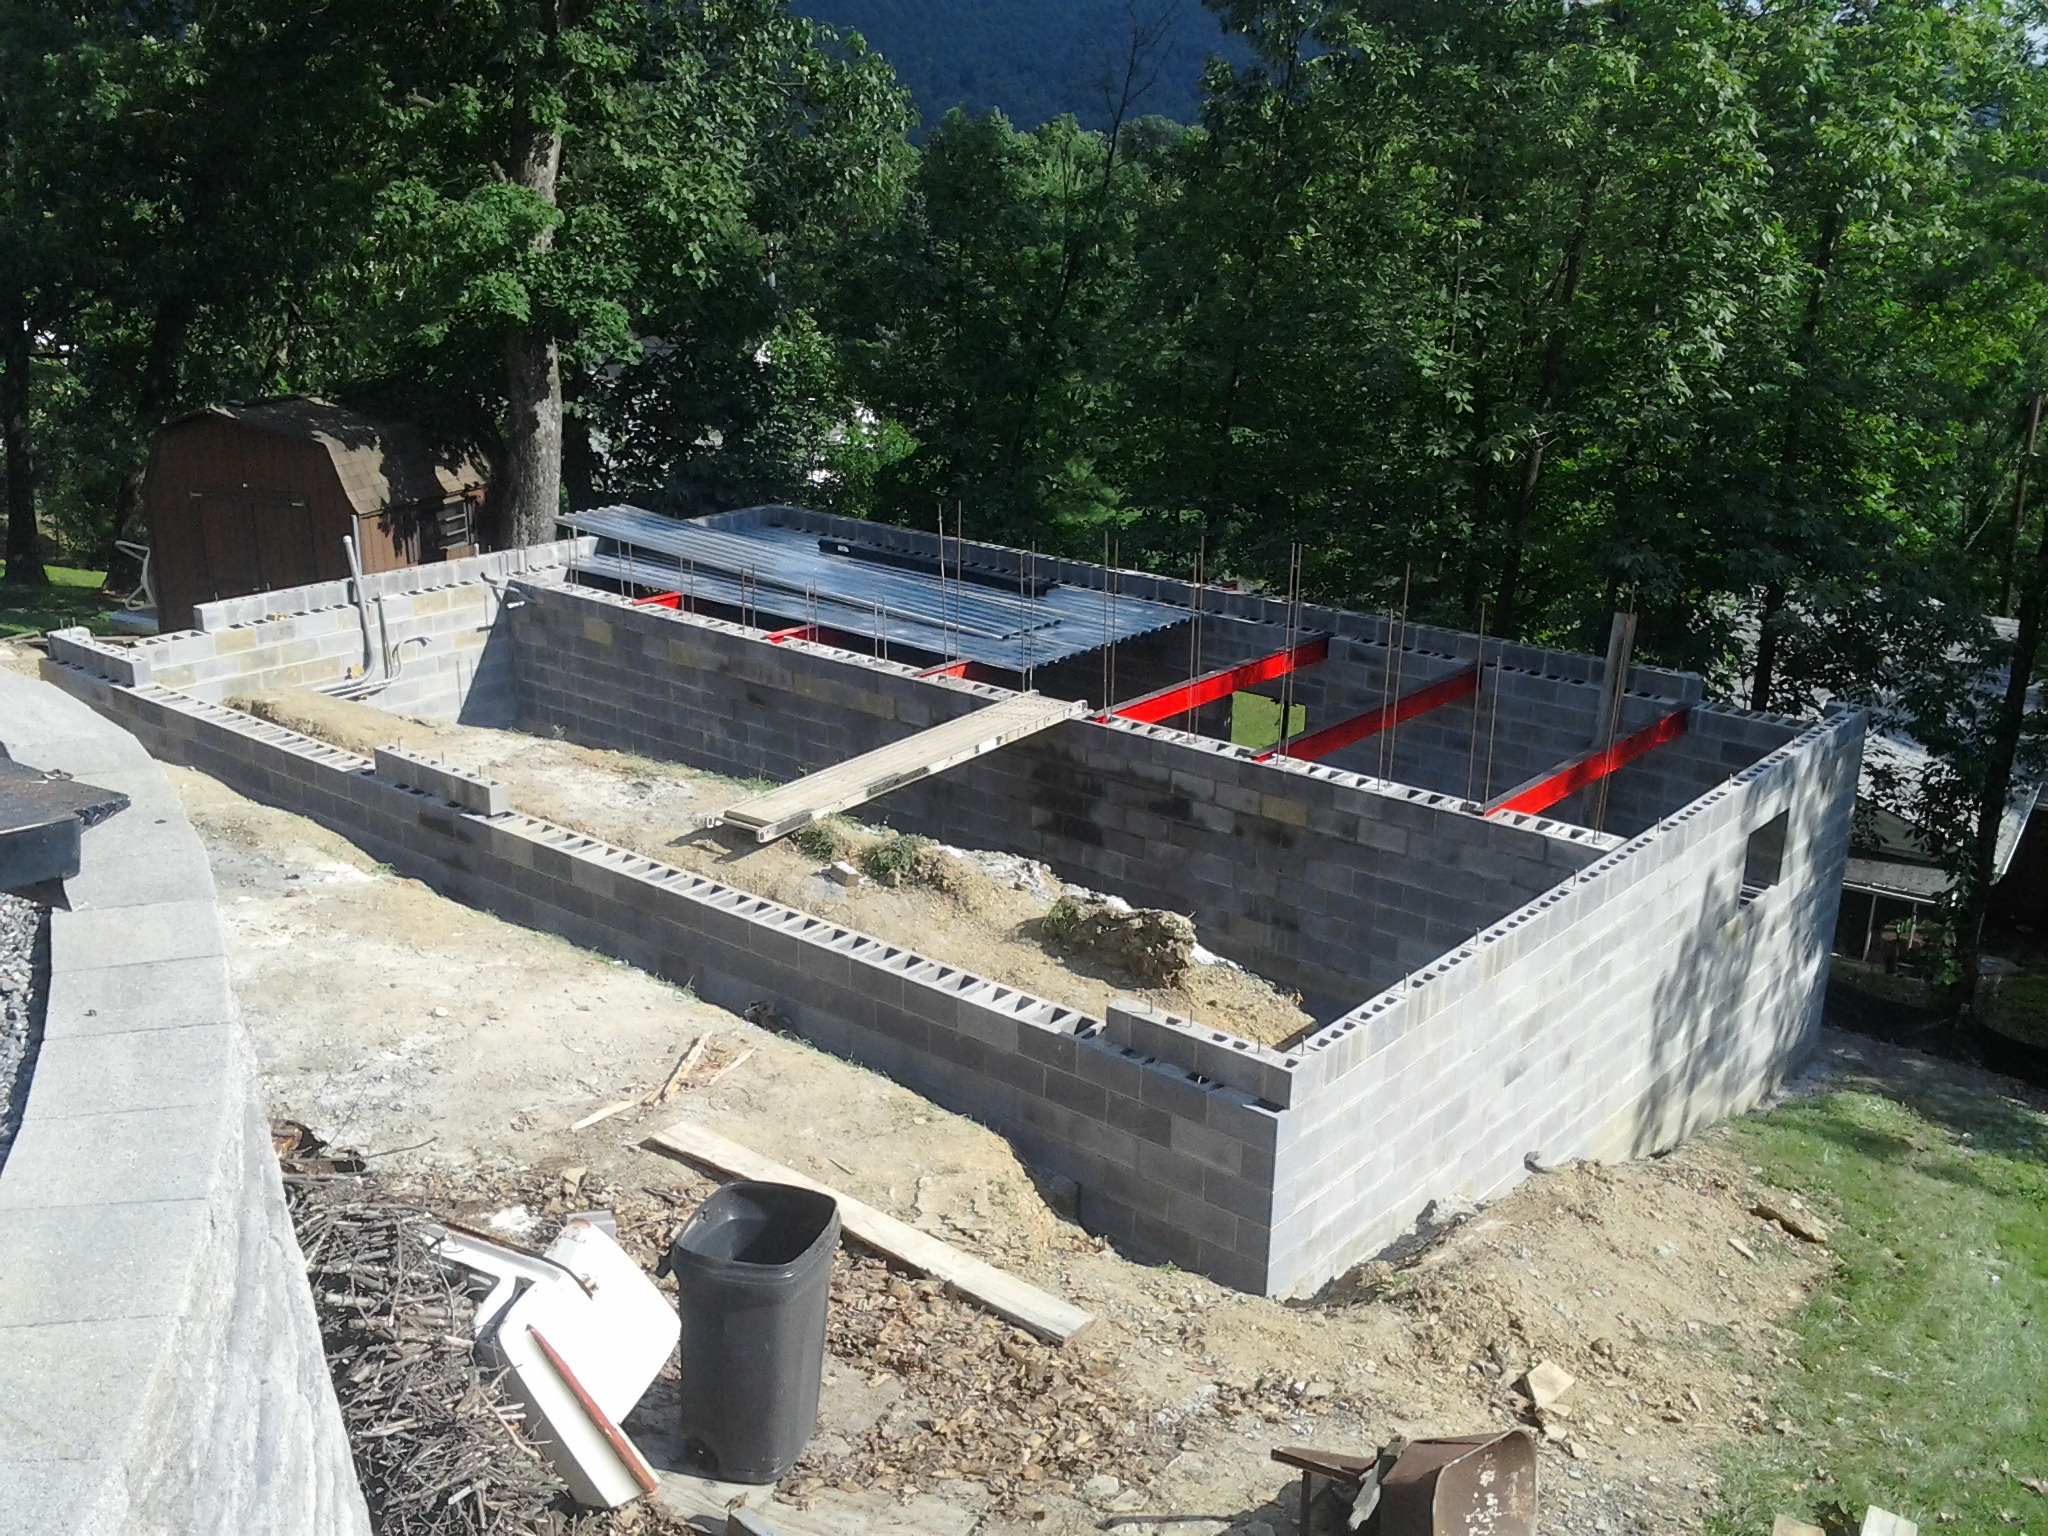
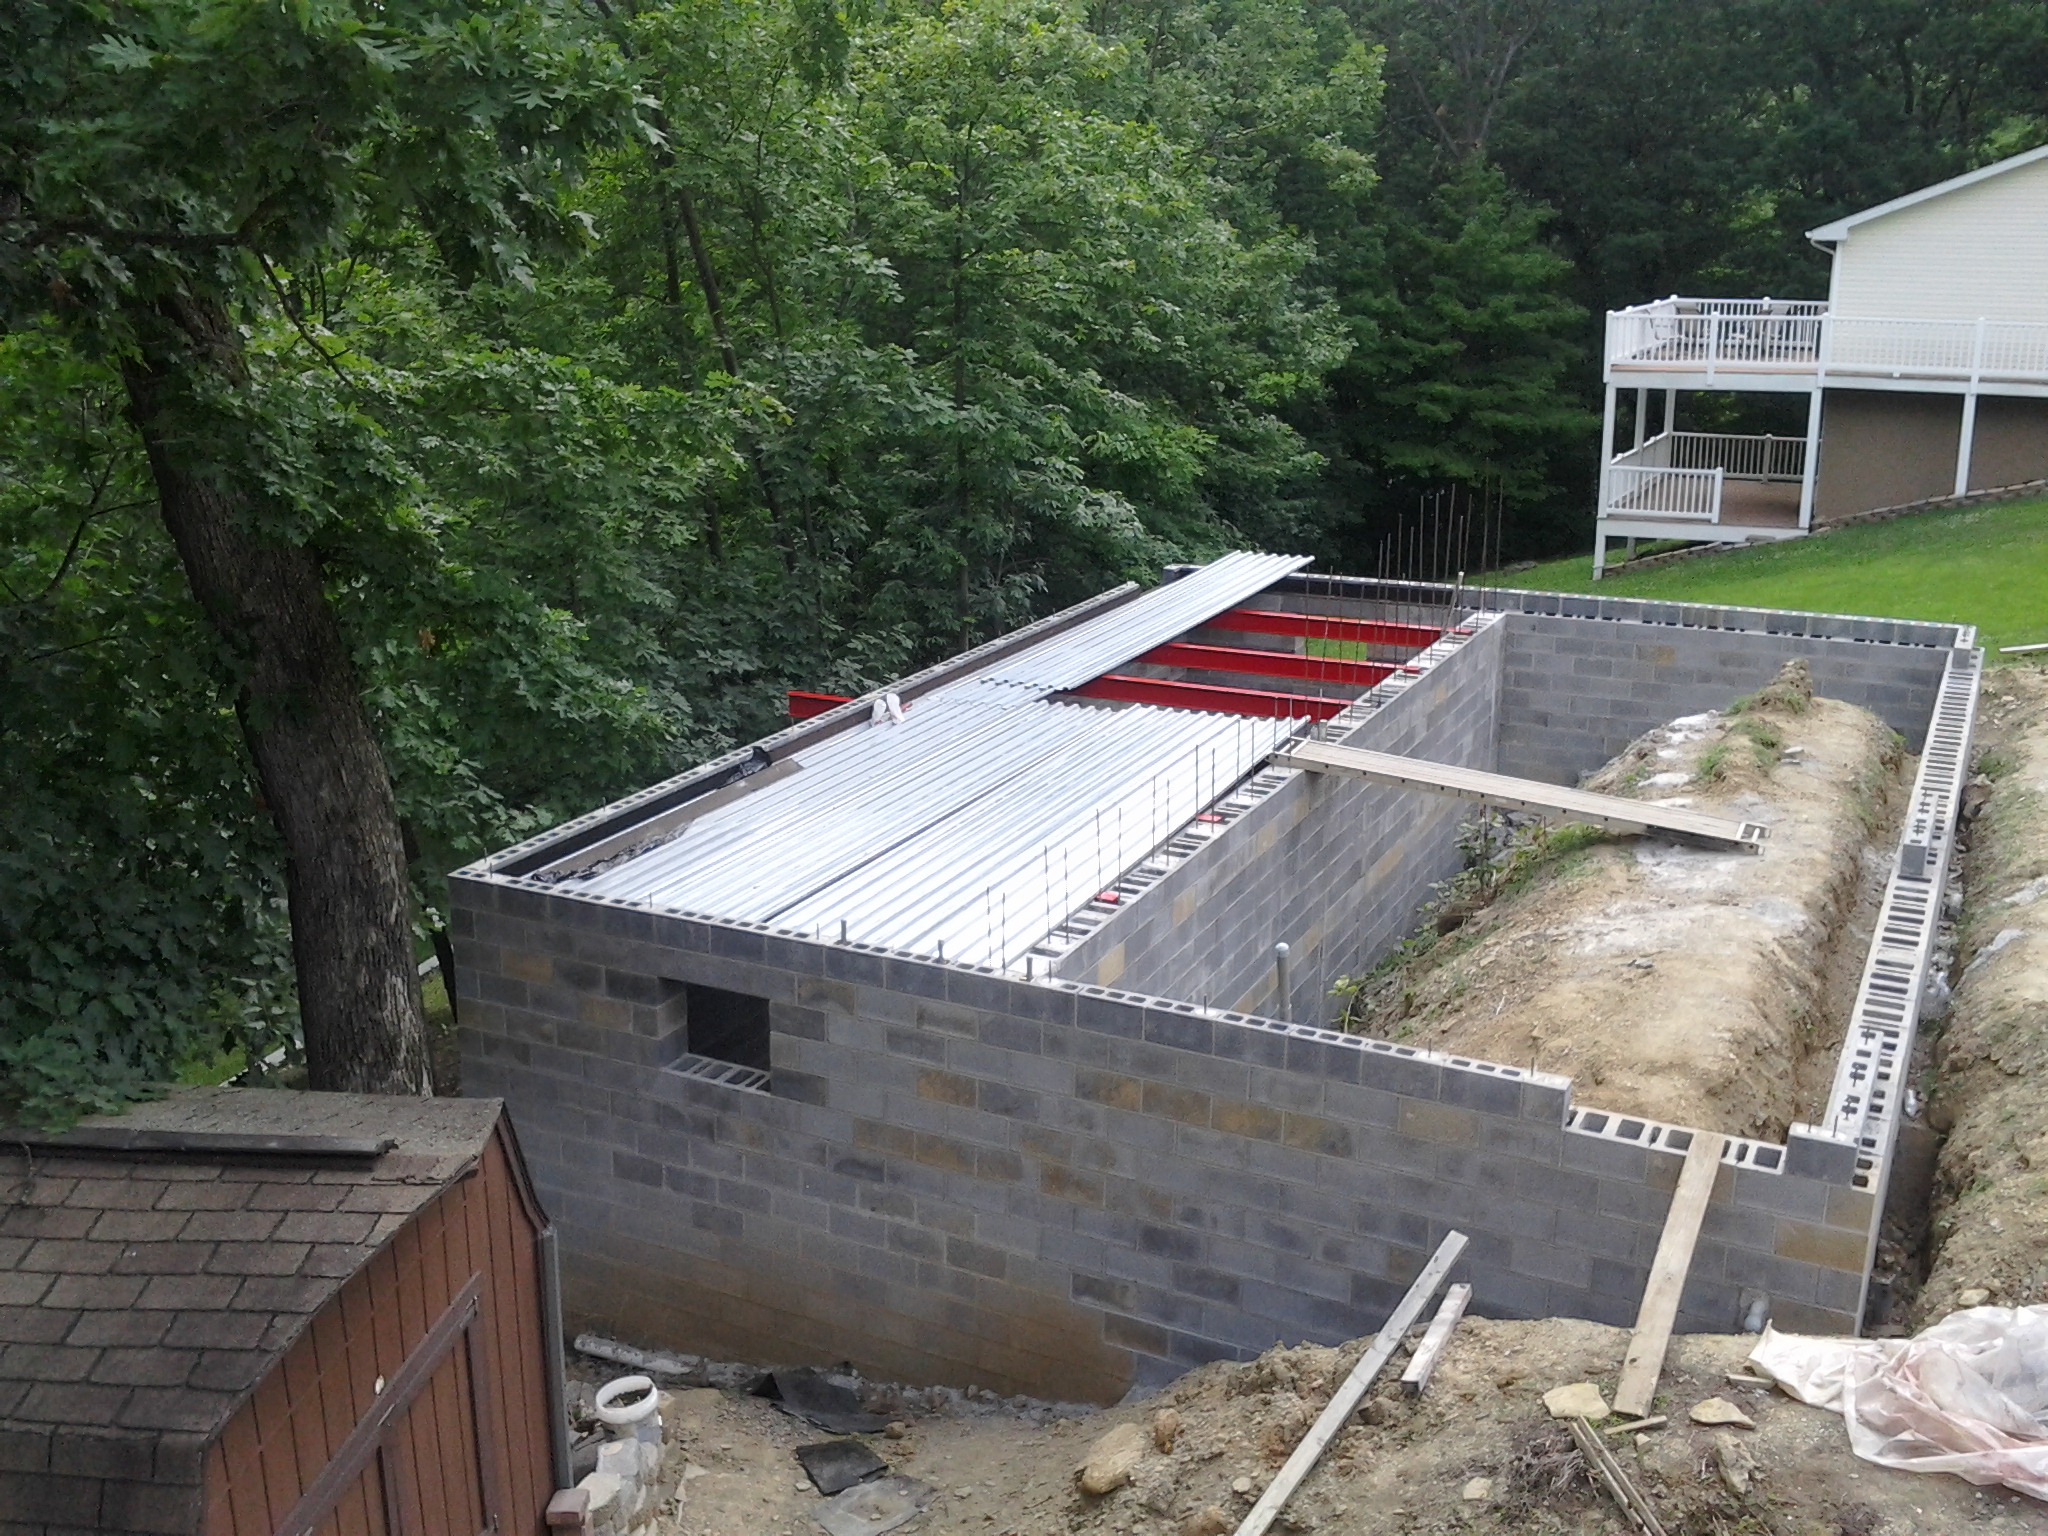
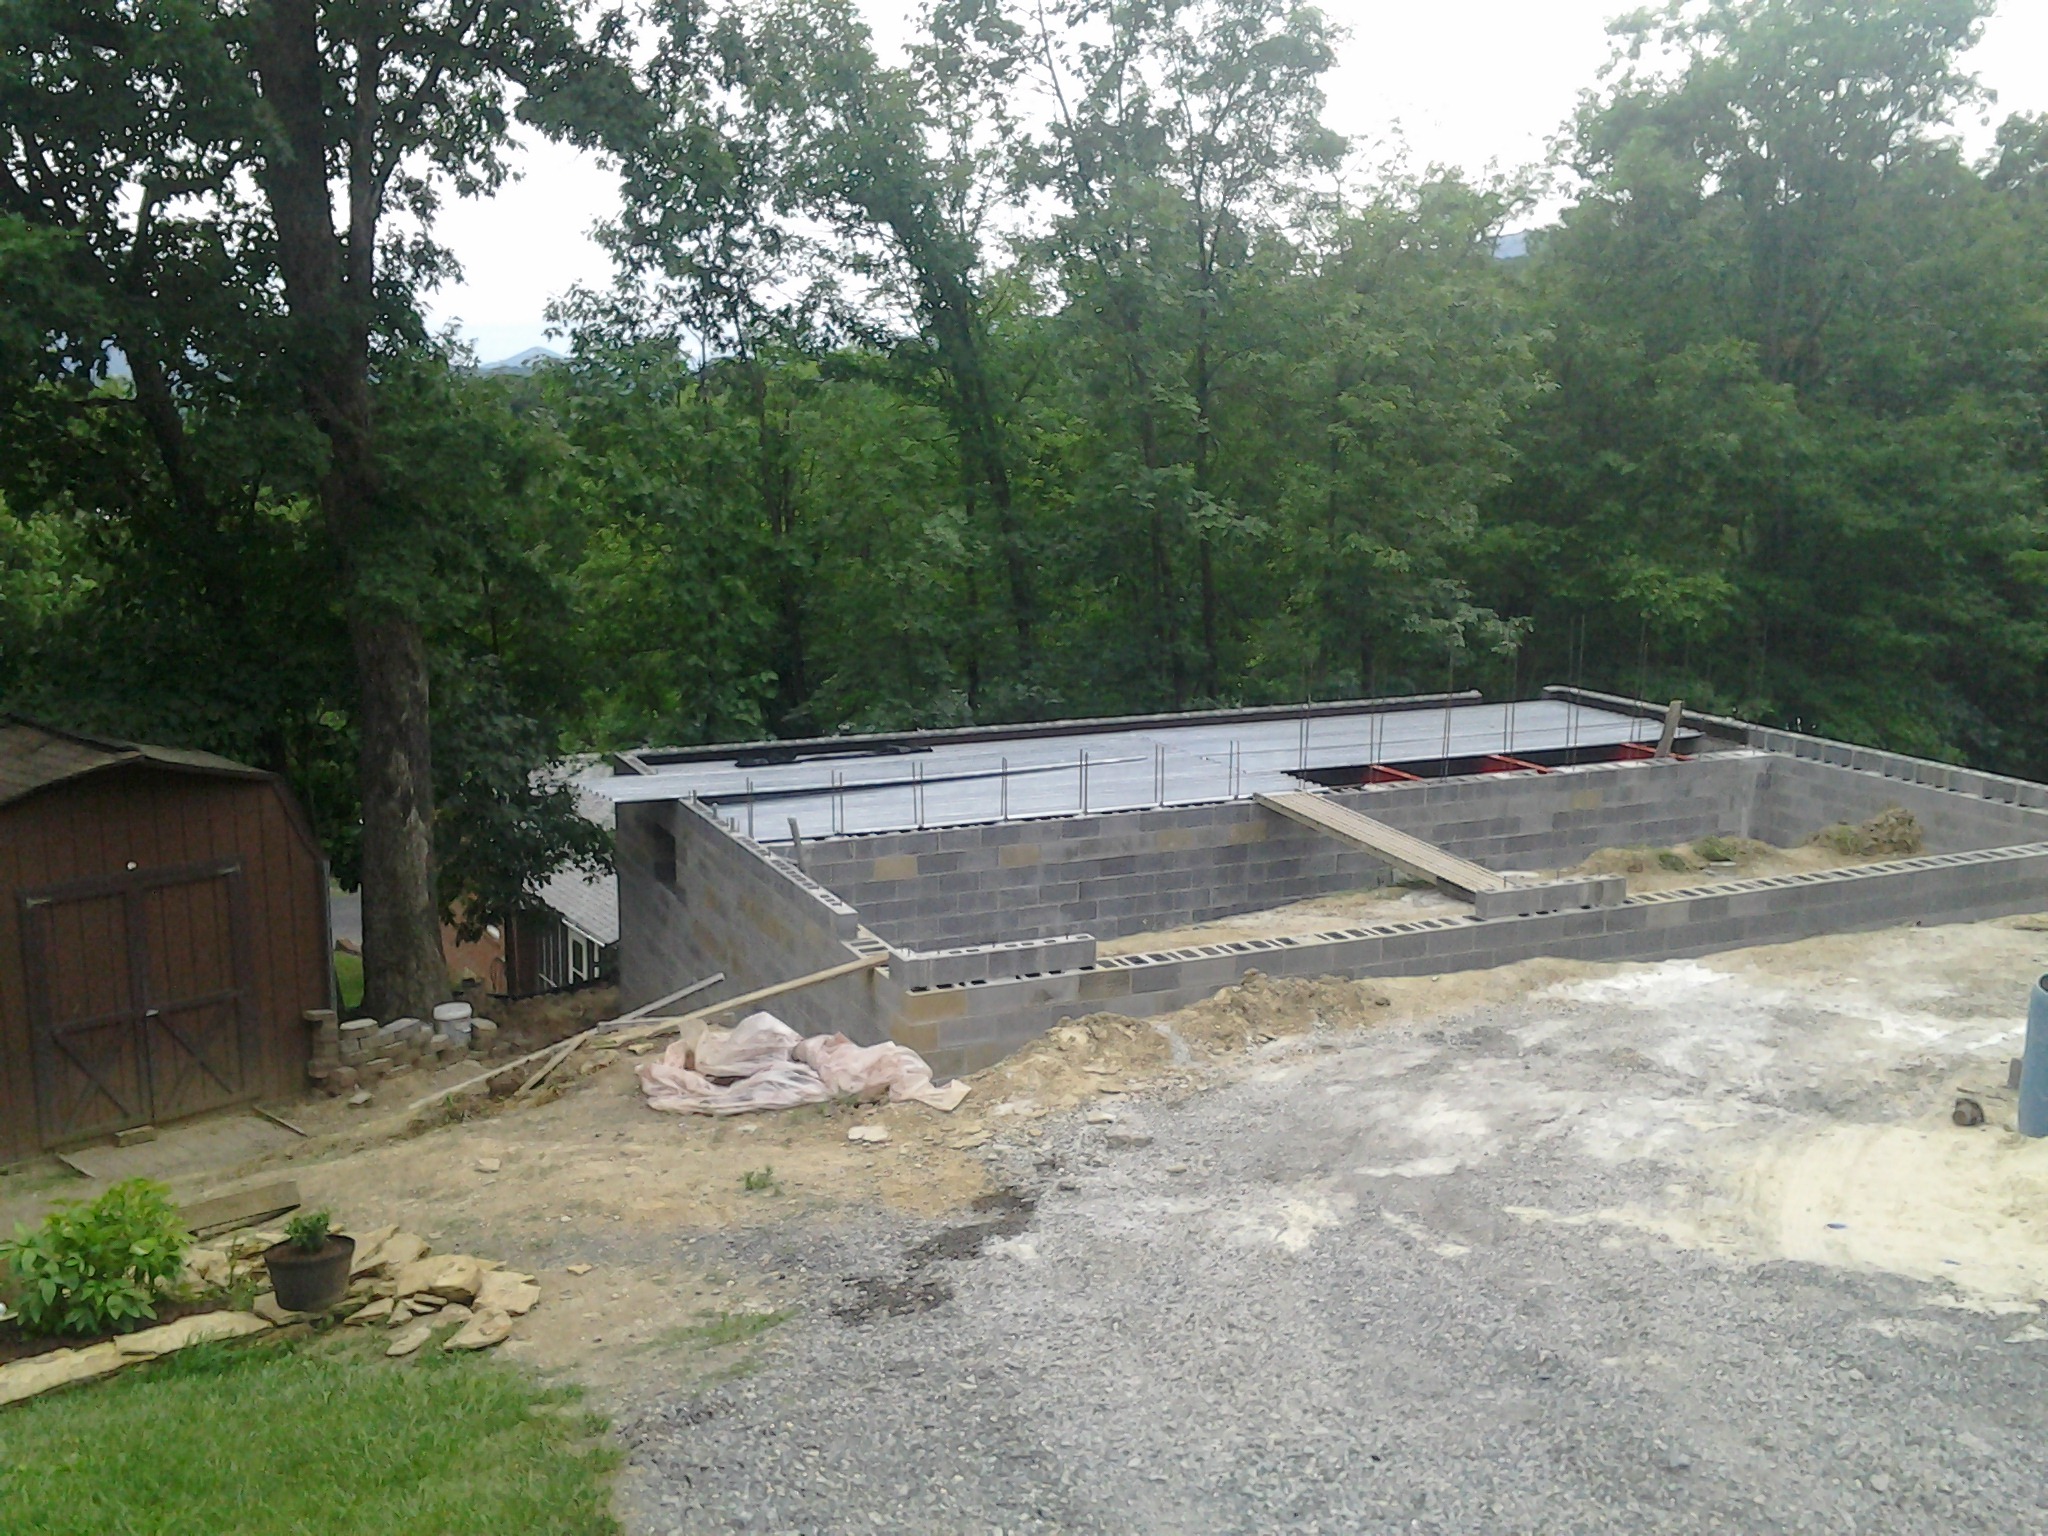
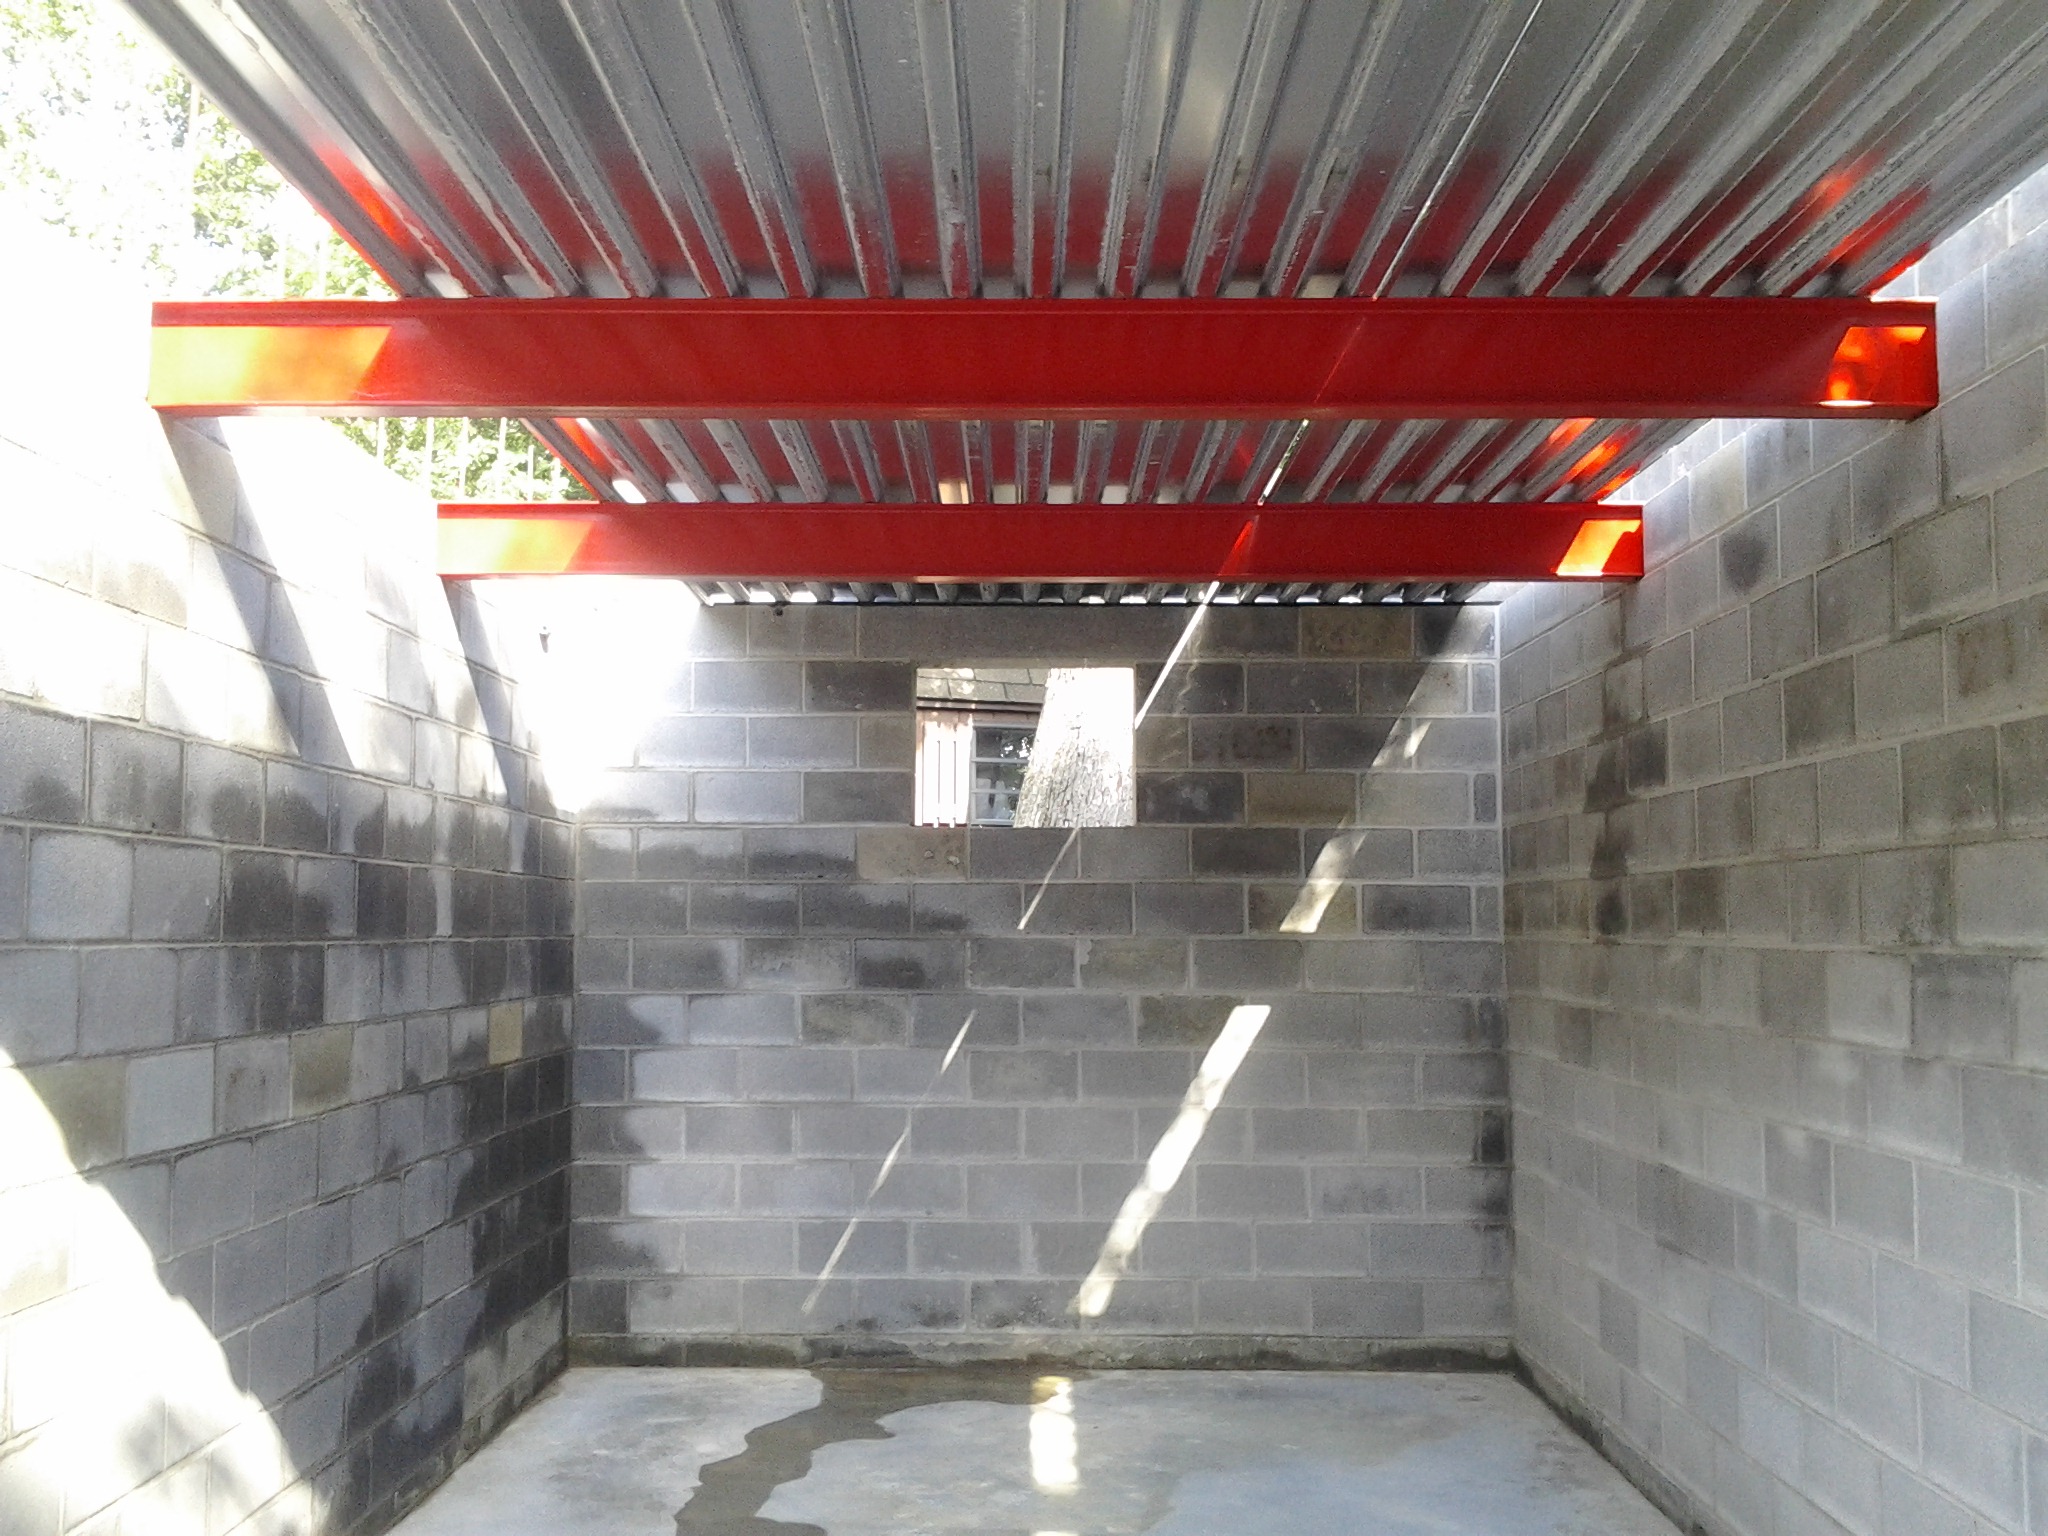
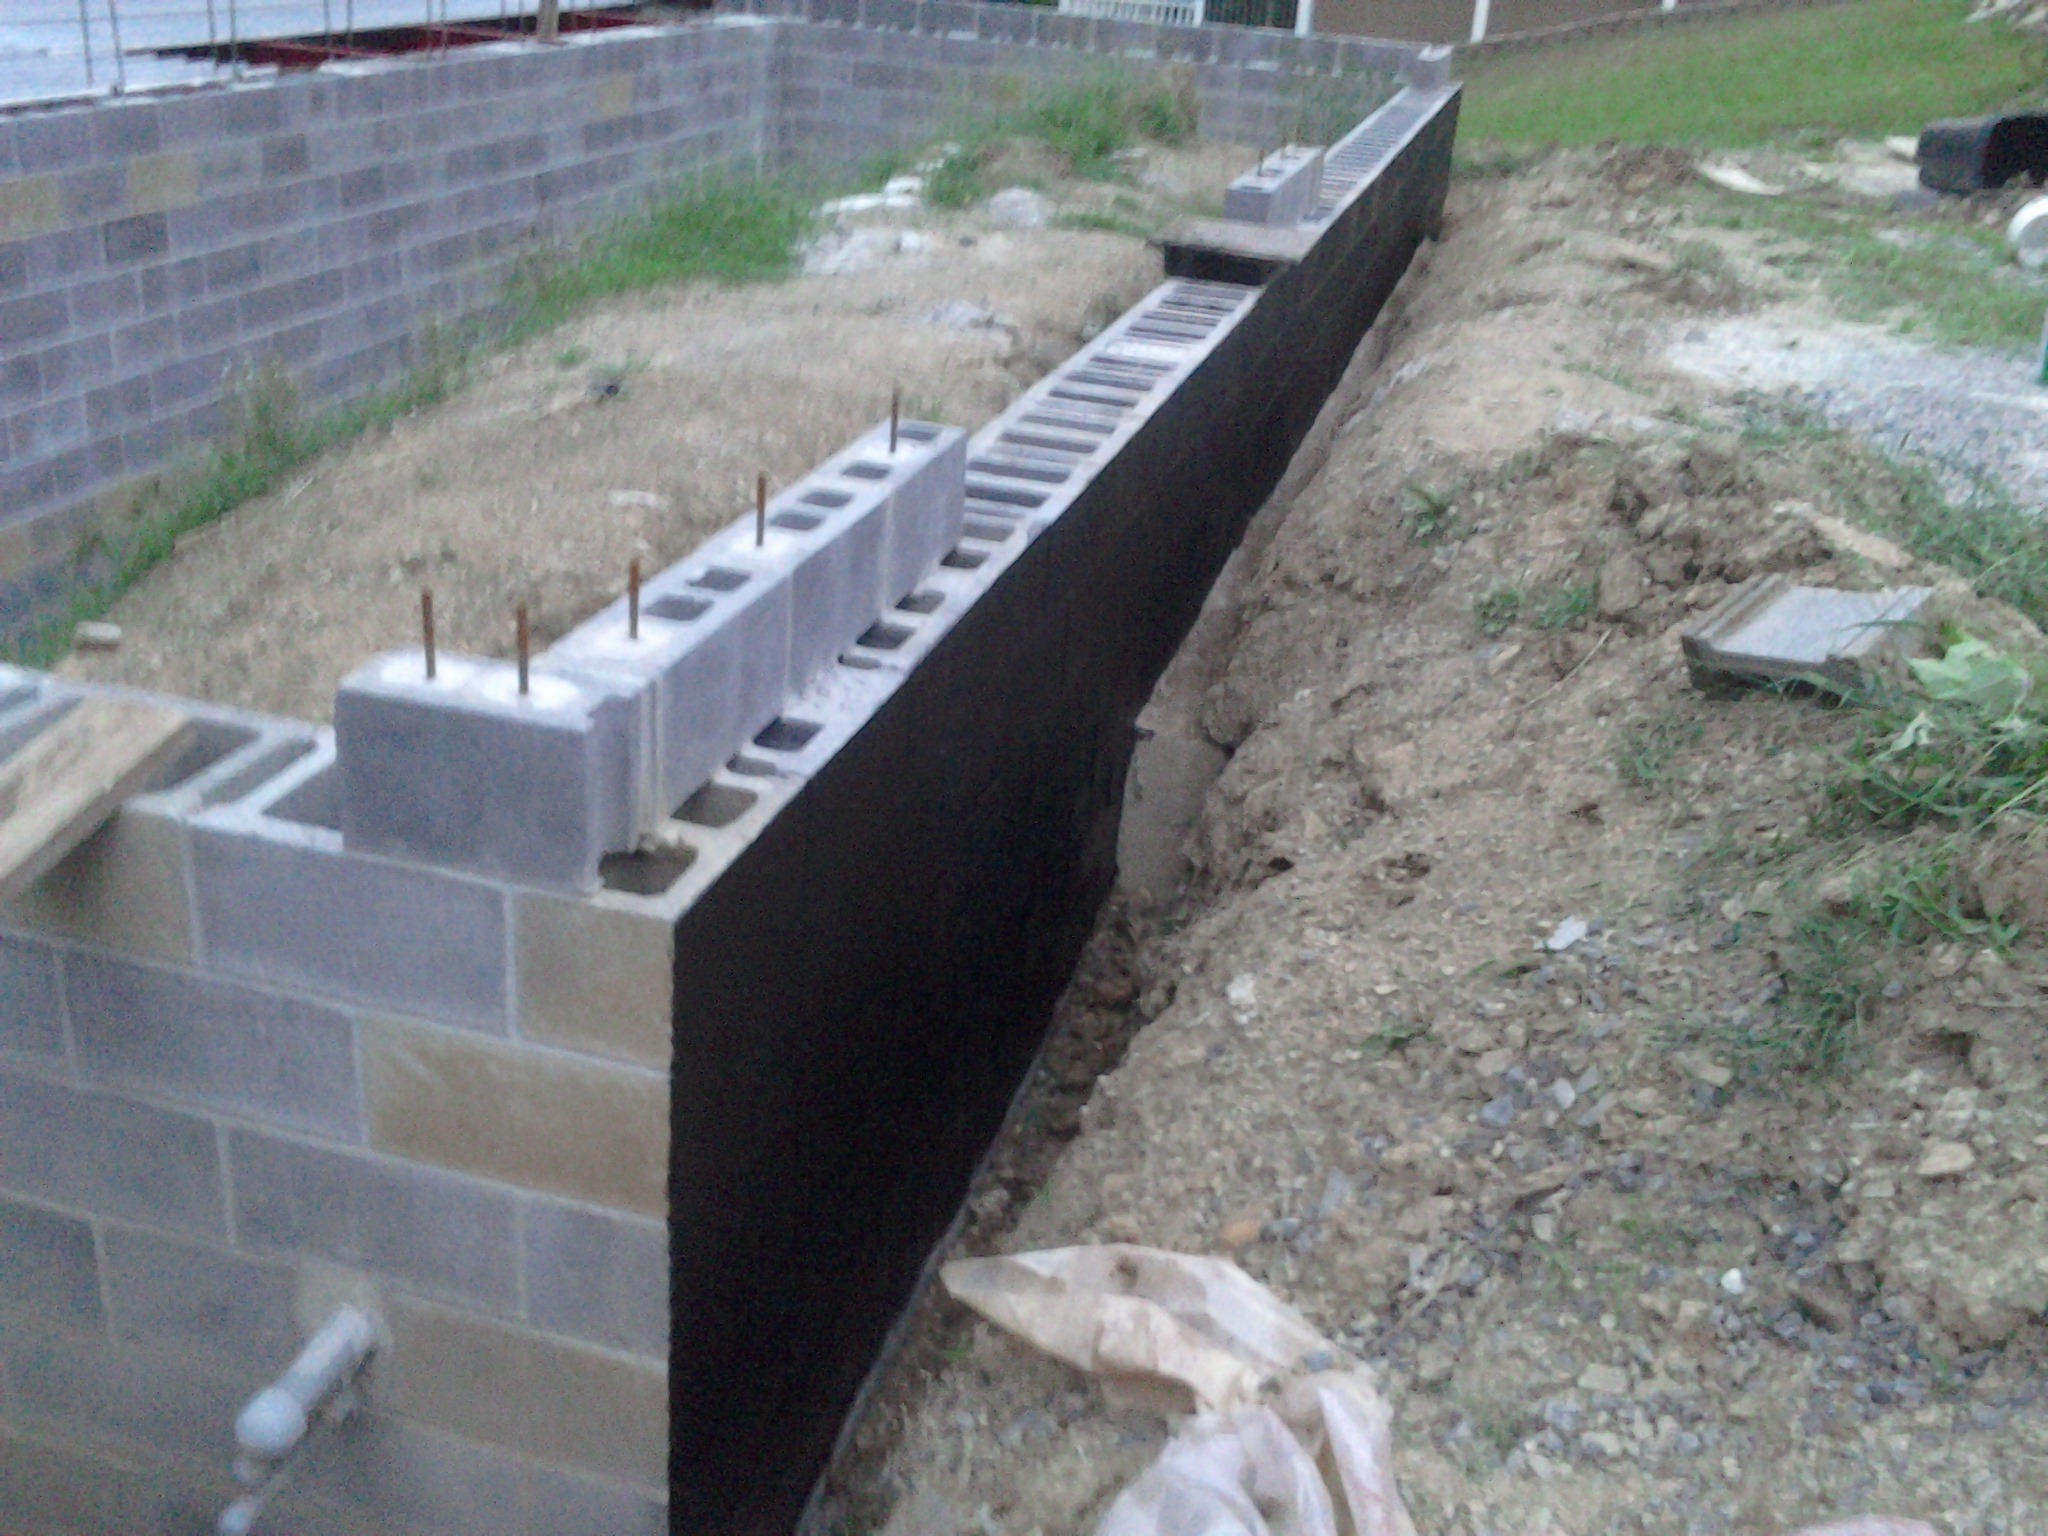
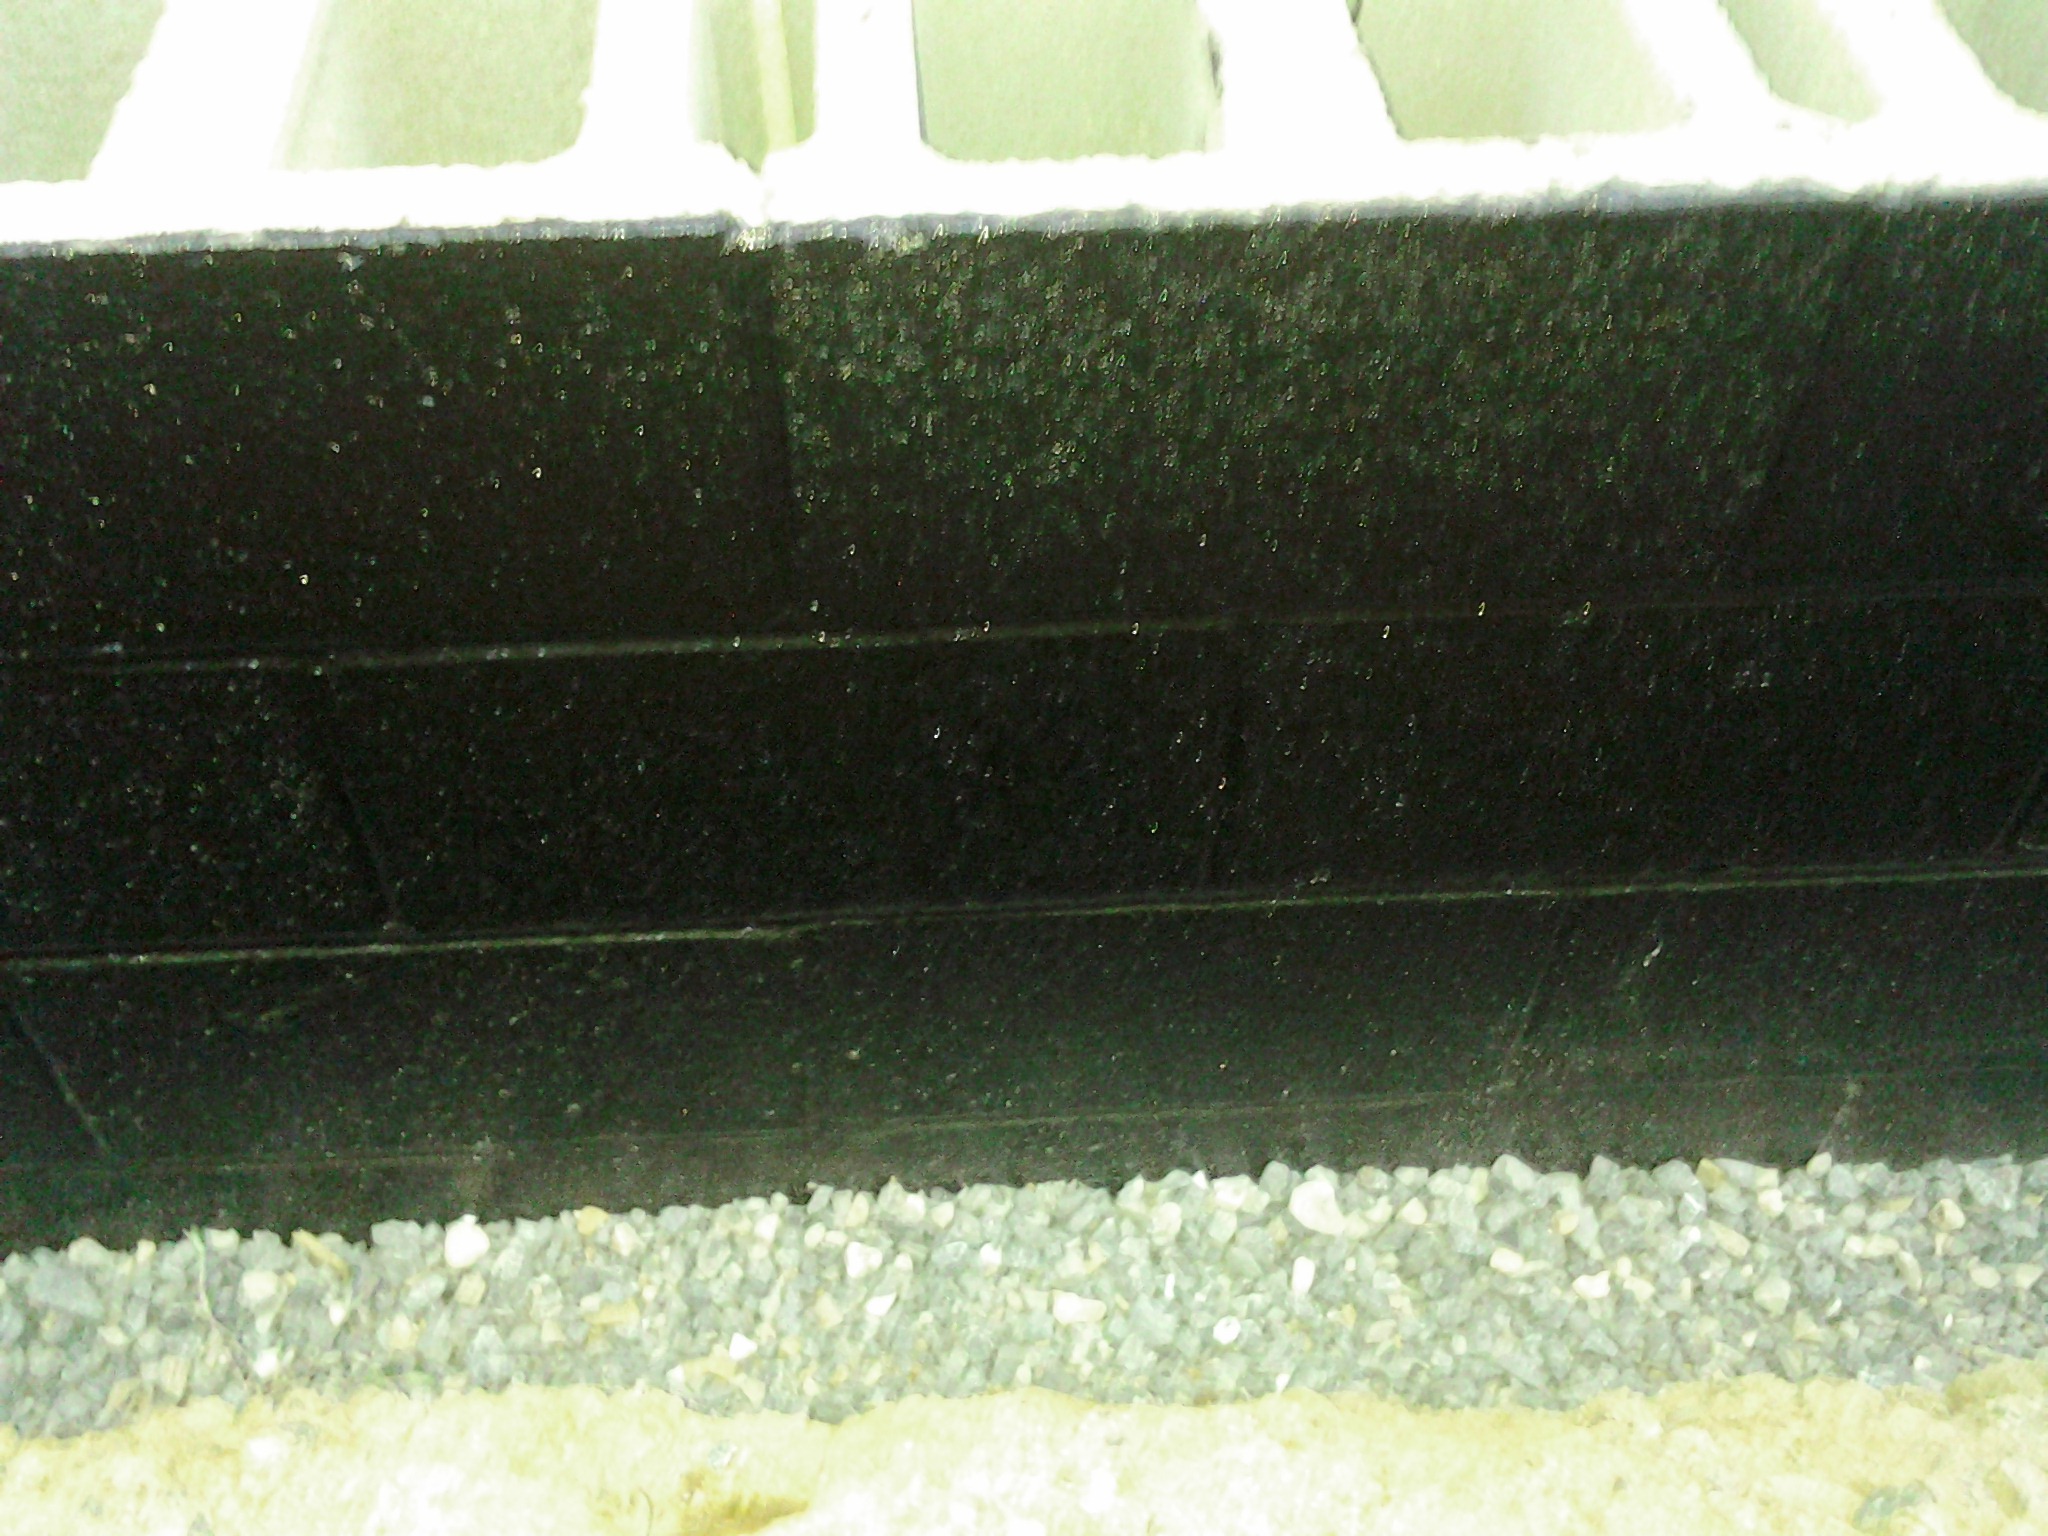
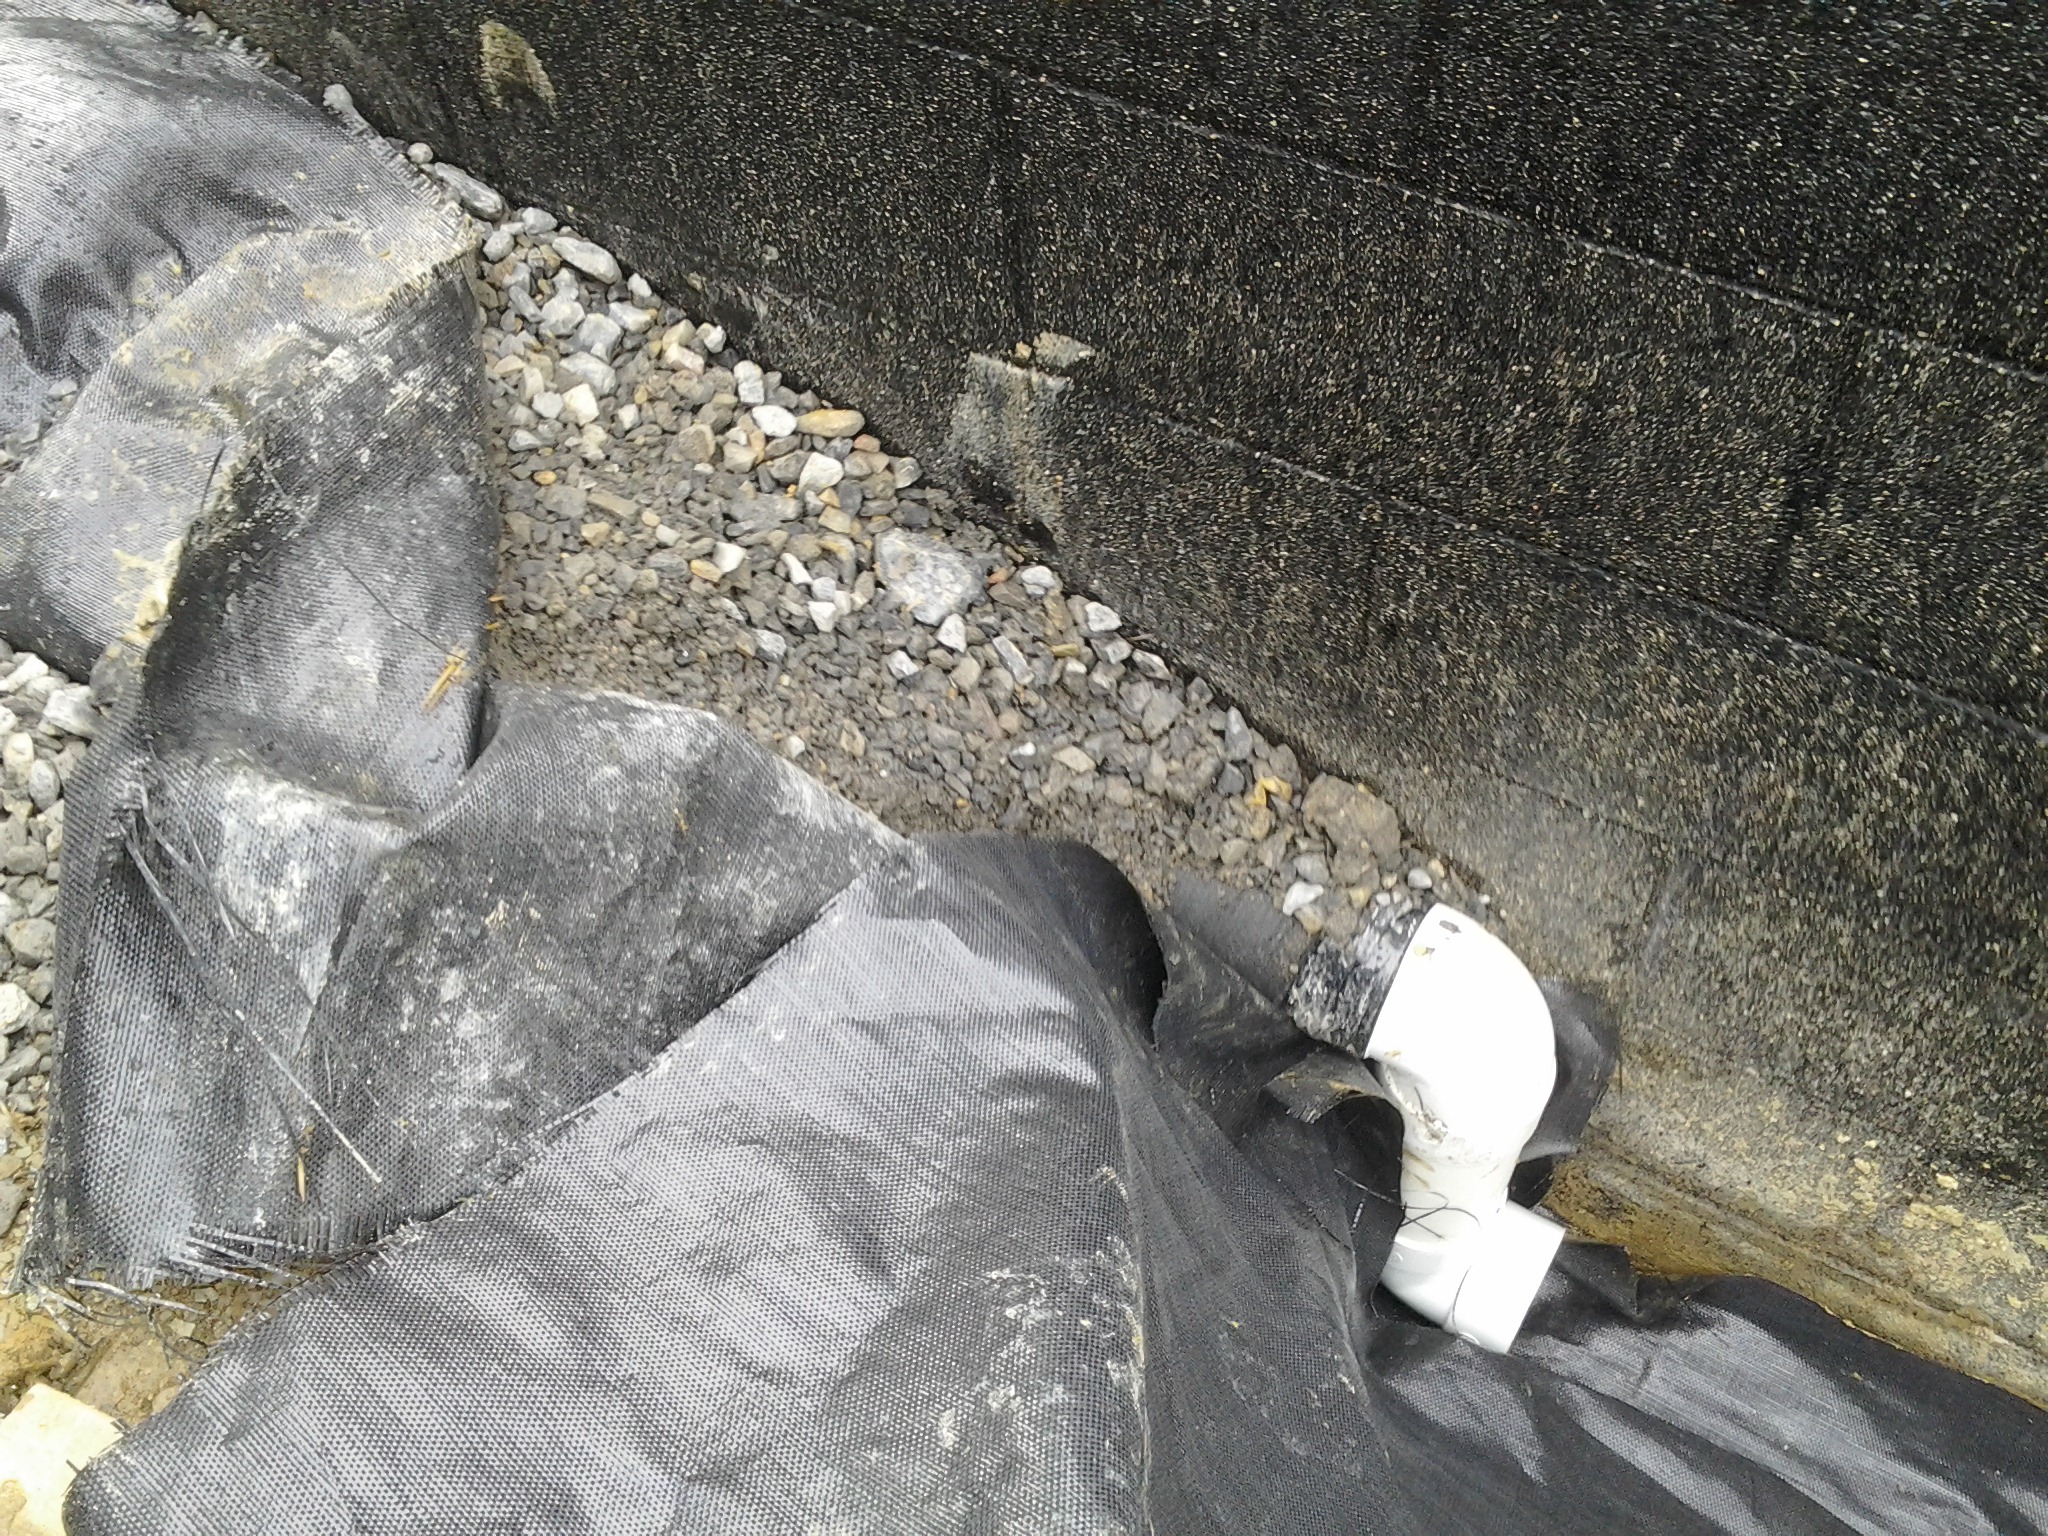
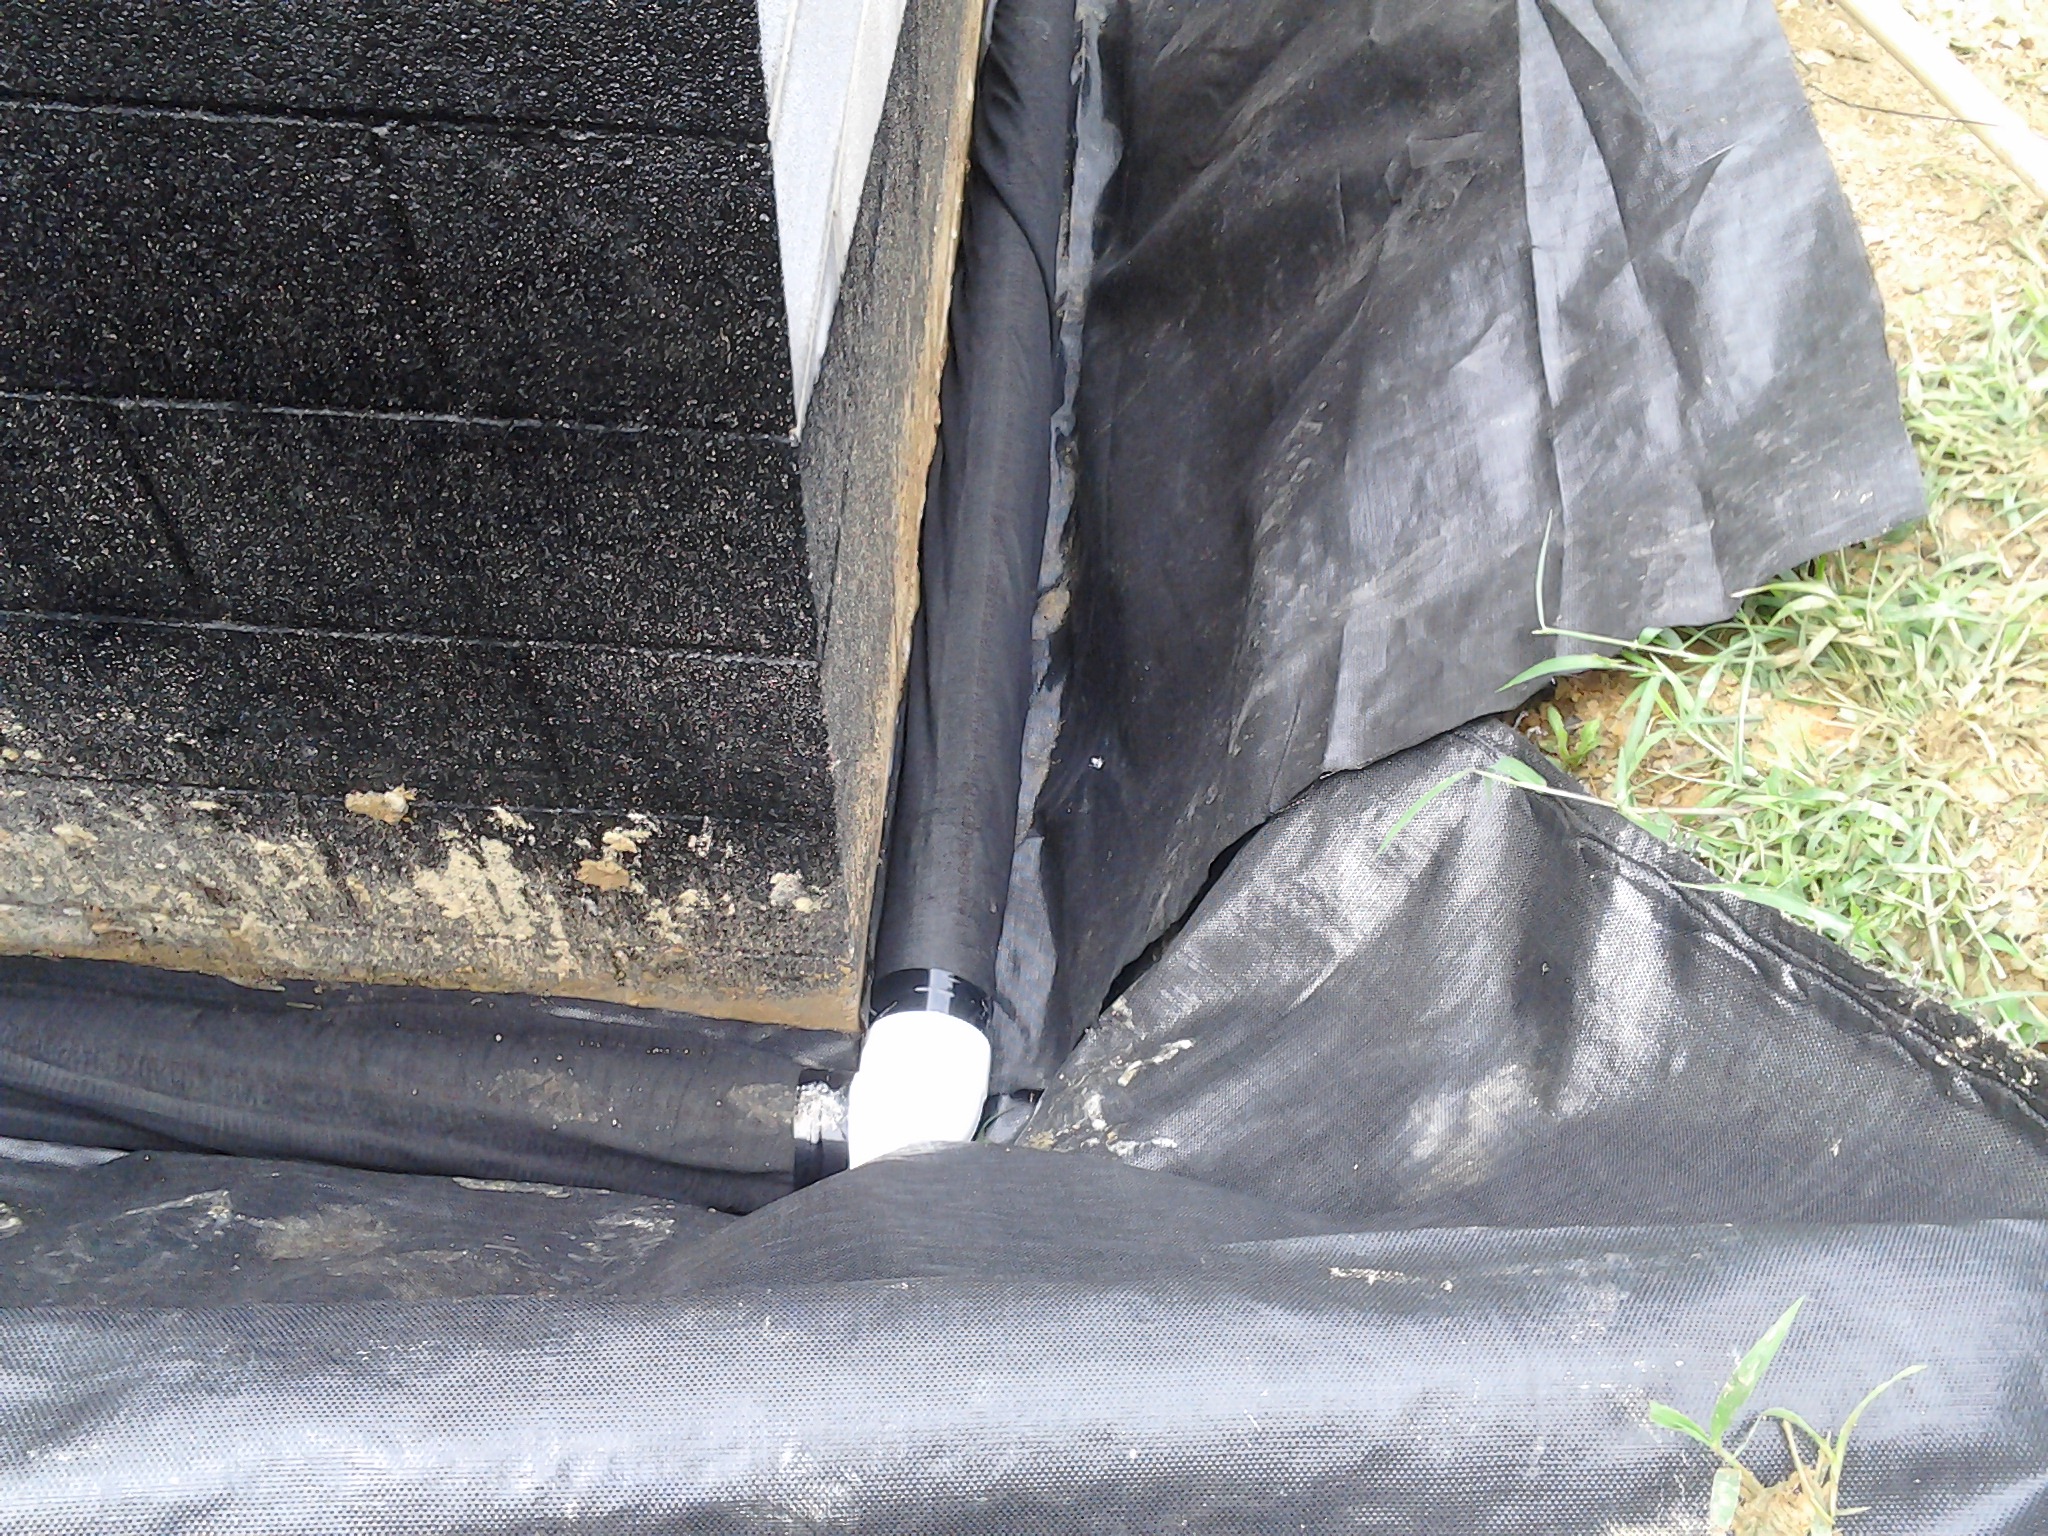
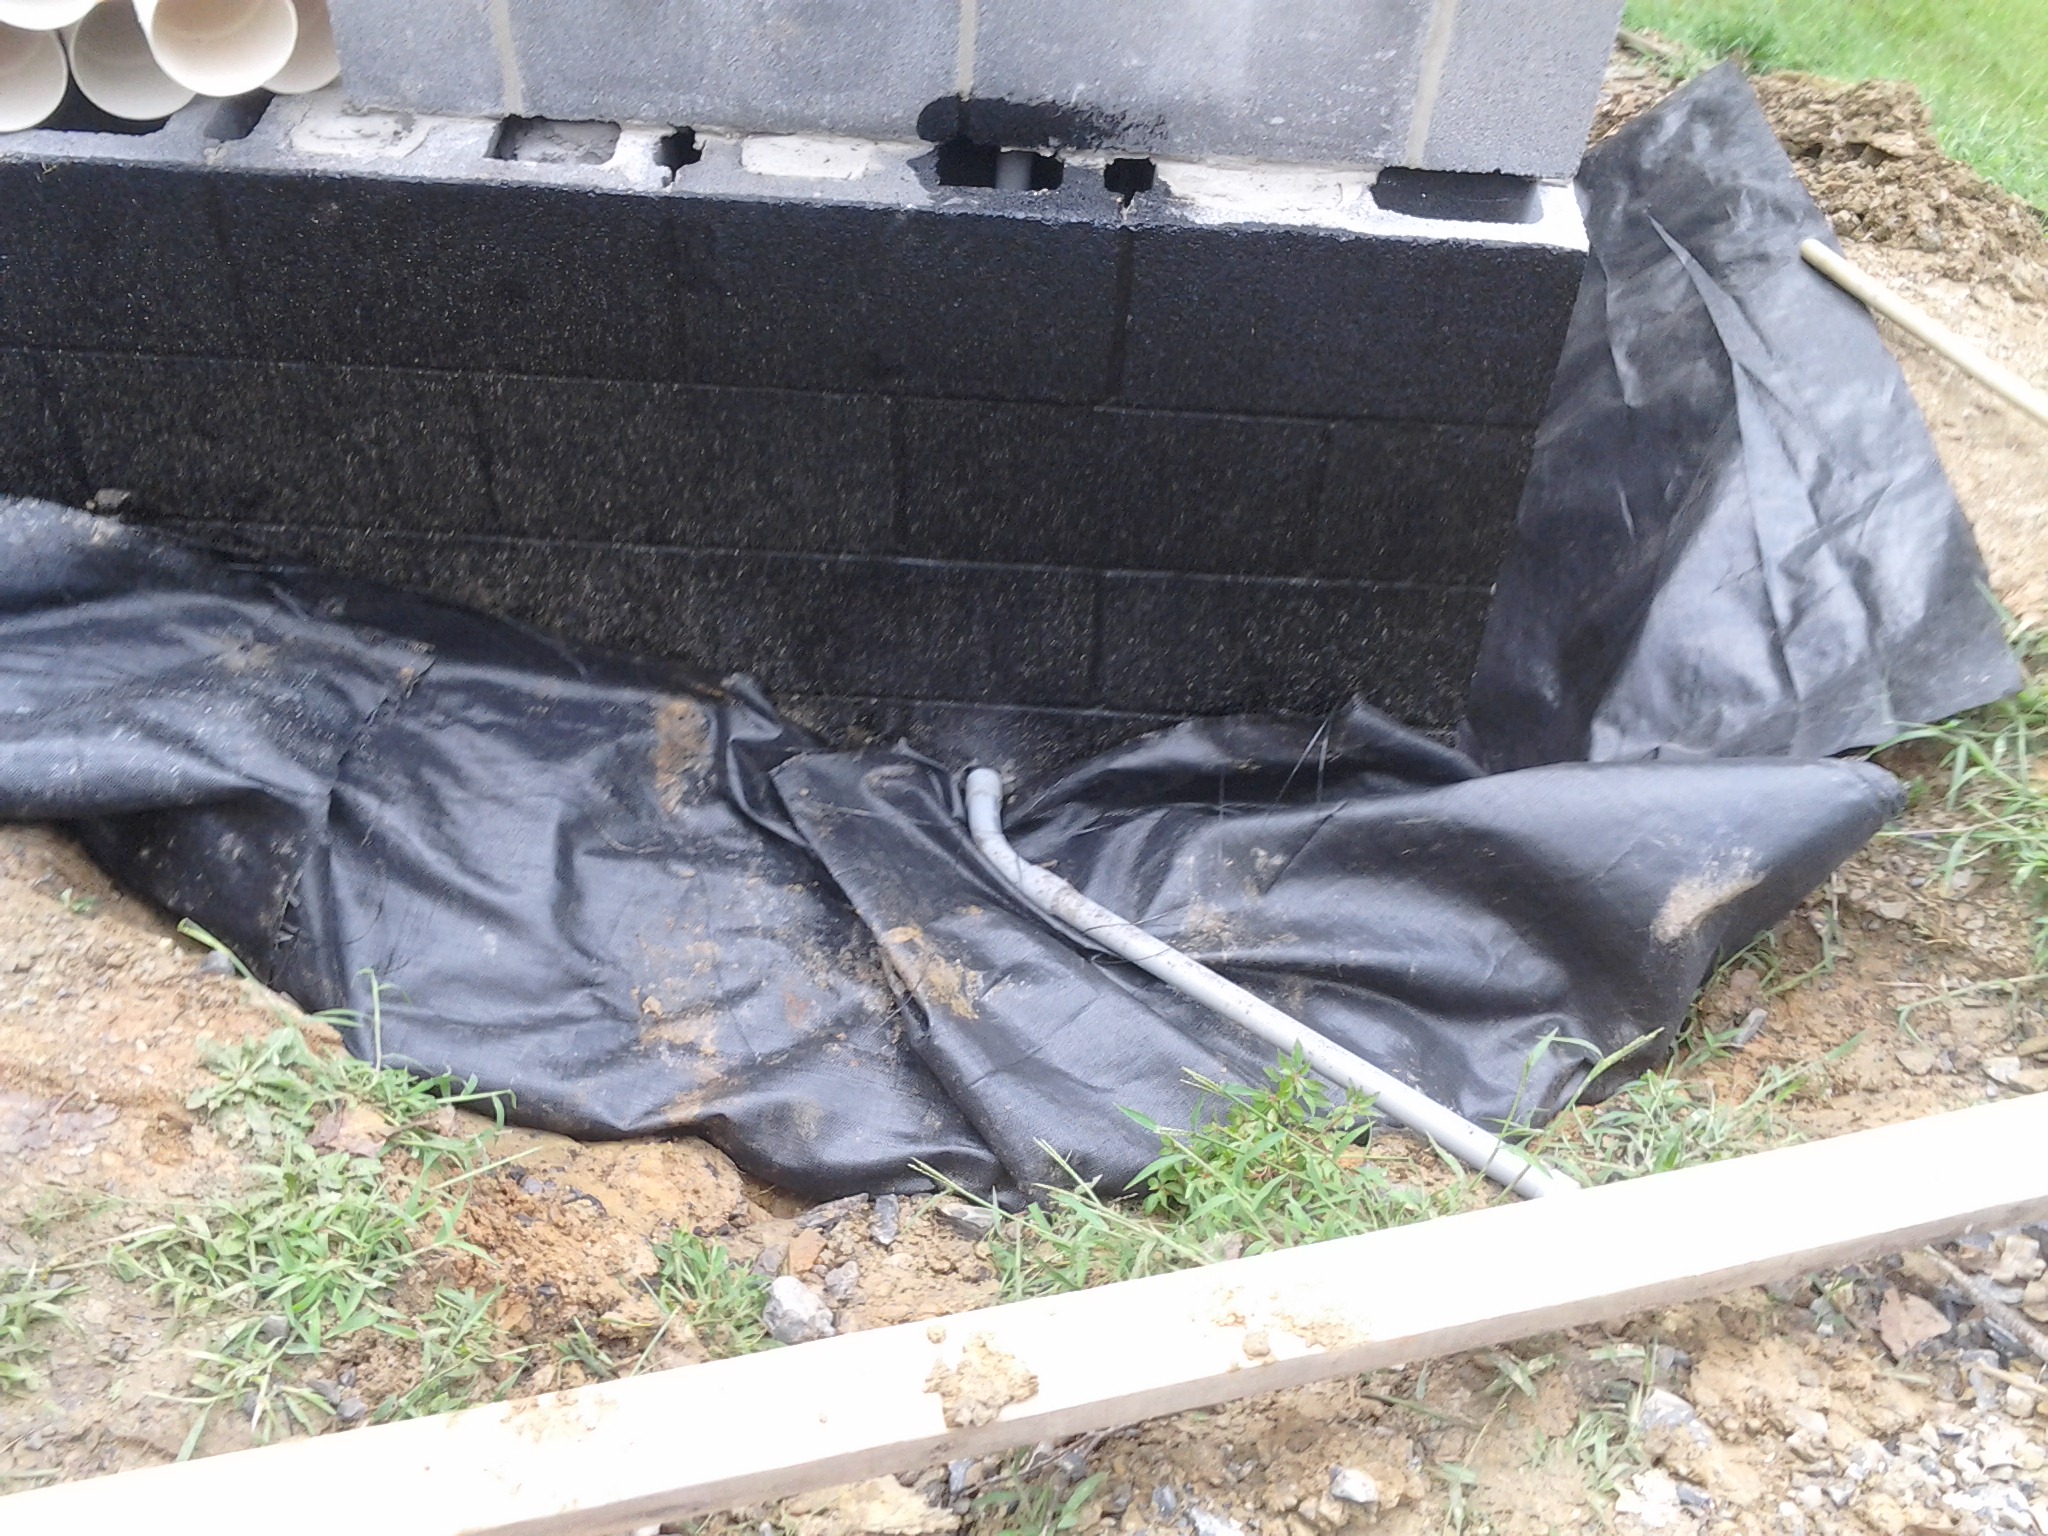
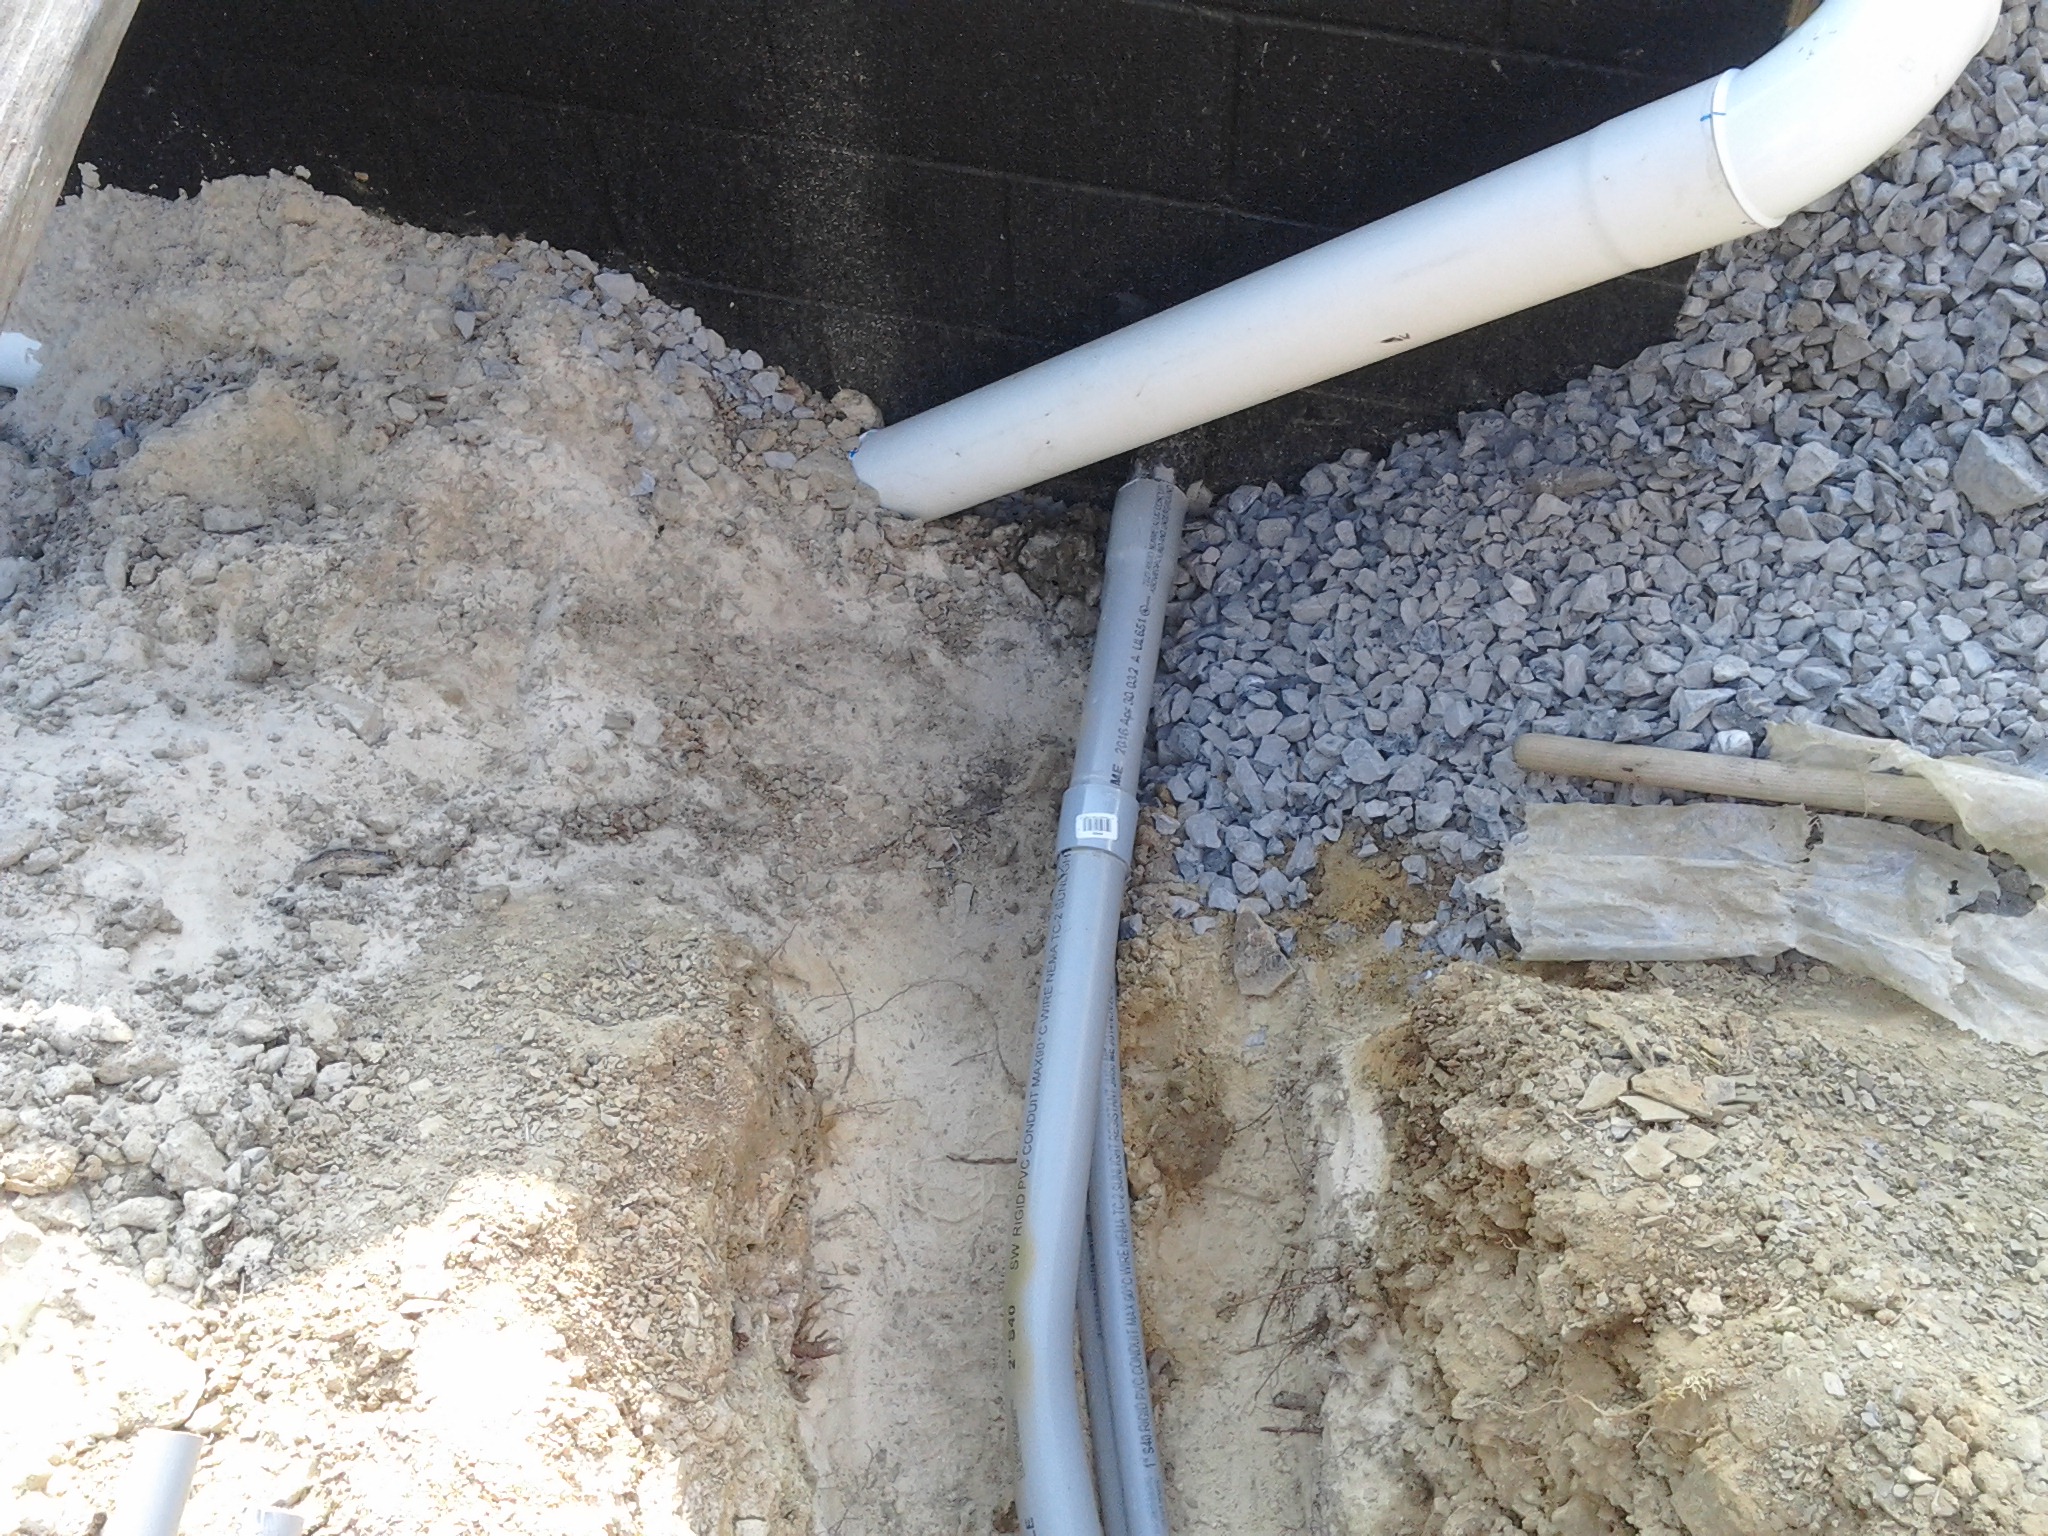
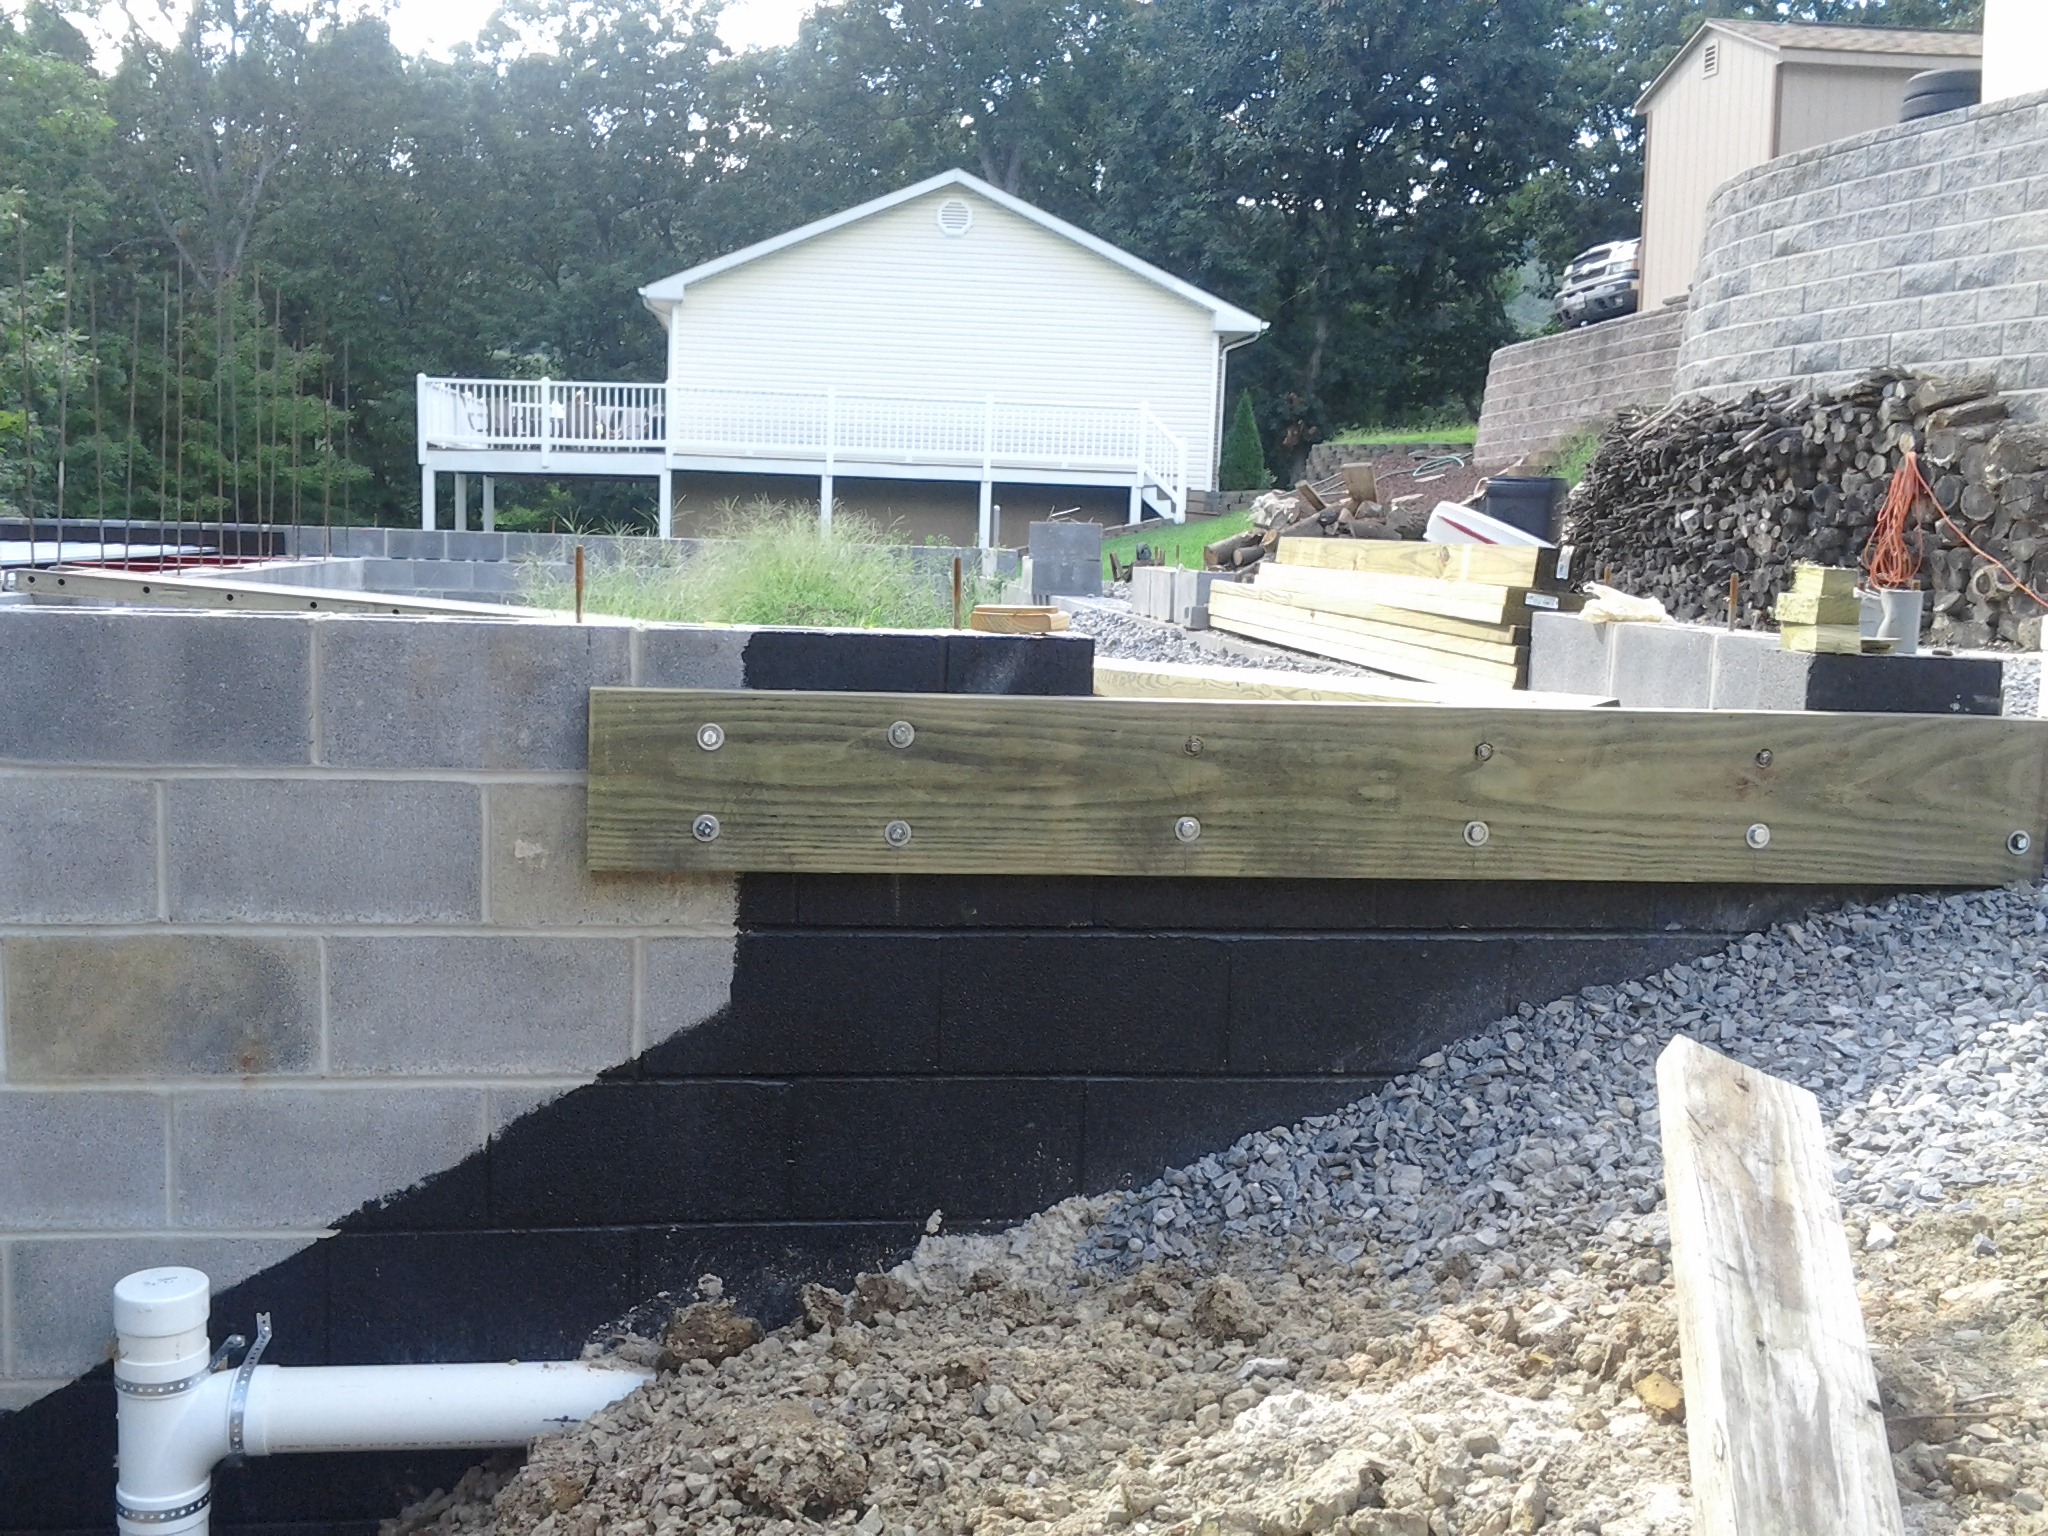
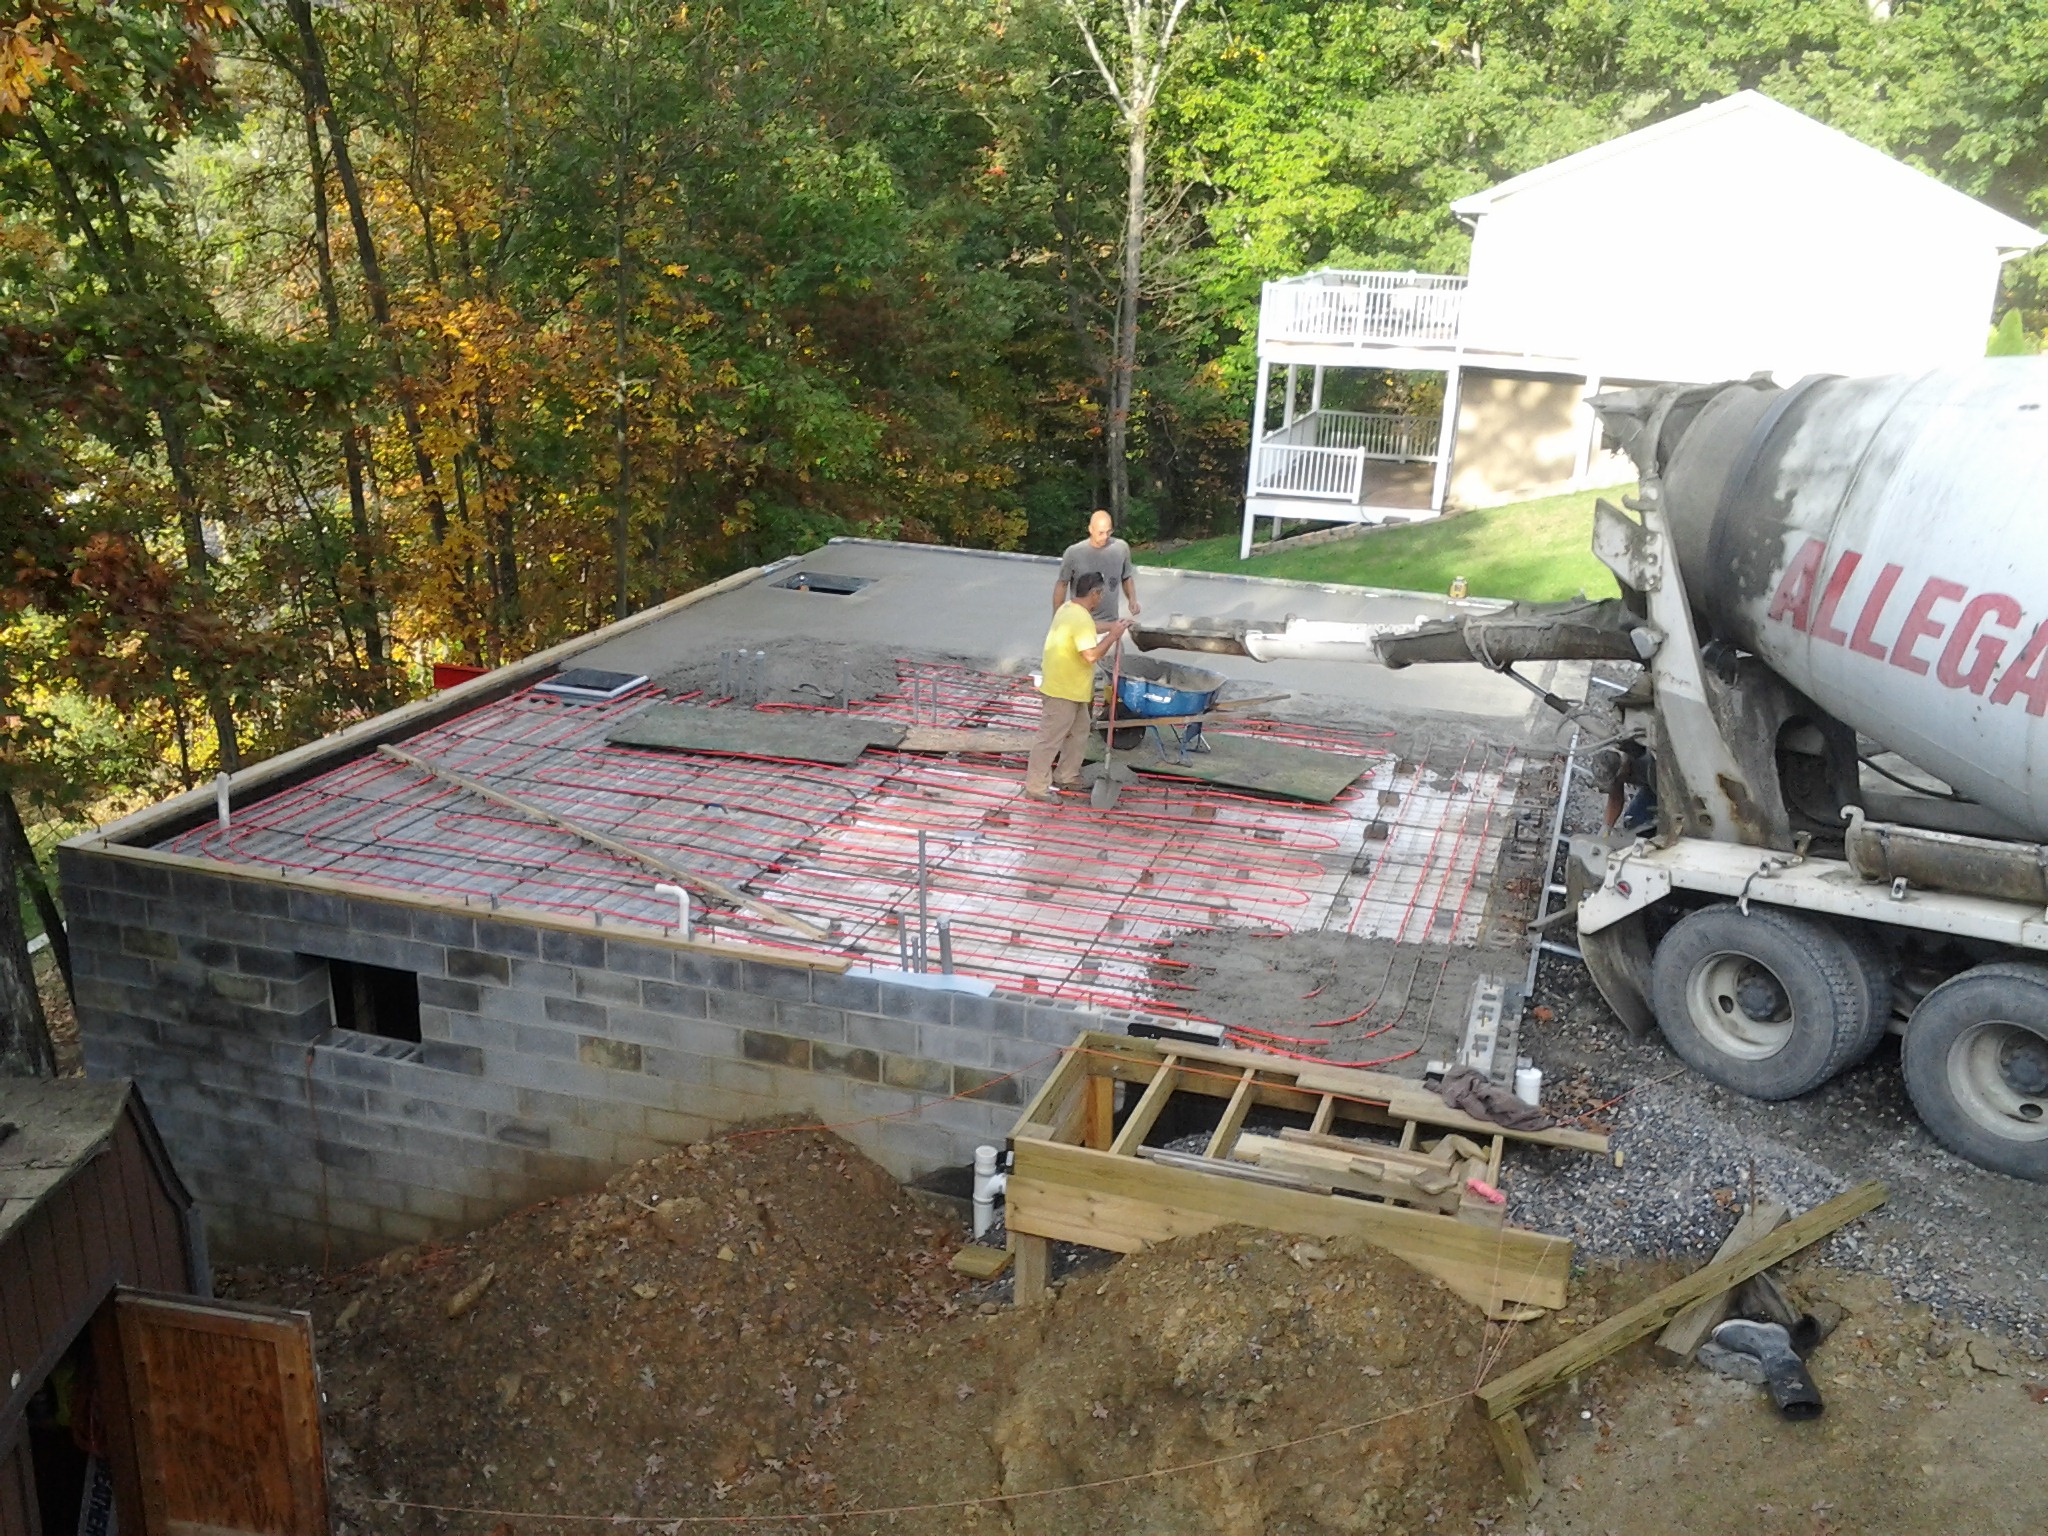
It will be a 28x40 with an 11x39 basement 9' high underneath the back half.
The garage level is set up to accept a 17x27' working bay with a 21x27 bay for car storage with a solid wall between the two.
There will be two pocket doors creating a 4' opening between the two sides. I managed to pick up a 4 post lift for the storage side.
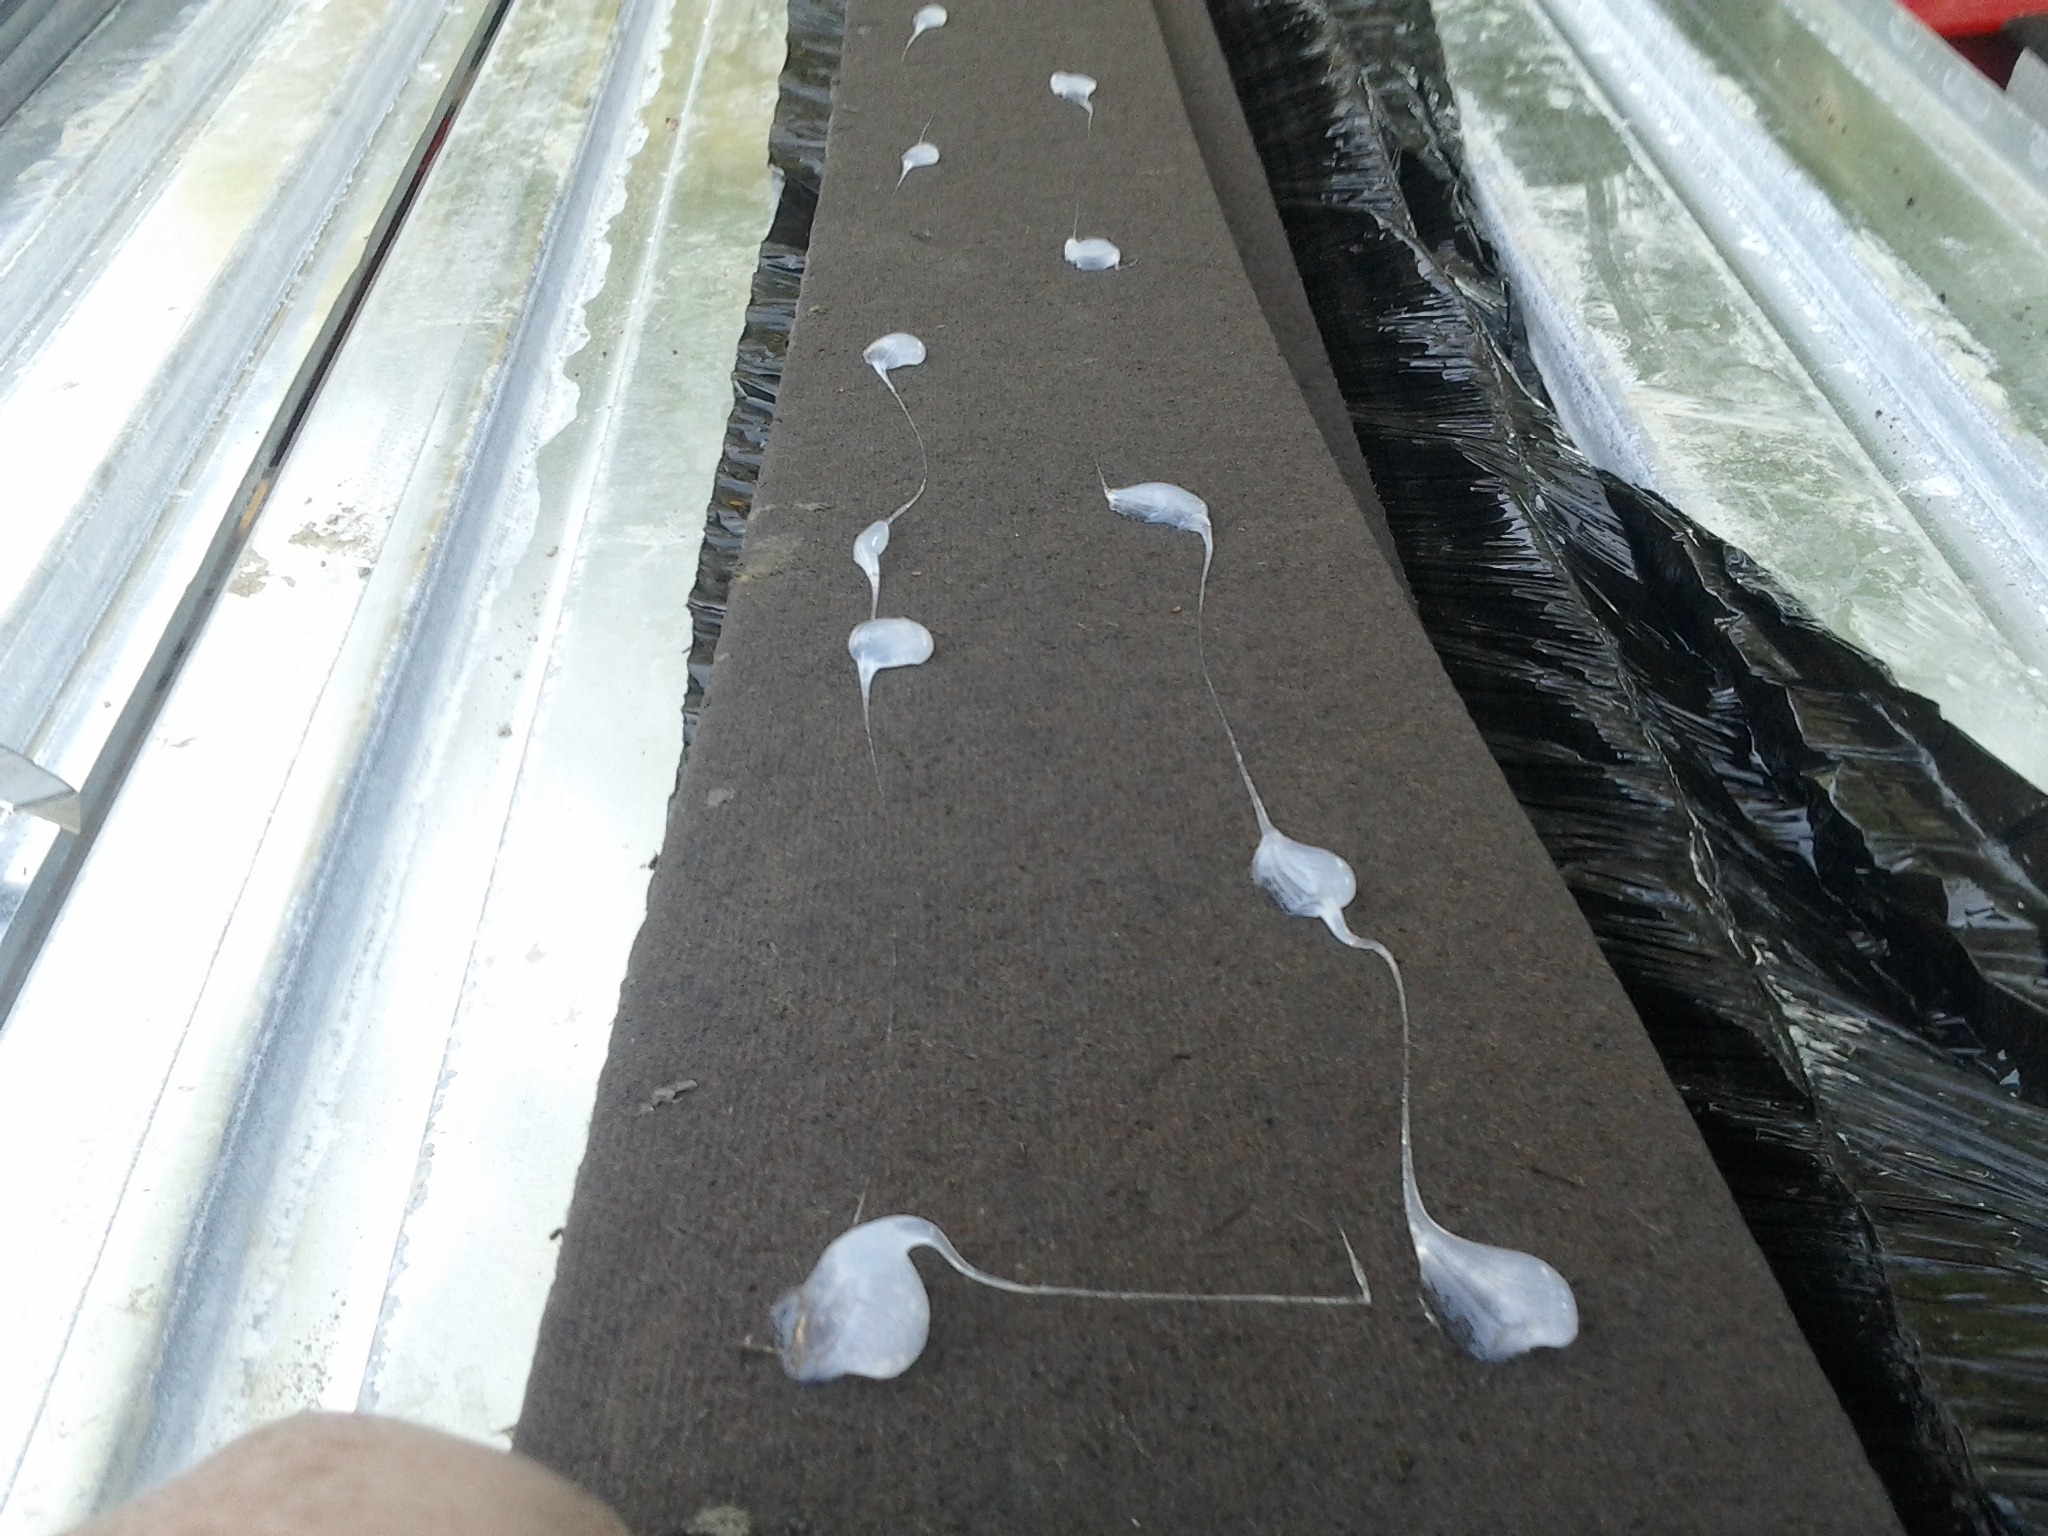
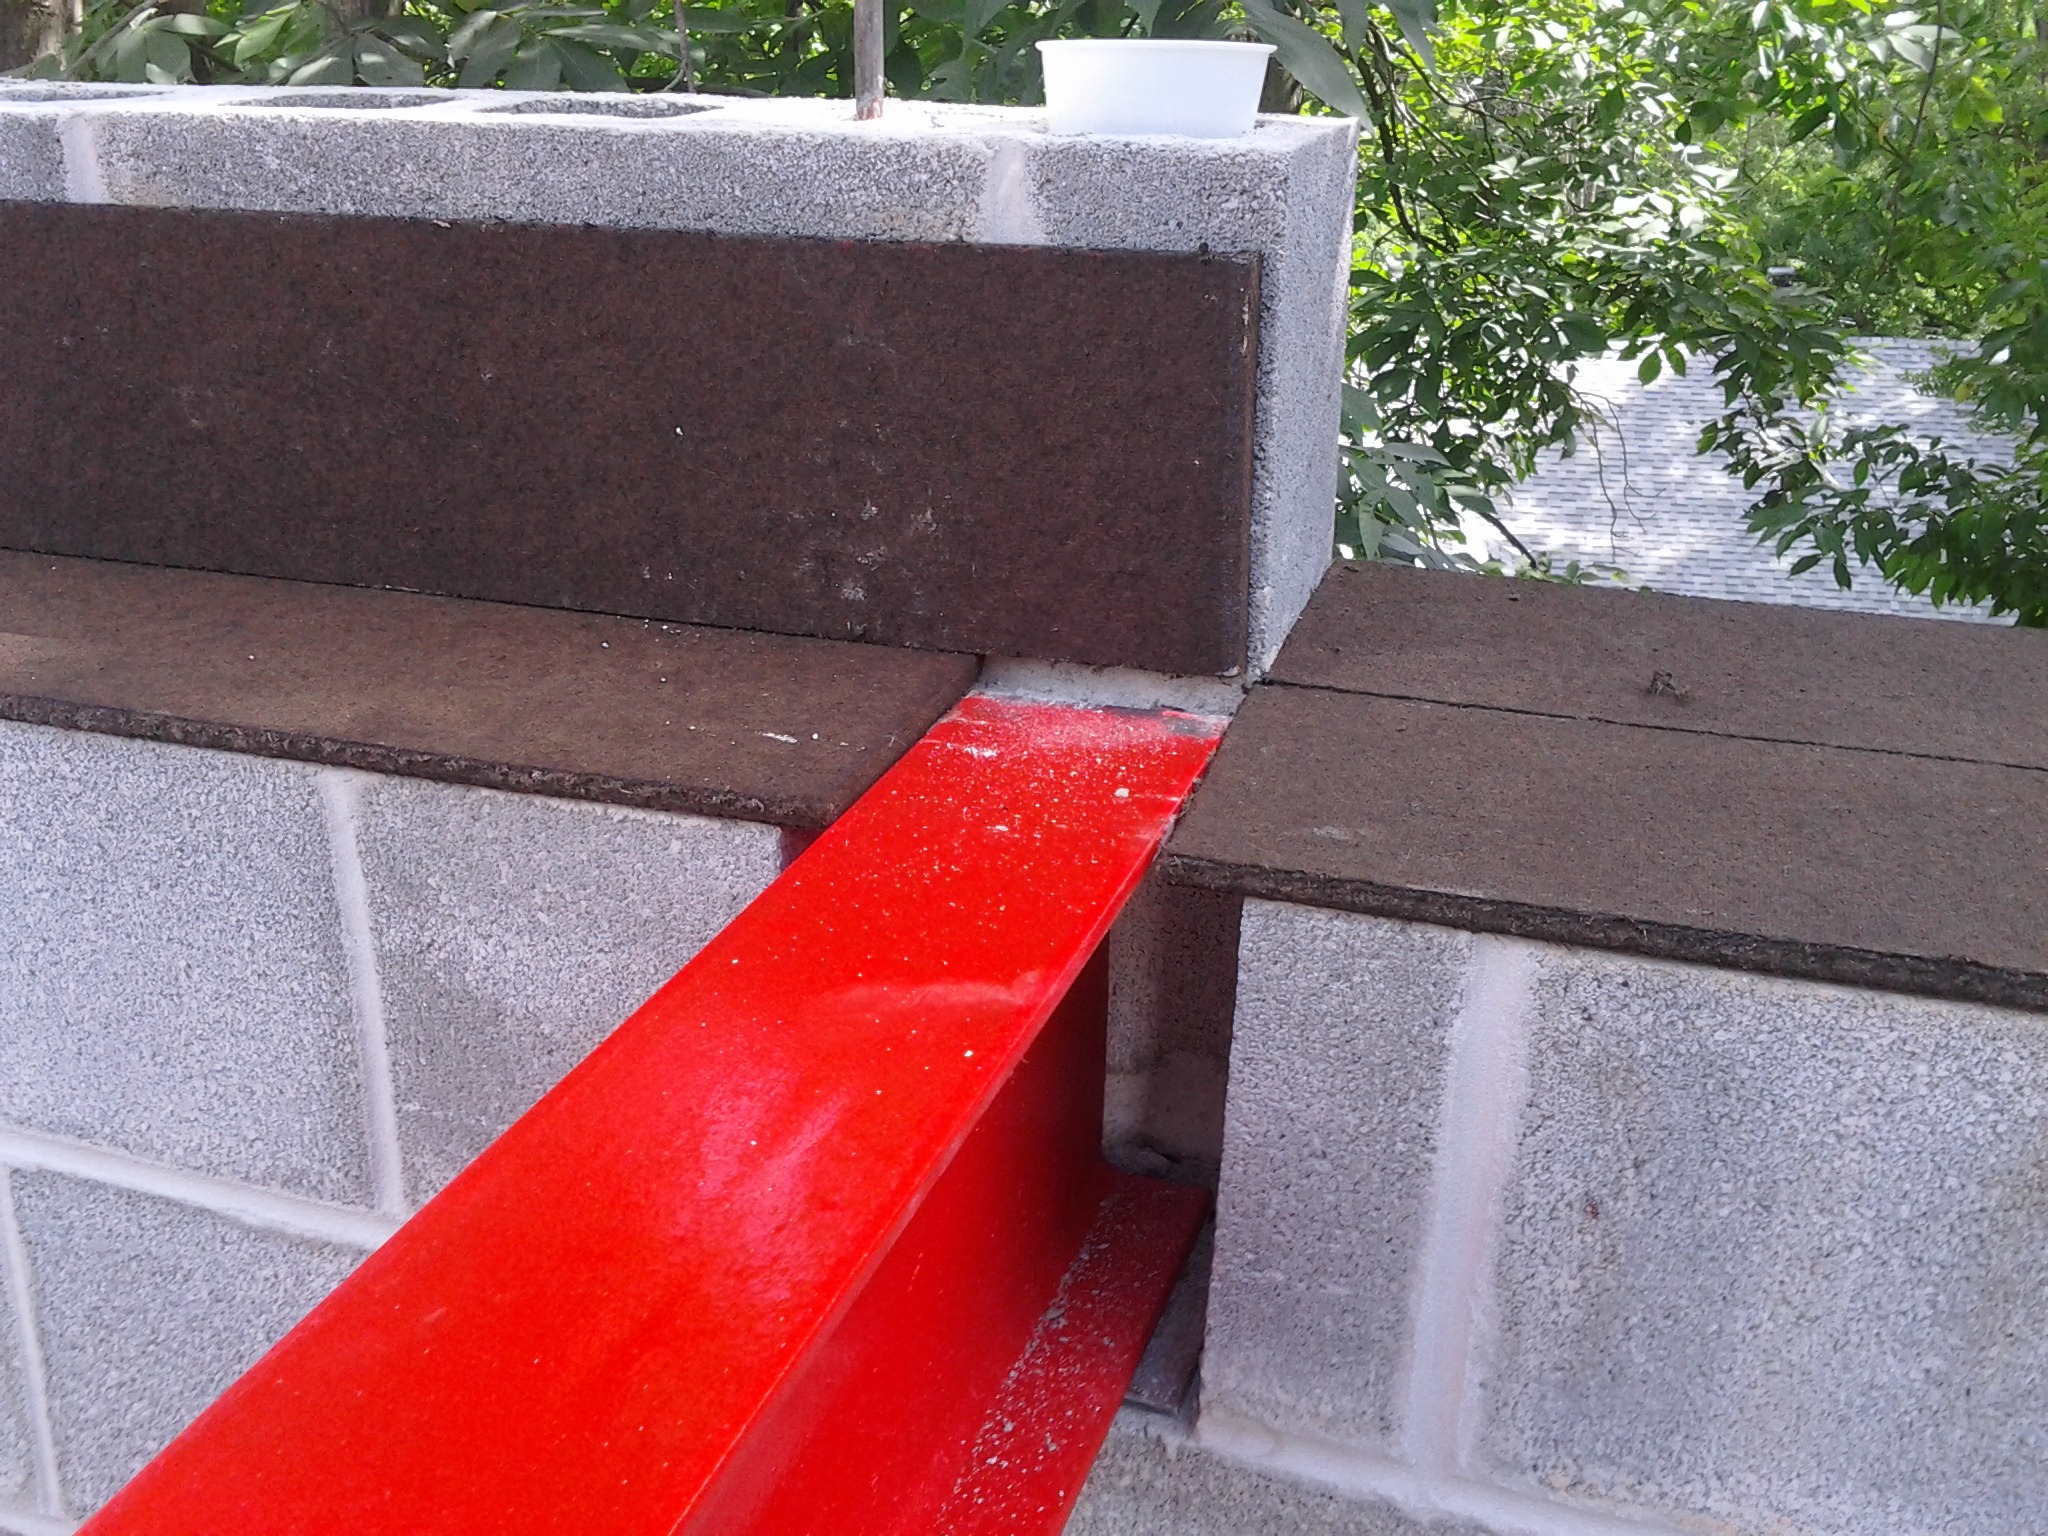
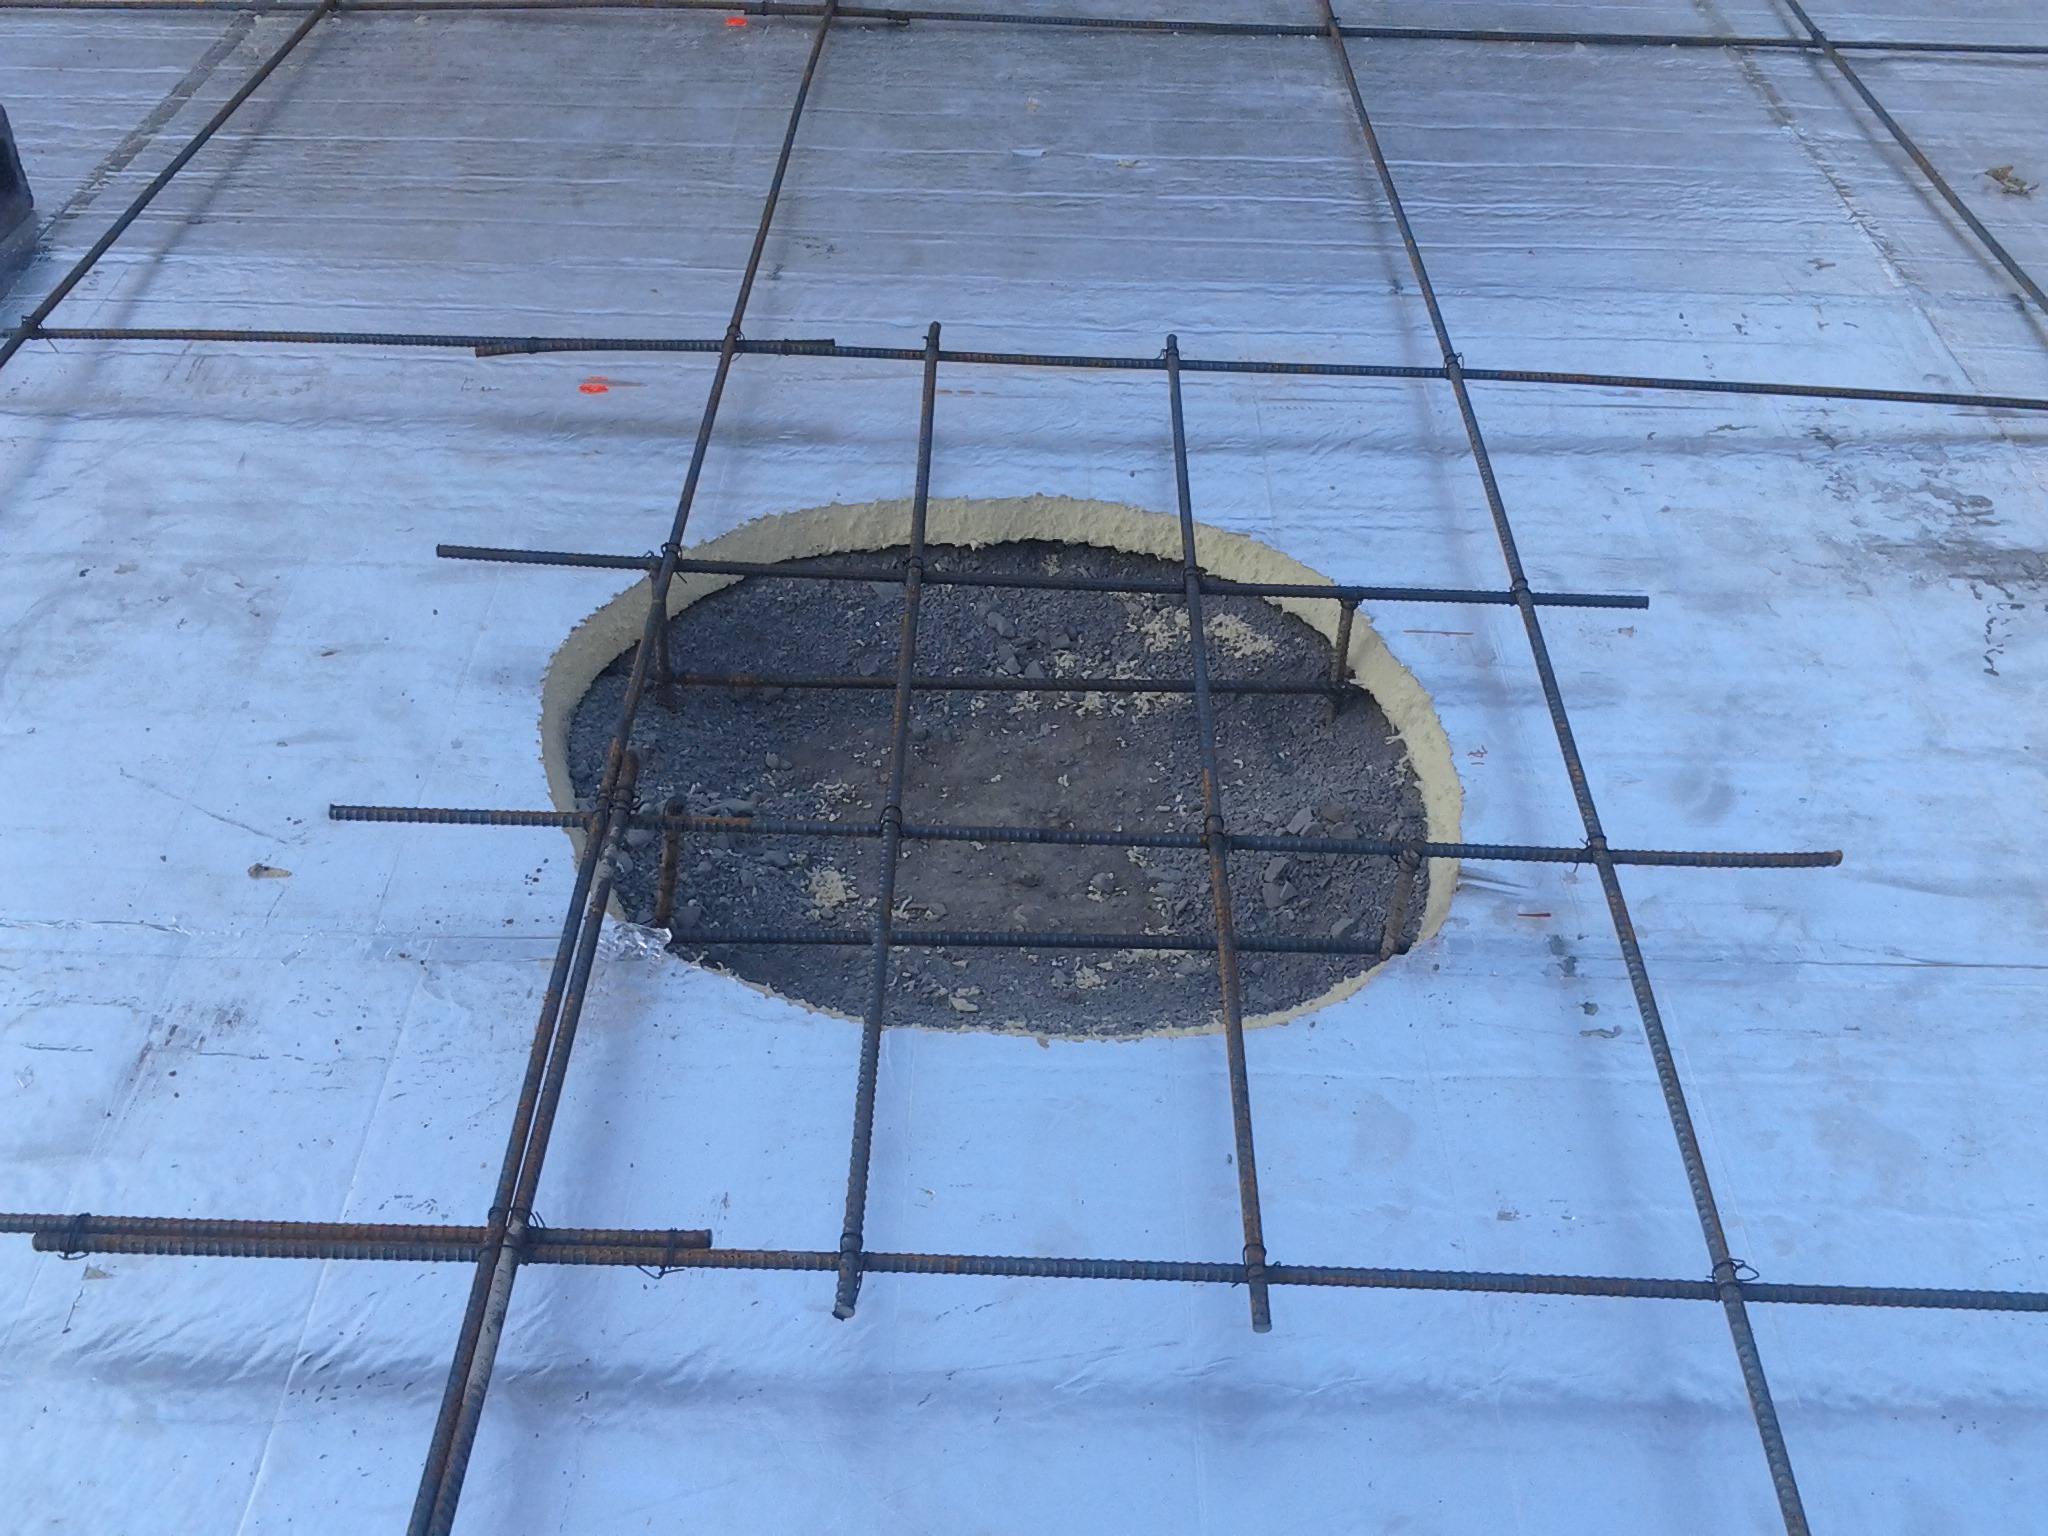
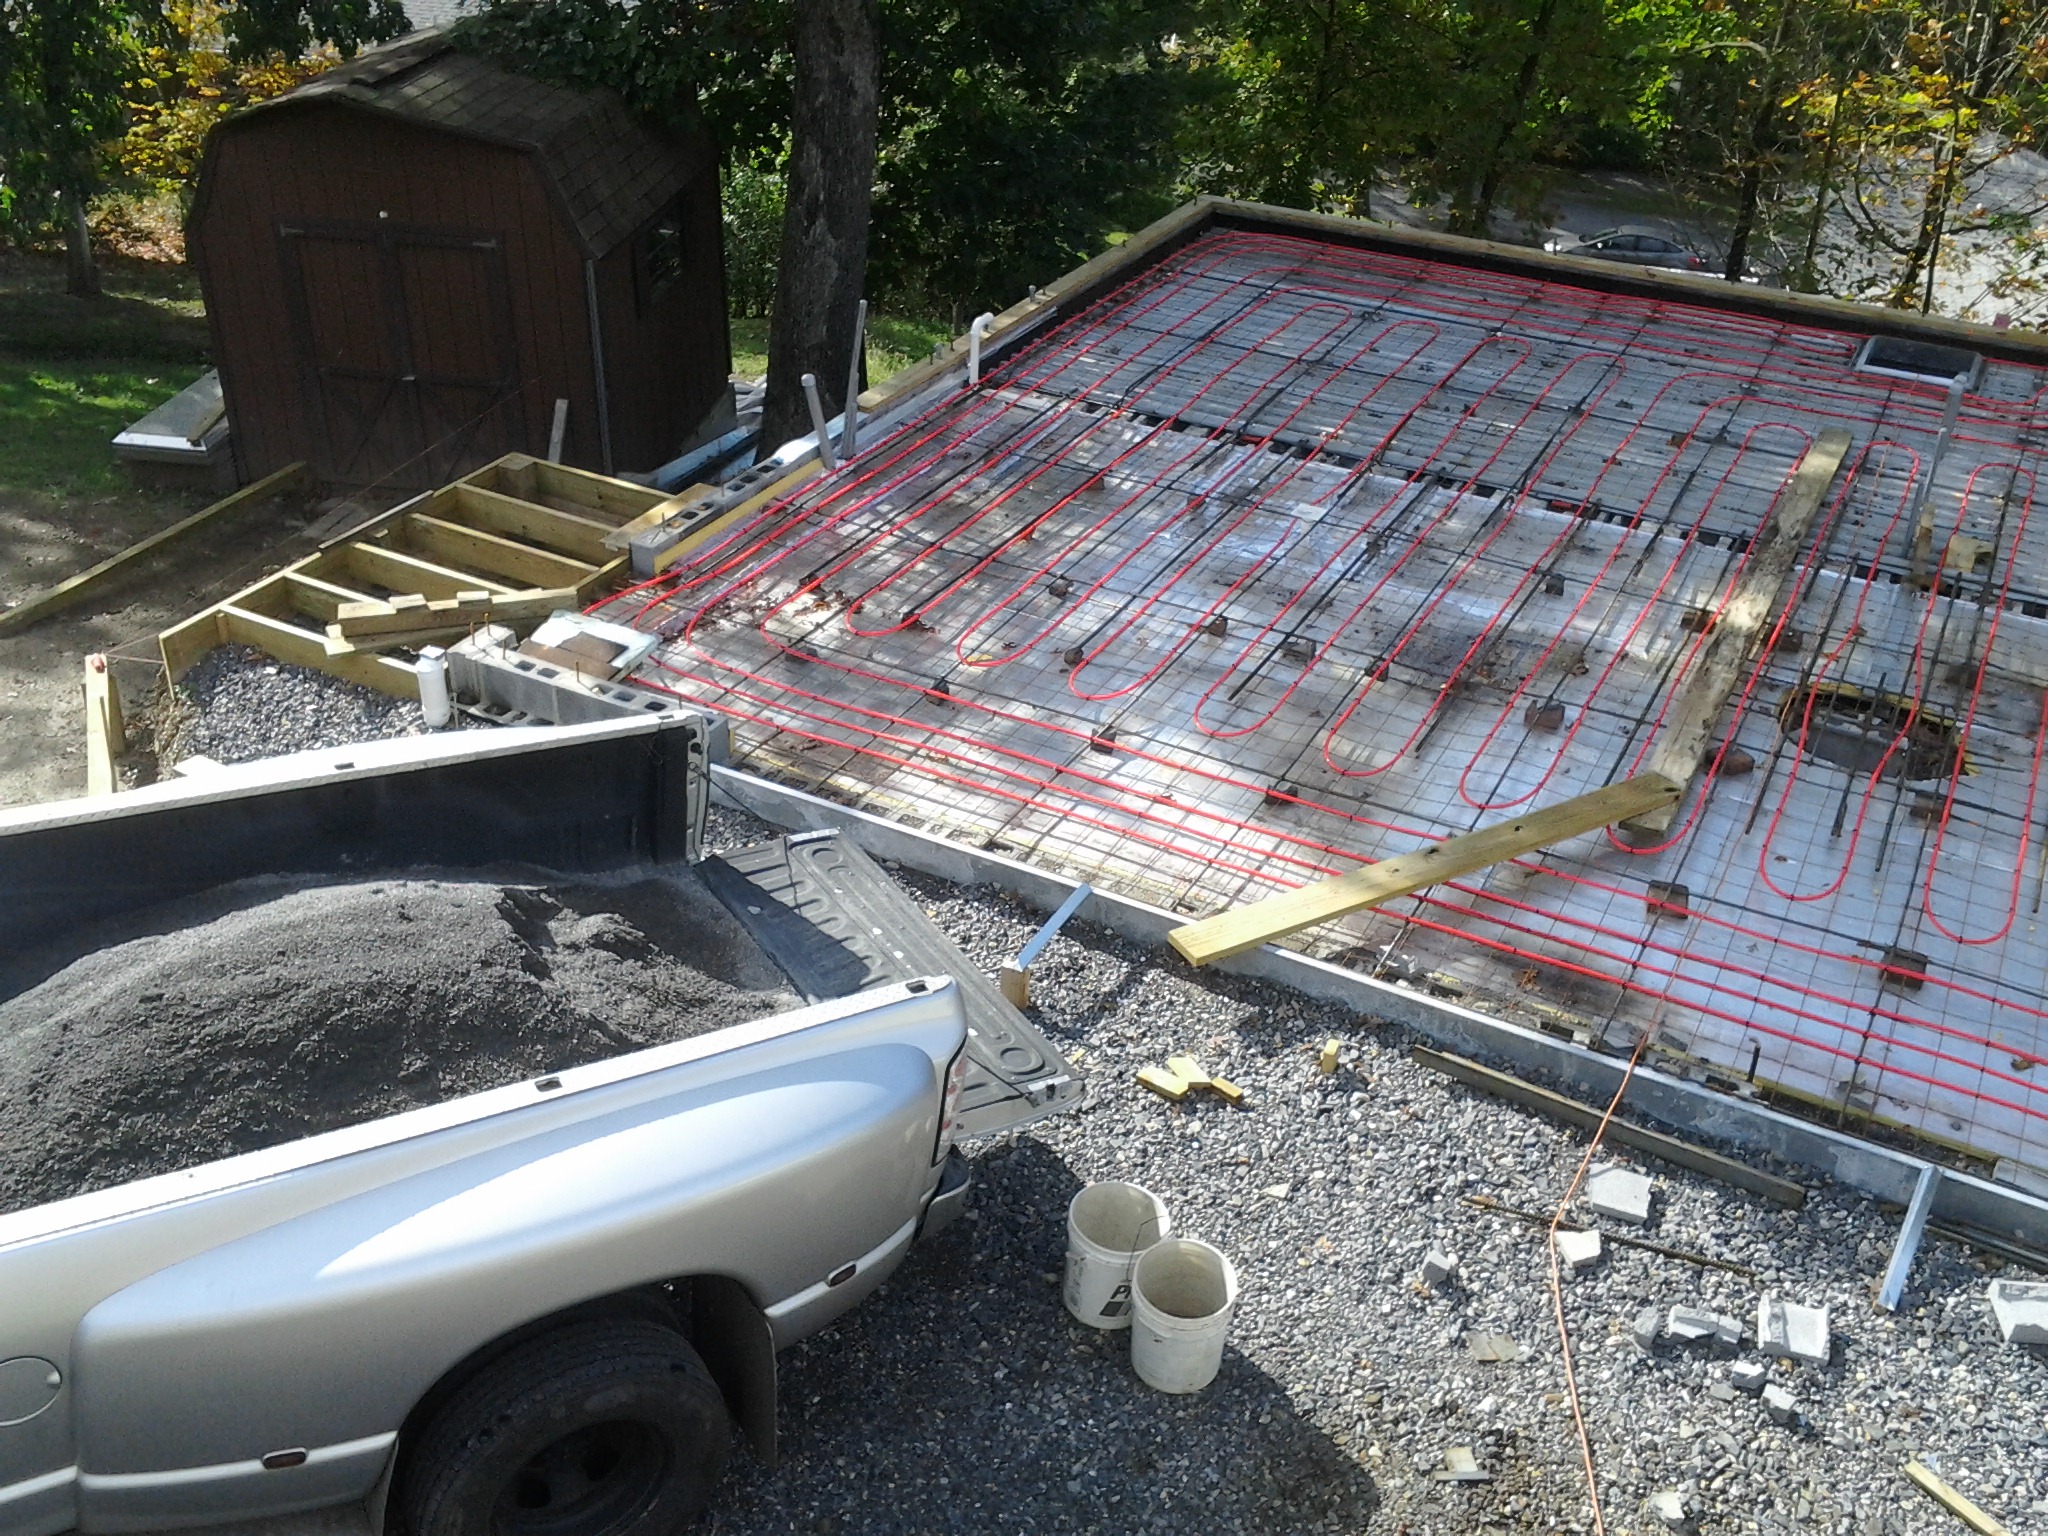
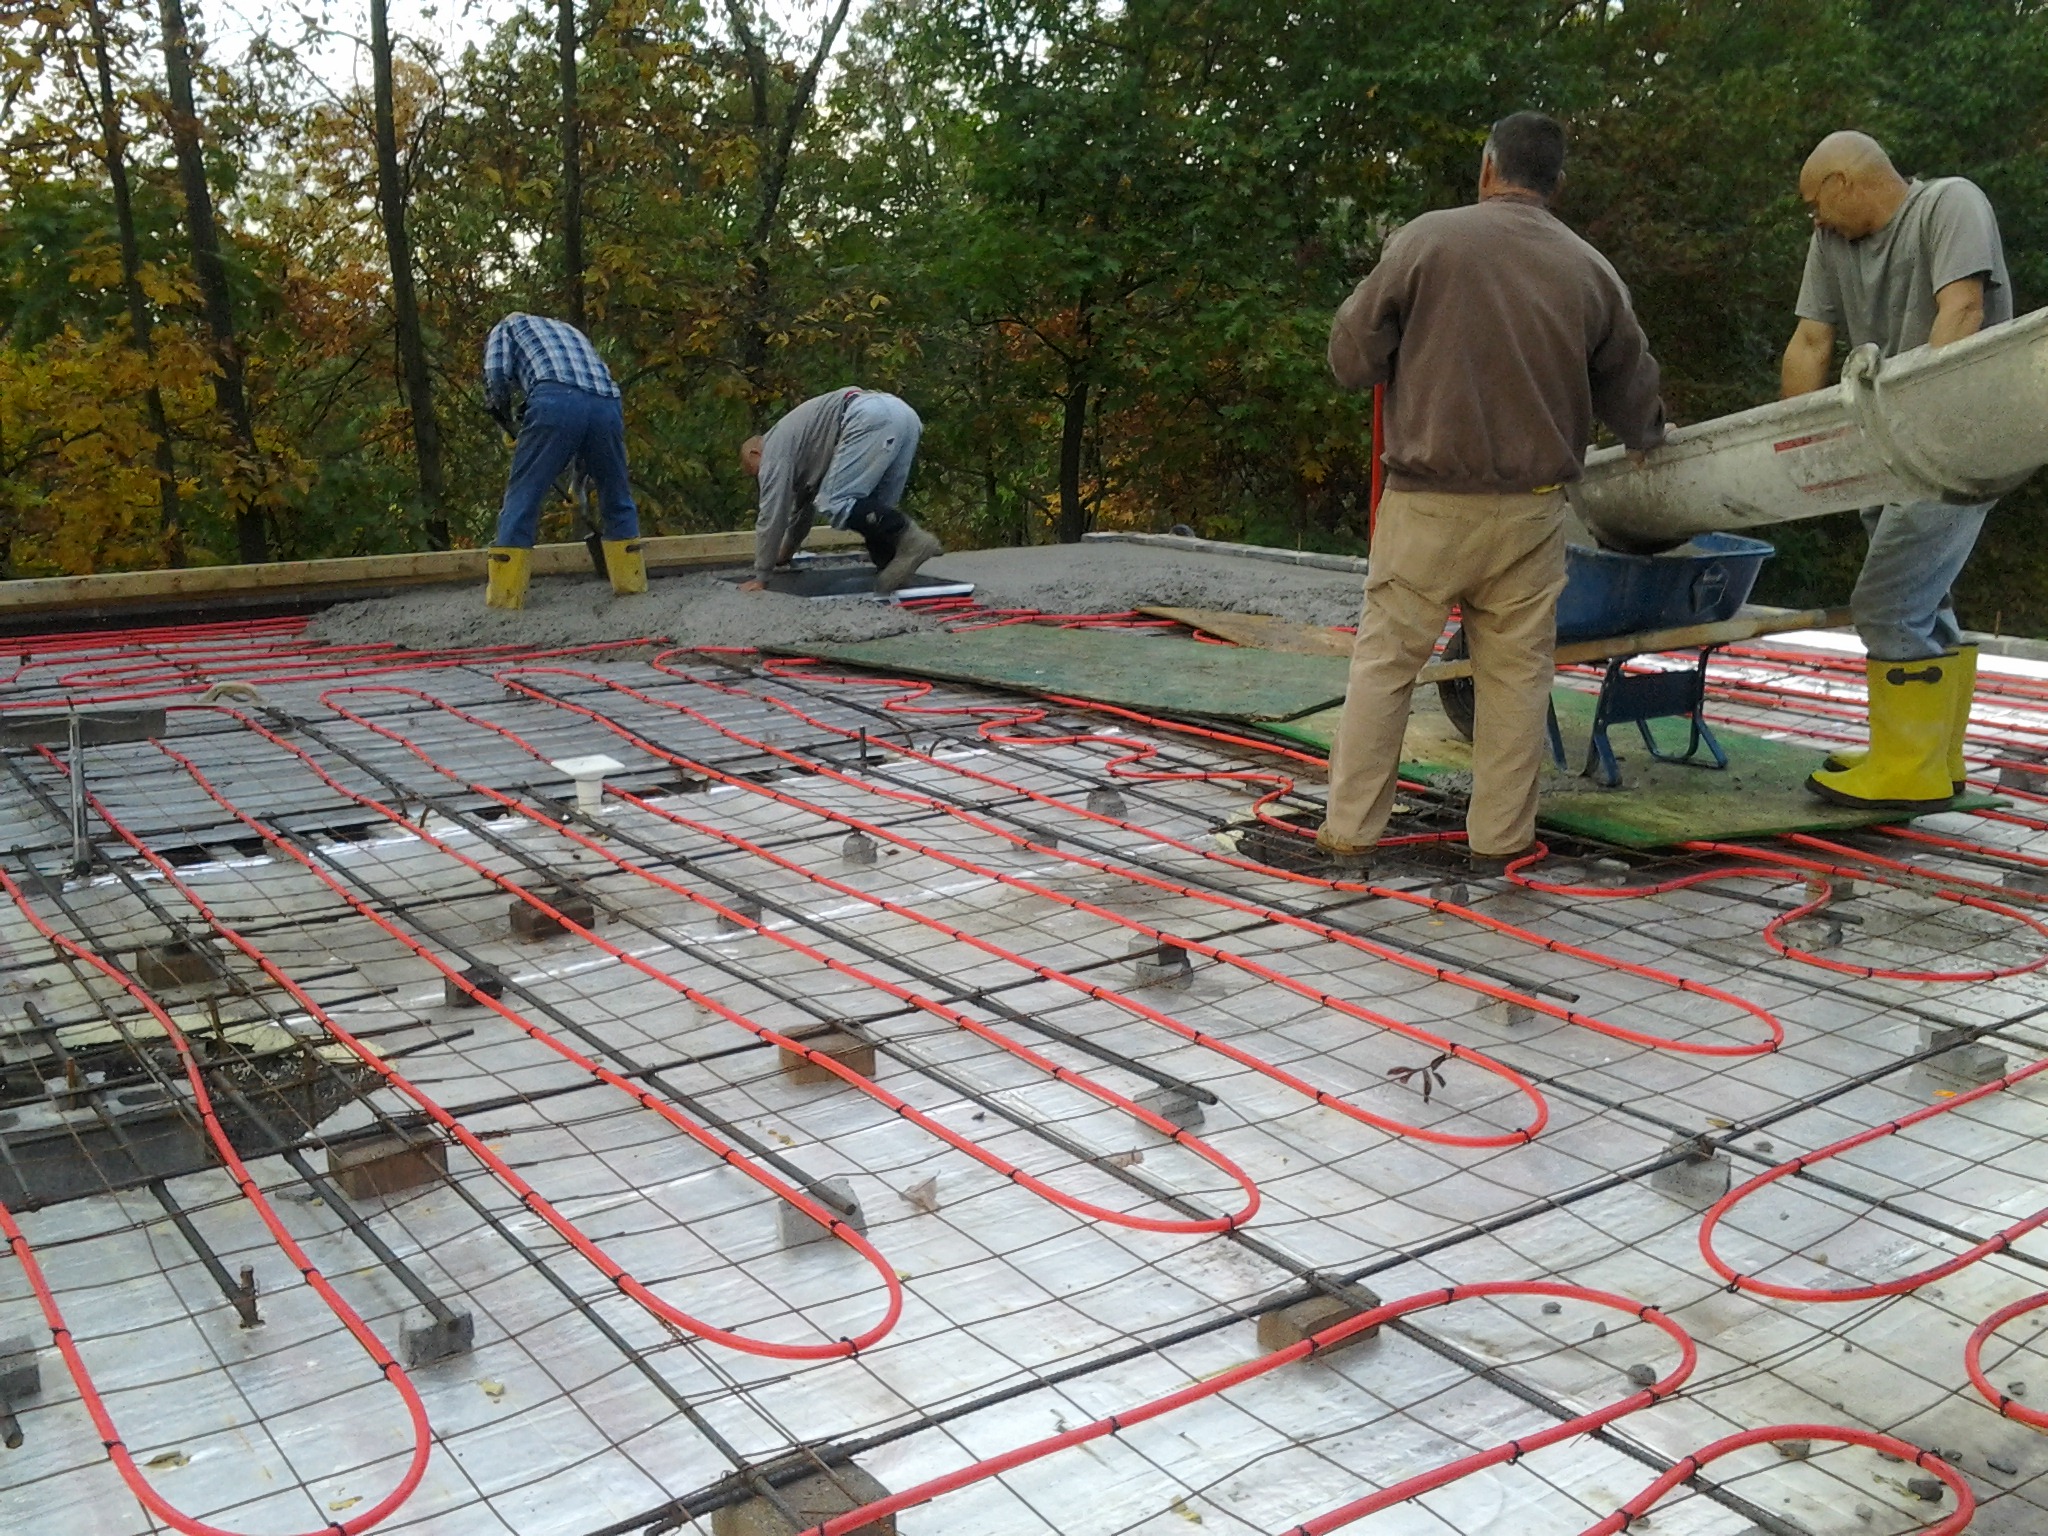
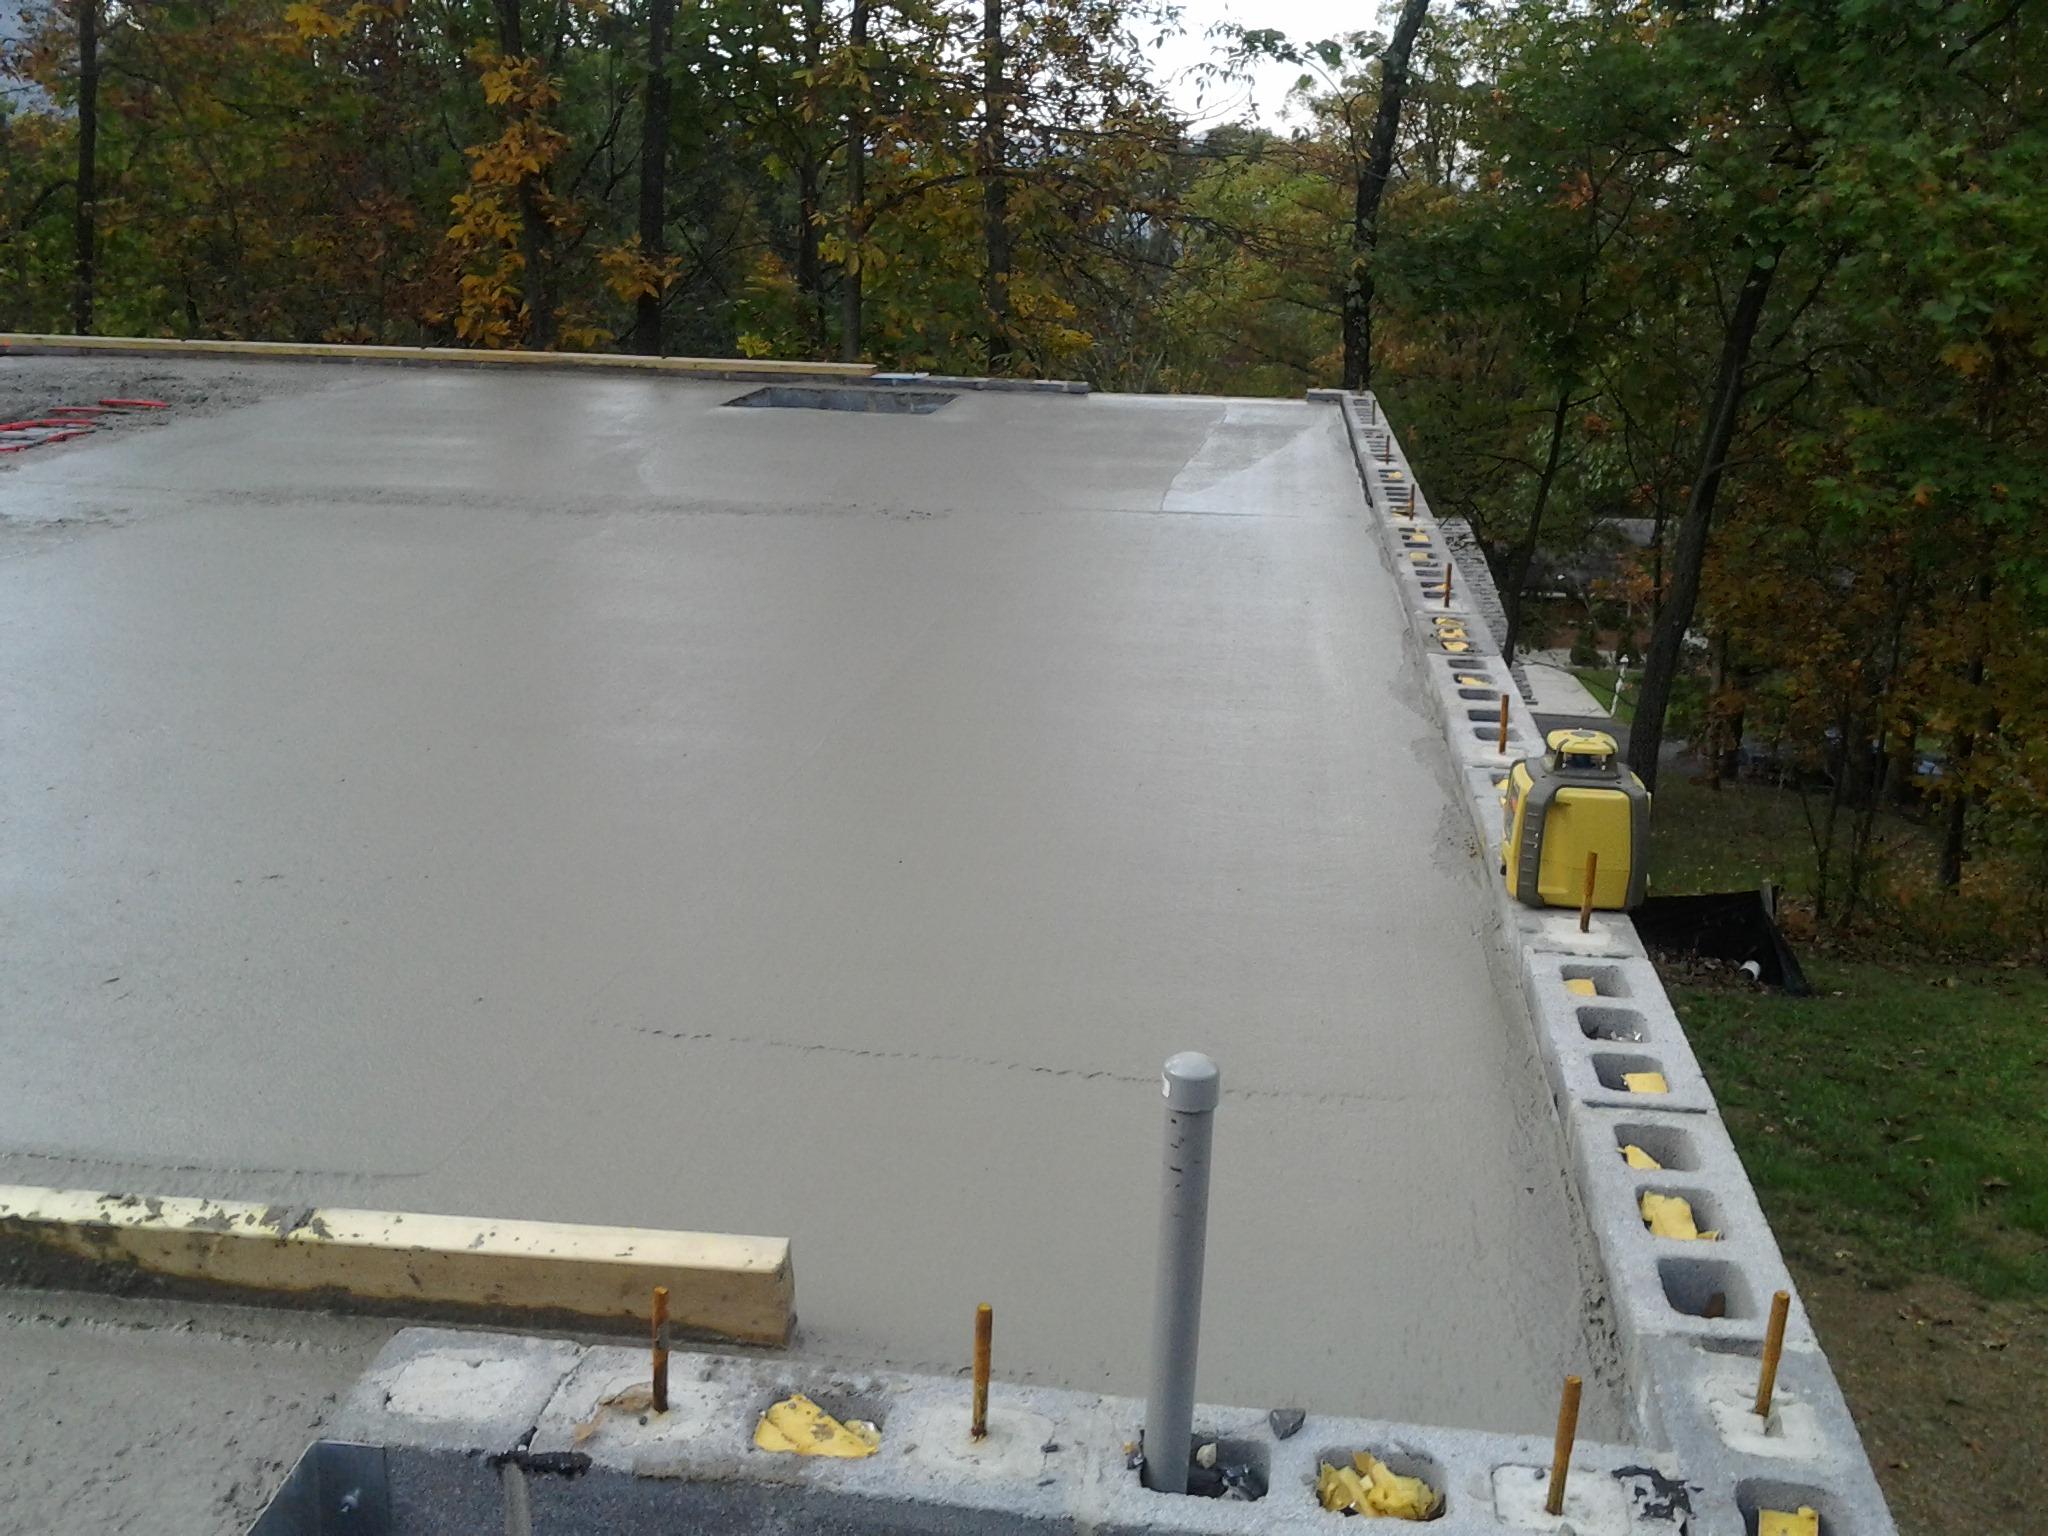
After permits...public hearings and lawyer fees out of the way I have finally managed to make some progress. I'm planning on heated floors and using scissor truss's to add interior height for the lift.

North Elevation.png East Elevation.png Floor Plan.png
 
Excavation and foundation work began in 2014... 1st pic is in March of this year...the rest begin when work resumed in June of 2016. All block is 12" with the top course a 6" to create a pour stop for the concrete slab. You can see in the pictures the beam pockets where the steel beams will be placed.

1-3-6-16.jpg 1-6-27-16.jpg 6-6-27-16.jpg 8-6-27-16.jpg
 
The Basement wall is in center and had to be engineered to pass the county specifications due to the load created by the dirt against it.
The blocks are cut to create a bond beam with 2 layers of 3/4" rebar running the full length while 1 piece of 3/4" rebar runs vertically 32" oc.

4-6-29-16.jpg 5-6-29-16.jpg 6-30-16 (3).jpg 6-29-16 (4).jpg 7-1-16 (3).jpg 7-1-16 (5).jpg
 
The block work was completed and the beam pockets and bond beams were poured full of grout.
Steel plates were added to carry the point loads of the W8-15 beams yet to come.
The weld marks you see are where a J hook is welded to them and submersed into the grout.
They can be seen laying upside down on the wall in the last picture.


Attachments
7-1-16%20%289%29.jpg


7-1-16%20%2810%29.jpg


7-1-16%20%2811%29.jpg


2%20%206-30-16.jpg
 
This is the point where all the hired help's work is complete. They managed to do all of that in a week. From here on out this is all mine to handle until wall framing is ready to start next spring.
I started laying out the metal deck...shooting it down and installing the expansion joint at the block for the floor slab. I at least now have a half-a$$'d basement to store materials in.


Attachments
13-7-1-16.jpg


1-7-2-16.jpg


1-7-3-16.jpg


1%20%20%207-1-16.jpg
 
With enough work done to the metal decking to get reasonably dry storage downstairs I started waterproofing the foundation walls and installing the foundation drains. This proved to be both time consuming and back breaking work in the middle of the summer.
The drains are covered with filter sock and wrapped in a bed a gravel surrounded by drainage material.


Attachments
018.jpg


021.jpg


041.jpg


044.jpg
 
It was about then that I realized I had better get under ground electric out to the future shed adjacent to the garage. Not to mention tie in the incoming electric service conduits.


Attachments
5%20%207-31-16.jpg


1%20%208-3-16.jpg


2%20%208-3-16.jpg


3%20%208-4-16.jpg
 
Digging a 36" deep trench in the ground for the electric that was about 20' long is a PITA but I didn't have to rent a machine.
I also had to incorporate the storm water management underground plumbing into this area to be continued on later.
The entrance porch framing also began. I need this to double as a pour stop for the concrete slab.


Attachments
6%20%208-4-16.jpg


8-2-16.jpg


8-2-16%20%284%29.jpg


2%20%208-7-16.jpg
 
Foundation drains continue at the basement wall in the area that will become the upper garage slab. I wasn't sure if water could make it to this wall or not so it received 2 coats of tar and the same drainage pipe and filter sock with gravel and material. They are on top of the foundation but that is 4" below the basement slab so any water should drain off.
These drains were the toughest because of the ground wanting to slide into the area you needed to work. I ended up doing these in 5' at a time increments and throwing the dirt I was removing back on areas that were completed.
Once this was complete the 70 tons of shale were brought in to fill the front where the floor is slab on grade.


Attachments
154.jpg


164.jpg


171.jpg


8-20-16%20%283%29.jpg
 
Add in another 7 ton of #57 gravel topped off with 6 tons of Limestone dust and it is almost up to elevation. I used some water and a tractor along with the dually full of gravel to roll the shale for compaction. Then added the 57's and stonedust using a vibrating plate.
Finally I added the 1 1/2" foil faced rigid insulation for under the slab.


Attachments
8-23-16.jpg


8-24-16%20%284%29.jpg


8-25-16.jpg


8-27-16.jpg
 
In case your wondering what the two large holes in the insulation are those are the areas of the floor where the slab is beefed up thicker with rebar for the point loads created by the four post lift. Its a 36" diameter hole about 12" deep and will eliminate any future problems.
Time to start turning down the vertical rebar from the basement wall and installing the rebar and wire mesh in floor.


Attachments
8-28-16.jpg


8-28-16%20%288%29.jpg


8-28-16%20%289%29.jpg


8-28-16%20%2813%29.jpg
 
About now is when the fun really starts. The 6x6 wire mesh and rebar were something that totally wiped me out. I used two rolls of the black wire tying everything together. Only to then begin installing 1200 linear foot of 1/2" pex tubing. (4 separate loops 300' each)
Sorry about the picture quality I think going from the AC to outside fogged it up.


Attachments
1%20%209-13-16.jpg


1%20%209-22-16.jpg


6%20%209-22-16.jpg


1%20%209-25-16.jpg
 
The two holes in the metal deck with metal around them you see are pour stops for future AC and a place to lower engines and other heavy items into the basement.
I used 3/4" 90 degree pvc elbows to create the penetrations for the pex to go into the basement. This should make sure I have no future problems.
I have since added a pour stop for the slab at the front doors but haven't completed it yet. More pics to come as this progresses. The main goal for this summer was to complete the concrete slab and all of the ground work so grass could be planted in the spring. So far...so good.


Attachments
7%20%209-22-16.jpg


8%20%209-22-16.jpg


11%20%209-22-16.jpg


10%20%209-22-16.jpg
 
Here is a drawing I did for the pex heating system in the floor. I used an overlay of the 6x6 metal mesh condition and then used the mesh spacing to develop a layout with 4 zones of equal length and near equal coverage. I'll have to take final pics of everything before concrete to make sure if I ever drill the floor nothing is in the way.
Also attached is the revised basement beam layout for the lift that gets installed above. I had to upgrade from a W8-13 to a W8-15 to manage the point loads the lift creates
As a running total so far there has been 10 truckloads of 57's used in the slab on grade and as back fill around trench and foundation drains. The average load weighed about 6,600 lbs and was unloaded by hand and distributed in 5 gallon buckets. 6 tons of limestone dust on top of that with the shale the total amount of materials imported was about 108 tons.


Attachments
Pex%20layout.png


Basement%20Beam%20layout.png


6-14-16.jpg
 
I added the temporary shoring under the metal pan decking at the basement getting ready to pour the concrete floor.


Attachments
028.jpg


032.jpg


036.jpg


037.jpg
 
Wood was installed around the steel beams to prevent concrete from the upper slab pour from reaching the basement.
Several penetrations were made through the metal decking into the dividing wall above for electric and for return of air lines and such.
I still need to do a couple more near the panel for the floor heating to return low voltage thermostat wires.
Concrete pour of the slab is scheduled for Monday 10/17/16.


Attachments
030.jpg


031.jpg


033.jpg


035.jpg
 
I got the fittings installed on the pex tubing and pressurized the system to 50 pounds.
I need to install a few more braces on the pour stop at the doors...clean up some leaves and maybe do a little caulking to prevent concrete from getting to the basement and it should be ready to pour.


Attachments
027.jpg


024.jpg


044.jpg
 
Concrete pour went off without any problems...
We used particle board to lay down over the pex tubing to wheel the concrete to the back corners.
Pex tubing stayed pressurized at 50#'s throughout.
I'll come back in the spring and install the aprons to transition from the gravel to the new floor. I'm thinking maybe 3' long with about 1/2" of slope away...


Attachments
008.jpg


009.jpg


011.jpg


013.jpg
 
Auto Transport Service
Back
Top