• When you click on links to various merchants on this site and make a purchase, this can result in this site earning a commission. Affiliate programs and affiliations include, but are not limited to, the eBay Partner Network.

Project Unicorn - 1968 Charger Restoration

I, too, just read this whole thread. Amazing work! Curious, you used Killmat on the roof and Dynamat on the floor. Any reason for using two different products there? I’ve been debating which one to use for my project.

Thank you!! It would all be dynomat but as you might have read in my thread, I had a bunch of parts held up at the border with COVID (one of which was two boxes of Dynomat). I was trying to keep progress going on the car while I was waiting for my parts and was planning on doing the headliner, so a few months ago I just ordered the kilmat from amazon because it was affordable and had good reviews. After having used both (with same thickness), I see no real difference in application and the performance seems about the same from what I can tell so far. cheers
 
Got the X mat form Eastwood. The head liner or roof type is different from the floor pan insulation. They also make it for the hood in the engine bay. They sell the two product's. So far mine is doing good and you really don't see it through the head liner. So best of luck to you and the project. :thumbsup:
 
Car has come a long way. You've done a great job. It looks fantastic. Can you go into a little more detail as to what all you did to restore your heater box please?
 
Car has come a long way. You've done a great job. It looks fantastic. Can you go into a little more detail as to what all you did to restore your heater box please?

hi there, thanks for the nice comments! For the heater box, I took it apart completely and media blasted all metal components. The plastic parts were cleaned with marine clean, scrub brush and power washer. I ordered a heater box rebuild kit from Detroit muscle technologies that came with all new gaskets, etc - it’s such a great kit for this kind of rebuild. And necessary as it’s near impossible to reuse the old stuff. When the box was apart I tested the motor and resister just to make sure it was fully operational. With new hardware. I just went step by step and put it all back together. It’s time consuming but not difficult to do.

forgot to mention that I just Duplicolor paints on the metal pieces - gloss black for the motor and large cover plate and flat silver for everything else. Also ordered a replacement heater core as now is the time to do this replacement to save headaches later.

hope this helps, happy to elaborate more on anything, just let me know!
 
Last edited:
hi there, thanks for the nice comments! For the heater box, I took it apart completely and media blasted all metal components. The plastic parts were cleaned with marine clean, scrub brush and power washer. I ordered a heater box rebuild kit from Detroit muscle technologies that came with all new gaskets, etc - it’s such a great kit for this kind of rebuild. And necessary as it’s near impossible to reuse the old stuff. When the box was apart I tested the motor and resister just to make sure it was fully operational. With new hardware. I just went step by step and put it all back together. It’s time consuming but not difficult to do.

forgot to mention that I just Duplicolor paints on the metal pieces - gloss black for the motor and large cover plate and flat silver for everything else. Also ordered a replacement heater core as now is the time to do this replacement to save headaches later.

hope this helps, happy to elaborate more on anything, just let me know!
Did the new hardware come in the kit?
 
EXCITED!!! Just ordered this today ... of course it'll be SEVERAL weeks before I see it with the all the delays going on.

upload_2021-11-12_14-20-39.png
 
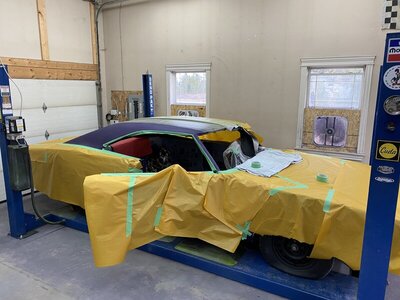
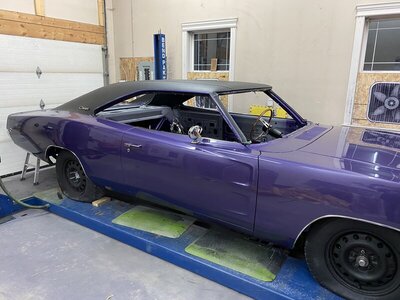
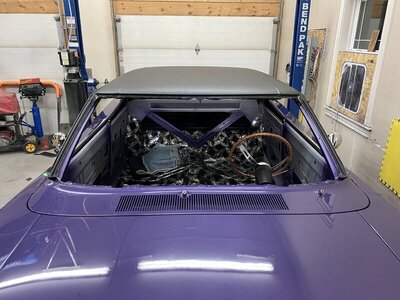
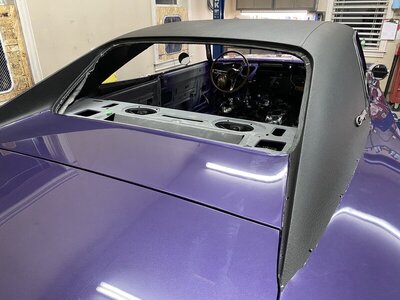
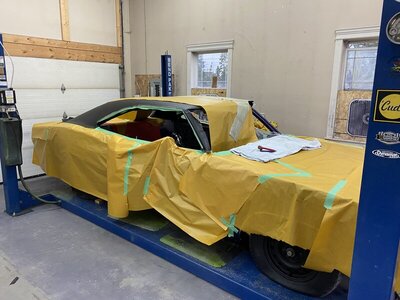
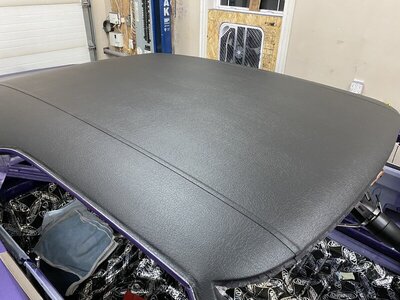
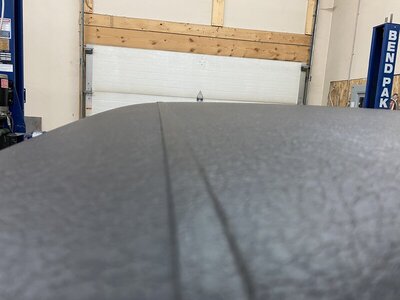
Got it on!!! Really happy with the end result. Thank you to a local good friend for the extra hand. Time to start polishing and mounting the trim.

660AA442-817E-4967-B3AA-AF87E749EEC0.jpeg CC330486-D485-4A7D-9D59-EC75EBAF8922.jpeg 61C7FA55-959B-4C41-B520-D399637B0495.jpeg 750CA46F-ED7C-4A06-99E5-2A0B7834B332.jpeg F6A914FA-7378-4033-ACA7-D214BE97A881.jpeg FC0A78DA-BD3F-4931-9DA6-DBCB1B872822.jpeg DCFAAD2F-4E64-42D2-9F3D-48E9BA49BF27.jpeg
 
Last edited:
Forgot to mention that this is the adhesive I used, was very happy with it - extremely strong bond. Just helping out the next person!

71Q+pTudEfL._SL1000_.jpg
 
The top came out really nice! Not sure if you mentioned it before, was that your first vinyl top installation?
 
The top came out really nice! Not sure if you mentioned it before, was that your first vinyl top installation?

Thank you!! yep, first one ... I watched quite a few videos, including the one from legendary several times to plan things out.
 
So was the roof the same FC7 as the rest of the car and you just scuffed it before you applied the glue?
 
Very nice job on the vinyl roof. I have never been confident enough to try that myself.
 
You did a great job on the roof vinyl. Did my head liner by myself and will say it can be done just like vinyl top. I will say that my hand's and finger's hurt like hell the next day. Good job!!!!! Blue.
 
Auto Transport Service
Back
Top