You are using an out of date browser. It may not display this or other websites correctly.
You should upgrade or use an alternative browser.
You should upgrade or use an alternative browser.
Updating the Super Street Mopar
- Thread starter ckessel
- Start date
Jarven1977
Well-Known Member
Let's get going! Bits and pieces, every hour counts.
For sure. I still need to get the final bit of work done in the old garage so that the permit for the new one can get finalized but need funds for materials. I now have the time to spend on the car so I'm going to do what I can thats just labor/time with no expenditures. There is plenty to do as I already have quite a bit of materials to work with. Eventually I'll need to spend some dough, so those areas will get back burnered.
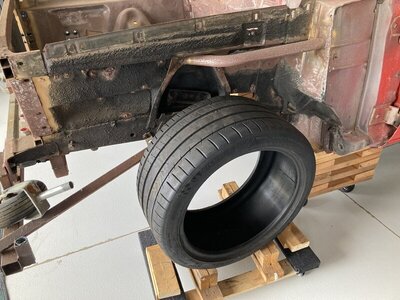
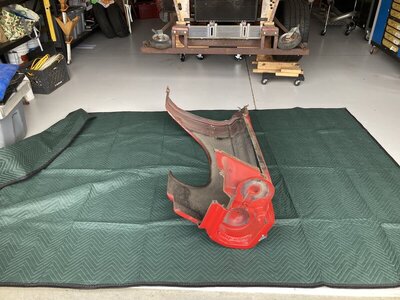
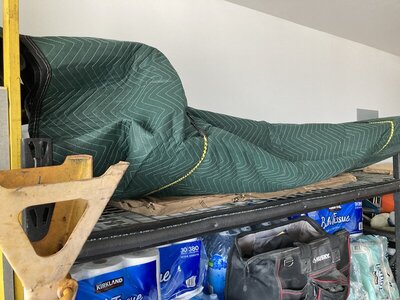
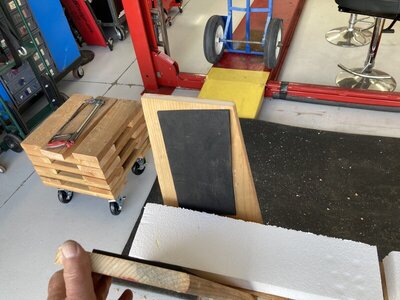
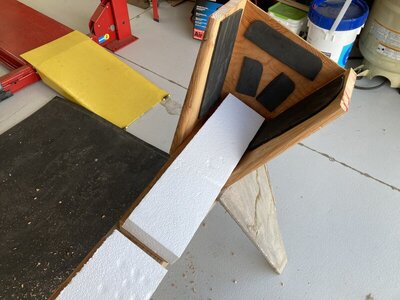
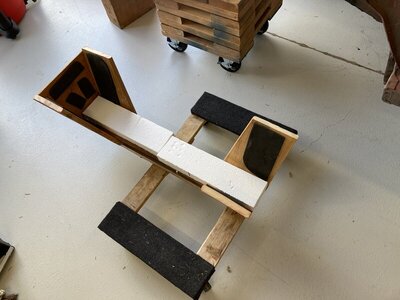
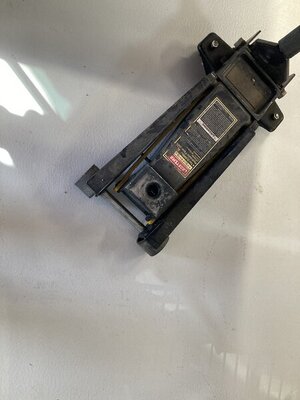
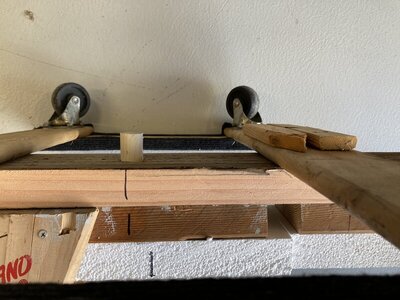
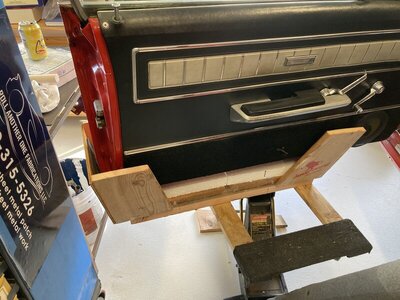
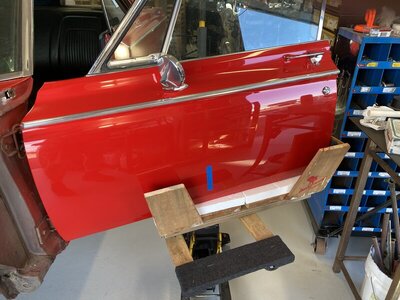
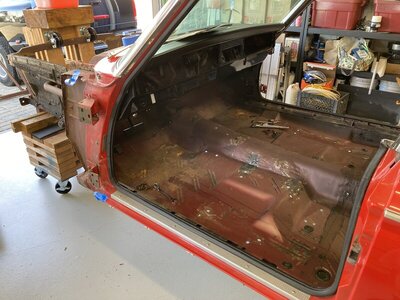
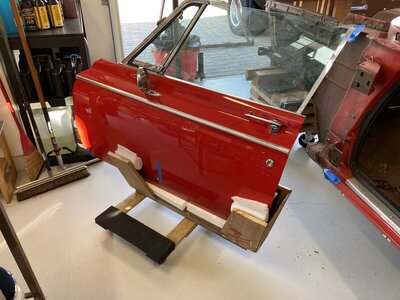
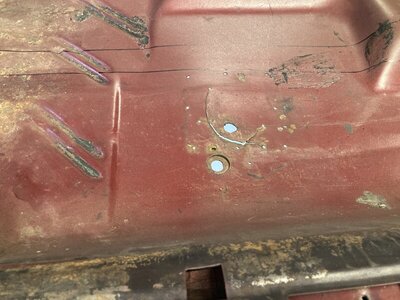
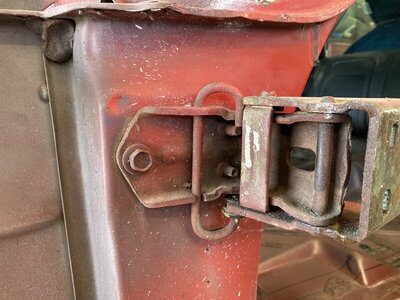
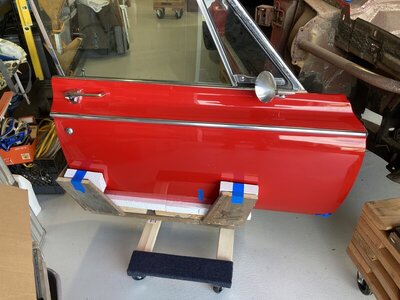
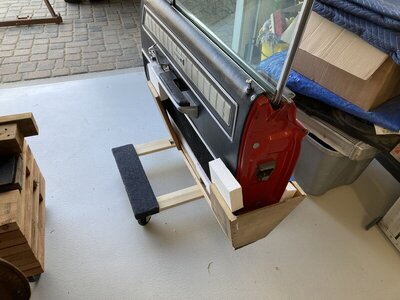
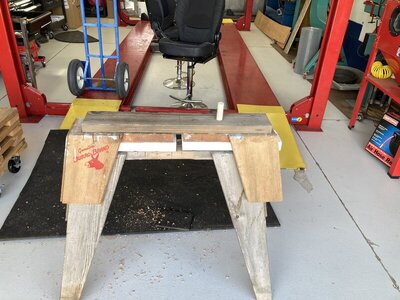
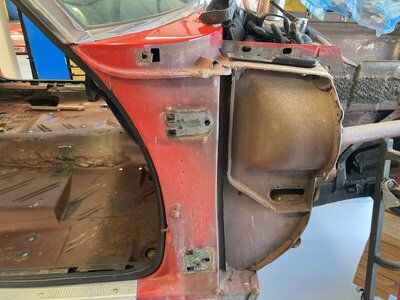
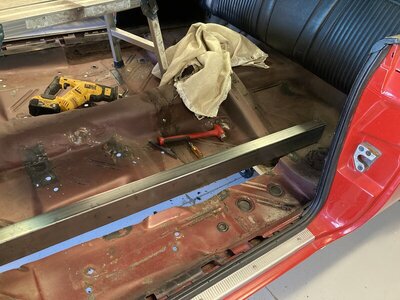
The last couple of days I've been making some progress on the car. FINALLY! I re-purposed a pair of my free Burro saw horses and made them into door cradles that fit on my floor jack. I padded them with some foam scraps that I've scrounged over time for protection. Got the doors off today in preparation for cutting the floor, where marked, for the frame connectors. Will be using some 2x4 .120 wall material. I'm going to graft them into the rear frame rails and also cut through the t-bar x-member to slip them into the front rails. On the t-bar x-member I have some of the Safe-T-Caps from Auto Rust Technicians that that will be added into that area too plus the torque boxes. I plan on drilling several holes along the long cut areas so I can see on the floor side where I need to scrub off undercoating in preparation for welding. There will be some repairs needed on the floor, old cracks from the bucket seats being added in many years before without any reinforcement in the area. I plan on adding in a subframe for the seats to mount to, will get the sliders and mounts from Scat so I know where to put the framing for them. Will probably use some 1x2 rectangle for that, drill the through holes and weld tubing sleeves in to keep it from collapsing when cinching up. The trans and shaft tunnels will get cut and redone like 493Mikes, now that I have access to a slip roller plus it looks like poo right now. Everything clears but its ugly. I have some bagging material ordered so the car can be covered when I start the rust removal soon. With the doors off, I'll strip the jambs, backside of the doors, side cowl etc so that when its paint time in the engine bay I'll get those other areas painted with the original color. That way when I get to the outside body work and paint, the inner stuff will already be done. I have a lot of stuff I can do that won't cost me anything, or much, until its paint time. I already have many pieces and material so I'll do what I can. After its de-rusted and the structural pieces are in, I'll move it over to my lift, slip the engine/trans back in and get back on making my air cleaner unit. I started a part time job last week at a parts store in San Luis Obispo to help supplement to household income which will give us funds for finishing off the work in the old garage so the final inspection can get signed off on the build of the new one.
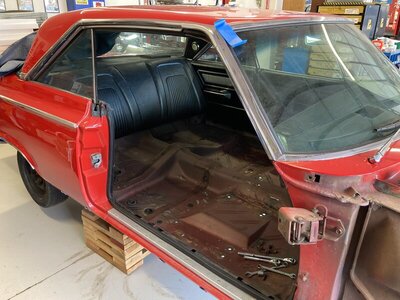
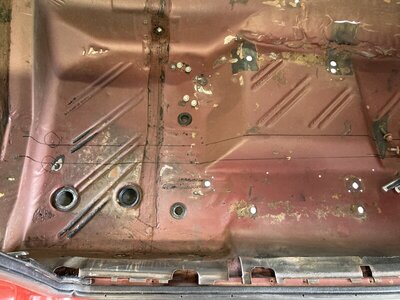
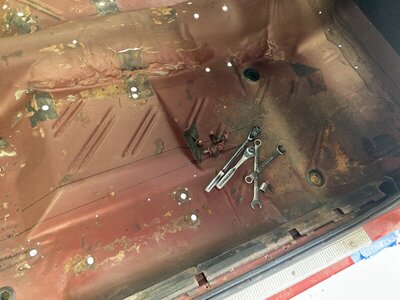


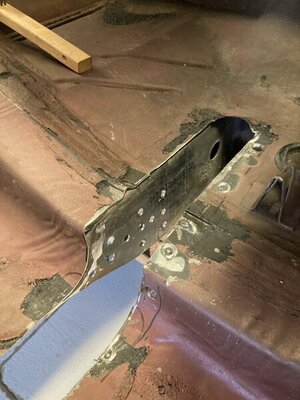
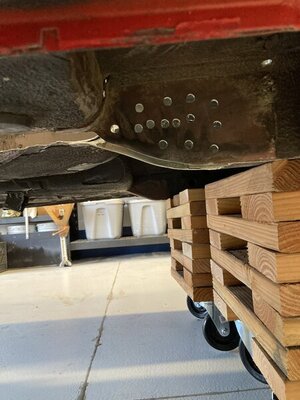
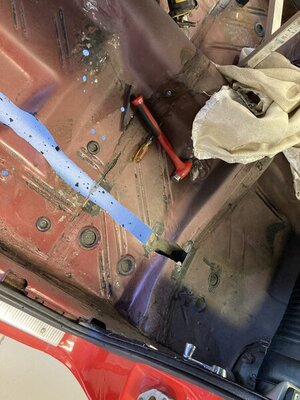
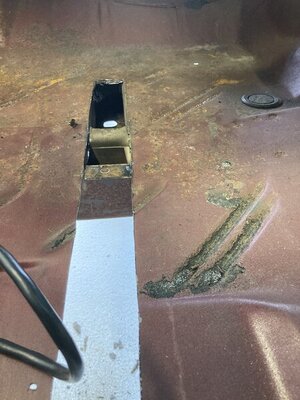
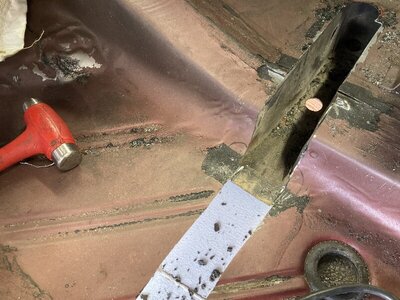
Today I started prepping the floor areas where the cuts will be made for the frame connectors. I drilled some holes along the black lines I drew in so that when I was under the car, I could see where the undercoating needed to be scraped off prior to welding. After making the cuts I'll buff off where any welding will take place. Cut down on some of the fumes. I will make a substructure for the seats that will weld to the new rails but need the seat brackets first. Some of the areas where all this is going to happen also need the floor pan repaired from prior so I'll take care of that after the structures are in. With my after tasks black face, I'm thinking of becoming a liberal politician.
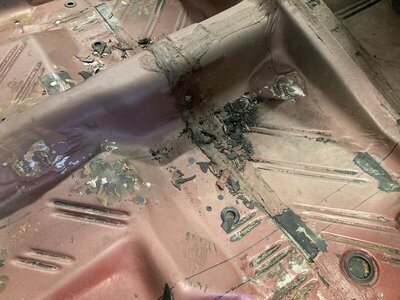
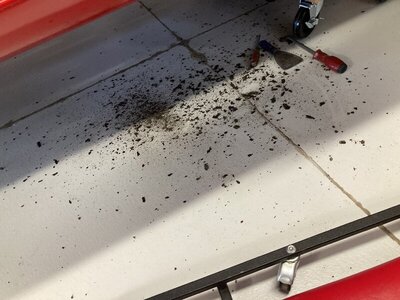
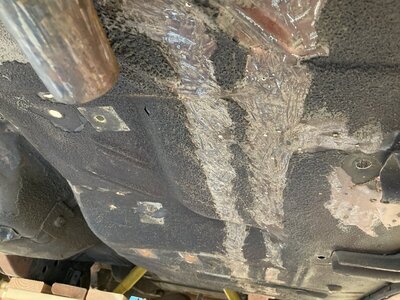



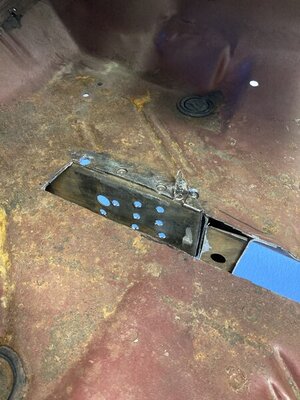
Yesterday I chipped off the last of the undercoating on the rh side pan, took the door hinges off. They will be on the to be rebuilt list along with the hood hinges. Cut out the strip on the lh floor in preparation of the tube, will continue trimming the front rail/t-bar and rear rail area to slip it in on Saturday.
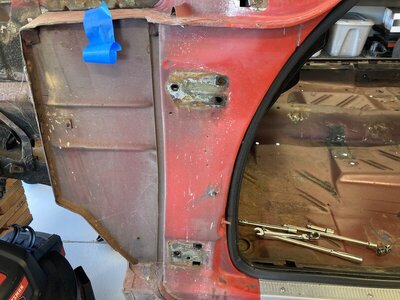


Impressive! You obviously know what you're doing. I'll enjoy following your progress and I'm envious of your talents.
Thank you all for the comments and the likes. You all inspire me.
Jarven1977
Well-Known Member
Nice to see progress, keep it Up!

And that was after I wiped my face off some.

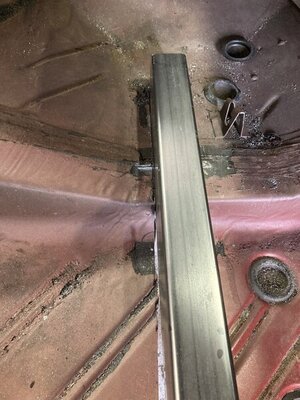
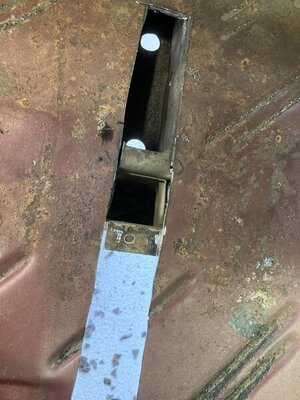
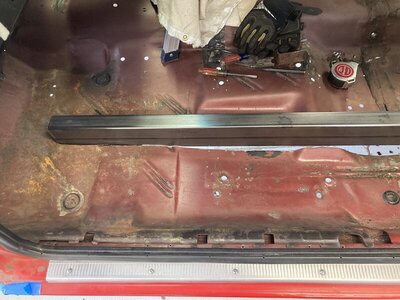
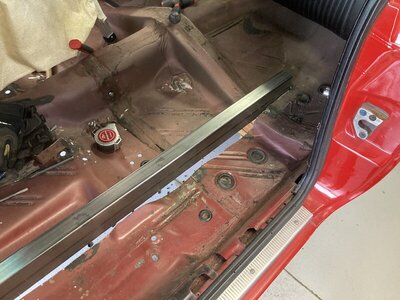
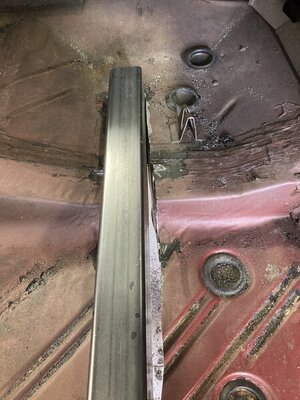
On todays labor, I trimmed the section of t-bar x-member away to make room for the new tube. Did a little trimming of the floor metal with some snips. Put the lh unit in its new spot and saw that the front and rear rails have some offset going on making the new tight on the outside/loose inside up front and tight inside/loose outside on the rear. Hmmm time. What I ended up doing was cutting the spot welds from rail to floor on the loose sections, slit the lower horizontal material so that I should be able to pull it closed with c-clamps when in place to close off the gaposis. I drilled a bunch of holes on the old rails so that I'll have more attachment from the new to the old when I get the Lincoln metal glue gun out[ power mig 215] and start sticking it together. Once I have the left one in, the right side will follow. I want to get as much of this middle reinforcement in and done before I get the car on the lift to set the engine/trans back in for more metal work. Need to get the air cleaner figured out, making it from scratch for my NASCAR style cowl induction and cut out my butchery around the trans tunnel for a complete redo. If all goes well, I'll do some welding after we get back from church.


bearman
Well-Known Member
Been following along your doing some great work. Your frame connections really looking good. I have one question are going to relocate your rear springs. Because if you are now would be the time to look at how they mount.
I have the relocation package from USCT. I need to look at the end of the tube in relation to the relocate units. Thanks for the reminder. I'm stopping the tubes right about where the drain hole is in the old rail and where it curves down from the front. Will tie that all in when I get to the back end. I scrubbed/scraped what I could out of the inside area on the rail, wire wheeled the outside to cut down on flame fuel when I weld.
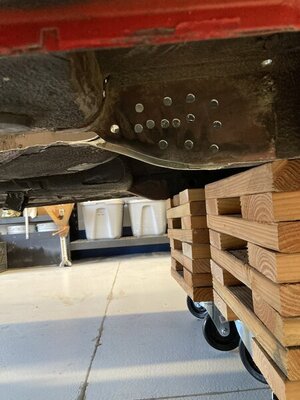

Thanks for the reminder Bearman. I measured out for what I was lacking and added a 5" piece on each unit. This will extend past the current spring area and give me a good tie in when I'm back there. If I had not made a commitment to running the tubes 10" forward from the back of the t-bar unit, all would have been ducky with just the 5' units. I need to remove this stiffener in the rear to slip it past. The stiffener is pretty much in line with the spring mount and hanger by my measurements, so the added extensions will go just past that.
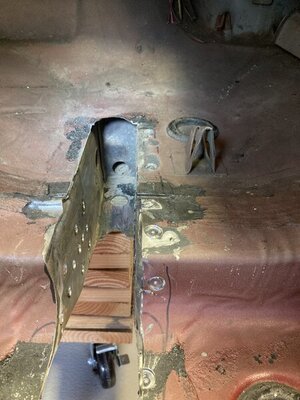

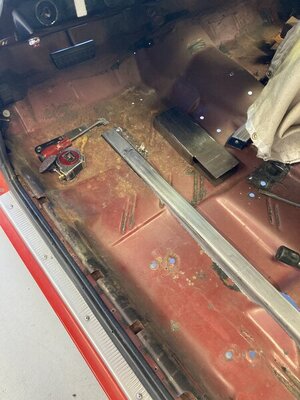
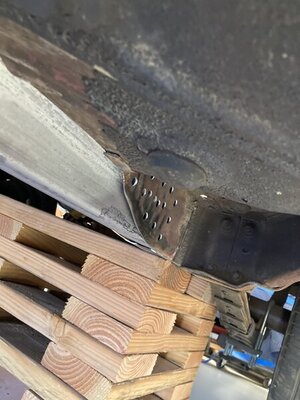
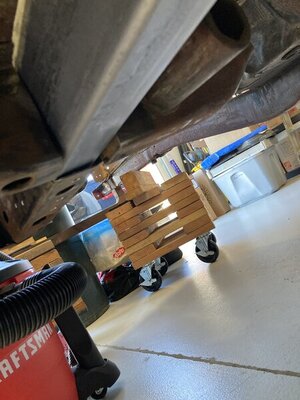
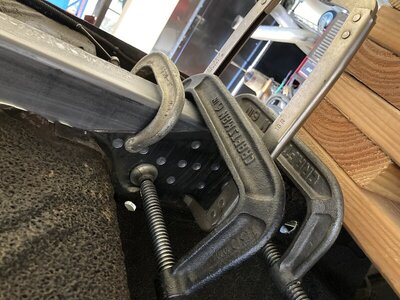
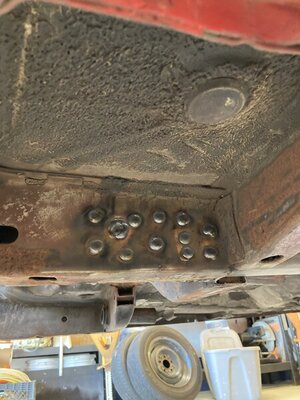
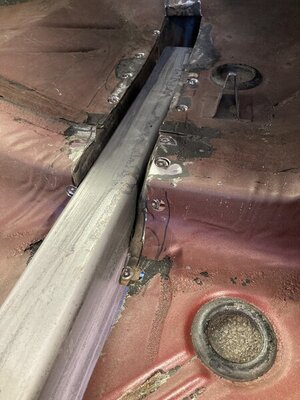
Yesterday I set the lh rail in place. Removed the offending piece in the back, de-burred inside the original rails where I had drilled holes for the rosette welds. With the new length on the rails there was more of a parallel mismatch now between the front and back so what I ended up doing was about a 90% cut through the tube about 5" back from the end, pulled the gap closed then weld all around. Gave it enough of a cant so that it would slip in. Once I had it in place, put various c-clamps on plus some Vice Grips on the old rails to get them against the new for the welding. I had drilled out some of the spot welds where the factory rails attach to the floor pan so it would enable me to pull them all together. In the last photo, you can see how far the factory rail got pulled in once I placed the clamps on the new tube. I'll re-do the spot weld once the add ins are done. Got the first series of weld done now. Tomorrow I'll start fitting up the stiffeners from ART[ auto rust technicians] that wrap around the t-bar crossmember.


Similar threads
- Replies
- 20
- Views
- 1K
- Replies
- 6
- Views
- 263
- Replies
- 70
- Views
- 2K

