• When you click on links to various merchants on this site and make a purchase, this can result in this site earning a commission. Affiliate programs and affiliations include, but are not limited to, the eBay Partner Network.

Welding back together my 68RR (Questions on spot weld recreation)

Matts68bird

Well-Known Member
Local time
9:57 AM
Joined
Aug 5, 2014
Messages
143
Reaction score
49
Location
Illinois
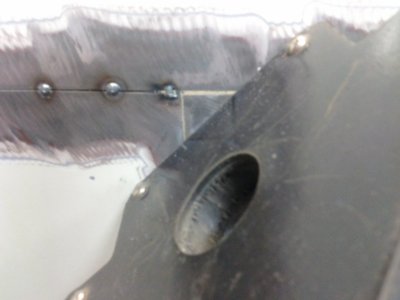
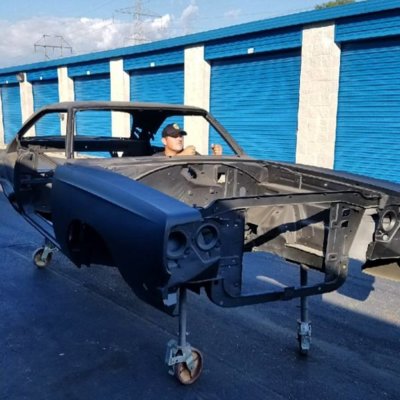
Hello everyone I am about ready to start welding on some AMD panels to my 68 Roadrunner hardtop. I want to recreate the "spot weld" look, to keep it looking factory as much as possible. I cut all the old panels off years ago with a 3/8" spot weld cutter. I have noticed that some of the spot welds are different diameters depending on what panels they were zapped to. Does anyone have any idea why this is so? if not I will be drilling them all to 5/16" and zapping the with the Miller to create a 3/8" looking factory weld.

Matt
IMG_2065.JPG
 
My guess would be that anything welded to the 16ga frame metal (trunk floor, floor pan) would be a larger diameter than a 18ga panel weld, trunk floor extensions, wheel well housings.
 
My guess would be that anything welded to the 16ga frame metal (trunk floor, floor pan) would be a larger diameter than a 18ga panel weld, trunk floor extensions, wheel well housings.


That is what I'm assuming, I see three different sizes if im not mistaken.
 
The various sizes are in relation to the positioning of the spot weld gun and the rods used at the factory.....

Just recreate what you have documented....
 
Lot of things came into play, like Moparnation74 said, position of the gun, but also how much the tip was worn, how long the operator held the gun in position. Also want to say if you drill hole and weld that will be a plug weld and isn't gonna look anything like a factory spot weld.
 
That's basically gonna be impossible but I did see a car done once, after the sanded all the plug welds smooth the guy took a punch with a blunt 3/8 diameter end and smack the metal very hard and just once. I looked pretty close to a spot weld. But he had to have a helper hold a large thick piece of metal on the back side so he didn't start to roll the flange over. And don't use a dolly, not heavy enough.
 
thanks, ive heard of that technique before.... a buddy of mine did that same thing in his trunk... looked pretty damn close to a spot weld... Rich
 
I used a different method to recreate the factory spot welds...
Use a layered sandpaper wheel and make everything smooth...
Apply a somewhat heavy coat of primer and while the primer is skimmed over lightly touch where you want to mimic a weld with an eraser on a pencil.

Mine turned out good where I put them...
 
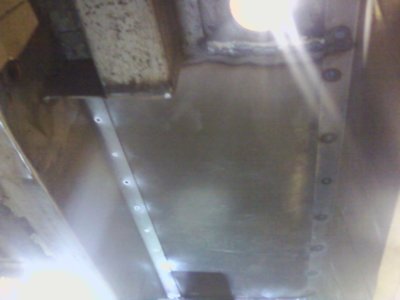
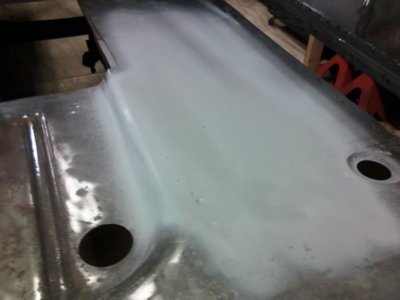
I tried to look at my pics but the spots where I did this don't show up very well...here's what I had...1 pic from the bottom showing where they are and then one from the top...They're near impossible to see in the pic as they are still in primer with no gloss coat...
It was from a patch I put in the trunk floor on my 65 Coronet...

17 rr trunk floor underneath.jpg 18 pass trunk floor.jpg
 
Skicker, I can see enough that I like the technique, I will try this on my next panel replacement... thank you for taking the time to post these pictures.. much appreciated...Rich
 
Lot of things came into play, like Moparnation74 said, position of the gun, but also how much the tip was worn, how long the operator held the gun in position. Also want to say if you drill hole and weld that will be a plug weld and isn't gonna look anything like a factory spot weld.

Well I’d have to have a spot weld machine with a throat of about 36” to reach some of the areas. I also feel like a stitch weld will really not look factory. So I either will have to tig or mig. I’ve seen many ppl do this in the past with great results. Guess it all depends on how you go about it.
 
I used a different method to recreate the factory spot welds...
Use a layered sandpaper wheel and make everything smooth...
Apply a somewhat heavy coat of primer and while the primer is skimmed over lightly touch where you want to mimic a weld with an eraser on a pencil.

Mine turned out good where I put them...
Hey Skicker, nice technique! How did you go about zapping the panels together prior? Drill hole and fill correct?
 
Hey Skicker, nice technique! How did you go about zapping the panels together prior? Drill hole and fill correct?

Correct...Top panel drilled and spaced correctly...I also switch to a .023 wire and that makes this work much better...

You can't always get panels to be aligned together flush so I also used a small scissor jack from a newer car and welded a short 1/2" extension to the top...I then welded a socket to the drive mechanism and can control the height by using an impact gun to raise and lower the jack...longer runs I just add more extensions and maybe a socket to help square everything up...
I bought a tool when I started this that will punch the holes in a panel and then you flip it over and it will create a dropped area on the second panel when not butt welding things together.

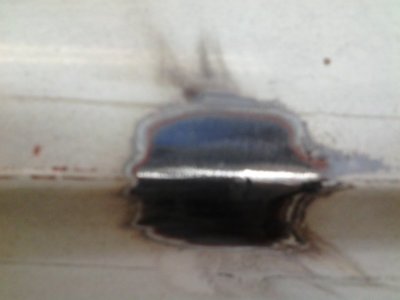
I found that the tiny round pieces of metal from the hole punch also worked great for filling trim holes...

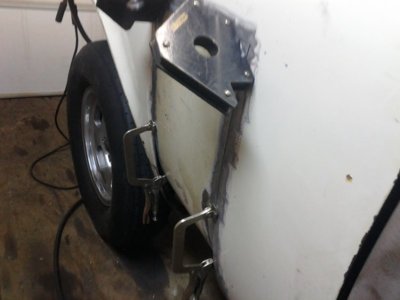
With everything being relocated on my car I had to experiment and find the best way to put things back together...some areas need to be a panel overlapping another panel...some areas need to be the dreaded butt weld...I now no longer dread doing these since switching to the .023 wire...

30 trim holes welded.jpg 018.jpg 017.jpg 19 rf fender patch.jpg
 
Auto Transport Service
Back
Top