• When you click on links to various merchants on this site and make a purchase, this can result in this site earning a commission. Affiliate programs and affiliations include, but are not limited to, the eBay Partner Network.

Yankee Express RestoMod Project

Why do you imagine I have held off doing it for this long? lol. I bought the sand paper rolls two years ago. I win the procrastination award...
 
Why do you imagine I have held off doing it for this long? lol. I bought the sand paper rolls two years ago. I win the procrastination award...
I'm the king of procrastination

Smiley Procrastination tomorrow 99% of human productivity is stored.png
 
Yeah, I was going to do purple but changed my mind, again. Yes, it's a copper brown they call Chestnut Metallic. In the shade it flattens out and is an even copper color. But put it in the sun! Wow! It looks more like molten copper. Should be pretty radical on that long slab sided Coronet.
 
Yeah, I was going to do purple but changed my mind, again. Yes, it's a copper brown they call Chestnut Metallic. In the shade it flattens out and is an even copper color. But put it in the sun! Wow! It looks more like molten copper. Should be pretty radical on that long slab sided Coronet.
Ok good, I'm not losing my mind,
anymore than I normally am :lol:
 
Then coat and sand again.
 
Today I removed the dash, console frame. The A/C and heater comes out with it as they are all connected. I removed the hunk of metal I had installed for the heater bottom to sit on as an extra support for the heavy dash. I will need the room to hook up the shift linkages. I drilled a 1 3/4" hole in the tunnel pad for the torque shaft to poke up through. Also cut the same size hole in the left trunk gas lift mount for steel gas filler pipe to pass through which will have rubber filler hose attached to each end. Have to miss the trunk hinge swing arc. I'll weld the pipe in place on the backside so it will look very custom. Paint the same as the car. once the shift linkage custom arm is in place I can reinstall the correct height platform for the heater/ A/C to rest on. I'm not sure yet exactly where it will end up as the shift lever sits back towards the rear around 16" from stock, so the linkage from lever to torque shaft crank will be a looong one. lol. I'm tall so I am able to reach the gas pedal way under there without moving it back too. Next up is to drop the K frame and front suspension out and get it out of the way. THEN...I can start bodywork and such.....lol.

0620191631.jpg
0620191632.jpg
0620191632a.jpg
0620191653.jpg
 
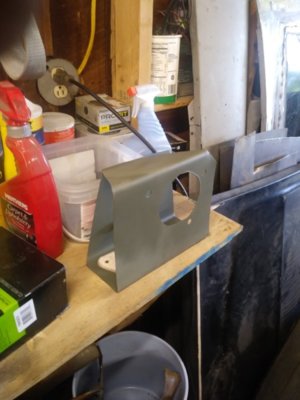
Hunted up the wiper arms and motor. Installed the arms and figured out the position for the motor under the dash. Cutting up a 3/16" plate for half of the mounting plates. Drilled one of the damn holes off center. Sigh. I will add another rectangle piece to the long edge and that piece will be welded to the underside of the cowl floor and then to the firewall. I also decided to remove the heat and A/C unit from under the dash, i'm not planning to hook it up anyway so why bother with it. Cut the dash weight in half. Pic shows the aluminum frame that runs through the dash for everything to fasten to. The ends bolt up to the body. Rock solid.

0621191517.jpg
0621191517a.jpg
0621191539.jpg
0621191539a.jpg
0621191539b.jpg
0621191728.jpg
0621191728a.jpg
0621191729.jpg
 
Got tired of dealing with 3/16 plate and went a got some 18 gauge sheet. Much easier to deal with and it gave me a chance to use the drill driven nibbler I bought a while back. Worked like a charm.

0625191628.jpg
0625191629.jpg
0625191629a.jpg
 
Nicely formed. 18ga is a happy medium, and gets really strong with a dimple here and there.

I’m still trying to wrap my head around the interior systems integration work you’re performing. It looks intimidating, and kind of like 10lbs if stuff in a 5lbs sack!

David
 
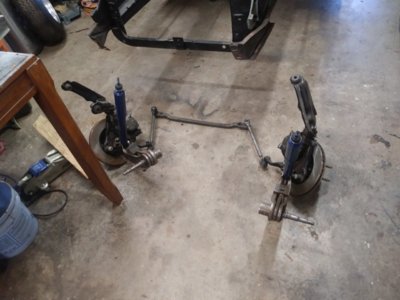
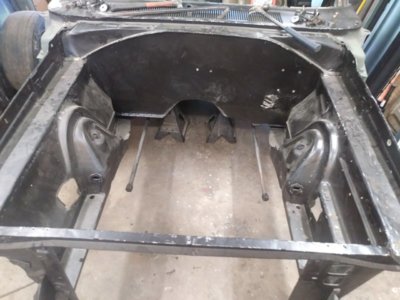
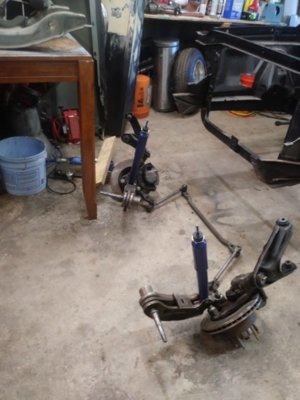
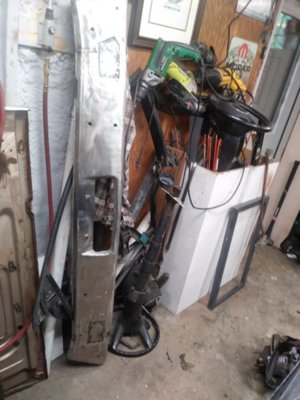
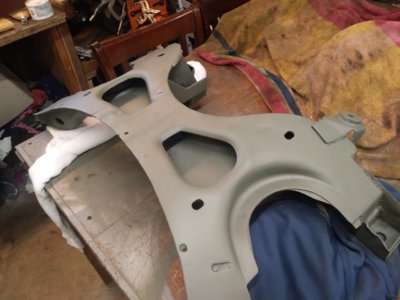
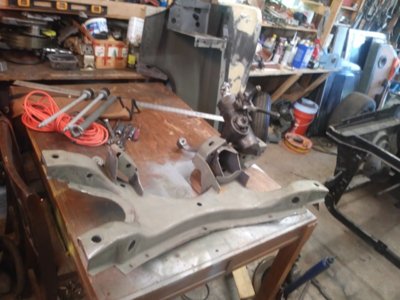
Welded up the wiper mount and sanded it down and wiped it down and primered it in epoxy. Removed the front bumper and put it up on the table to finish welding it and to cut out the turn signal hole flanges so I could weld in 18 gauge patch's, which will receive filler later. Took the front end down, K frame and all. Set the K frame with steering pump up on the table for tomorrows tasks of disassembling everything.

0626191639.jpg 0626191639a.jpg 0626191639b.jpg 0626191639c.jpg 0626191639d.jpg 0626191648.jpg
 
Nicely formed. 18ga is a happy medium, and gets really strong with a dimple here and there.

I’m still trying to wrap my head around the interior systems integration work you’re performing. It looks intimidating, and kind of like 10lbs if stuff in a 5lbs sack!

David
Yeah, it worries me to no end. lol. It's like Johnny Cash's Car with so many different parts...I think I will need to have two separate systems. One for all of the Audi stuff and one for everything else. Starting charging will have to be Audi, as well as turn signals , horns, and wipers, gas gauge, temp, battery and oil , headlights. Brake light can be regular...i back up lights. interior lights, puddle lights in the doors, seats, windows, locks, reverse lock out. I have the wires all loomed up and pass throughs installed in the door frames with rubber boots and flex tunnels so nothing get in. They came out of the Audi doors.
It is a lot of stuff, but it will be awesome when all stuffed in there. Today I pulled the entire front end back off for disassembly and paint. Filled the front bumper turn signal holes, and welded up the wiper motor mount for under the dash and primered it in epoxy.
 
Your getting after it, like a man on a mission!!
 
Welded up the wiper mount and sanded it down and wiped it down and primered it in epoxy. Removed the front bumper and put it up on the table to finish welding it and to cut out the turn signal hole flanges so I could weld in 18 gauge patch's, which will receive filler later. Took the front end down, K frame and all. Set the K frame with steering pump up on the table for tomorrows tasks of disassembling everything.

View attachment 790004 View attachment 790006 View attachment 790007 View attachment 790008 View attachment 790009 View attachment 790010

I'm thinking of trying to get my wiper motor mounted under the dash too, to remove it from the fire wall in the engine bay as my goal is to do a bunch of clean up under the hood . . . great to watch you and your progress Ghost . . . we're about at the same stage . . . cheering you on from NC ! ! !
 
Naw i'm just a hack artist compared to you guys. Just doing what seems right to me. I AM on a mission. I want to drive this thing. I need to get it painted so I can get started putting it together for the last time, hopefully. After I get the front all torn down next is sealer on seams and gaps, a little final welding, undercoating, Fat mat, install the gas filler tube and weld it in place in the deck lid brace, weld the gas tank base in place, the roadster panels in place. Then a little bodywork, smooth out the bumpers and primer them, primer and block sand the body , seal it and shoot it.
 
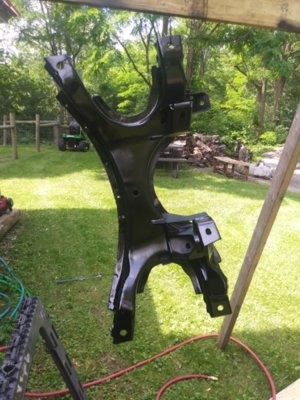
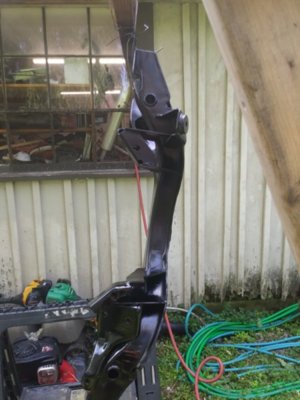
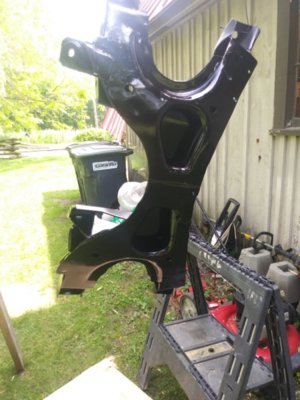
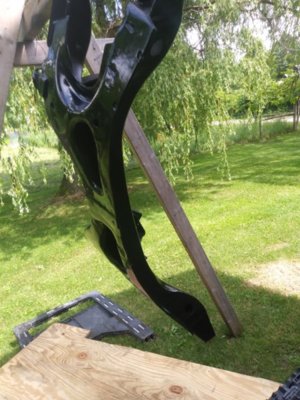
Today I got everything off of the K frame, wiped it down and shot epoxy primer and then Eastwood's triple strength Chassis Black. 48 hours to dry so it's leaning up on end against the back bumper after hanging around all day.
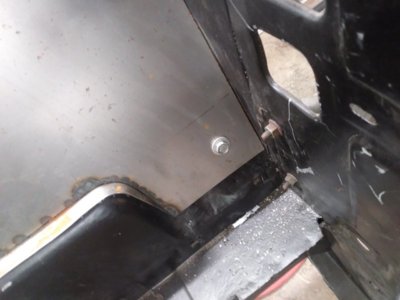
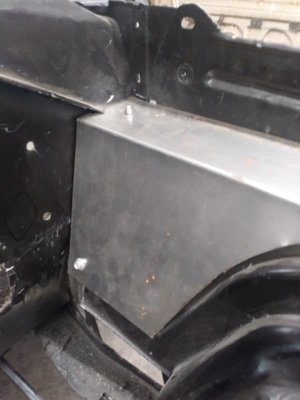
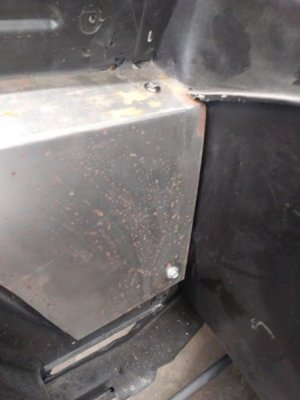
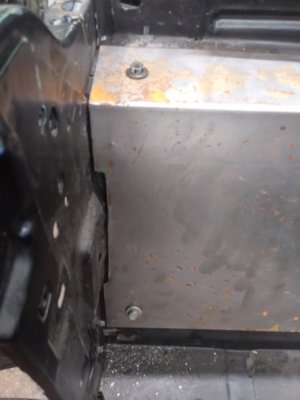
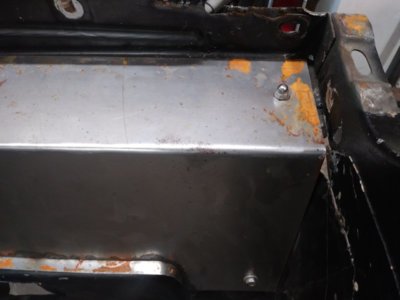
Drilled the holes in firewall for the master cylinder and backing plate, had to trim the corner to miss the close out plates. Drilled the holes for the close out plates and test fitted them. Drilled the holes to mount the big radiator / trans cooler that came out of the Power Ram truck that the 440 came out of too.
The pop up gas cap developed a little surface rust down in the well so I sanded and pimered that.

0627191400a.jpg 0627191431.jpg 0627191431a.jpg 0627191432.jpg 0627191432a.jpg 0627191501.jpg 0627191501a.jpg 0627191501b.jpg 0627191501c.jpg 0627191501d.jpg
 
Auto Transport Service
Back
Top