• When you click on links to various merchants on this site and make a purchase, this can result in this site earning a commission. Affiliate programs and affiliations include, but are not limited to, the eBay Partner Network.

Yankee Express RestoMod Project

Express update

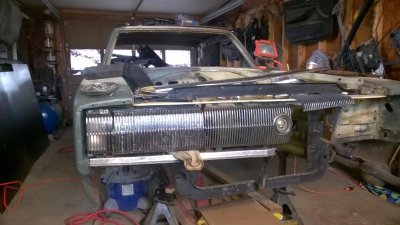
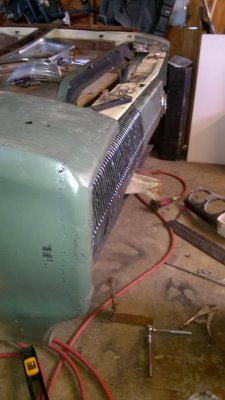
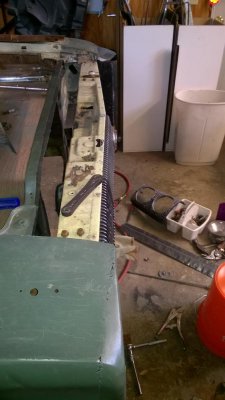
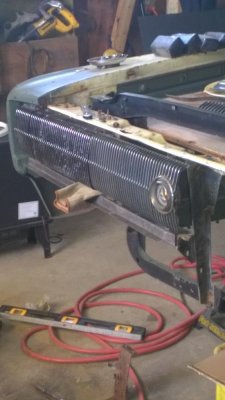
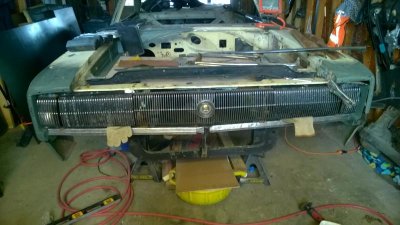
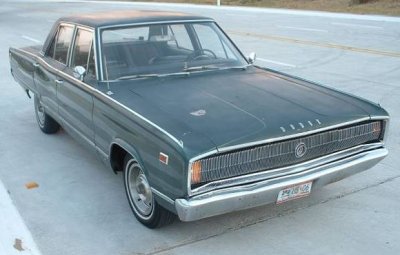
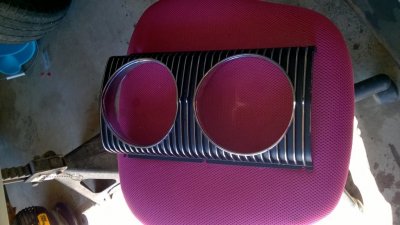
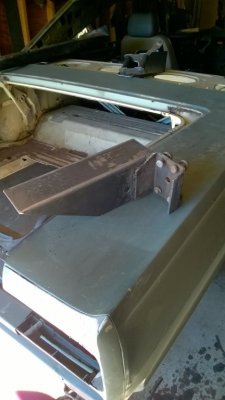
Well the Holidays are gone and the family is gone and i'm allowed to be in the garage again...lol. I cleaned up and remodeled the garage to gain more space to work in. Went vertical with storage and moved my DIY sand blasting cabinet project to it's forever home in one corner. Gained enough room to be able to use my 4'x2' rolling table/cabinet to work on. I then got down to figuring out the whole front grille / hidden lights mounting situation. I had cut open the welded seam on the left front fender nose surgery that I had done a few months ago because I realized that it was done wrong and the fender wouldn't mount up straight. Since i had that mounted right now i thought i better get the whole front end sheet metal on and fitted up with the fenders and rad support and cross bars with the 66 charger lights and grille. Good thing i did. The left fender was banged up pretty good on the nose and now it wont sit as high and square as the right side does. I need to do some investigation about just where the problem is because it's about 5/8ths of an inch lower at the nose than the right. The angled mounting tabs for the upper crossbar that holds the hood latch are different. The right is good but the left was missing. I welded an angled piece onto the left side in the identical location and exactly the same size and shape but it sits 5/8 lower than the right. The cross bar lines up level with the rad support frame and the grille center medallion lines up centered with the center of the car too. That left end is needing some work.
I had a few moments of scratching my head with the lower crossbar pieces though, they are different than the 66 Charger ones although the parts book and service manual say they are the same. If I place them like they came off then the headlight cases wont fit or spin. I took a while before i thought of swapping ends left to right. Now the higher section on each bar sits under the center grille, and low and behold the grille mounting tabs lined up perfectly with the holes on both bars! Who knew? On the '67 Coronet those higher sections are where the light buckets sit. Now the two lower sections of the bars are to the outer ends and the cases can spin with room to spare. Weird.
So i have the center grille on, both cross bars on, the turn signal housings bolted on and still need to figure out the difference on the left end.
I have the mounting plates from Joel on the way for the cases to spin on so once I have those mounted up i'll have a better idea of where and how everything lines up. It's going to look badass though i'll say that much. I forgot to take pics and it's very cold today so i'm not going out there. I'll have some by the mid week.
 
Express update

I got some supplies in the mail today! I now have on hand the leaf spring relocation kit, the mounting brackets for the 66 Charger headlights, the limit switches and wiring, sand paper rolls for long board sanding in 80*, 120*, 220*, 320*, and 600*, and a set of sandblast cabinet reach through gloves. My work is cut out for me for awhile!!
 
I got some supplies in the mail today! I now have on hand the leaf spring relocation kit, the mounting brackets for the 66 Charger headlights, the limit switches and wiring, sand paper rolls for long board sanding in 80*, 120*, 220*, 320*, and 600*, and a set of sandblast cabinet reach through gloves. My work is cut out for me for awhile!!

Yep you're going to be busy and we have some update pics to look forward to! lol
 
Express update

I was able to get out in the garage today and unwrap the goodies! I started on figuring out the mounting puzzle for the 66 Charger lights and grille. I don't yet have the lower cross bars so I fabricated a set to use for the mock up.
I managed to bolt the brackets on backwards and swapped from left to right.
Once I figured it out things went more smoothly lol.
I got the left end put together and i like it. Alot.
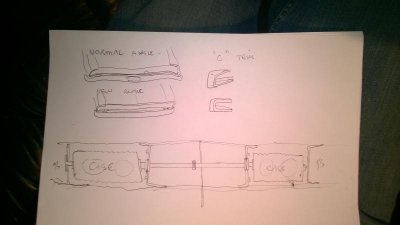
The "C" chrome trim on the ends will have to be cut on the inside of the curves because I swept back the fenders. There's a pic of a black 65 Coronet with this front on it, mine will look much the same. I can see in that pic that the "C" trim has been sliced a bunch.
I also figured out the way I'm going to rotate the light cases. I found out that the "donut" looking part that the motor goes on, which is clamped into the center of each bracket, has a 7/8 hole in the middle. So, running a shaft through both of them gives me a two point support close to each case. Now, if I also weld a flat flange on each end that bolts to the ends of each case in the holes there, i can put a toothed gear on the shaft at the middle and use it to drive the shaft around to bring the cases, which are now bolted together, to the open or closed positions. I'll keep the limit switch's and stops . The outer ends of the cases will ride on the stock nub with the white plastic sleeve. Here's some pics of progress and the drawing of the shaft and flanges.

12364.jpgWP_20160108_14_46_57_Pro.jpgWP_20160108_14_48_00_Pro.jpgWP_20160108_14_48_09_Pro.jpgWP_20160108_14_48_59_Pro.jpgWP_20160108_19_16_17_Pro.jpg

WP_20160108_14_46_57_Pro.jpg WP_20160108_14_48_00_Pro.jpg WP_20160108_14_48_09_Pro.jpg WP_20160108_14_48_59_Pro.jpg WP_20160108_19_16_17_Pro.jpg 12364.jpg
 
Express update

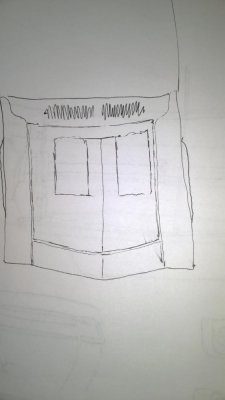
I got the entire front mocked up and I like it. I am now about to slice the front 8 inches of the hood, on a matching angle to the front edge, and make that a permanent mounted front header panel. I'll then set the rest of the hood to tilt forwards from the radiator shell top support. Kinda like a 68 Chevelle hood is made.

Thoughts?

WP_20160109_13_09_53_Pro.jpgWP_20160113_15_27_42_Pro.jpg

WP_20160109_13_09_53_Pro.jpg WP_20160113_15_27_42_Pro.jpg
 
I like the looks of that grill & the hood concept too...
 
Express update...

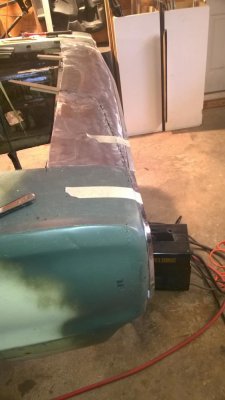
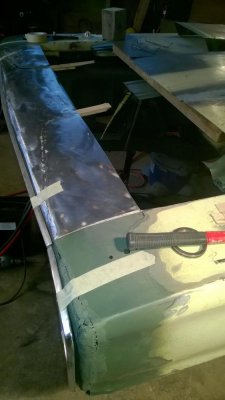
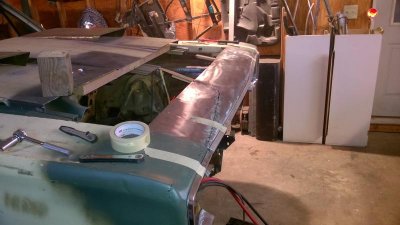
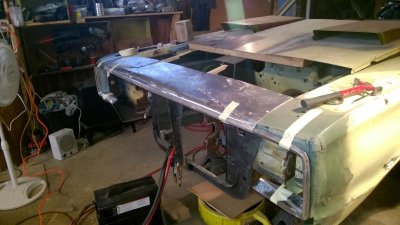
Not much snow here abouts but plenty cold out. I did get going on the header panel some though. I took the skin and the underside of the hood frame down to bare metal and primed them both first. Then I stuck them back together and welded the outer edges back like they were originally. I spent some time heating and quenching to shrink the metal some in a couple of spots. The header panel fit right in there so I marked where I wanted the mounting bolts to go through the sides into the fender body and drilled everything. After bolting it up the fenders pulled inwards a bit so i'll place two thin poly washers between the header and fenders to keep the spacing. I ground off two spots on the underside near the front and also on top of the upper crossbar . I fabricated an angled bit of 20 gauge to weld onto the hood bottom after measuring the space in there. Placing the header panel down by rotating it on the two mounting bolts the angled brackets rest on the top cross bar so I drilled through from the bottom and bolted them up. The header is lined up left to right and up and down with the fenders and the trim now. Next is filling in the vertical back plate that will bolt to the upper radiator support. After that I need to do the same for the new front edge of the remaining hood and then get that mounted on the front flip hinges so I can work out the mounting spots for the gas lifts.
Here's some pics.WP_20160116_12_26_23_Pro.jpgWP_20160116_12_26_06_Pro.jpgWP_20160116_12_25_33_Pro.jpgWP_20160116_12_25_12_Pro.jpg

WP_20160116_12_26_23_Pro.jpg WP_20160116_12_26_06_Pro.jpg WP_20160116_12_25_33_Pro.jpg WP_20160116_12_25_12_Pro.jpg
 
Express update..

The grill/headlight cases are finally fitted up and aligned. The next step is to bolt the two plastic flanges to the cases and then perfectly line up the two cases and mark the flanges for gluing to the axle shaft. This is only temporary folks....I am making two more out of steel and will weld them up later. I'm only testing my theory out at the moment. The axle bar is a hunk of old galvanized pipe I had leaning up in a corner and will be replaced with a steel bar and steel flanges later. Also this old bar is smaller than the holes in the "donuts" and there is a little slop. The new bar will be bigger OD. Anyway, so good , so far! Tomorrow i'll install the headlights in the cases and put the covers back on, then on to the window motor placement and frame fabrication for it to reside down behind the bumper directly below the axle bar. If anyone has a hood lip trim chrome piece for the 66 Charger I need one please.

View attachment 305317View attachment 305318View attachment 305319View attachment 305320
 
I'm liking this a lot! It's going to look very clean and I think it's going to be one of those "they should have done it this was in the factory" finished products
 
They did in Mexico, they all came with the Charger grill and lights. I like it too, it looks as I expected it to. I still need the hood lip trim.
I'm liking this a lot! It's going to look very clean and I think it's going to be one of those "they should have done it this was in the factory" finished products
 
Ever thought about removing the emblem in the grill? I think it would give it a little extra attitude, round emblems for some reason just don't look performance orientated but more like something you'd find on a Chrysler product. Just thinking out loud. Looking good Ghost
 
Yes I have considered it 747, in fact the grille I have is snapped just right of the center emblem. If I had another grille I might give it a go...
 
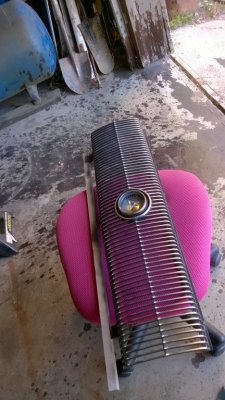
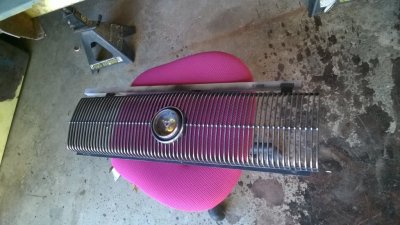
I managed to weld/ braze the broken grille back together today. I had to mount it on two aluminum rails so it would stay in the correct position while I worked on it. I used the last 8 inch stick of the "MuggyWeld" low temp solution for white/ pot metal joining. Worked great, nice and solid now. I wish I owned a Dremel tool set so I could get the weld joints nice and perfect. I left it bolted up while I sanded and cleaned it up and painted it. I used 0000 steel wool to clean off the chrome parts. It's still a driver quality part but it looks 100% better than it did. I also sanded, repaired, and primed the right fender inside and out. I welded closed the antenna hole and turn signal indicator mounting holes. A bit of filler to hold it till I can get to it later. On to the left side...

WP_20160913_15_09_33_Pro.jpg WP_20160915_15_42_13_Pro.jpg WP_20160915_15_41_59_Pro.jpg
 
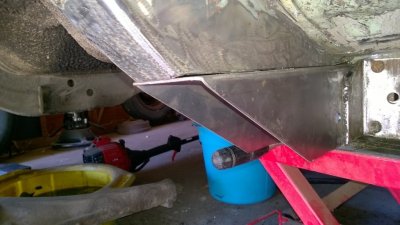
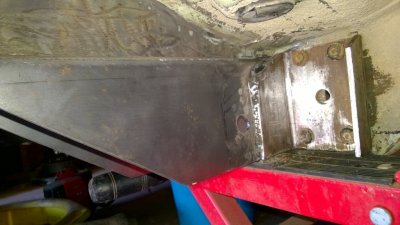
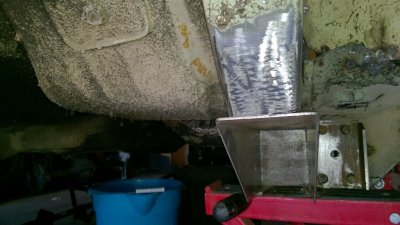
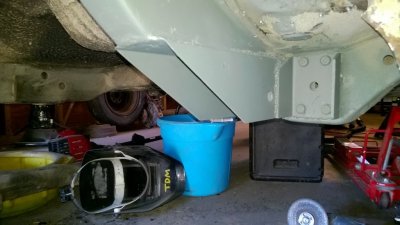
Finished a headlight case and got the leaf spring relocation brackets ready to install.

WP_20160916_11_49_54_Pro.jpg WP_20160916_11_51_31_Pro.jpg WP_20160916_11_52_12_Pro.jpg WP_20160916_11_51_49_Pro.jpg
 
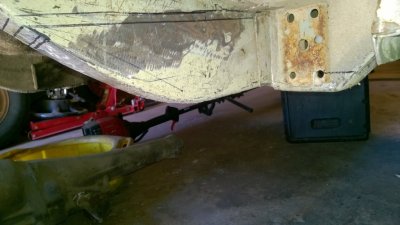
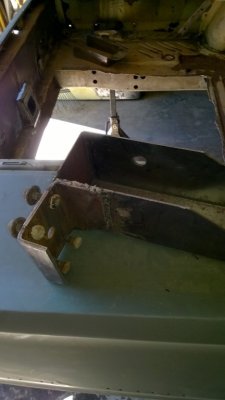
Got busy yesterday and tackled a few half finished items on the Express. The passenger floor pan got sewed up and the right tub finally finished. also installed the right front spring relocation bracket! Yaay!! Making progress again.

WP_20160920_12_37_22_Pro.jpg WP_20160920_12_37_48_Pro.jpg WP_20160920_12_38_03_Pro.jpg WP_20160920_16_11_20_Pro.jpg
 
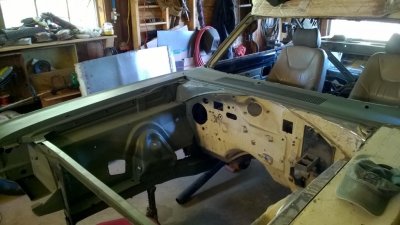
Have metal will fabricate....The firewall in this instance. After much thinking and staring I took the plunge and smoothed the firewall. I made it so the new piece mounts onto the ends of the inner fender extensions in the same way the factory did. I used a hunk of 20 gauge to make a template and work out the fit and any problems that might crop up. I ended up adding a little here, slicing off some there. The new firewall was carefully bent and trimmed a millimeter at a time to get it in just right. A couple of rivets out of sight to hold it in place and it is ready to weld. I also sliced the lip off above the old wiper motor indentation and made a filler to bring it out even with the rest of the curve on the lip. I also need to cut a doubled over band to put up under that lip to fill in where I cut the old firewall lip off. I sliced the bits of the stock wall off where it protruded past the plane of the lowest parts of the wall. So, I have some left still attached behind the new wall that I will push back to lie flat against the new wall on the backside and tack them up. That will give the wall rigidity and provide a template of most of the holes that I may need. It all gets covered with Dynamat anyway. The Audi dash is much wider than the Coronet one and sticks out away from the firewall about 20 inches in the center. The heat/AC unit sits there ahead of the console and behind the stereo. There's so much room that there is enough to hook up the hoses to the unit where it would normally go through the wall and run them across the inside of the wall to the right and then through at another less obvious location. The same with the wiring. etc. M/C and wiper motor are going under the dash as well. My plan has the under hood area clutter free and only the motor sitting there in as much as possible.

WP_20160928_17_02_23_Pro.jpg WP_20160928_17_02_42_Pro.jpg WP_20160928_18_51_18_Pro.jpg WP_20160928_18_51_23_Pro.jpg
 
This is looking simply beautiful! Painstakingly slow but precise.
This one off will be referenced to in the future for sure.
Love the updates.

I had a long time ago 3 1969 Cougar XR 7's. I built one of them, the rag top, the others went for parts. I retained 2 of the sequential directional modules and harnesses. You have inspired me to rewire my rear taillight to incorporate the module. I really like your idea.
Kudos!
 
Auto Transport Service
Back
Top