43tutor
Well-Known Member
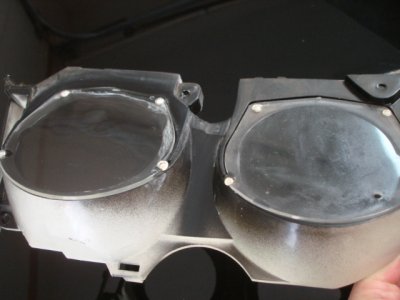
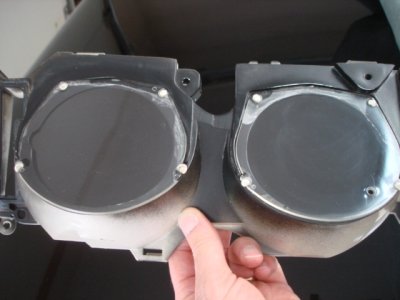
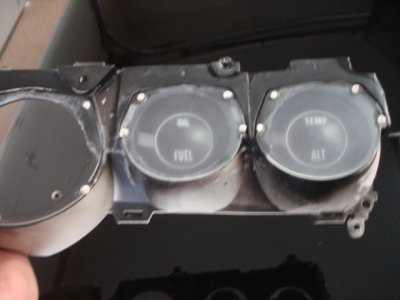
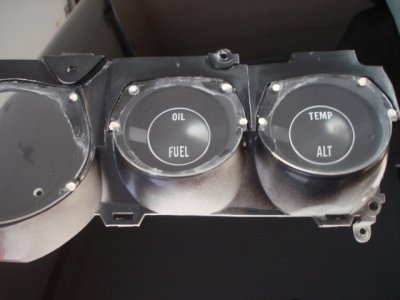
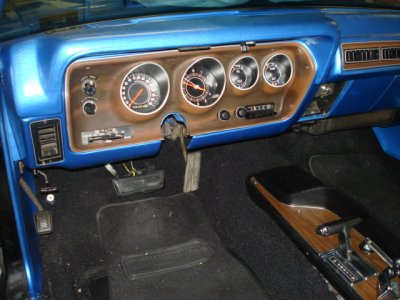
I just finished the dash restoration on my 72 SSP.
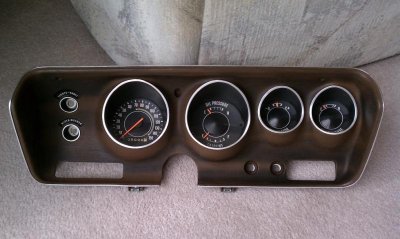
The clear plastic lens over my gauges where all scratched and somewhat yellowed. I used a headlight polishing kit to restore the clear lens and the results turned out great.
I used "Mothers" headlight polishing kit. I followed the directions using the wet sanding techniques in the instructions and then polished three times to achieve a crystal clear finish.
The pics show a before and after side by side comparison. The only issue that I had was the clean-up after the process was complete. The wet sanding residue did get between the lens and the housing but I just used a paper towel and gently cleaned in between the lens and the housing to remove the residue.