bigmanjbmopar
Newb with a view
So I am down for awhile so I thought I would save up for a set of TTI headers, a new mini starter and a new steering box. How hard is it to cut out the old headers and install the tti's with motor in the car?
I like doing the driver side first. It's the harder side to deal with.
Save the old headers if they are worth it. Start spraying the header bolts with penetrating lube to let it loosen them up. Disconnect the battery. Remove plug wires and plugs. Jack the car up as high as you can safely and secure with jack stands. Place a floor jack under the oil pan using a short piece of 2x6 between jack and pan. Remove the bolts on the driver's side motor mount only. Remove the starter wires. Remove starter if there is room. If not, remove header bolts to have the header loose. Jack up the engine enough to give you the room to maneuver header to get the starter out. Remove header from the bottom. Reverse procedure for installing new header. Install motor mount bolts on this side before moving on to the passenger side. Passenger side will be much easier.
Good luck!
Added note: keep an eye on the throttle cable, heater hoses and fan shroud when jacking the engine up.
putting the 2"tti's in my '65 coronet was easy, and i use studs. i raised the engine up and just slipped them in from the bottom. connecting the electrical stuff to the mini starter was a different issue.

I had one blow out on a 68 RR years ago. Was a newly built 413. Blew under hard acceleration just like yours did. I replaced it with one that is made of rubber, and has a nut on it. When you tighten the nut, the rubber expands and seals real good. Easy to do. Never blew out again after that.Ok cool your read kid looks just like the TTI install doc lol.
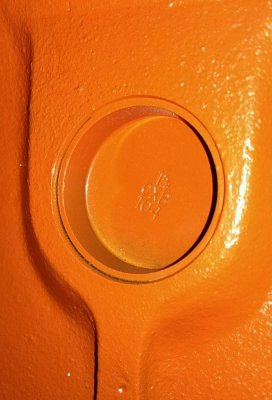
On the subject, I blew out a freeze plug tonight, on the passenger side, was tossing around pulling the motor to replace it of cut out the old headers and see if it can be replaced in car. While doing that figured it wold be a good time to get the tti's in along with a High Torque Mini Starter. Wondering how hard it will be to replace the freeze plug in car no pipes in the way?
And no I have no idea why a freeze plug blew out under hard acceleration just went pop and all the coolant came out like a stream train, then temps shot up to 250, pulled over shut it down got towed home. first time it ever it's done this, never overheated. Only thing I can think of is brass plug got tapped in instead of one shot hit in and just backed out over time.
Just got done replacing oil pan and pick up and everything looked good then, so just think this is a fluke unless it happens on another one then I will pull the heads.
my 65 coronet has a 440 in it. i've used stage v's and edelbrocks and both were a very easy install. 1 3/4's with a low deck should be simple.Do you have a 383 or 440 in your car? I'm making that purchase but have a 383 with Stage V heads, so I'm going with the 1 3/4" (383440-134) as that application works with my heads.
brass freeze plugs?Ok cool your read kid looks just like the TTI install doc lol.
On the subject, I blew out a freeze plug tonight, on the passenger side, was tossing around pulling the motor to replace it of cut out the old headers and see if it can be replaced in car. While doing that figured it wold be a good time to get the tti's in along with a High Torque Mini Starter. Wondering how hard it will be to replace the freeze plug in car no pipes in the way?
And no I have no idea why a freeze plug blew out under hard acceleration just went pop and all the coolant came out like a stream train, then temps shot up to 250, pulled over shut it down got towed home. first time it ever it's done this, never overheated. Only thing I can think of is brass plug got tapped in instead of one shot hit in and just backed out over time.
Just got done replacing oil pan and pick up and everything looked good then, so just think this is a fluke unless it happens on another one then I will pull the heads.
my 65 coronet has a 440 in it. i've used stage v's and edelbrocks and both were a very easy install. 1 3/4's with a low deck should be simple.
- - - Updated - - -
brass freeze plugs?