• When you click on links to various merchants on this site and make a purchase, this can result in this site earning a commission. Affiliate programs and affiliations include, but are not limited to, the eBay Partner Network.

Modern Bullitt build

Thank you gentlemen! As for the scissor lift it is a great tool and for under $1,500.00 it is a must for any garage with low ceilings. If I turn it around and with a small modification it can be used to put the motor and trans in!

Thanks
Pat
 
Remove what was left of the trunk floor and cut some dead weightout of the frame by removing the rear spring mounts. I also removed the leftside trunk drop to do a little rust repair that I found when the trunk floor wasremoved. I could’ve bought a new trunk drop but I enjoy saving as much of the originalsteel as I can.
Thanks
Pat


IMG_6311_zpsxwd70wxc.jpg


IMG_6312_zpsjmfszsv6.jpg


IMG_6313_zpsomxrw0ex.jpg


IMG_6314_zpsw0oeyxis.jpg


IMG_6330_zpsdcs1z92g.jpg


IMG_6320_zpsmufsxxxa.jpg


IMG_6324_zpsjo3h1r7b.jpg


IMG_6328_zpszywc314v.jpg

 
Out of town for a few days working at the Miami boat show, butgot back on the Charger this weekend. Remove most of the paint, undercoating,and surface rust in the trunk.
Thanks
Pat


IMG_6337_zpse2mtm0ob.jpg


IMG_6342_zpsa0b076is.jpg


IMG_6358_zpsufiro7me.jpg


Heat-gun and a putty knife and then wipe down with lacquerthinner makes quick remove of the original sound deadening.


IMG_6343_zpsg9apaw7s.jpg


IMG_6363_zpsqhleu8vn.jpg


IMG_6351_zpsuojuynm4.jpg

 
Before installing the trunk floor I started on theback window as it would be easier to clean up the welds under the window framewithout the trunk floor.


IMG_6364_zpsqbeflnxc.jpg


IMG_6370_zpsd0um1qxx.jpg


IMG_6374_zpsqaov7xgv.jpg


Made a few template of the corner before cutting therust out as to match the shape.


IMG_6377_zpsleviw3kw.jpg


Welded in the lower half of the corner before cutting outthe top half to help hold the shape.


IMG_6385_zps4ygpkmkv.jpg


IMG_6400_zpssnudjfow.jpg


Use the trim to confirm the shape as I tacked weldedthe new metal in.


IMG_6410_zps4tuao355.jpg


IMG_6369_zps3b6wr7hf.jpg


One corner done and one to go.
Thanks
Pat
 
Test fit the trunk floor today so I can measure for the innerwheel wells. With the back seat cross braces removed and upper corners slightlybent up. The only other modification need was to bend the right side aft wheelwell corner which I was planning on as I didn’t weld that corner on yet inanticipation to a tight fit at the widest point of the trunk floor.
Thanks
Pat


IMG_6453_zpsj566pn7h.jpg


IMG_6460_zpskyfzjd4u.jpg


IMG_6465_zps65rx2mzn.jpg


IMG_6467_zpsa5jpaje6.jpg


IMG_6472_zpsaswhvvxo.jpg


IMG_6476_zpsm1zvs5ea.jpg


IMG_6480_zpsofpha36n.jpg


IMG_6479_zpssohljlhb.jpg


IMG_6483_zpscsxnsmea.jpg


IMG_6484_zps3wsxhgfy.jpg

 
Very cool! Thanks for the back window repair pics. I'm gonna be tackling one of those soon.
 
Can't believe I just saw this thread! This Charger is going to be wicked, love the stance, fat tires, 4 link suspension, 6 speed and everything else your doing to it and even like your little spin on the wheels "nice". I'll be sure to keep checking in on this one.
 
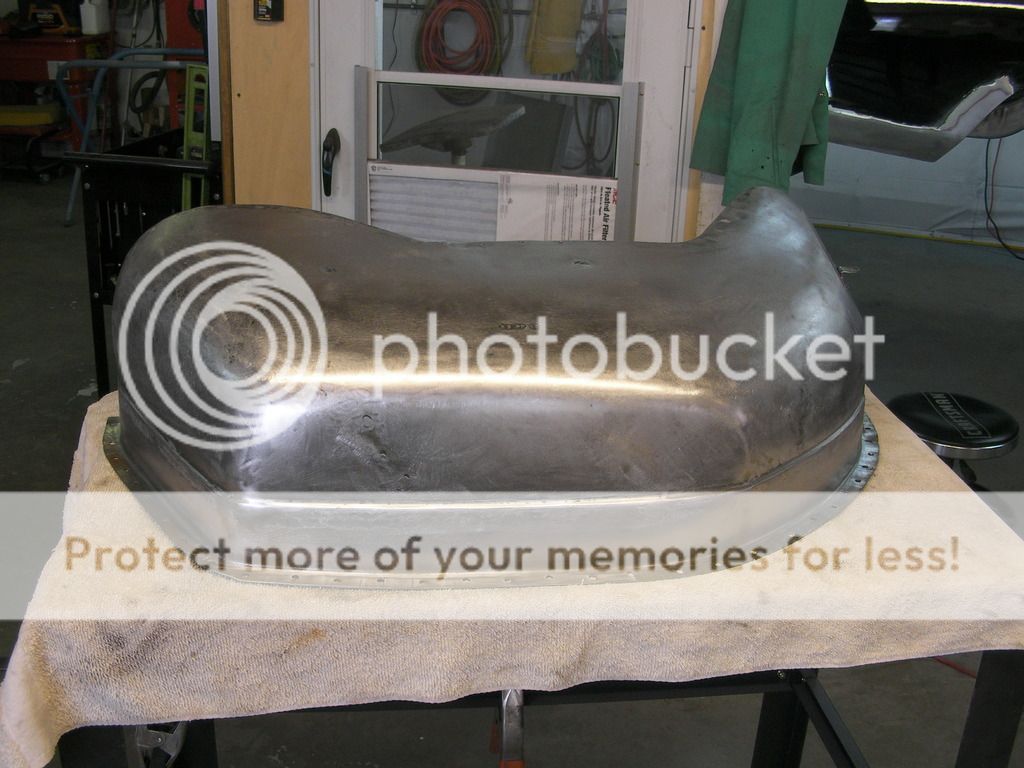
Fit and butt welded the US Car Tool mini tub kit toone of the wheel wells. The left side fit great and I’ll let you how the rightside works soon. Would be nice if someone made wide stock looking wheel well likethey have for GM & Ford cars!


IMG_6494_zpstmvfd5rk.jpg


IMG_6498_zpsllhirbvc.jpg


IMG_6492_zpst3jnt8sa.jpg


I screwed on the extension to the outer wheel well. Theshape of the kit is spot on!


IMG_6500_zpsltqxpekk.jpg


IMG_6501_zpswh5fv0vu.jpg


IMG_6502_zpscunjdqk8.jpg


IMG_6503_zpse0bcke6d.jpg


With the extension in place I screwed the inter wheelwell on so I could remove it as one part to weld it together.


IMG_6505_zps3zcz5paq.jpg


IMG_6507_zpsi0irduve.jpg


IMG_6516_zpsjnbebf1e.jpg


IMG_6518_zpsrsb0qpsq.jpg


IMG_6526_zpsutes3yrs.jpg


Added about 2 ½” to the wheel well, a lot of work fora 335 tire but it will look cool!
Thank you!
Pat
 
Nice work, as always.

Are you TIG welding? Sorry if it's a dumb question - I'm still learning about welding and have a long way to go. The welds look very small so it didn't look to me like MIG...
 
Nice work, as always.

Are you TIG welding? Sorry if it's a dumb question - I'm still learning about welding and have a long way to go. The welds look very small so it didn't look to me like MIG...

No I used a Mig.
Thanks!
Pat
 
Just stumbled onto this thread, you are doing an awesome job on your Charger. One of my all time favorite cars and you are taking it to the next level, freaking cool, can't wait to see the beast finished!
 
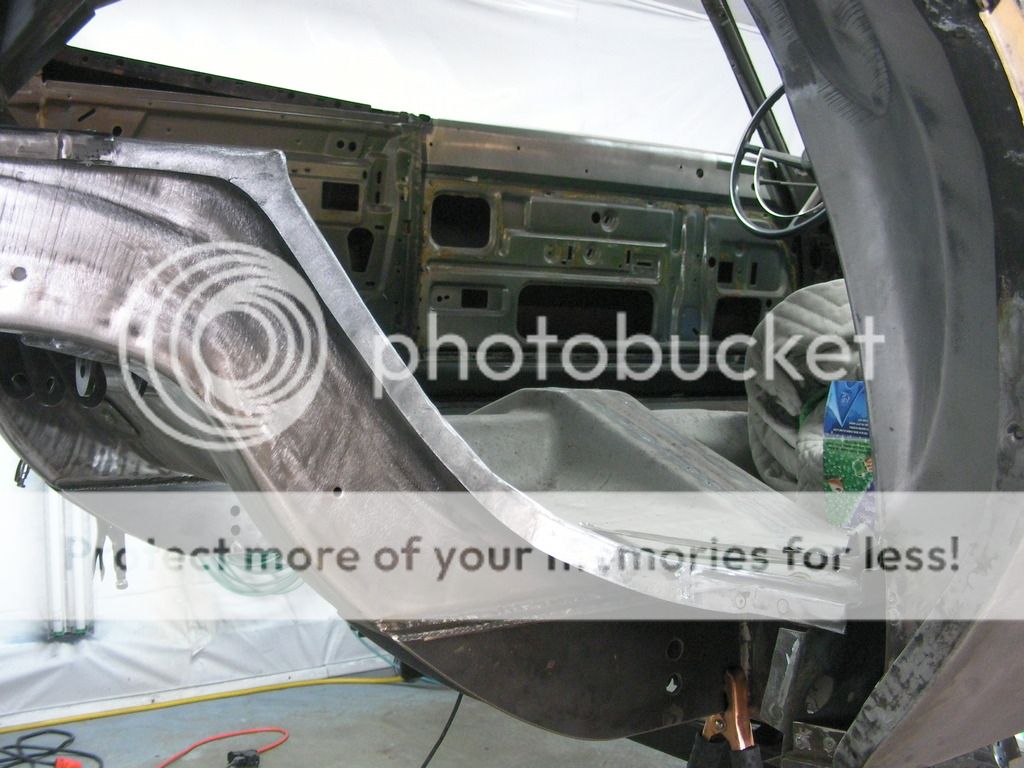
Finished the front wheel well floor flange and test fit theleft wheel tub. Now on to the right side.
Thanks
Pat


IMG_6529_zpsq0jsavpg.jpg


IMG_6536_zpsplme5u7b.jpg


IMG_6543_zpsob54pff6.jpg


IMG_6540_zpssoayn8bt.jpg


IMG_6542_zpstl50iog6.jpg


IMG_6548_zpsom9vzpc7.jpg


IMG_6551_zpsz1sv8tcs.jpg

 
Very nice work, I especially like the rear window lowers turn out, looks better that new.
 
Auto Transport Service
Back
Top