• When you click on links to various merchants on this site and make a purchase, this can result in this site earning a commission. Affiliate programs and affiliations include, but are not limited to, the eBay Partner Network.

Modern Bullitt build

US Car Tool supplied custom trunk hinge supports with themini tub kit but I’m not sure how they fit and they don’t look right for thisbuild so I modified the original mounts. I made a cardboard template and transferredthe shape to the original mount. This finishes the original look I was workingon.
Thanks
Pat


SANY0054_zpsffk5zqqo.jpg


SANY0053_zpsj7glkyce.jpg


SANY0050_zpszw0pfjmq.jpg

 
With the inter wheel wells out the aft end of the rockers isopen. So before they go in for good I vacuumed, cleaned , and sprayed Eastwoodinternal frame coating inside. Over 46 years old on the east coast they lookgreat inside and now they should be good for another 46 years. I wonder if I’llbe good for another 46 years??
Thanks
Pat

Before and after
SANY0071_zpsdcyhvxtx.jpg


SANY0078_zpsuplg13ea.jpg

 
Nice work, as always.

Are you TIG welding? Sorry if it's a dumb question - I'm still learning about welding and have a long way to go. The welds look very small so it didn't look to me like MIG...

I was going to ask the same thing. He's either using a TIG weld, or...

No I used a Mig.
Thanks!
Pat

...he's just that good with a MIG welder.

Damn, Pat....incredible build.
 
Amazing work! Threads like this make some of us want to start another one just to try to step up our game. Impressive work
 
Epoxy the inside of the trunk and rear frame rails with DuPont2505S DTM epoxy primer/sealer today.
Now its ready to weld the trunk floor and inter wheel wellsin.
Thanks
Pat


IMG_6665_zpsszhdbnbu.jpg


IMG_6662_zpsys94eqyb.jpg


IMG_6671_zpsajz3tkn7.jpg


IMG_6667_zpsh5ucacci.jpg

 
Welded in the trunk floor today and hope to put the interwheel wells in tomorrow. The floor fitgreat with little persuasion. I was ableput a bead of seam sealer at the tail panel and where the interior floor meetsthe trunk floor. I also used my spot weld wherever I could reach and plugwelded what was left.
Thanks
Pat


IMG_6677_zpssg8r7lgy.jpg


IMG_6679_zpsrp5g7bgf.jpg


IMG_6688_zpsh3uthfwy.jpg


IMG_6692_zps6vt06knm.jpg

 
Amazing work! Threads like this make some of us want to start another one just to try to step up our game. Impressive work

Wow . . . impressive work is an understatement . . . my mini tub wheel wells look like patchwork quilts ! ! ! Very NICE ! ! !
 
good lord, with the work so far i cant wait to see the finished product, wow, impressive sir!!!!!!!
 

Attachments

  • 1513_1365474379_Chester_walking_w300_bgTransparent.jpg
    1513_1365474379_Chester_walking_w300_bgTransparent.jpg
    16.6 KB · Views: 559
Epoxy primer the inter wheel wells along with few otherparts today. I hope to install them permanently tomorrow.
Thanks
Pat


IMG_6696_zpse0oflp5f.jpg


IMG_6700_zps4l2qksjf.jpg


IMG_6704_zpsxuherhaq.jpg

 
I have been away from the Charger for a few days as my youngestgraduated culinary school (CIA) in NY. He is only home for 3 weeks then back toschool for a business degree.
I welded in the wheel wells and have the bumper & trunk supportspainted and ready to install.
Thanks
Pat


IMG_6712_zpsdfnzy0tj.jpg


IMG_6715_zpsefkirmhe.jpg


IMG_6724_zpsugmsiio5.jpg


IMG_6746_zpsxyjvjiph.jpg


IMG_6741_zpsapqqtfw9.jpg

 
All the metalwork in the back of the car is complete and nowit is time for the front of the car, motor, 6 speed, and RMS suspension. (Thefun stuff)
Thanks
Pat


IMG_6755_zps5sxstooi.jpg


IMG_6757_zpsrsr6ecve.jpg

 
I just remembered today marks one year into this build thatI’m shooting to finish by next spring. It is so true how fast time fly’s by aswe get older :-(
Pat
 
Wow, that's some awesome work. I saw the wheels again at the beginning of the thread, man those are so sweet. Nice job.
 
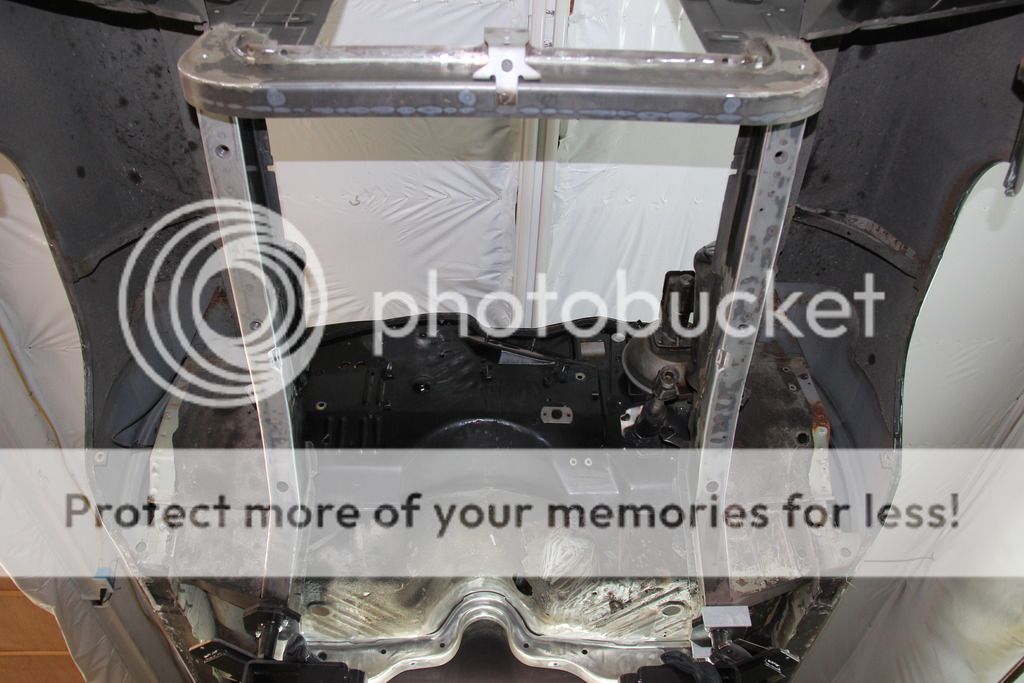
I drop the K member and remove the bump stops from theframe rails. The K member has SSBC disc brakes and is in good shape with atight steering box and I would like to sell it if anyone is interested? I willpost it for sale soon.
Thanks
Pat


I cut the bump stops off so that they could be reusedon another car if someone needs a set?
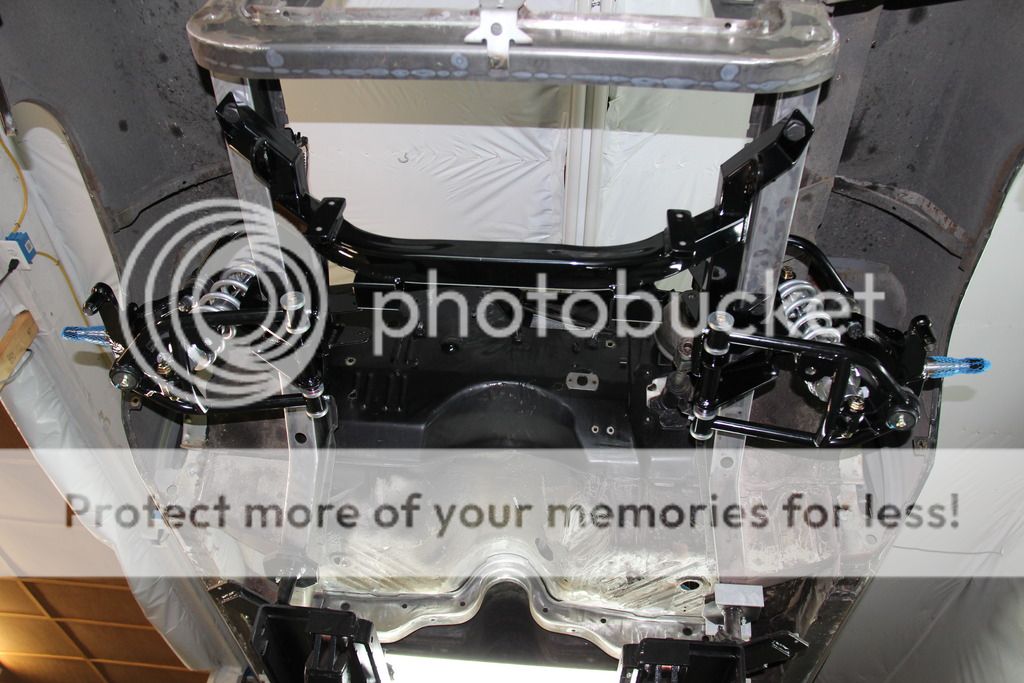
Cleaned up the frame rails and fit the RMS K member.
Thanks
Pat


Even with all my calculations, double checking with the differentvenders, and other threads with similar suspensions it was a relief seeing thefront wheel on the car with great clearance and no rubbing issues with in thefender.

Thanks
Pat


IMG_6842_zpsptui2qdz.jpg


IMG_6843_zpsqeeib0be.jpg


IMG_6844_zps1cerodeu.jpg

 
Very nice work! My welds never look that clean with out some dressing them up some. When you use the spot welder do you still have to have the holes? Getting ready to start some work on my 68 that will be close to what you are doing. Floor, trunk, quarters and tail light panel for sure. Anyway great work and will be following your progress.
 
No holes for the spot welder as it needs the metal to metal contact.
Thank you and good luck with your 68!
Pat
 
Auto Transport Service
Back
Top