• When you click on links to various merchants on this site and make a purchase, this can result in this site earning a commission. Affiliate programs and affiliations include, but are not limited to, the eBay Partner Network.

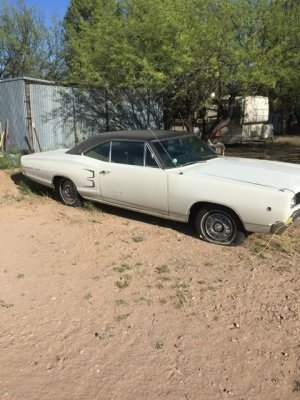
1968 Coronet 500 Project

JimKueneman

Well-Known Member
Local time
2:44 PM
Joined
Mar 25, 2016
Messages
3,253
Reaction score
3,820
Location
Sonoita, Az
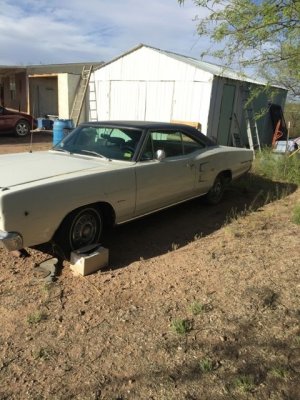
I may as well start sharing some of my trails and tribulations on this journey. May 2016 I decide the kids are grown enough and my promotion at work warranted a serious look at a classic Mopar. My teenage years in 1980 found me with a 1969 Sport Satellite Convertible with a '70 front end and shaker hook. I sold the car and moved west in 1981. Fast forward to 2016. I started to look for a Sport Satellite Convertible. I found a few but I was not willing to shell out $25k for something that in mind needed to be gone through to be what I wanted it to be. I decided I would start small and see work my way in slow. I found a '69 Satellite in Phoenix that was a good project car but it clearly was not from the desert. I did not want to spend my time and money doing sheet metal work as I don't have the tools to do it right.

Only days after starting to looks seriously I saw a small Craigs list add that went something like:
For Sale: 1960's Dodge Coronet $6500 New title, text ***-***-xxxx. No calls.
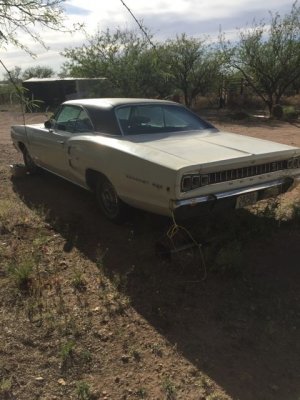
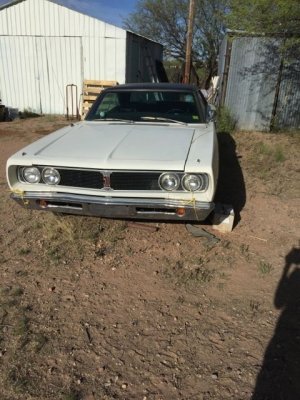
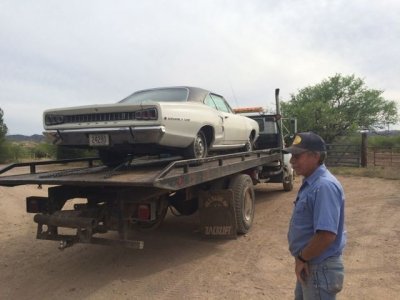
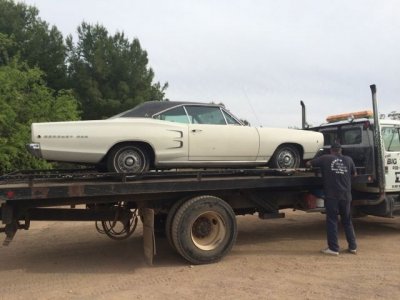
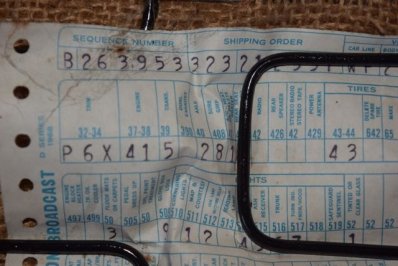
Long story short this was a car that a couple bought in 1968 in State College Pa and they moved to Arizona in 1985. The car was put in storage and never registered in Arizona (hence the new title required). The guy took the car in trade for some work he did not the lady's house and wanted to sell it to get his money for the work. It appeared very solid with some small areas of bubbling of of the paint here and there. There was nothing missing from the car it was 100% there. It was fun looking at the contents of the glove box and trunk once I got it home, it was an early 1980's time capsule. I never started the car and gave him $6000 and loaded it on the flatbed.

It is nothing special under the hood. It has a 318 2-barrel with a 904 and 8-3/4" rear end but it is the 714 casting so it has the smaller pinion shaft. It was the 500 model with bucket seats and console and a few interesting options. AM/FM with a rear speaker and fader switch on the dash. Factory AC (required in Arizona!) and a rear window defroster (blower motor under the package shelf, not needed Arizona!).

Since I had not had a Mopar since 1980 I did miss a few things I now understand what I should have looked for. I thought it had the original paint. Now that I am smarter I know what to look for and it did not have the original paint, but that is a story for a future post.

This is my first attempt at a restoration of an automobile so be gentle :)
IMG_0453.jpg IMG_0452.jpg IMG_0454.jpg IMG_0451.jpg IMG_0530.jpg IMG_0531.jpg
 
April 10th 2016
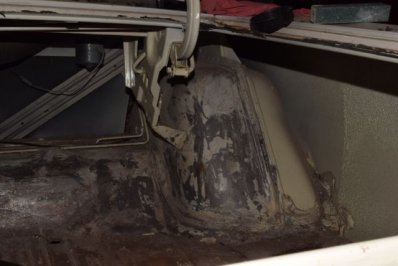
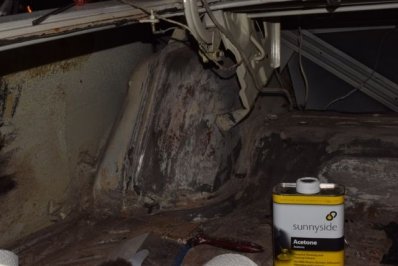
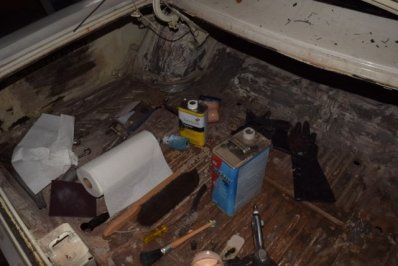
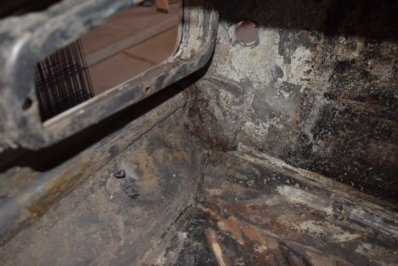
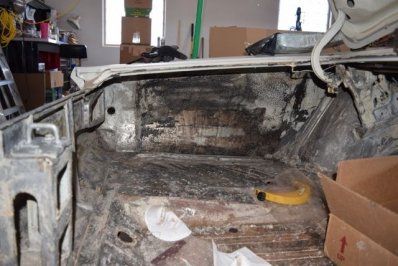
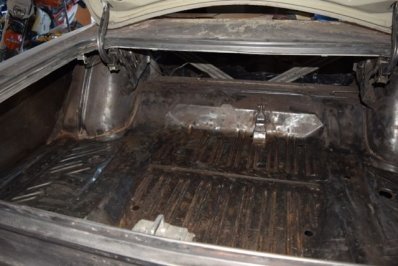
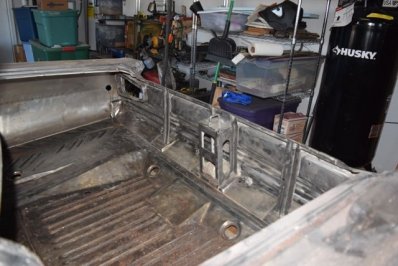
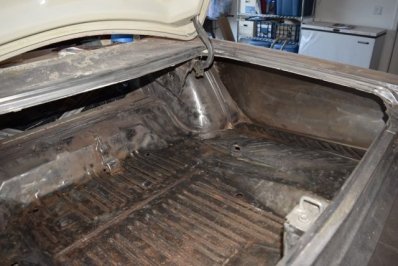
Once I got it home I decided to start small and where it was obvious work was needed… the trunk. I noticed a lot of surface rust (the trunk leaked and the guy who took the car for labor had left it outside since Nov 2015). I looked at the options through hours of youtube videos and decided Aircraft Stripper was the way to go. Here are my thoughts on using Aircraft Stripper that I have found since starting a few months ago:
  1. Use parts cleaner brushes to apply it. These are designed for chemicals and will stand up a long time even with the stripper. They are stiff enough as well to help "scratch" the paint once it softens.
  2. The ultimate way (now that I am done) is to buy a cheap $20 undercoating gun and spray it on with the gun. It is WAY faster, covers WAY better, and gets into creases and crevices WAY better.
  3. Use a power washer (steam would be best but I did not have one) to blast away much of the paint/undercoating
  4. Your going to spend $1000 in stripper before you are done if you don't want to spend the time with a sanding.

DSC_0024.jpg DSC_0025.jpg DSC_0022.jpg
 
Last edited:
State College. Rough life. People in areas like that where the weather sucks usually look for Arizona cars, not the other way around. That said, I bought a Pennsylvania car and brought it to California. I like the color combo and the hubcaps. AC is a nice factory option.
 
State College. Rough life. People in areas like that where the weather sucks usually look for Arizona cars, not the other way around. That said, I bought a Pennsylvania car and brought it to California. I like the color combo and the hubcaps. AC is a nice factory option.
You'll see that really is in excellent shape as the story progresses. There is a brand new set of factory hubcaps in the original boxes in the trunk too :) I hate the off white color though. It is going to be orange and black when I am done.
 
April 25th 2016

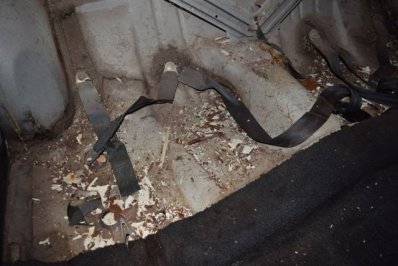
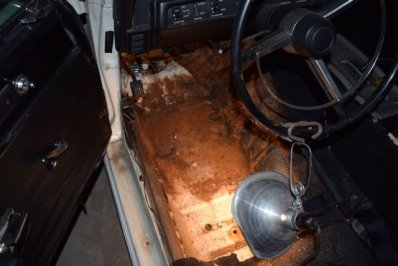
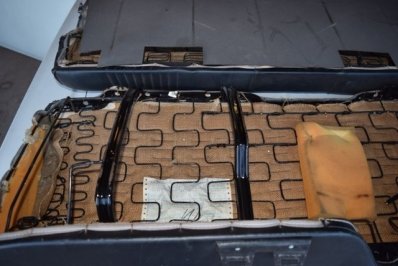
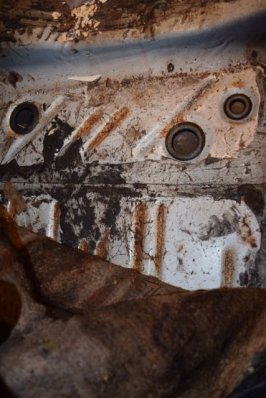
As I was learning the ins and outs of Aircraft Stripper I was also tinkering with pulling the interior. I was having a hard time wanting to pull apart an original interior that looked so nice so I knew the carpet had to come out so that was a diversion while I was coming down off my stripper fume highs (the respirator was not enough with my head in the trunk). I found the floorboards where in excellent shape with mostly just surface rust from the inside due to wet shoes making a wet carpet that never dried out in the northeast. There were a few small pinholes that I welded up but there was nothing structural that needed attention.

Notice the strange paint peelings under the rear seat… this was first clue the car had a bit of something done to it prior to going into storage….

DSC_0007.jpg DSC_0002.jpg DSC_0001.jpg DSC_0010.jpg DSC_0005.jpg DSC_0019.jpg DSC_0001.jpg DSC_0021.jpg DSC_0002.jpg DSC_0003.jpg
 
April 26th 2016
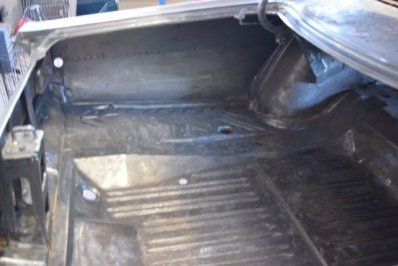
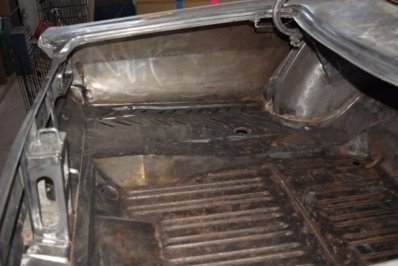
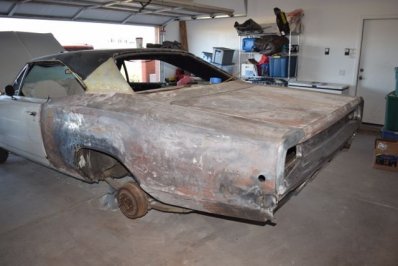
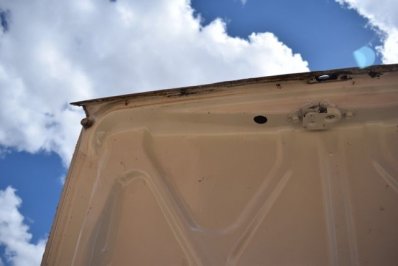
Stripping of the trunk was done. Again it was only surface rust from the inside out from the leaking trunk with pinholes and no structural problems. From the underside you could not tell the trunk had rust in it unless a bright light was in the trunk and the garage was dark, then it looked like the Milky Way with the pin holes.
Other than that there was no rust at all in the trunk and sail panel

DSC_0013.jpg DSC_0016.jpg DSC_0011.jpg DSC_0014.jpg DSC_0017.jpg DSC_0012.jpg DSC_0015.jpg
 
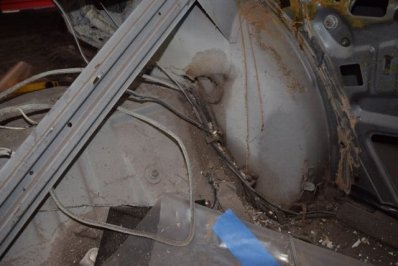
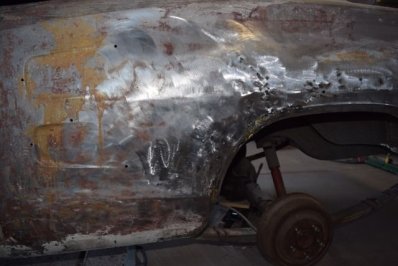
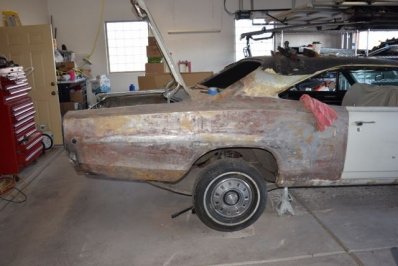
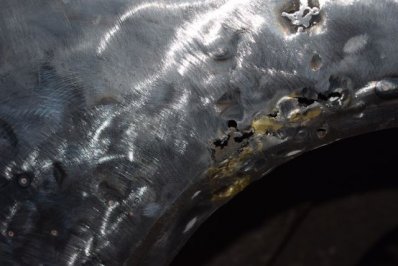
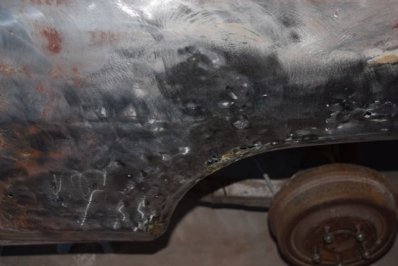
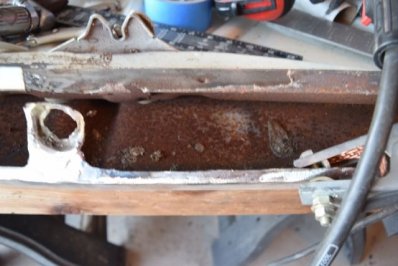
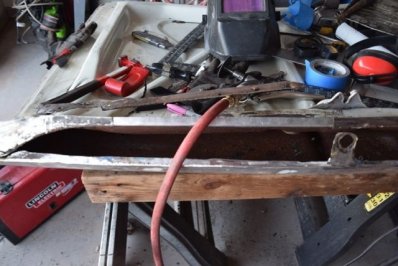
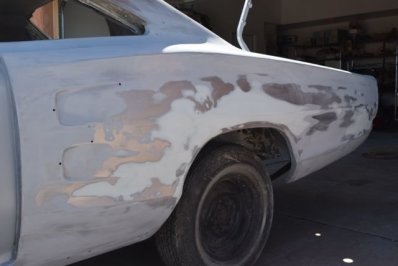
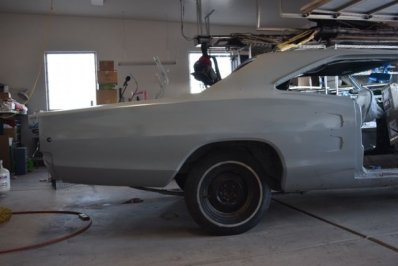
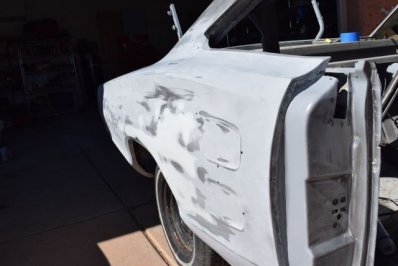
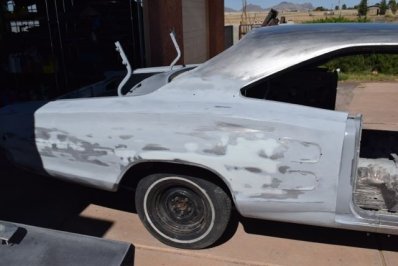
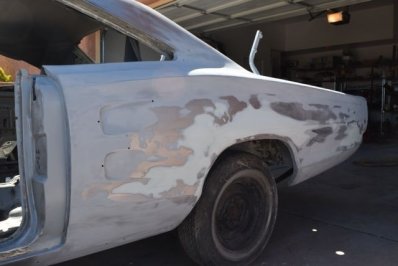
With the learning curve of the trunk behind me I stripped the rear quarters, and found the biggest surprise of the project… The car had been in an accident sometime in its life and it turns out the left fender and door had been replaced. If I knew what I was looking for I could have seen the fender replacement from the start. The repair was done back when brazing and drilling holes to pull dents was in vogue.
 
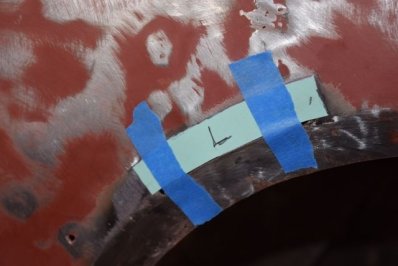
Off to Harbor Freight to buy a Stud Welder and to the metal shop to buy some sheet metal. There was a lot of filler in this quarter panel and I pulled it out a lot closer than it was with some cardboard profile templates I made from the other side.
When done the brazed area had pulled apart so a patch was in order.

DSC_0041.jpg DSC_0045.jpg DSC_0033.jpg DSC_0037.jpg DSC_0032.jpg DSC_0034.jpg
 
Off to Harbor Freight to buy a Stud Welder and to the metal shop to buy some sheet metal. There was a lot of filler in this quarter panel and I pulled it out a lot closer than it was with some cardboard profile templates I made from the other side.
When done the brazed area had pulled apart so a patch was in order.

View attachment 346855 View attachment 346856 View attachment 346857 View attachment 346858 View attachment 346859 View attachment 346860
great job so far.keep it up.
 
May 1 2016
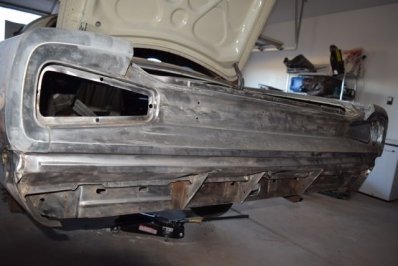
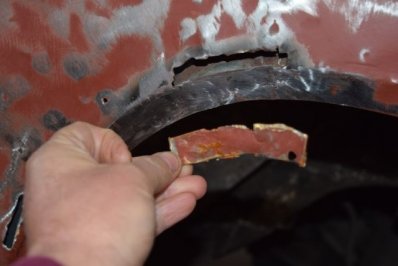
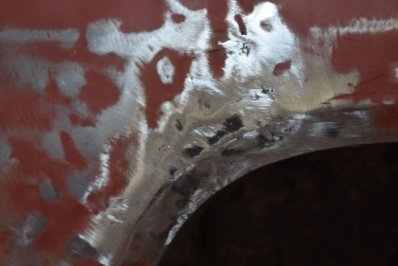
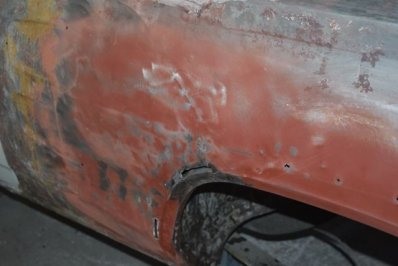
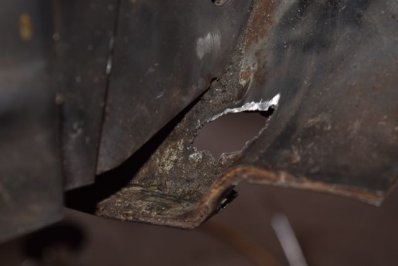
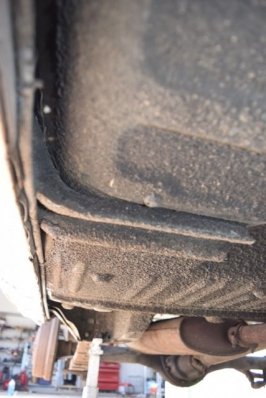
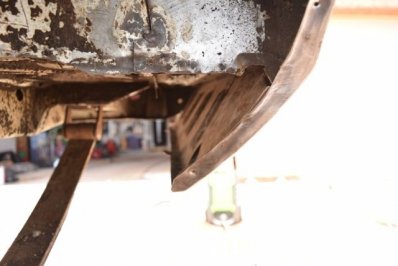
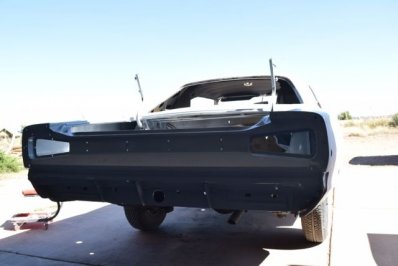
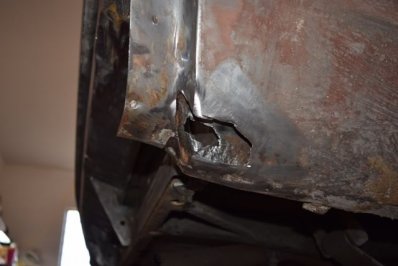
There were a few rust through in the corners of the rear quarters. Minimal metal needed to be remove to get to solid ground so small patches where fabricated from sheet stock and welded in. I also stripped the undercoating around the rear quarter panel to get a better idea of the state of the trunk extensions. The underside of the car is rock solid, no rust discovered at all. It did start me on an inner struggle if I wanted to strip the entire under side of the car like I had planned. There is nothing I want to do less than lay on my back and strip that gunk…

DSC_0049.jpg DSC_0051.jpg DSC_0022.jpg DSC_0010.jpg DSC_0037.jpg DSC_0021.jpg DSC_0009.jpg
 
May 10 2016
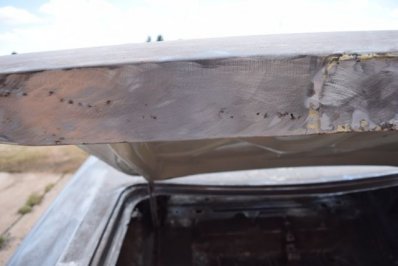
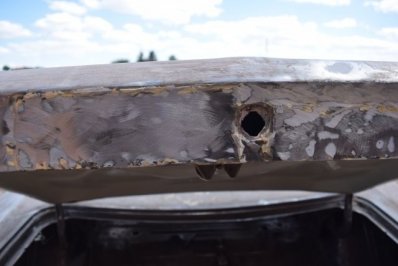
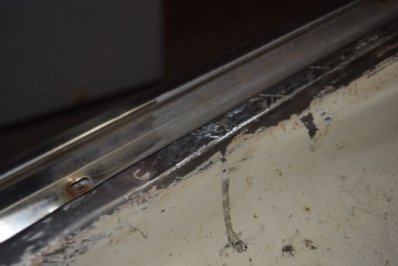
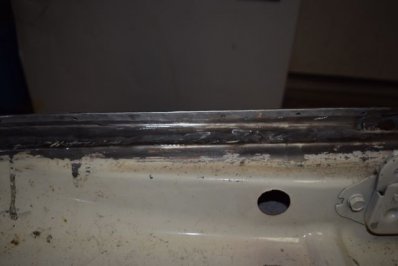
The next few weeks were consumed learning and rebuilding the trunk lip. There are no aftermarket trunk lids available for the '68 and rust free one are far and few between and fetch a premium price. This one had been hack job fixed before with panels brazed over the rusty original metal. I ended up fabricating one from scratch. This was my first attempt at doing something like this so it did need a bit of filler to make flat but it aligns well with the rest of the body when installed.

DSC_0046.jpg DSC_0049.jpg DSC_0045.jpg DSC_0002.jpg DSC_0006.jpg DSC_0001.jpg DSC_0005.jpg DSC_0017.jpg DSC_0007.jpg DSC_0010.jpg
 
May 14 2016
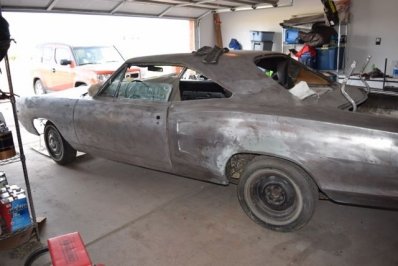
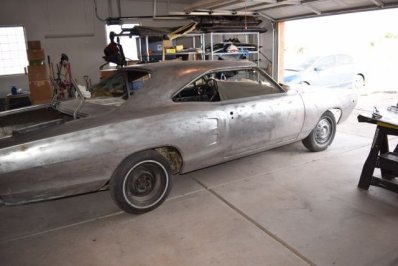
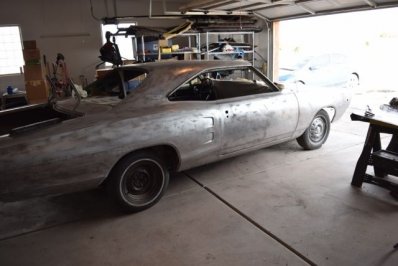
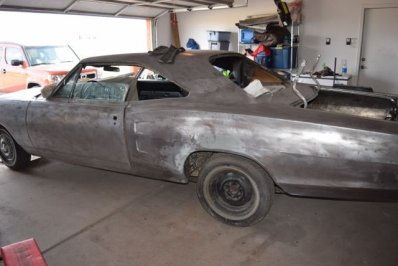
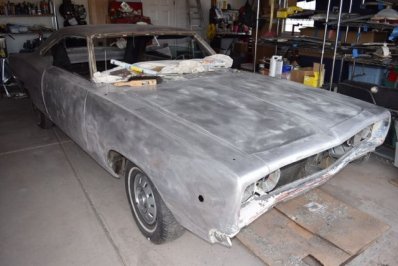
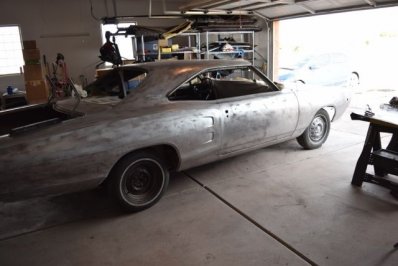
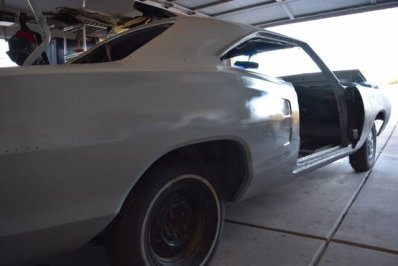
25 gallons more of Aircraft Stripper and it was down to its naked original form.

DSC_0005.jpg DSC_0003.jpg DSC_0006.jpg DSC_0001.jpg DSC_0004.jpg DSC_0007.jpg DSC_0002.jpg
 
That's a lot of work man but keep it up it'll be worth it in the end
 
May 25 2016

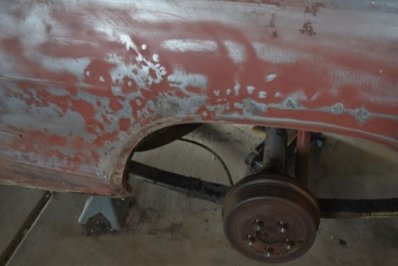
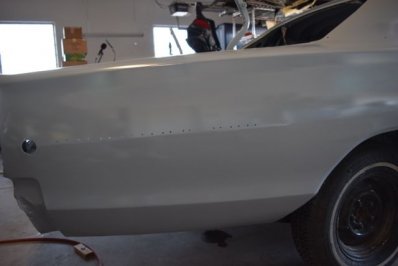
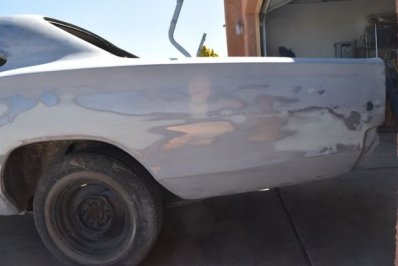
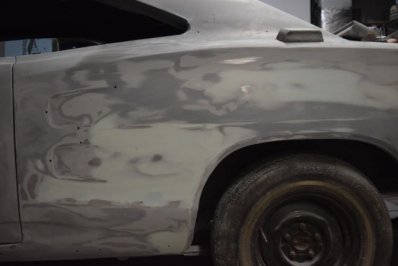
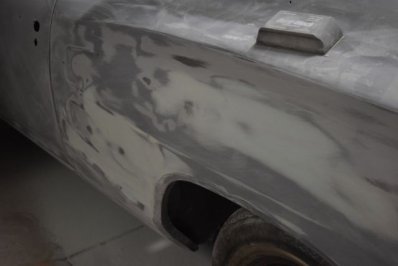
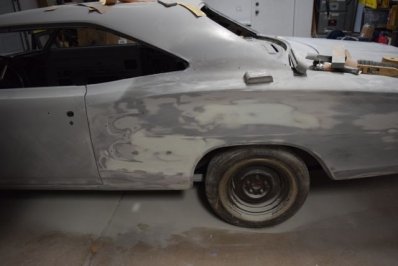
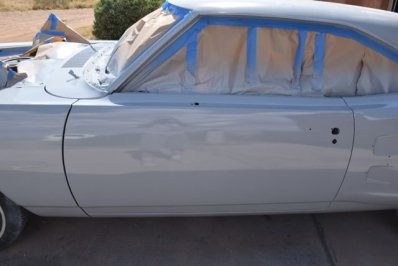
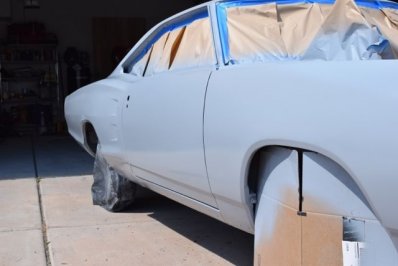
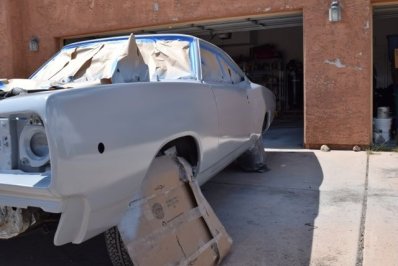
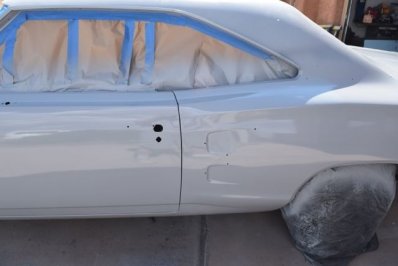
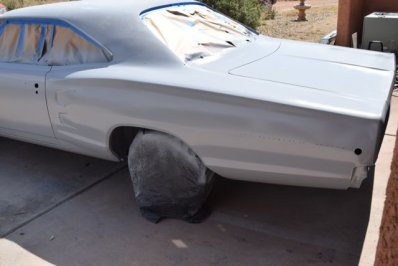
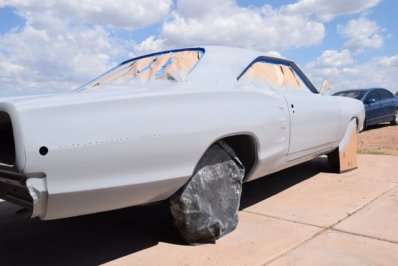
My order of Southern Polyurethane Inc came in and I started by applying twos coat of their sand able epoxy primer on the rear quarters to experiment and started the rough body work with 3M Platinum filler followed by another 2 coats of epoxy since I was learning and ended up sanding too much off and exposing way to much metal as I was shaping. I like the SPI Epoxy because it does sand nicely and had a semi gloss so you can see how reflections are looking. Needless to say I have ended up with a few more coats and more filler and glaze from this stage.

DSC_0023.jpg DSC_0010.jpg DSC_0013.jpg DSC_0021.jpg DSC_0011.jpg DSC_0009.jpg DSC_0022.jpg DSC_0012.jpg DSC_0007.jpg DSC_0015.jpg
 
Last edited:
May 30 2016
I can learn so this time around I did not over sand and spread the filler/glaze wider then sanded more carefully…

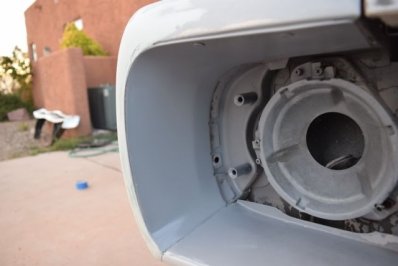
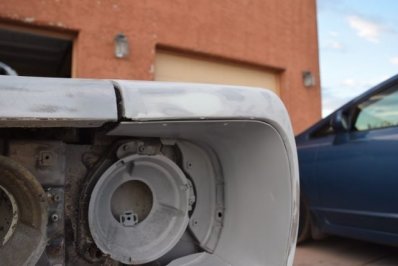
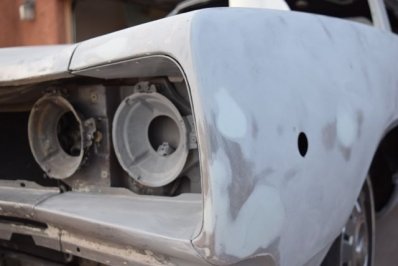
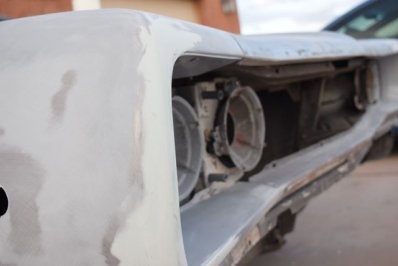
Also the past accident the car appears to have been in caused the left fender to be replaced. Even in the days where you could get OEM parts they were not exact replacements per say. The shape of the fender around the headlight bucket was different than the right. The right side had kissed a few solid objects and needed to have a few old dent puller holes welded shut and pulled out with the stud welder.

DSC_0002.jpg DSC_0003.jpg DSC_0001.jpg DSC_0003.jpg DSC_0004.jpg DSC_0010.jpg DSC_0012.jpg
 
May 31 2016
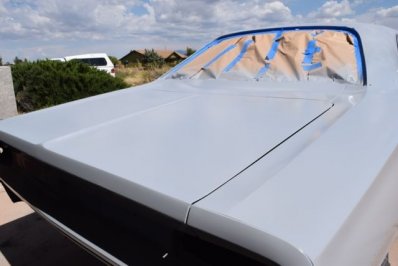
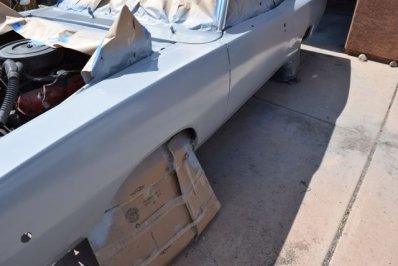
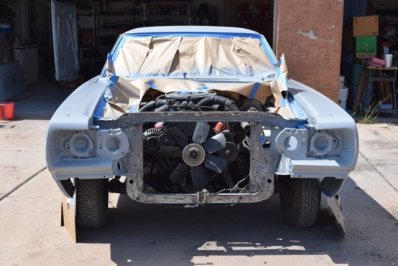
A new coat of epoxy primer and it is ready for the high build primer and careful blocking. The next few 3 weeks will be business travel and vacation.

DSC_0023.jpg DSC_0005.jpg DSC_0010.jpg DSC_0024.jpg DSC_0014.jpg DSC_0001.jpg DSC_0012.jpg DSC_0007.jpg DSC_0002.jpg
 
July 3 2016
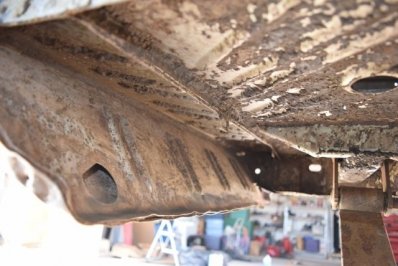
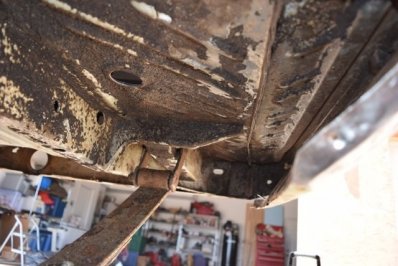
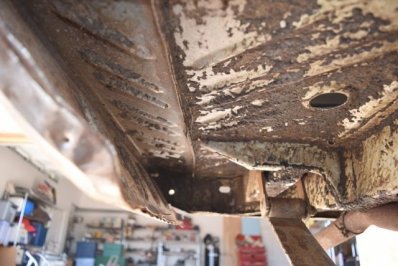
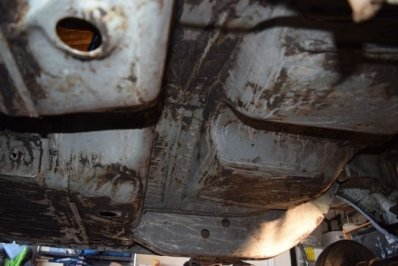
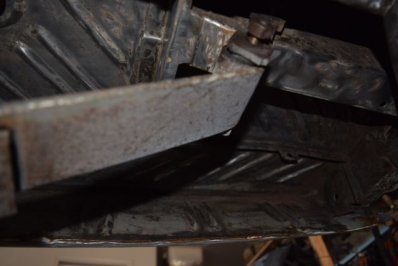
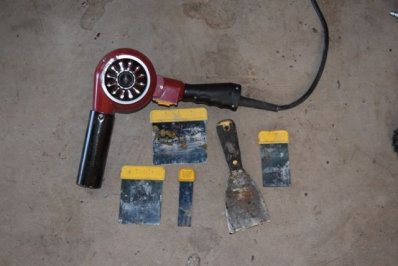
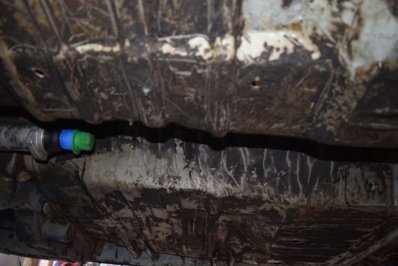
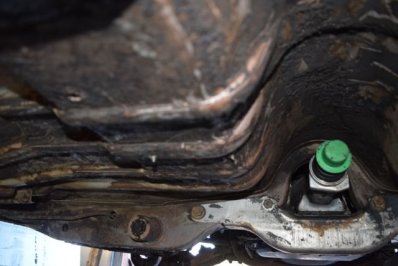
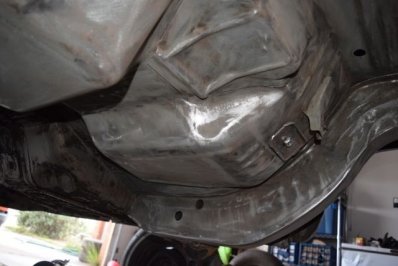
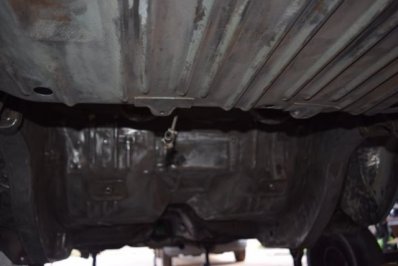
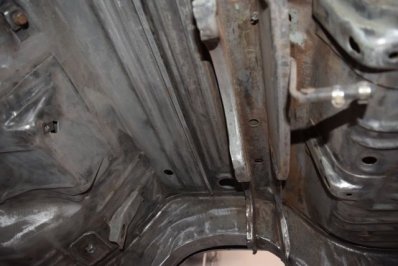
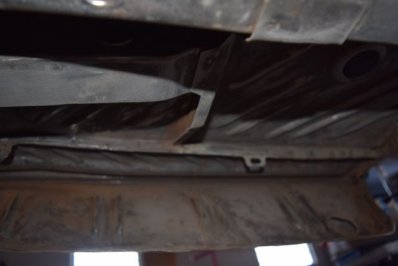
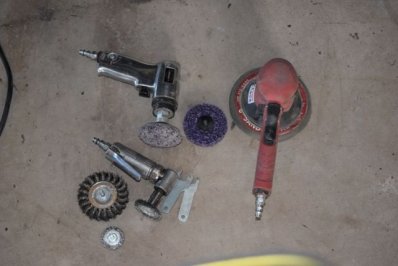
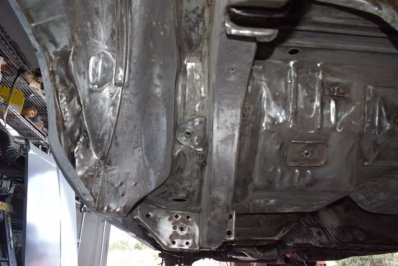
This catches us up to where the car is weekend. I sucked it up and sprayed several applications of Aircraft Stripper on the undercoating and power washed it over the last few days. The most nasty job ever. From here on in it is a heat gun and putty knife to scrape off the remaining undercoating and my arsenal of air tools with wire brushes and 3M abrasive pads, and DA sanders while laying on my back. This ended up causing a catch in my back that put me out of commission today to do much work on the car but the results are worth the effort.
 
Last edited:
Undercoating removal. Forgot to mention that the metal filler spreaders work great to scrap of the softened undercoating on odd shaped areas.

DSC_0017.jpg DSC_0007.jpg DSC_0039.jpg DSC_0002.jpg DSC_0016.jpg DSC_0009.jpg DSC_0022.jpg DSC_0038.jpg DSC_0025.jpg DSC_0004.jpg
 
July 4 2016
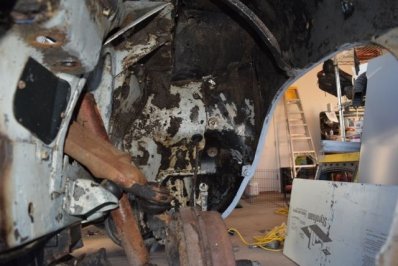
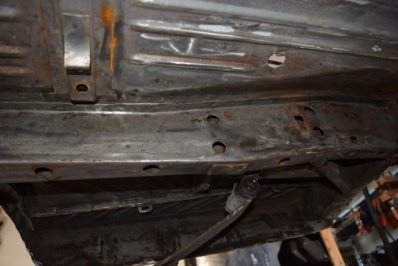
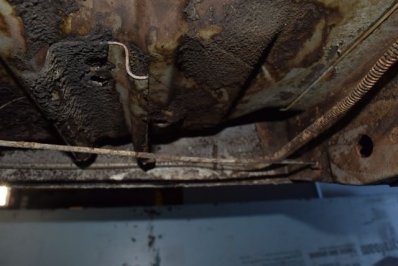
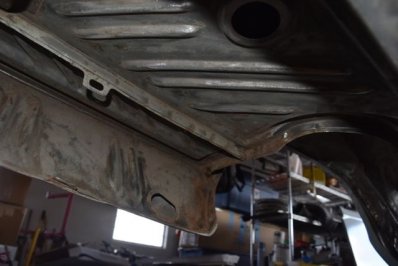
And here is what can be done in about 6 hours on your back after the stripper does a lot of the work. The rust you see around the wheel wells is surface rust and looks worse in the photos due to the flash. A quick shot with the sandblaster to remove that surface rust before priming is all it needs.

DSC_0005.jpg DSC_0008.jpg DSC_0003.jpg DSC_0006.jpg DSC_0001.jpg DSC_0004.jpg DSC_0007.jpg DSC_0002.jpg
 
Auto Transport Service
Back
Top