• When you click on links to various merchants on this site and make a purchase, this can result in this site earning a commission. Affiliate programs and affiliations include, but are not limited to, the eBay Partner Network.

Yankee Express RestoMod Project

more..

0627191501f.jpg 0627191501g.jpg 0627191532.jpg 0627191532a.jpg 0627191532b.jpg 0627191552.jpg 0627191553.jpg 0627192113.jpg 0627192113a.jpg 0627192113b.jpg
 
My plan worked. The deck lid hinge misses the fuel filler pipe/hose. Sprayed the trunk with rubberized undercoating.

0628191336.jpg 0628191336a.jpg 0629191120b.jpg 0629191120e.jpg
 
Ran fuel line and sliced up left outer bumper brace, which was too long after I massaged the bumper, and used a BFH to get it positioned for welding to the inside brace. right side next.

0701191220.jpg
 
For some ( unremembered) reason I installed the shop compressor with the front side facing the wall. So yesterday I spun it around so I can fill the oil and see the gauges. lol:rolleyes:. While I was at it I added a drop line for water removal. About time.....

0708191720.jpg 0708191720a.jpg 0708191720b.jpg 0708191720c.jpg
 
Started the bodywork today at long last. First up was the right end of the cowl which had been crushed by a falling tree at some point in the past. Then on to the left quarter gas filler delete and bumper end recess contour.

0710191522a.jpg 0711190813.jpg 0711190815.jpg 0711191107.jpg 0711191124.jpg 0710191523.jpg 0711191106.jpg
 
Looking at that last pic I see that I have yet ANOTHER damn dent on the lower half of the rear quarter...sigh.
 
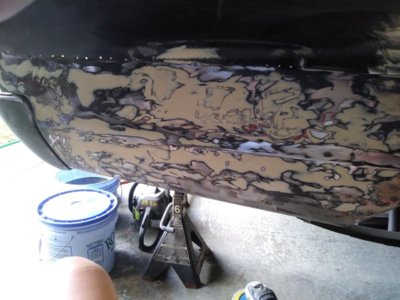
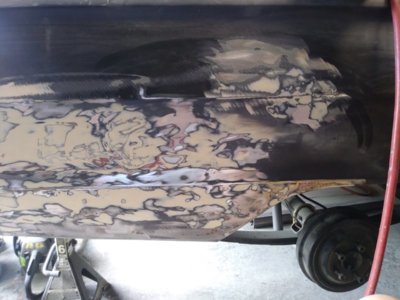
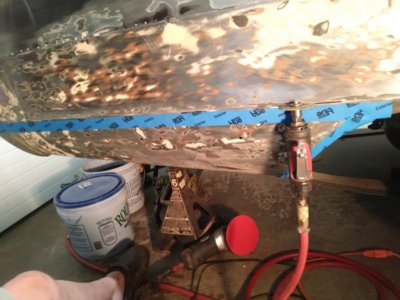
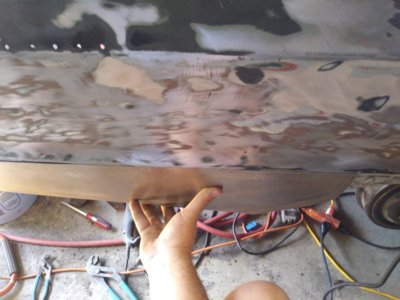
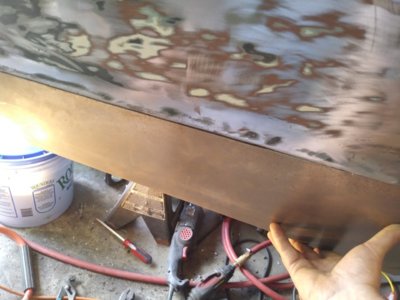
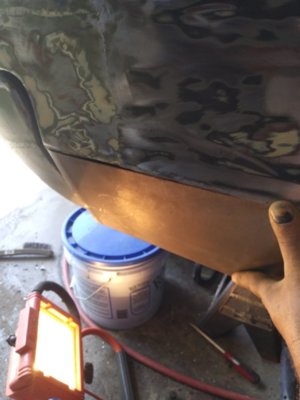
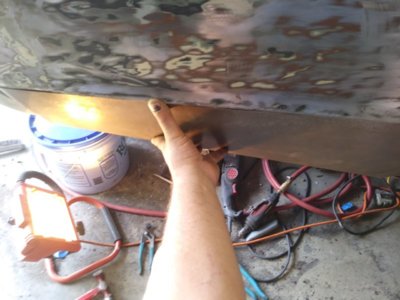
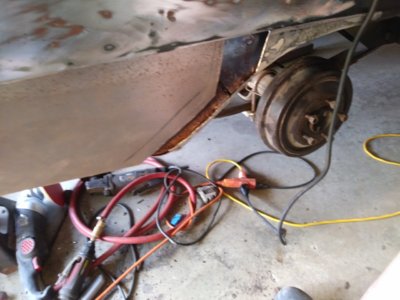
Decided to replace the lower rear section of the right quarter. That side had been hit in the far past and was the most bumpy and holey and rear most portion was rolled inwards instead of the gentle curve and straight line of the bottom edge. This will make the bumper have to be modified again, ( BFH) so the profile will match the new sheet metal. lol. My goal is to have less filler, not more.

0713190958.jpg 0713190958a.jpg 0713191031.jpg 0713191216.jpg 0713191218.jpg 0713191218a.jpg 0713191219.jpg 0713191219a.jpg 0713191219b.jpg
 
727421-43568cfa865d3dde2bf07fb340834184.jpg


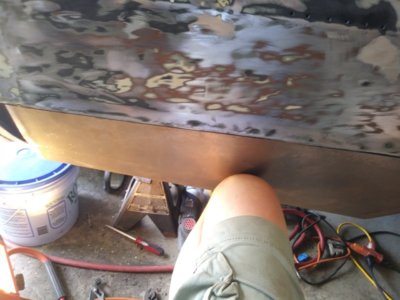
You can see in this pic that the bumper is a good ways inboard from the metal which is exactly where it's supposed to be according to the other, undamaged, side. This shows how far inboard the whole tail end of this section was pushed.
The trunk drop down was also bent inwards at the end. Once this sheet is in place then I just need a skim coat on the upper half as those bumps are very small. Getting there...Plus it gets rid of a double line of trim mounting holes!
 
need to buy some panel clamps. Ordered one of these 4" magnetic copper backing plates. Have a bunch of trim holes to fill....

p22994_1.jpg
 
Last edited:
Decided to replace the lower rear section of the right quarter. That side had been hit in the far past and was the most bumpy and holey and rear most portion was rolled inwards instead of the gentle curve and straight line of the bottom edge. This will make the bumper have to be modified again, ( BFH) so the profile will match the new sheet metal. lol. My goal is to have less filler, not more.

View attachment 799268
View attachment 799269

Ghost . . . These ( 2 ) pictures look so cool . . . I'd be tempted to leaved it and paint clear coat over it . . . ok, never mind . . . LOL . . . it still looks really cool ! ! !
 
I use copper pipe fitting and flatten a little, hold with vice grips. the copper gets real hot.
 
I have tried that in the past and it worked ok. I find that I need both hands to do a good job with filling the holes quickly. I'm just not dexterous enough to hold one and weld with the other. Especially inside quarters and door bottoms.

I use copper pipe fitting and flatten a little, hold with vice grips. the copper gets real hot.
 
Ghost . . . These ( 2 ) pictures look so cool . . . I'd be tempted to leaved it and paint clear coat over it . . . ok, never mind . . . LOL . . . it still looks really cool ! ! !
I know, right? I said the same thing to myself after sanding them down to that point. Pretty cool looking from an artistic viewpoint! Should frame a pic and sell it for millions to some rich idiot in NYC!
 
damn Ghost you're going gang busters

should be talking to her, telling her
soon baby, soon :poke:
 
I have tried that in the past and it worked ok. I find that I need both hands to do a good job with filling the holes quickly. I'm just not dexterous enough to hold one and weld with the other. Especially inside quarters and door bottoms.
Gotcha
 
I feel ashamed.. I have been on this site for a while.. How in the hell did I not see this build.. Awesome skills and all the fab is bad ***.
 
I feel ashamed.. I have been on this site for a while.. How in the hell did I not see this build.. Awesome skills and all the fab is bad ***.
Aww shucks, "drags foot in the dirt.." lol. Thanks man. It HAS been a journey for sure. Glad you enjoyed it. I still have not welded that panel on. lol. We have too many farm issues to deal with lately to really work up enthusiasm for getting in the garage.
 
Aww shucks, "drags foot in the dirt.." lol. Thanks man. It HAS been a journey for sure. Glad you enjoyed it. I still have not welded that panel on. lol. We have too many farm issues to deal with lately to really work up enthusiasm for getting in the garage.
I know the feeling.. Having to sell my 440 has taken the wind out of my sails. But I now have a 383 I can stick in the belvedere. So all is not lost. Just need to get back to work.
 
Ghost, I have nothing but love for you and this car!! I did a car like this before and got nothing but crap from the purest. I'll say it was a Chevy and it had every car you can imagine in it, tastefully. The last thing I did was hook up a road runner horn, left the original, just add the other. When I sold it, which didn't take long, I kept the horn, if you want it, it's yours, free. it's black. Just say the word!!!
 
Auto Transport Service
Back
Top