• When you click on links to various merchants on this site and make a purchase, this can result in this site earning a commission. Affiliate programs and affiliations include, but are not limited to, the eBay Partner Network.

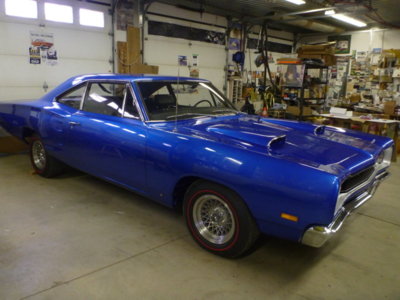
1969 Dodge Super Bee Coupe Restoration

Definitely... and to make myself feel better I opened the door of my Superbird to this. In 1990 I put the old OE carpet over the repro and cut it exactly the same!
View attachment 758219
Sooo, you’ve been screwed up since ‘90, lol. My throttle cable comes thru a slight slit in the carpet( from the factory). As long as pedal doesn’t stay on the floor when it’s not supposed to,lol.
 
I'd love to see a close up of how Ma Mopar cut the carpet around the bolted down throttle plate. I can see being over the metal rod section and through a hole to the pedal roller, but I just cant believe it was over top of the arm that the cable attaches to and there's not enough clearance to be under it.
 
As noted... I was working with existing 30 year old holes in the carpet, not something I could move and I wasn't buying a new one. Even if I could have there is no way it would have moved over 2" forward to get the pedal on the rubber mat before the formed carpet would have bottomed out against the rear face of the shifter hump.

BTW.. does your carpet go right over top of the throttle cable arm??? SO it lifts the carpet every time you hammer the pedal down?
Not my car, but a A12 Bee Survivor. Here's another 5.600 mls A12 Bee:

IMG_4659.jpg


IMG_4660.jpg
 
Love to see pics of an OE 4 speed.

It is what it is Rob, someone wants to stick their head that far into my car at a show I'll slam the door....
 
One little imperfection adds that human touch to your stunning restoration. ;-) And the people won't even recognize it while be blinded by the A-Pillar trim...
 
A pillar trim in place.

Drivers side showing the correct #10 washer head screws. The ones in the repro kit had the wrong heads, but you can buy correct ones at NAPA.

Don't miss the screw up under the dash.

Hope you put these windshield trim retainers in before you installed the windshield! (you could get them in now, but wouldn't be fun)

The windshield to headliner trim was previously painted the same flattish black as the dash. It does not get painted gloss TX9 like the other interior trim pieces. #8 x 5/8" oval head screws x 6.

Windshield to headliner trim in place, over top of the A pillar trim pieces.

Headliner to roof rail trim uses 6 of these clips and one screw.

Clips slide it place like so. This is the the drivers side, picture taken from the front looking rearward.

3 on the front door section and three on the rear seat area. I used a bit of butyl to hold them in place so they didn't slide off while installing.

Screw goes about 4" from the front end, into the roof rails screw slot. Rubber hammer used to knock the trim clips tight onto the headliner mounting edge.

View attachment 750955 View attachment 750956 View attachment 750957 View attachment 750958 View attachment 750959 View attachment 750960 View attachment 750961 View attachment 750962 View attachment 750963 View attachment 750964
What size was the screw holding the roof rail trim. You said one screw and 6 clips. Thanks. Car looks great.
 
What size was the screw holding the roof rail trim. You said one screw and 6 clips. Thanks. Car looks great.
Thanks! Gotta do taxes today, two days late, but I'll try to remember to grab a pic of the screw. I think I have one loose.

Just looked, I show the screw in the picture with the clips! I think it's #8.. maybe #10 with a small head. I'll check..
 
Thanks! Gotta do taxes today, two days late, but I'll try to remember to grab a pic of the screw. I think I have one loose.

Just looked, I show the screw in the picture with the clips! I think it's #8.. maybe #10 with a small head. I'll check..
Your pics have helped a ton. My car was a bucket of parts so I had no point of reference. Thanks.
 
Thread is #8. Screw is about 1.5" long and has a smooth shank of about 3/4", but a normal #8 oval head that overall length will work just fine.
 
More reproduction part follies! Repro on the left, OE on the right.

Save a 1/4" of metal on each one and it adds up!

A tad different on the profile, but most wouldn 't notice.

Labels and part number both the same, different pack dates. Hmmm... what happens when you have no idea what you're actually packaging!

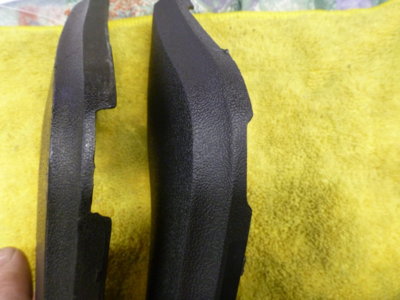
OE hinge cover left, repop right. Don't suspect that "cut out" is going to clear the lock latch stub, especially since my passenger side OE was broken in this location from hitting same.

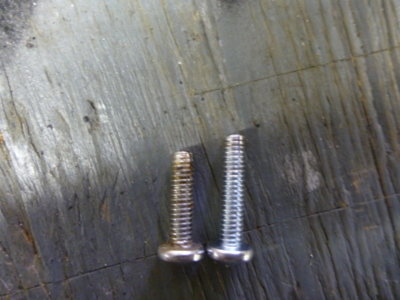
OE attach screw left, generic that came with the repop right. Too long and bottoms in blind hole on the seat arm.

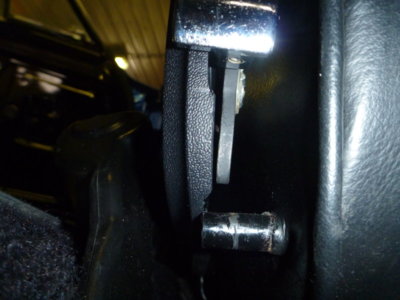
As suspected... cover hits the latch stub.

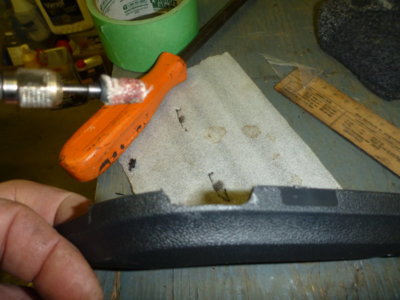
What dremels were made for, fixing repop ****.

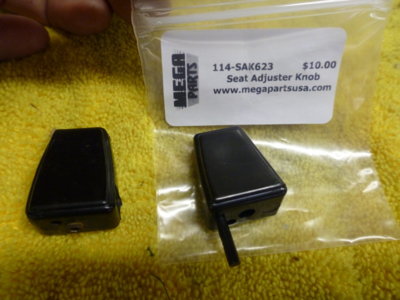
If some poor bugger didn't have an OE seat adjuster knob he'd really wonder WTF he was supposed to do with this reproduction. Moulding sprue still attached.

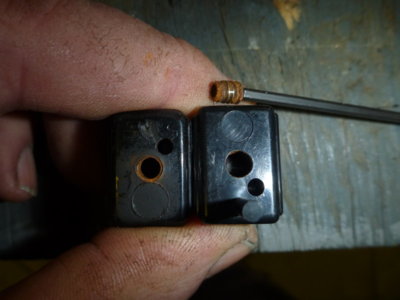
OE left showing set screw that holds the knob on. Repop right that came with no set screw and a hole so big the OE set screw just drops in. I ended up just sanding and polishing my OE and throwing the repop in the junk pile!

beerestoration2019part2 524.JPG beerestoration2019part2 526.JPG beerestoration2019part2 527.JPG beerestoration2019part2 539.JPG beerestoration2019part2 529.JPG beerestoration2019part2 541.JPG beerestoration2019part2 546.JPG beerestoration2019part2 550.JPG beerestoration2019part2 532.JPG beerestoration2019part2 558.JPG
 
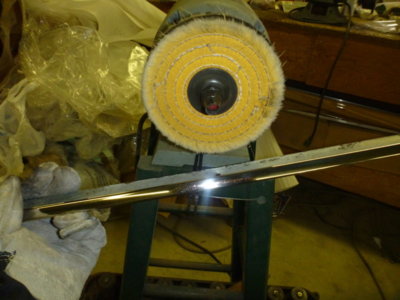
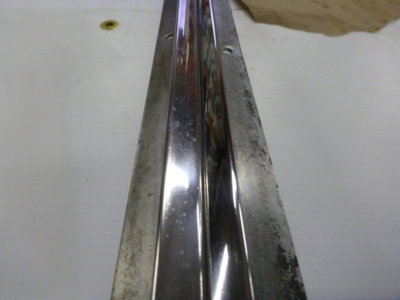
Polishing up the stainless trim strips that hold the top of the door panels.

One done, one to go.

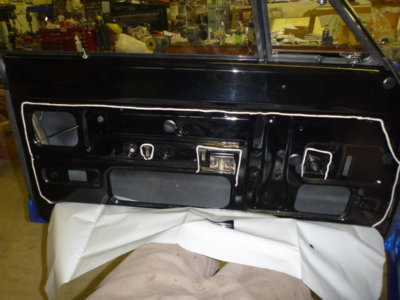
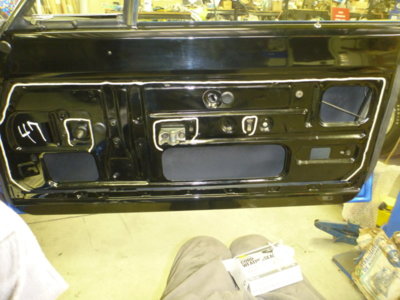
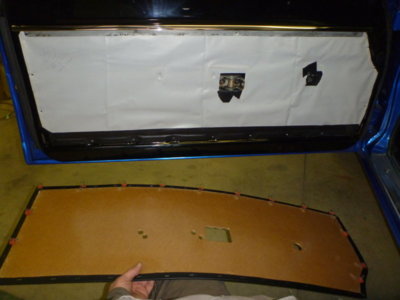
Cord seal on the door and ready to put the plastic vapour barrier in place.

Time to say goodbye to inspector # 47.

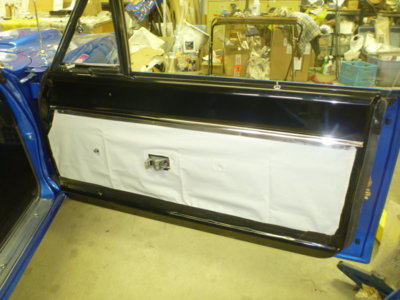
Vapour barrier on the passenger door.

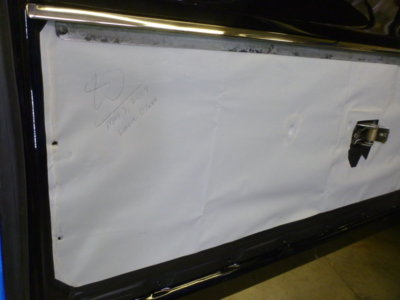
Vapour barrier on the drivers door. I sign inside every aircraft structure that I build, before I close it, so figured I should sign this art as well.

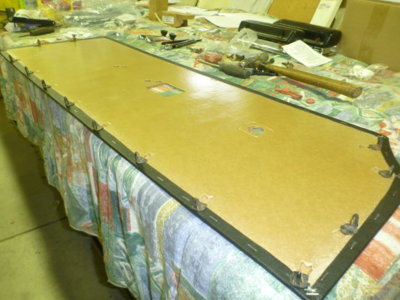
On the drivers door I tried the repop retainers.

After seeing how the drivers door went I used the OE clips on the passenger door panel.

Repop clips hold the panel out too far, so I swapped out this end to clean things up.

Passenger side sitting nice on OE clips.

beerestoration2019part2 562.JPG beerestoration2019part2 565.JPG beerestoration2019part2 570.JPG beerestoration2019part2 573.JPG beerestoration2019part2 576.JPG beerestoration2019part2 579.JPG beerestoration2019part2 582.JPG beerestoration2019part2 586.JPG beerestoration2019part2 587.JPG beerestoration2019part2 590.JPG
 
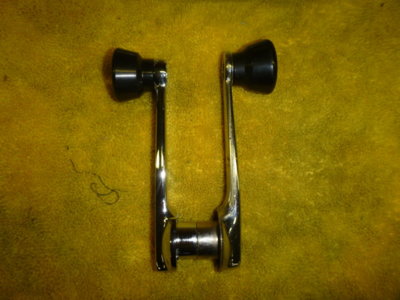
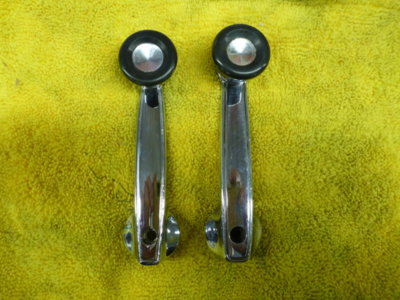
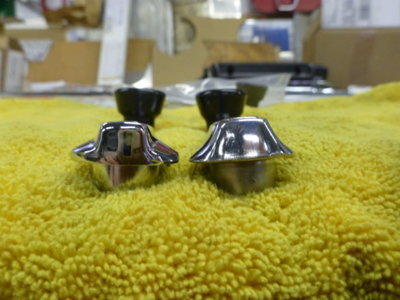
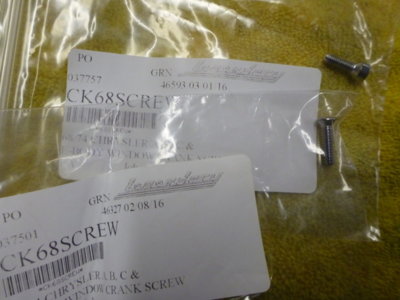
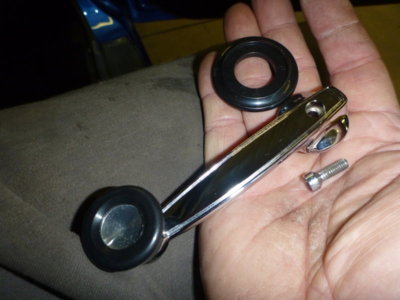
Window crank plastic washer, crank handle, allen head screw.

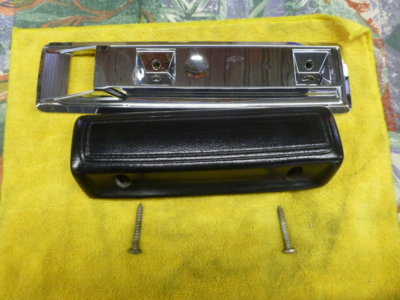
New bezel, cleaned up OE arm rest and the two large phillips screws that hold it all to the door.

Repop door release handles (OE's bottom) and the large phillips head screws that hold them on.

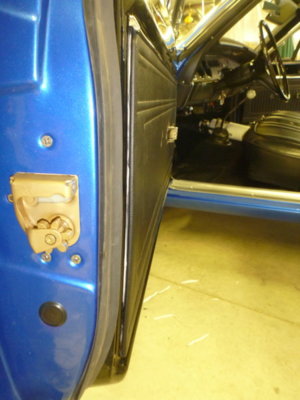
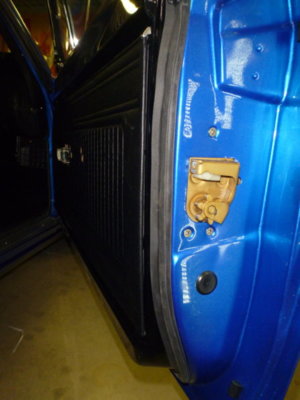
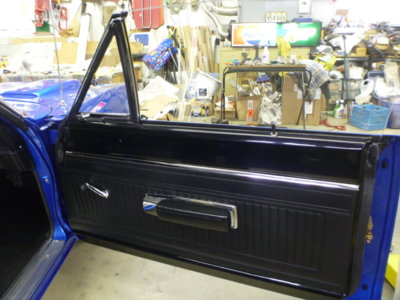
Passenger side door all done.

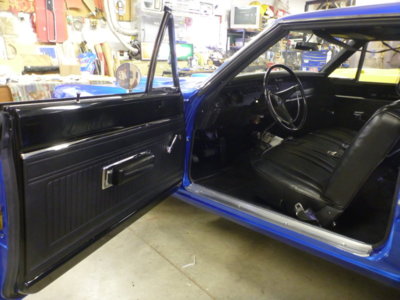
Drivers side all done, concluding the interior installation....other than I'm working with PG Classic to replace my incorrect center seat belt.

Guess it's time to tackle that White stripe!

beerestoration2019part2 591.JPG beerestoration2019part2 593.JPG beerestoration2019part2 594.JPG beerestoration2019part2 598.JPG beerestoration2019part2 601.JPG beerestoration2019part2 613.JPG
 
Looks great!

The problem with repop parts is they don't own the rights to it. So to get around this they make suttle changes just enough that they don't get sued. If they do get the rights to a part they'll make it out of inferior material to save money and then it's junk.

What cord seal did you use? I ended up useing a steady squirt of spray adhesive around the edge. I know it will pull off at a later date if need be but I wanted to use what you used.

Do you have any deadlines for completion? You're getting real close to finishing!
 
Cord seal is what came with David's vapour barrier kit.. claiming to have the string in it "just like OE" but it doesn't! It's the same Gray draft seal caulking roll that you can buy at the hardware store. His roll of Black paper masking tape is the cats *** though.. just like Ma Mopar used in various places.

Completion date.. two years ago March!! :( Gotta get it done in the next couple of weeks and out for an alignment so I can get everything else done around here!
 
Guess it's time to tackle that White stripe!

Well, its about time you start talking about that stripe. Thought maybe you forgot all about it lol. That finishing touch will really stand out nice with your blue paint.
 
Is all the snow melted up there yet Wayne??:lol:
 
NO..

BTW, on the seat adjuster knob Jamie says he's sold hundreds and never had a complaint, so I guess every buyer just knew enough to cut the sprue off and searched for a set screw that would fit the larger hole.
 
Just in time for the summer gas price gouging. Pay up big boy! lol
 
Auto Transport Service
Back
Top