• When you click on links to various merchants on this site and make a purchase, this can result in this site earning a commission. Affiliate programs and affiliations include, but are not limited to, the eBay Partner Network.

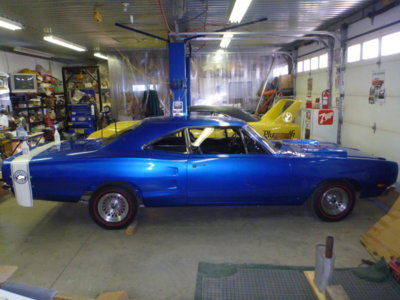
1969 Dodge Super Bee Coupe Restoration

What's in a font anyhow...
Decal on my Superbird (not certain it's OEM, but pre '89)
Firestone Collectibles
Performance Graphics.

Firestone Collectibles
PG
Superbird's

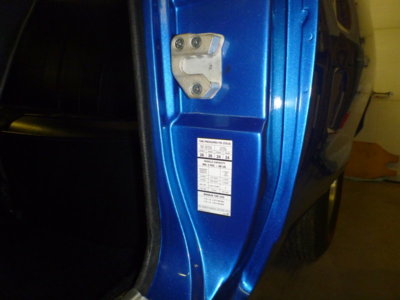
Tire air pressure decal in place.

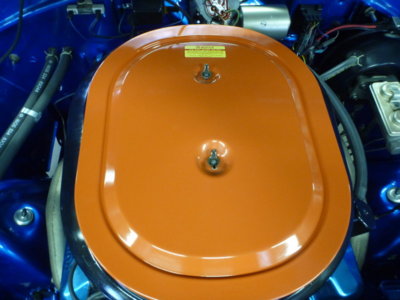
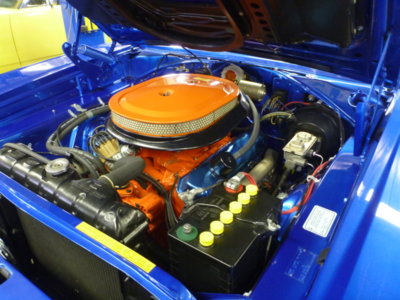
Air cleaner decal in place. Debatable as to correctness as it has .. severe conditions.. on the last line and not just conditions. I've seen evidence that conditions should be correct until late into '70 and the AAR cars introduction.

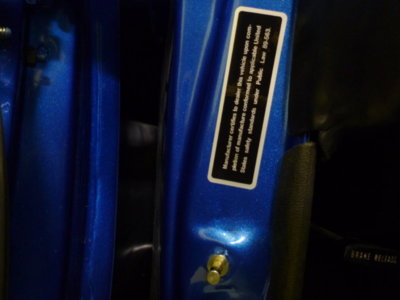
Safety Standard sticker in place on the drivers A pillar.

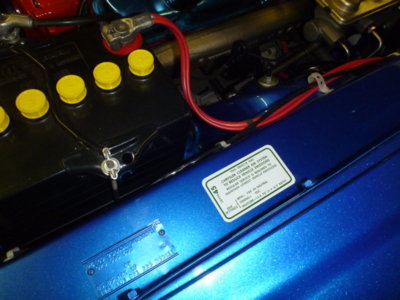
Emissions decal in place.

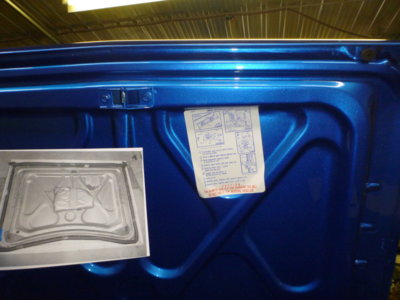
Bumper Jack "how to" decal in place exactly as per OE location.

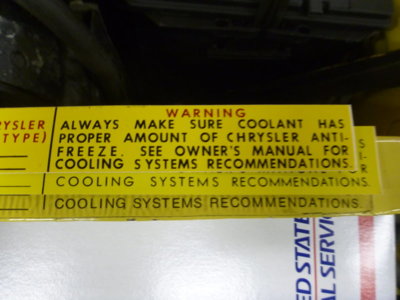
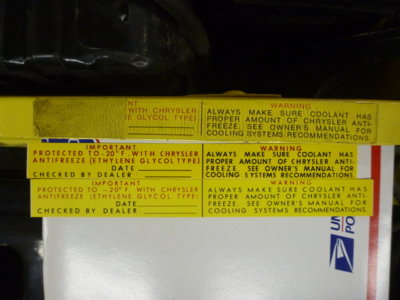
I used the Firestone Collectibles anti-freeze decal as it just looks nicer and I have two.. so I can make both cars exactly the same and claim it's correct!!:D

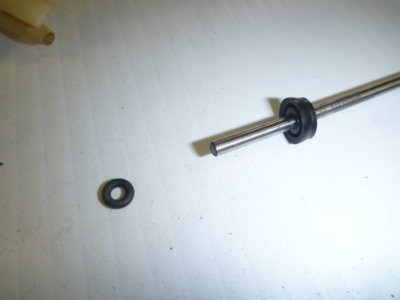
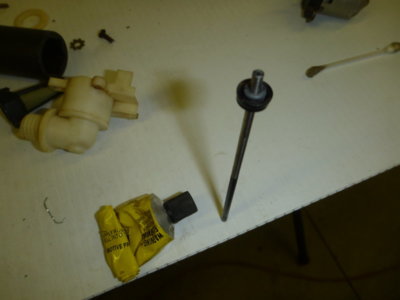
Almost forgot about my leaking windshield washer pump. Can't find a seal the right size, but I had this O ring in my aircraft fuel drain collection.

Attempt at bonding the old seal and the new O ring together. We'll see how that works tomorrow!
beerestoration2019part2 615.JPG beerestoration2019part2 617.JPG beerestoration2019part2 619.JPG beerestoration2019part2 620.JPG beerestoration2019part2 625.JPG beerestoration2019part2 627.JPG beerestoration2019part2 631.JPG beerestoration2019part2 640.JPG beerestoration2019part2 646.JPG beerestoration2019part2 647.JPG
 
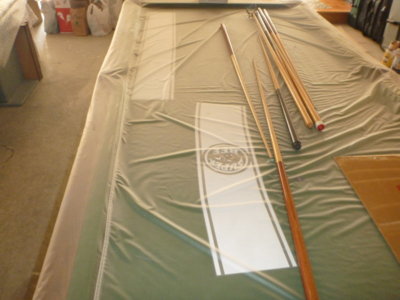
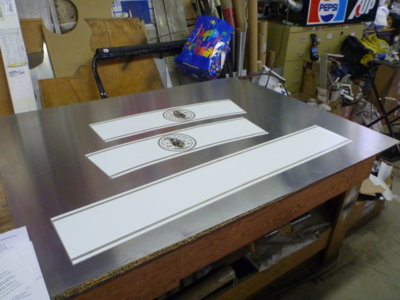
Time to bring my stripe kit out from safe storage.

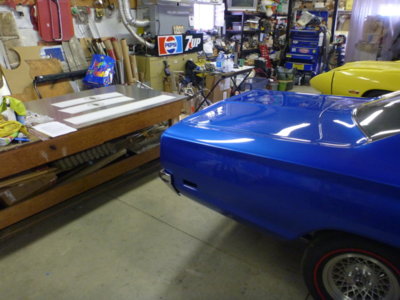
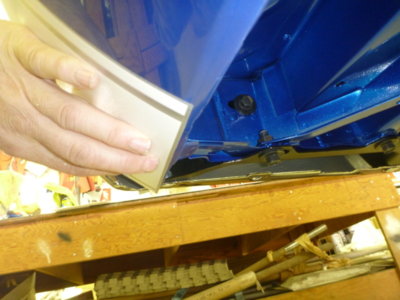
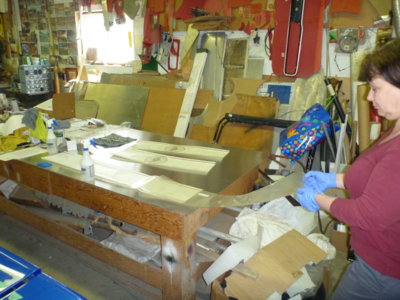
Trying to be absolutely sanitary. Clean sheet of aluminum from my materials stock rack and same grounded with a booster cable so no static is generated cleaning / peeling etc.

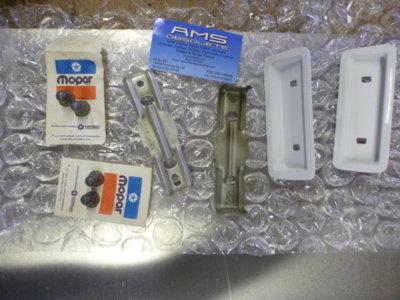
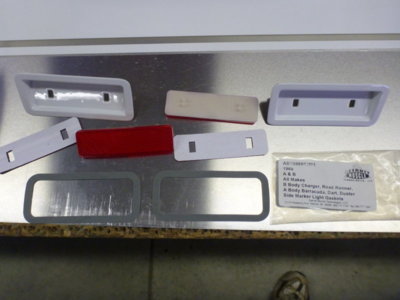
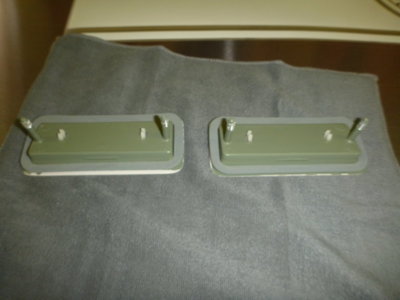
Rear marker bezels, NOS clamp brackets and speed nuts.

Test fitting the reflector bezels to be certain they fit and if any filing is necessary of the opening.

Bezels, repop reflectors, two face tape and bezel gaskets.

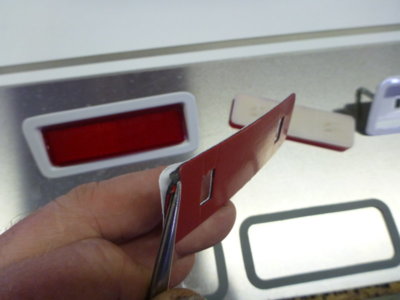
This tape backing is a PITA...

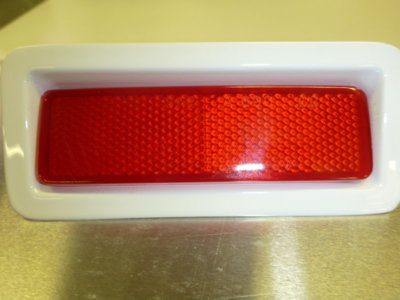
New reflectors taped and snapped in place.

Gaskets in place and ready for install. Precut the new speed nuts onto the posts as well.

Time to spend a good two hours test fitting the stripes for final install. I would have never made it as a line worker...

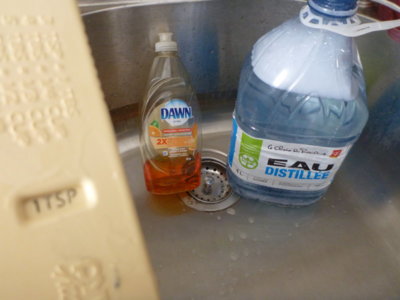
1 Teaspoon of dish soap to a gallon of water. Spec'd mixture for a good decal float out. Also used it to wash any wax off the back of the car.

beerestoration2019part2 661.JPG beerestoration2019part2 665.JPG beerestoration2019part2 671.JPG beerestoration2019part2 697.JPG beerestoration2019part2 698.JPG beerestoration2019part2 699.JPG beerestoration2019part2 701.JPG beerestoration2019part2 704.JPG beerestoration2019part2 672.JPG beerestoration2019part2 693.JPG
 
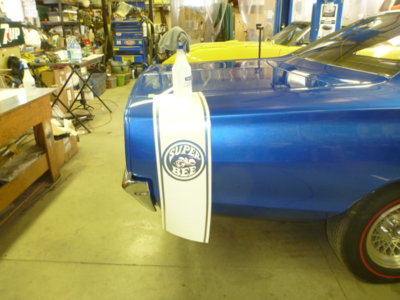
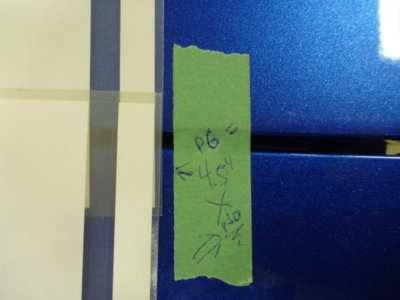
Playing with stripe layout. Performance Graphics states 4.5" from the REAR of the quarter cap when measured along the quarter to trunk joint.

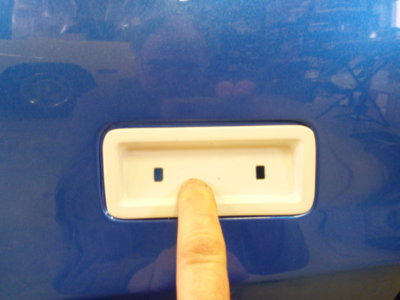
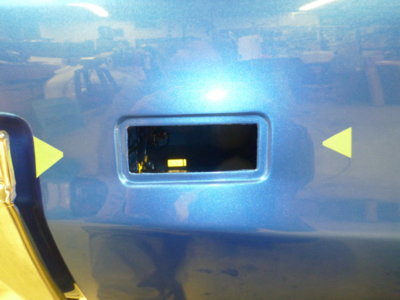
Marking center on the marker hole, with a little "wiggle room" for the stripe width.

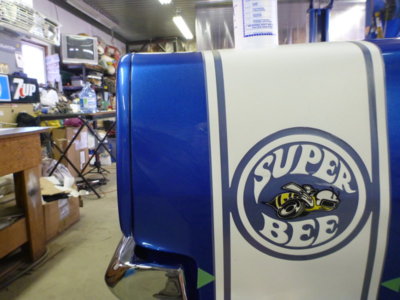
PG sure doesn't waste material... #%(#@%*#. All that is left with the Bee centered on the body line.

At 4.5" , as per spec, I don't like the decals slant to the quarters end and it's of course a compromise top to bottom to have the marker hole centered and still keep the decal on the lower quarter as it wraps around the bottom.

Think I'm finally happy with line up.

PG's 4.5" from REAR of quarter cap is a NO... by this much.

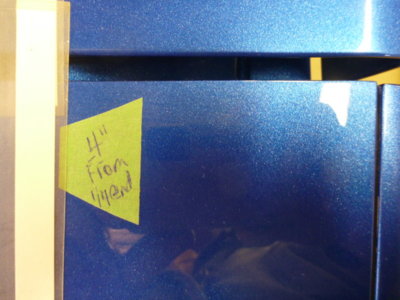
4.0" from the END of the quarter panel, not the cap, seems to give a better flow to the trunk to quarter transition.

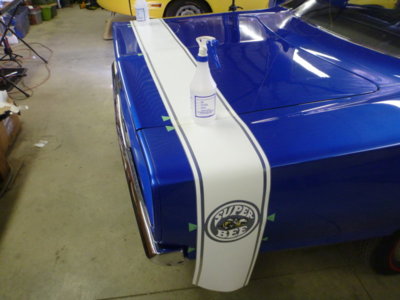
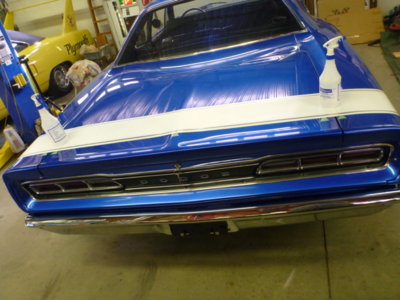
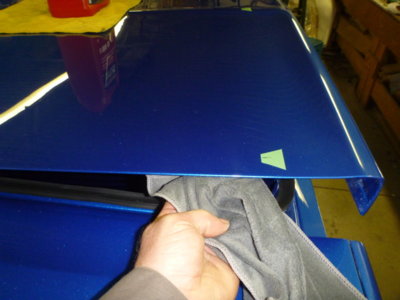
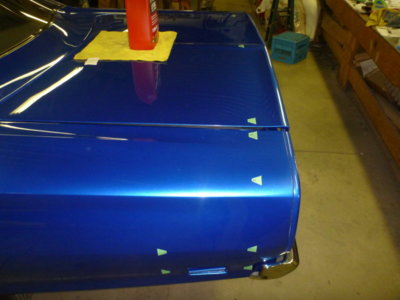
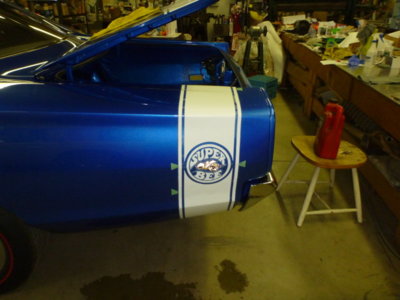
All marked out with tape for final install.

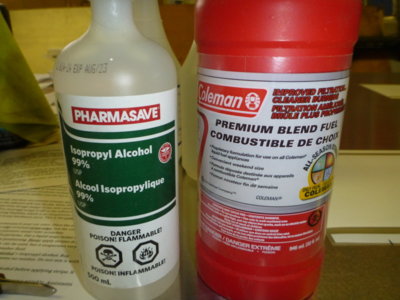
I think I'm ready, need to clean the paint with Naptha and then Rubbing Alcohol ... and see if my assistant is available tomorrow.

What it's hopefully going to look like!
beerestoration2019part2 707.JPG beerestoration2019part2 708.JPG beerestoration2019part2 709.JPG beerestoration2019part2 711.JPG beerestoration2019part2 724.JPG beerestoration2019part2 727.JPG beerestoration2019part2 728.JPG beerestoration2019part2 735.JPG beerestoration2019part2 740.JPG beerestoration2019part2 744.JPG
 
Makes me glad someone else did mine. You have lots of skill and patience.
 
Last edited:
If you had a ‘68, it’s 3/4” forward of marker bezel(think I remember!). Soo much easier, gotta find my old measurements!
 
Centered on the marker for '69.. but you can have that correct and still drastically change the top and bottom locations. Think I did good...
beerestoration2019part2 832.JPG
 
I've got the furnace cranked in the shop to 85F and the dehumidifier running, praying that a fair number of small bubbles disappear on the deck stripe. PG's directions are water and air bubbles disappear in a few hours or days, but if you have lack of adhesion bubbles to remove the stripe immediately. Like HTF do you tell the difference!

Here's a video of the wife and I "Layin' stripes, all day long. Layin' stripes, we're workin so hard. Layin stripes... with one fine women"! Looking at this now I suspect I was a little fast on squeegy.... slow it down and you'll get better results like I did with the quarter decals.

 
Yep.. I would have killed myself if the stripe tore at this stage.. LOL

Memory card filled on me, so didn't get the entire install unfortunately.

 
Centered on the marker for '69.. but you can have that correct and still drastically change the top and bottom locations. Think I did good...
View attachment 763112
Viewing it straight on doesn't do you justice. Take a photo from an angle to show all the body lines and curves you had to factor in and it looks a lot more impressive.

Nice job.
 
And the decal manufactures nice +/- 1/16" in decal width wasn't fun to find either. Center section of quarter stripe is 1/16" wider than the deck lids and it made it look way off. Had to tweak my trunk lid forward a 1/32" on both sides to make me happy!
 
Great job, I can only imagine what your blood pressure would have come up as when you were laying the stripes.
 
You asked earlier on time. About 2 hours the day before laying it out and tape marking. Another approximately 6 hours cleaning with soapy water, naptha and then rubbing alcohol and the stripe install. Wife was in for 1 hour 15 minutes. Some of the time is just "watching paint dry" while you wait to pull the carrier sheet, but I used said time to get the marker bezels ready for install, installed the trunk mat and spare tire/jack/etc and to bring the wife beer while she was doing yard work!
 
Last edited:
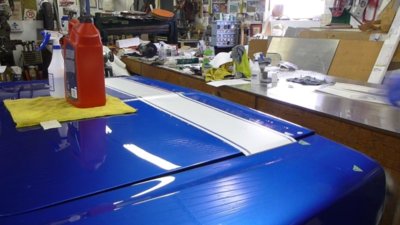
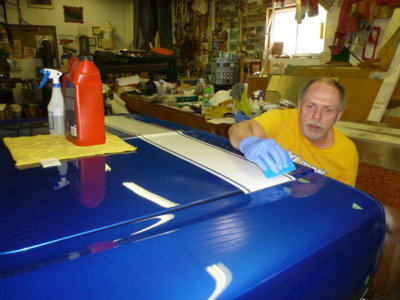
Rear of car was first washed with dish soap and water, then wiped down with Naptha (Coleman stove fuel) and then 99% Rubbing Alcohol.

Don't forget the underside where the stripe wraps around and the quarter to trunk gutters.

As clean as she's gonna get.

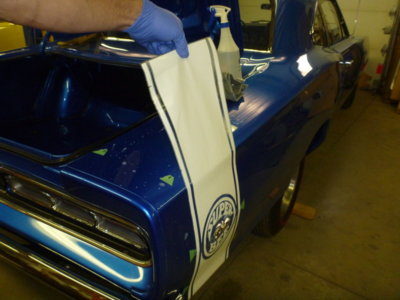
Peeling the adhesive side protective cover while spraying with the soapy water mix. The aluminum sheet I have grounded worked perfect, no static and bonus was once wet you could peel the cover without holding the decal!

Decal in place on soapy water and sitting on it's marks.

Working out the bubbles and water. You can see the look of terror in my eyes...

One quarter decal on, almost wrecked it as I had air trapped on the upper body line and head to peel it. Was stuck pretty good, but lots of soapy water and careful lifting to remove and put back down.

Passenger side, wish I hadn't sent my assistance off to do yard work. Trick is to get the side fairly well stuck in place and then put the top section down.

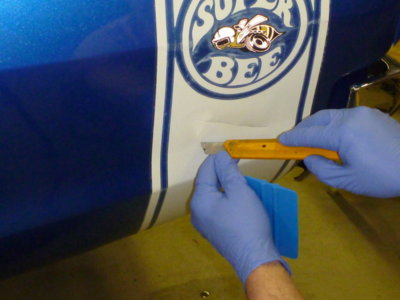
Crude X cut just like the factory.

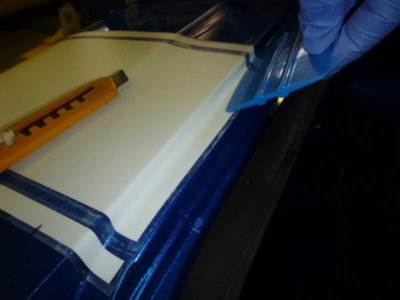
Almost an hour later and you can finally put the gutter section down into place and get it to stick. You need to cut the covering material between the center stripe and the rear stripe so it will go around the curve of the gutter.


beerestoration2019part2 748.JPG beerestoration2019part2 749.JPG beerestoration2019part2 754.JPG beerestoration2019part2 756.JPG beerestoration2019part2 758.JPG beerestoration2019part2 762.JPG beerestoration2019part2 769.JPG beerestoration2019part2 771.JPG beerestoration2019part2 772.JPG beerestoration2019part2 775.JPG
 
Last edited:
Auto Transport Service
Back
Top