• When you click on links to various merchants on this site and make a purchase, this can result in this site earning a commission. Affiliate programs and affiliations include, but are not limited to, the eBay Partner Network.

1969 Dodge Super Bee Coupe Restoration

Stood out like a sore thumb looking at it from the passenger door. Top bent in at a 20* angle and no where close to the profile of the quarter panel, unlike the driver side that was perfectly parallel. Pretty sure that's where it was cracked and instead of filing it they pushed it together and welded it up. Just letting it slide for now.. until I get my roof rails seam sealed, painted and the car cut and polished, then I'll stir the pot!
Ahh now that makes sense....An after wedding dispute then.....
 
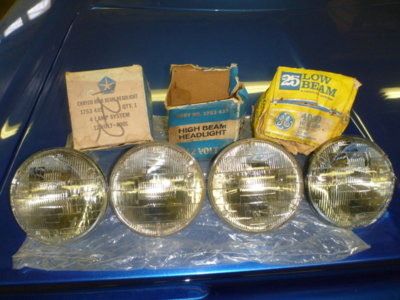
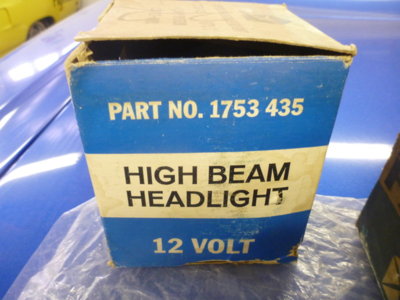
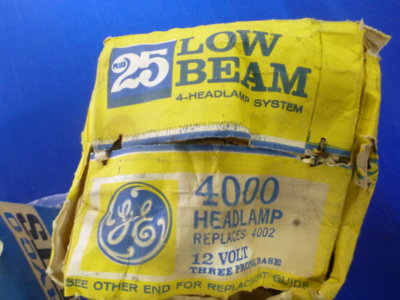
You certainly can't walk into a service station and buy a new bulb these days. Not nearly as easy as you'd think to source a set of matching GE hi and low beams.

Chrysler OEM 4001 Hi beam bulbs.

And some old stock GE 4000 Low beam bulbs. Not totally correct, as OE in '69 was the 4002. These cost me enough thanks...

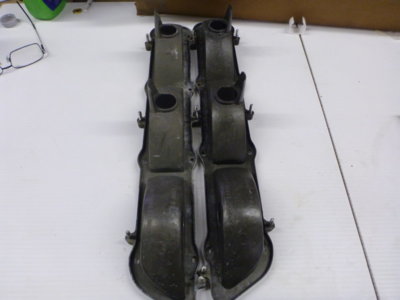
Wiped the housings down with Krown Rust prevention. It cleaned up the white corrosion spots fairly well and gave the housing a nice look. Left side as washed, right side coated.

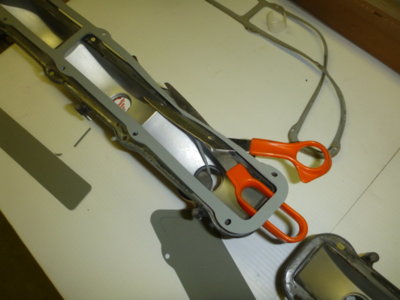
Reproduction stuff really pisses me off, can't even get gaskets correct. Old sitting on top of the new, which is too wide and it makes the gasket hang over the edge into the reflector housing.

Gasket trim with sissors. What really ticks me off is when I bought the NOS lenses they came with NOS gaskets and Customs lost the gaskets somewhere when they opened and resealed the packages both in Venezuela and the USA (looking for dope I presume).

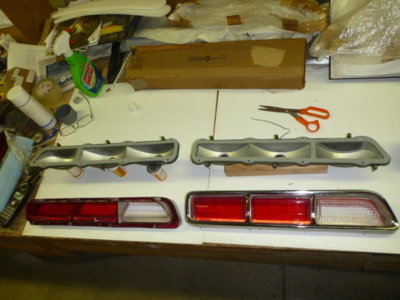
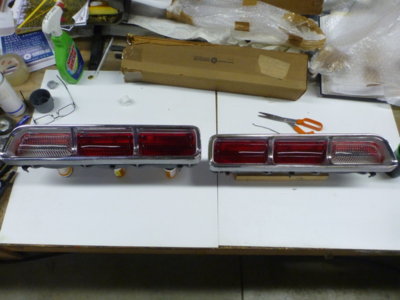
Ready to put the new NOS lenses on my OE housings.

Set into place.

beerestorationfall2018 1046.JPG beerestorationfall2018 1049.JPG beerestorationfall2018 1050.JPG beerestorationfall2018 1059.JPG beerestorationfall2018 1066.JPG beerestorationfall2018 1069.JPG beerestorationfall2018 1070.JPG beerestorationfall2018 1074.JPG
 
Last edited:
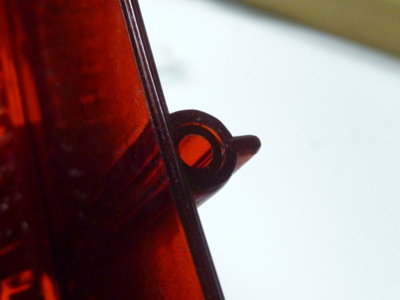
Had to grab a shot to show they are NOS virgins...never screwed!

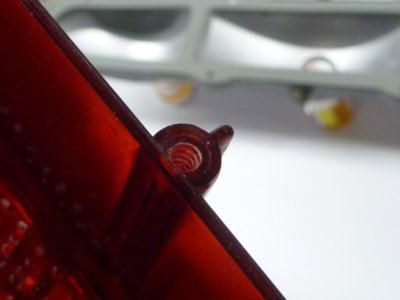
The OE's showing the screw threads.

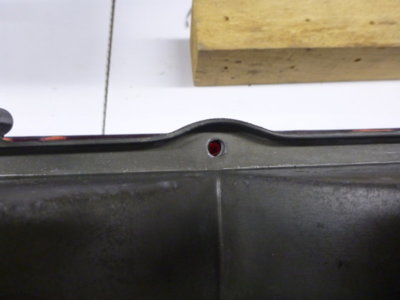
When they go together with 8 screws, be sure to put in the two that are the locators first.

The other 6 holes are slots to cover manufacturing tolerances.

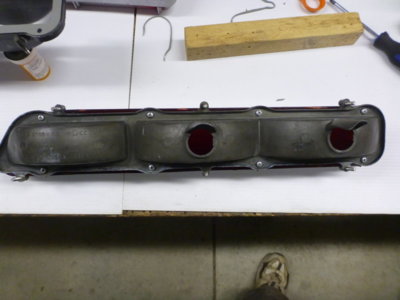
One assembly all together and the other will have to wait until the screws come out of the evaporust bucket.

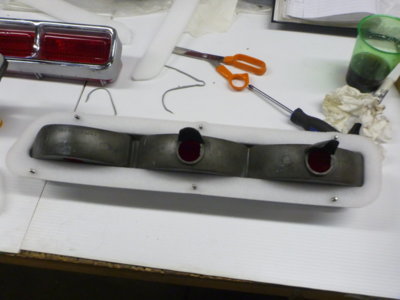
New foam gasket.

Slipped into place.

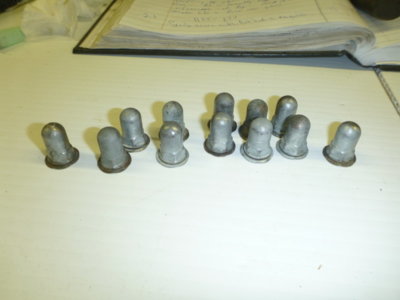
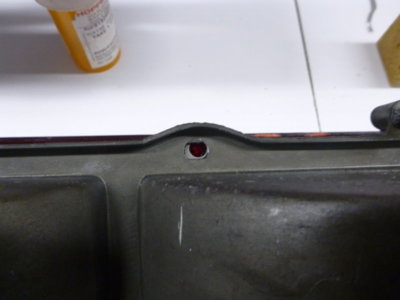
Looks pretty good. Waiting for the acorn nuts in the evaporust bucket as well. Everyone sells "tail light nut kits" that are not correct and are washer head nuts. Not acorns.

beerestorationfall2018 1085.JPG beerestorationfall2018 1086.JPG beerestorationfall2018 1087.JPG beerestorationfall2018 1088.JPG beerestorationfall2018 1089.JPG beerestorationfall2018 1094.JPG beerestorationfall2018 1098.JPG beerestorationfall2018 1100.JPG
 
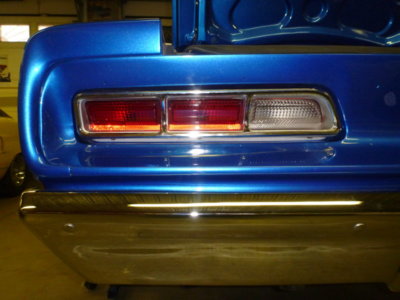
Nothing adds to an excellent paint job like adorning with new lights and lenses.

At least you can still buy the bulbs at local parts stores in case you need one on a trip. It won't be original but it'll get you home.
 
HA... I'm having a hard enough time finding 6 x 1157 clear bulbs in this one horse town to do the signal/park lights!
 
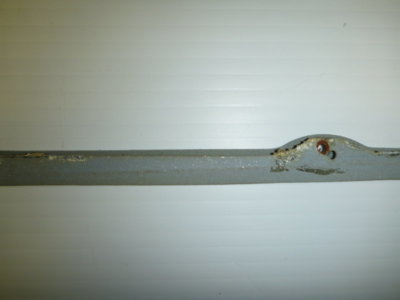
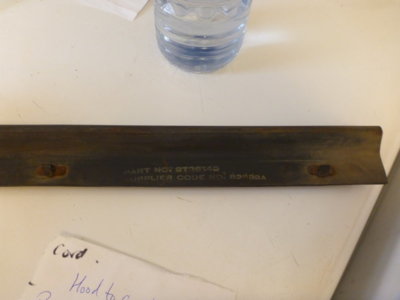
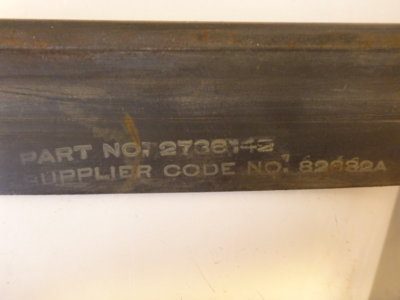
For the crowd that likes to stamp things. OE hood to cowl seal. Washed off some dirt and this appeared on the drivers side end on the side that attaches to the hood.

PART NO: 2736142
SUPPLIER CODE NO: 82682A

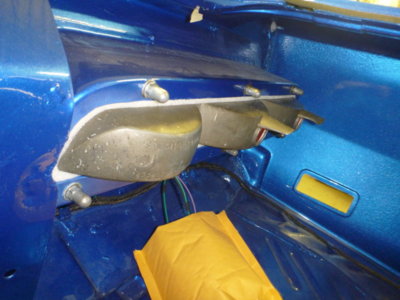
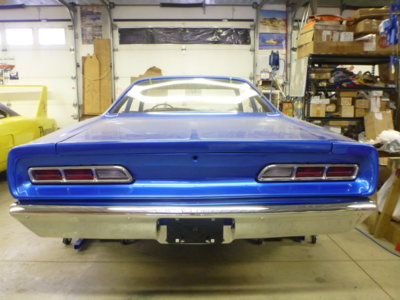
Passenger side tail light assembly together and set in place.

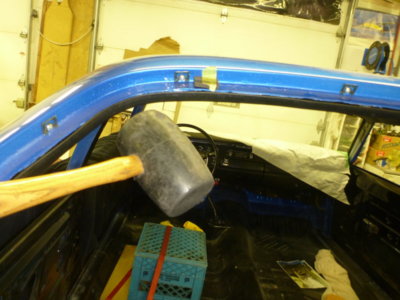
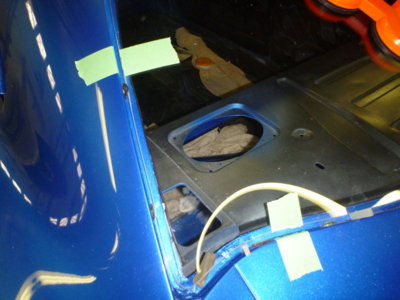
Pulled my OE rear glass out, that was just sitting on dust patrol, and gave the rubber headliner trim one last chance to sit in place.

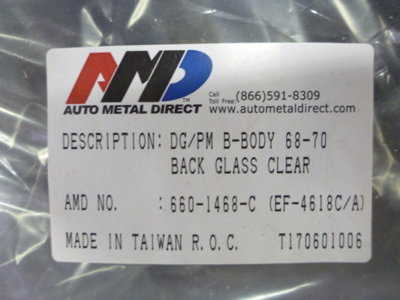
Even after all the hours I spent polishing a spare back glass I was never satisfied with it's clarity, and in May bought a new AMD repro back glass through National Moparts. $541Cdn + tax and a 2.5 hour trip to pick up!

I specifically asked Scott and Nigel if AMD had corrected the curves of the backglass, as I had been told they were wrong. They assured me all was good so I ordered one and heck the bottom edge fits the contour better than the OE !

I spent 1/2 an hour spacing the glass out nicely with rubber spacers to get even overlap onto the metal edges.

Put some "alignment" tape in place to be sure I hit the spot when dropping it in onto fresh butyl.

beerestorationfall2018 1103.JPG beerestorationfall2018 1101.JPG beerestorationfall2018 1104.JPG beerestorationfall2018 1107.JPG beerestorationfall2018 1112.JPG beerestorationfall2018 1128.JPG beerestorationfall2018 1140.JPG beerestorationfall2018 1142.JPG
 
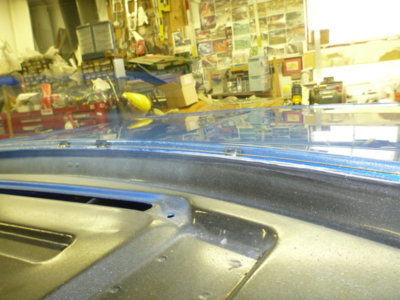
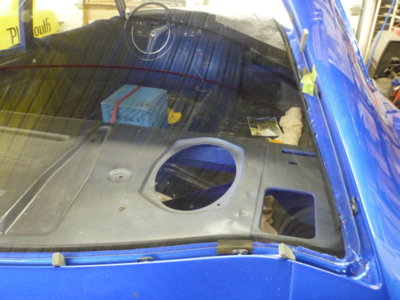
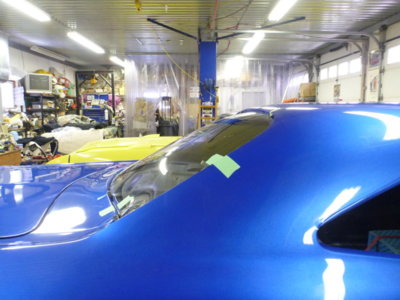
Stood back and thought, why the F does this look like a windshield? It humps out like one, or similar to the Superbirds back glass.

The OE glass sits cleanly down in.

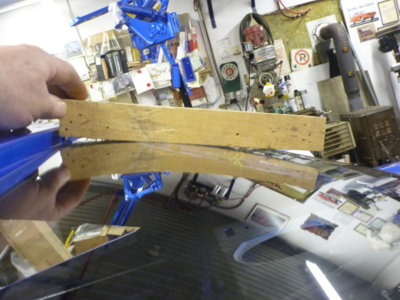
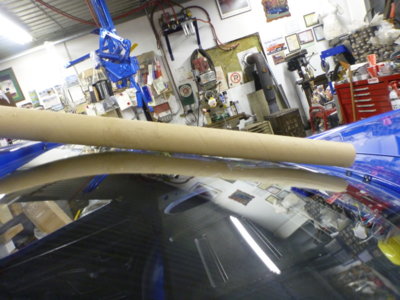
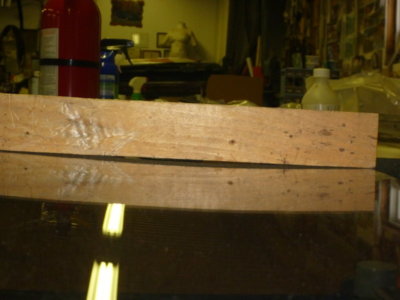
The AMD repro is convex at the top and I have been lied to !

OE is concave at the top and around both sides.

AMD repro is convex all the way around.

OE glass is almost flat from top to bottom in the middle, with a concave area at the top and around to both sides. This **** could drive a guy to drink! Not sure how to proceed now... anyone close have a good scratch free OEM back glass??

beerestorationfall2018 1148.JPG beerestoration2018 2190.JPG beerestorationfall2018 1146.JPG beerestorationfall2018 1144.JPG beerestorationfall2018 1157.JPG beerestorationfall2018 1155.JPG
 
That thing is beautiful , I feel your pain on the glass . Tell you what I'll come pickup the car and get that nasty round glass away from you , only doing that because your a fellow Canadian .

Car is beautiful .
 
Wish I could help , odd the way the repo glass is made must be easier to produce ?
Your doing a great job and love watching your build . I learn so much from some of you on this site .
 
I was assured that AMD had corrected this before I ordered, or I wouldn't have, only to get more repop crap. Last thing I needed when I'm on the "home stretch". I don't want the back glass AWOL when I go back to the paint shop in early January. I want it installed so I'm not worrying about installation scratches after the fact! Plan was to have my wife help me place it tonight when she'd got back from shopping and then get onto fender and nose installation tomorrow. %(*@$(%)
 
No kidding , last minute details I wish suppliers were more forthcoming on repop product .
Finding a glass might be a chore but I'm sure you will .
 
This is my first time seeing this thread, I have to get out more !! Nice build going on here !! , Back in the day they called these "3 Curve Glass" , (pretty sure it`s in on the top, out in the middle & in again on the bottom) never had much faith in aftermarket unless you have absolutely NO other choice, I may be able to Help.
 
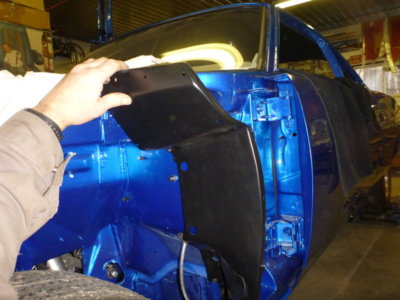
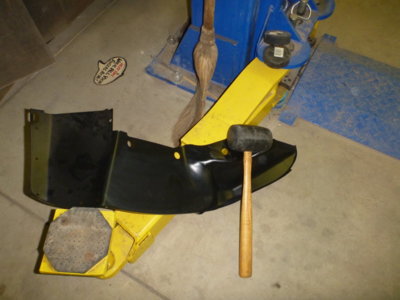
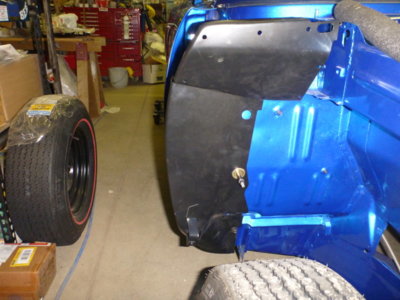
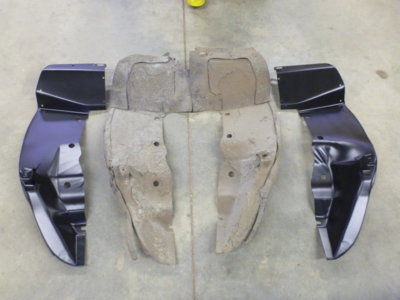
Back glass install on hold, so carry on! Making sure my AMD front fender splash shields are correct, compared to the OE's. I don't need anymore surprises...

Checking fit, drivers side needs a little "adjustment".

Adjustment performed.

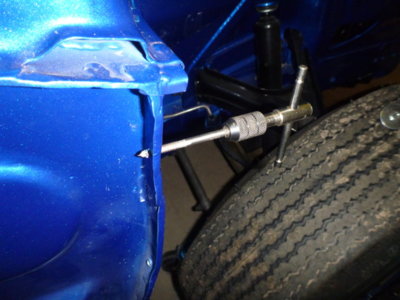
Passenger side fits perfect, but my upper mounting hole on the body is AWOL.

A couple of holes got welded up and / or covered during repairs and body work. Making sure all the holes are ready to go so not fighting when the fenders are in the way. Tap is 10-24 BTW.

Acorn nuts out of Evaporust for tail lights. Most cleaned up pretty good. Will keep an eye out for some more clean ones to swap out a few at a later date.

Tail lights lightly tightened in place to start squashing foam and will wait for final tightening and alignment once I have the rear trim panel restored and in place.

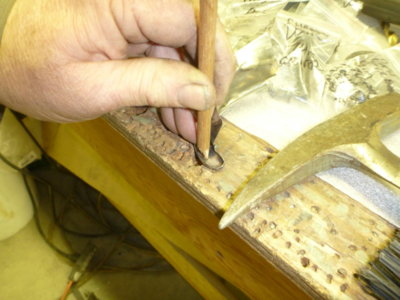
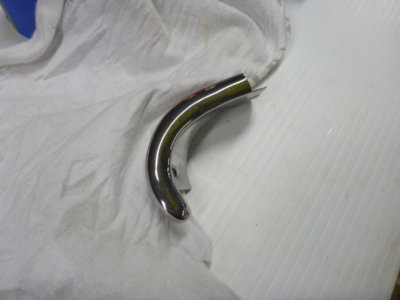
You can teach an old dog new tricks. Cut a dull point onto a piece of maple dowel rod and hammered out a dent in the drip rail trim.

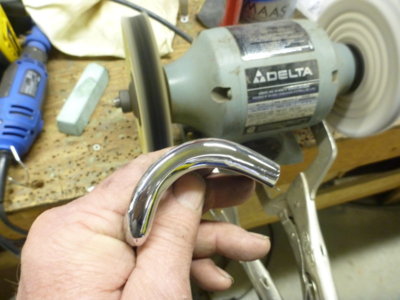
I had already started on this piece previously. but couldn't get one spot to clean up due to the dent. Dent taken out and part way through the "cut and buff" process with green compound.

About 45 minutes of work on that little piece. Have both sides done now.
beerestorationfall2018 1163.JPG beerestorationfall2018 1164.JPG beerestorationfall2018 1171.JPG beerestorationfall2018 1172.JPG beerestorationfall2018 1175.JPG beerestorationfall2018 1179.JPG beerestorationfall2018 1182.JPG beerestorationfall2018 1197.JPG beerestorationfall2018 1186.JPG beerestorationfall2018 1187.JPG
 
Fixing those chrome pieces take a lot of time. Looks great!
I don't understand why they would bubble after market glass different than original.
 
Fixing those chrome pieces take a lot of time. Looks great!
I don't understand why they would bubble after market glass different than original.
Stainless. At least with it you can sand away until flat and then polish. Chrome only gives you a thin layer to play with.

The glass, I had been warned before it was wrong and then was lied to when I ordered it only because I was told it "has been corrected". Waiting to see if they come good for my $610. Will of course mean another 3 hour drive to return it! I'm off on a 7 hour drive tomorrow to look at another OE back glass that I pray is scratch free.
I agree, I said chrome without thinking. I spent many many hours removing dents out of my stainless trim, filing, sanding, sanding, and buffing. Your doing a lot of work and it is looking great.
I hope that you can get the correct back glass replacement.
 
So is anyone making the correct glass for the rear window.
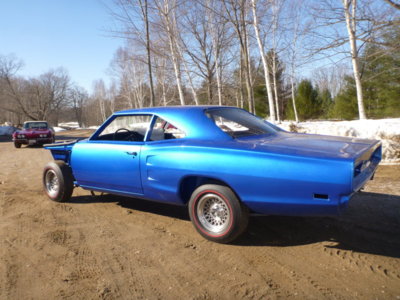
The original glass on my '68 GTX is scratched very badly and I don't see being able to polish it out.
 
Auto Transport Service
Back
Top