• When you click on links to various merchants on this site and make a purchase, this can result in this site earning a commission. Affiliate programs and affiliations include, but are not limited to, the eBay Partner Network.

1974 charger se

charger360

Well-Known Member
Local time
2:37 AM
Joined
Jan 7, 2012
Messages
556
Reaction score
104
Location
kingston
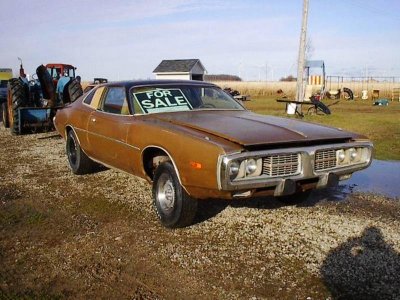
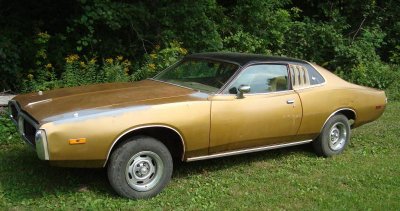
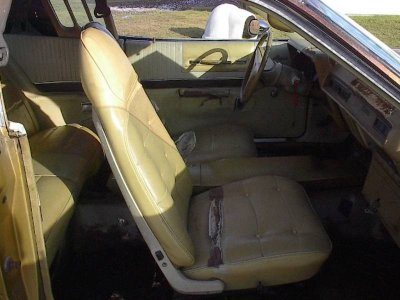
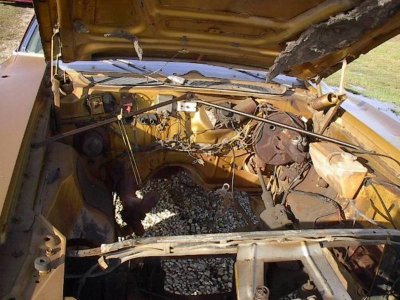
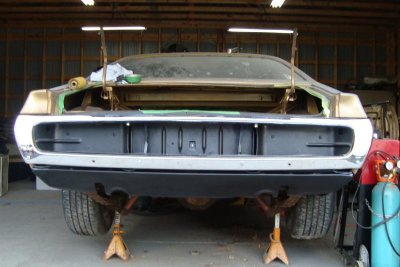
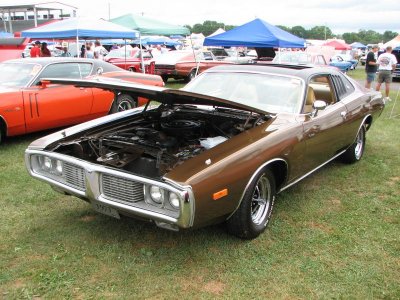
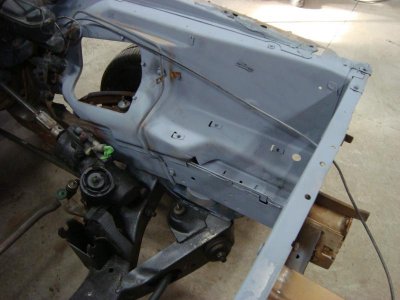
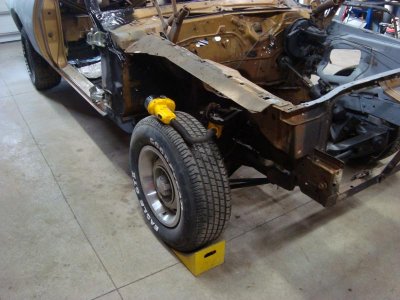
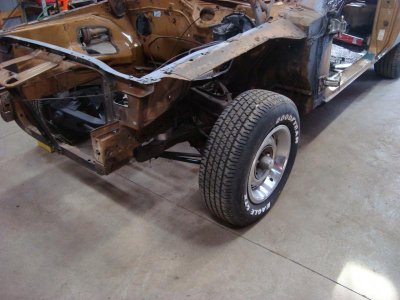
so since i have been on the site most of my info has been in the welcome section so i thought it was time to go to the resto part!. so here is where we are at as yoy may have seen in the pics in the welcome area member ''waygun'' has been helping out with the dash resto and some of the other bit's as well when i need another body around and some motivation as well. thanks Leaburn!:headbang: the car is coming along very nicely the front end is mostly done most of the small patches are done not much to do in that department! gotta love a southern car! this week i finished of the recovering of the seats and Leaburn gave me a hand to lower out the 8.25 diff. the 8.75 is going to get a nice cleanup and a coat of paint before it goes in. removed the iso clamp setup at the same time. also put in aluminum front subframe conecters and rebuilt the front brakes, rotors calipers pads had to change the front spidles as well as someone must have attacked the old ones with an axe or somthing! this weekend i am painting the top with por 15 before the vinyl top goes on so i can install the dash and new windshield. then we have some more body work to do then i will jam it and do under the hood then pop in the engine and transmission. so as you can see not much going on really! cheers
 
here is an early one
 

Attachments

  • 35392l0_20.jpg
    35392l0_20.jpg
    89.9 KB · Views: 1,612
that is how i found it although it was covered in ice
 
once i got it home and cleaned it up a bit
 

Attachments

  • 74 se.jpg
    74 se.jpg
    69.7 KB · Views: 2,190
well looks like no more pics tonight! i will try again tommorow. cheers
 
150 speedo and tach are on the cluster.
All painted up,cleaned and detailed,waiting for installation.
SNAP!!
jameschargerproject008-1.jpg

jameschargerproject007-1.jpg

jameschargerproject004-1.jpg
 
nice work leaburn. thanks! it is going tolook great in the car. the repro tach was not cheap but so worth it.
 
this was the lovely interior. now almost totally redone in black
 

Attachments

  • 8901ni1_20.jpg
    8901ni1_20.jpg
    55.4 KB · Views: 1,526
she had no motor or tranny when i got her but i have a good 360 that i built for my aspen rt that is going in built it up with a 74 block and sme rebuilt magnum heads works really well also have a built 727 with a 2500 stall converter going in as well no more than 500 miles on the motor or the trans! i have a bunch of cars to try as well will probably go with an edelbrock to start with i think i will sell some of my holley's and just keep one or two. i may pop on my 73 340 at themoquad for kicks.
 

Attachments

  • 4917c70_20.jpg
    4917c70_20.jpg
    89.1 KB · Views: 1,529
when the guy stripped the car he unpluged everything which was nice most hacks cut it all!
 
this is the rear end after some work with the new amd dual cutout valence panel test fitted. the recromed rear bumper was mocked up as well
 

Attachments

  • DSC03863.jpg
    DSC03863.jpg
    52.5 KB · Views: 1,547
i used 71-72 rear bumper mounts in the rear and i slotted the fronts to remove the filler strips. i never did like those rubber strips
 
this is the basic colour i am thinking of with rallye wheels instead of magnums but the wheel choice may change
 

Attachments

  • IMG_8422.jpg
    IMG_8422.jpg
    108.9 KB · Views: 1,529
The darker brown looks awesome with the black top.
The Magnum 500 wheels look better with that color combo.
I think 16 or 17 inch Magnums would look very cool and still be porportioned to the car's flanks with the right size tire--but that's just me talkin' Heh heh.

The wheels are a much easier thing to change compared to the body color,LOL!!
I found a pic of Peter's SE 400 4bbl 4 speed car....
It may have white top and guts,but you get the idea.
IMG_1892.jpg

IMG_1891.jpg
 
here are some more photos. blasted and painted my new ex manifolds
 

Attachments

  • 106.jpg
    106.jpg
    71.2 KB · Views: 1,424
  • 107.jpg
    107.jpg
    78.6 KB · Views: 1,442
  • 108.jpg
    108.jpg
    82.4 KB · Views: 1,449
here you can see the front end off and some of the new bits like the solid sub frame mounts. still lots of cleaning up to do
 

Attachments

  • 098.jpg
    098.jpg
    52.1 KB · Views: 1,429
  • 103.jpg
    103.jpg
    68.7 KB · Views: 1,453
  • 102.jpg
    102.jpg
    65.3 KB · Views: 1,408
blasted and painted the seat mounts as well
 

Attachments

  • 109.jpg
    109.jpg
    83.1 KB · Views: 1,409
here is a shot of some of the stuff going on in the interior still a way to go there!

105.jpg
 
Auto Transport Service
Back
Top