• When you click on links to various merchants on this site and make a purchase, this can result in this site earning a commission. Affiliate programs and affiliations include, but are not limited to, the eBay Partner Network.

1974 charger se

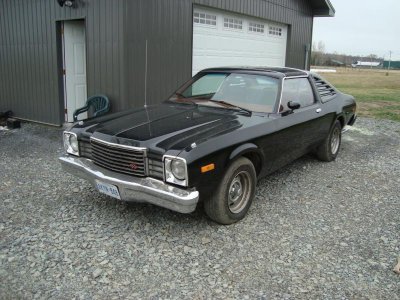
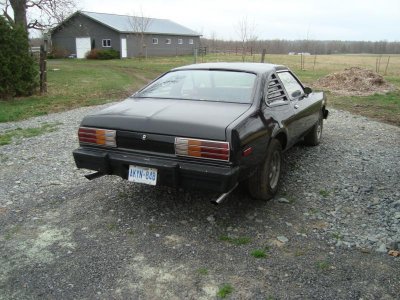
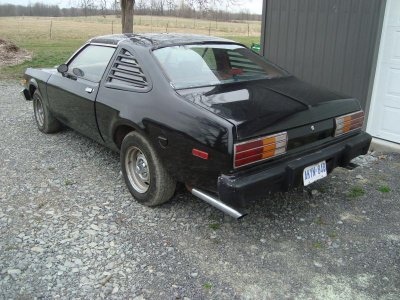
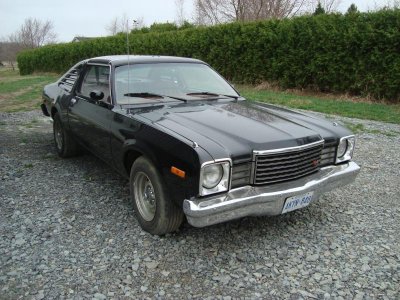
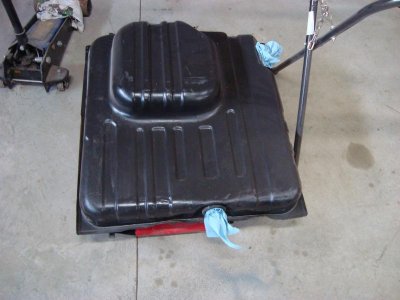
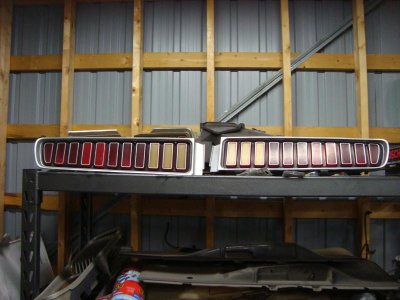
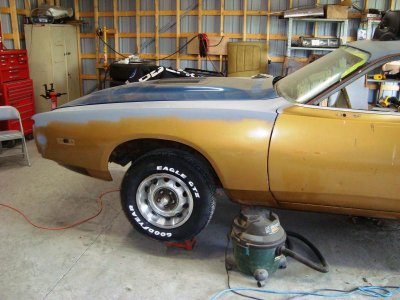
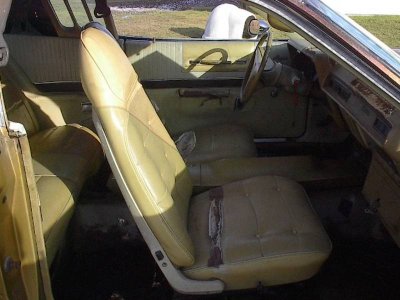
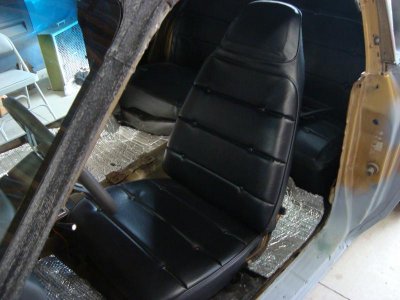
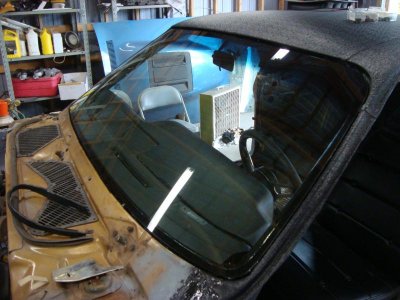
Here is my trusty old 78 Aspen RT it is a real e58 car that i have had for a long time about 15 years or so. it has had more engines and tranny's in it than i can count! a few diff's as well. i used it as a test bed for everything motors carb's tranny's different gears and combo's but i have become bored with it so it is giving up it's life for my charger. the engine trans and diff center section that are in it are less than 250 miles old so they are going into the charger and i may sell the car as a roller or pop a 318 904 combo into it to sell it. kind of sad to see it go but i don't want to be one oft those guy's that hangs on too long and let's it rust into the ground!
 

Attachments

  • 6w46.jpg
    6w46.jpg
    94.7 KB · Views: 692
  • asxcv.jpg
    asxcv.jpg
    96.2 KB · Views: 698
  • i,ym.jpg
    i,ym.jpg
    101.3 KB · Views: 715
  • tdsx.jpg
    tdsx.jpg
    106.1 KB · Views: 702
So here is an odd one for you all, this is the gas tank from my car i had it flushed out because it was solid and fairly clean. i went to mock up my dual exhaust for a test fit with my new dual cutout valence and all the stock style hangers i got fromm accurate and i noticed the factory undercoating was offset to the left. so i popped the gas tank on and there was no room between the drivers side frame rail and the tank! no way to put duals on at all. (the carwas a single before) i thought that the tanks were all the same? there is no way to offset the tank with the central filler neck. so i ordered a new tank to solve the problem. just wondering if anyone else has run into this?
 

Attachments

  • DSC03907.jpg
    DSC03907.jpg
    50.4 KB · Views: 686
these are my refurbished tailights, i did the lenses with a silver sharpie that was left over from wayguns dash work. the sockets were cleaned up using a dreml and a soft wire brush they look like new inside then coated with dielectric grease or whatever it is called.
 

Attachments

  • tail.jpg
    tail.jpg
    60.7 KB · Views: 690
i forgot to post a pic of the super bee hood i am putting on the car so here it is a bit earlier in the process
 

Attachments

  • DSC03866.jpg
    DSC03866.jpg
    73.7 KB · Views: 685
ok just about finished off the front seats. really happy with the legendary seat covers really nice fit and good quality. and they are not made in china!
 

Attachments

  • DSC03925.jpg
    DSC03925.jpg
    61.2 KB · Views: 664
Wow, this build is coming along nicely.

I envy the bottoms of your fenders and your floor (I have a dirt floor).

I get to do about 3/4 of what you're doing, plus hang quarters and fix a roof.

Too bad you're so far away, as I'm half interested in a T top F body.

What is that factory color? I like it.
 
thanks. i have done the heavy rust repair thing before but for this one i went with a southern car the charger is y6 poly gold and the aspen is tx9 formal black
 
Seats look great,James.
The new foams make a difference.
 
yep they do look good they feel great when you sit in them as well! to think this is what i started with!
 

Attachments

  • 8901ni1_20.jpg
    8901ni1_20.jpg
    55.4 KB · Views: 640
Last edited:
Very nice seats! Your doing a great job on this build..
 
Crappy weekend so far wet and rainny cold and damp! not good for the lower back i hate wasted time like this when i could be getting more done. oh well i will try to get some indoor stuff done.
 
Headlight upgrade harness is in..
Plug N Play and take a load off the headlight switch.
But will have to wait until the engine bay is painted.
jameschargerproject002-1.jpg
 
That looks like a great idea, I cant seem to find the exact thing you have there, Do you have a link, maybe some more information to them and how it works? Plug-n-play and takes a load off and brighter, that is new to me anyway and sounds like a heck of a benefit for these old cars.. Charger, it wont make you feel any better but we had the same weather.. miserable and cold to boot, should be getting better soon! I hope! If you have not heard of this stuff, it works, ive found nothing better for bad backs.. Hard to find in stores... Its called Sloan s liniment..

http://www.google.com/products/catalog?q=sloans+liniment&hl=en&prmd=imvns&biw=1016&bih=682&um=1&ie=UTF-8&tbm=shop&cid=18063101708031473046&sa=X&ei=53F6T_fuO-WviQLlw6ha&ved=0CG0Q8wIwAQ
 
the head light harness is somthing Waygun has on his satty wagon it seems to work good and as this is a driver i am building i will be out at night once in a while so i want to pop some good lamps in at some point and it is good insurance for the system as well. i am sure Waygun will tell you all about the system next time he comes on. my back feels better so back to the car tonight.
 
That looks like a great idea, I cant seem to find the exact thing you have there, Do you have a link, maybe some more information to them and how it works?

Manufactured by Putco.Part #230004HW
Has two relays,and hardware to install.
A big company and should be available anywhere online or local parts jobbers that deal with Putco.
http://www.putco.com/products.cfm?a...f&partID=a3689a42-7327-4044-a1a2-0d4997f17645
From another thread,here is a link about the harness..
http://www.cbodydrydock.com/forum_viewtopic.php?5.143221.10
Hope this helps.
 
Thanks, Ill check on it.. I tried putting the things from the box in the picture in, didn't find anything.. Today i noticed i do have halogen bulbs in the outside of the two lights, And yes Charger i didn't know until last night of these particular harness/relays but ive seen that wagon.. Very nice. Ive seen a couple real nice wagons on this site alone. This harness set up sounds like a big benefit to have, until last summer i forgot what the old days were like with the lights as compared to whats out there now. Thanks again...
 
here is a shot of a test fit of a front seat. you can see a bit of the new windshield as well i think mine went in a lot better than Prop's poor guy!
 

Attachments

  • 22222.jpg
    22222.jpg
    56.5 KB · Views: 621
here is that shot of the new windshield
 

Attachments

  • 33333.jpg
    33333.jpg
    68.4 KB · Views: 607
Back
Top