• When you click on links to various merchants on this site and make a purchase, this can result in this site earning a commission. Affiliate programs and affiliations include, but are not limited to, the eBay Partner Network.

66 Charger project

piwo440

Well-Known Member
Local time
9:06 AM
Joined
Nov 6, 2010
Messages
57
Reaction score
25
Location
South Milwaukee, Wisconsin
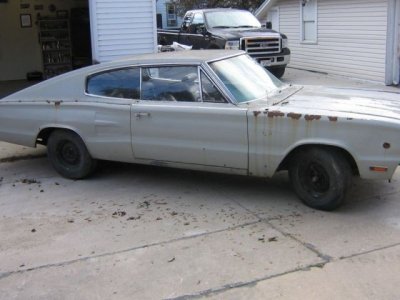
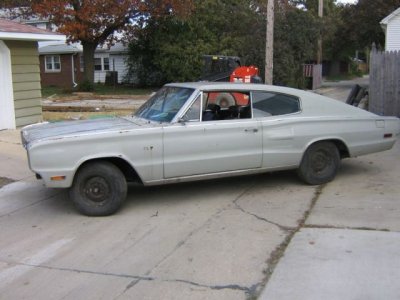
I haven't posted on here in awhile but I've been around. In between work and some major home renovations I have made some progress on my 66.

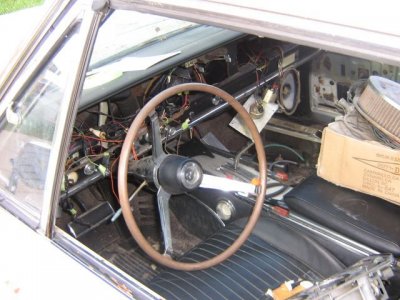
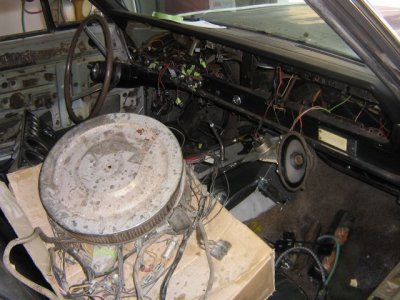
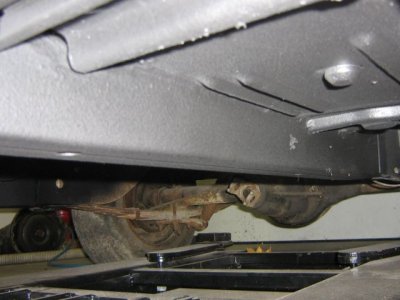
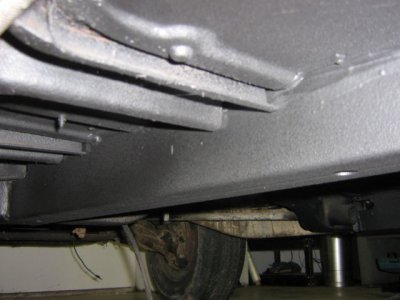
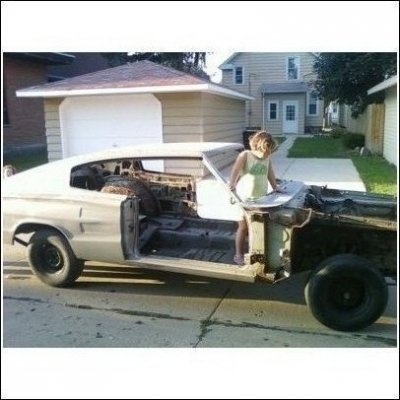
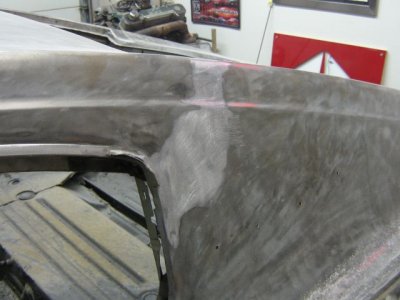
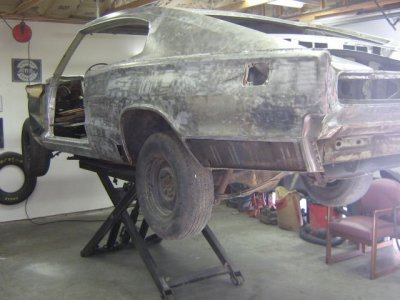
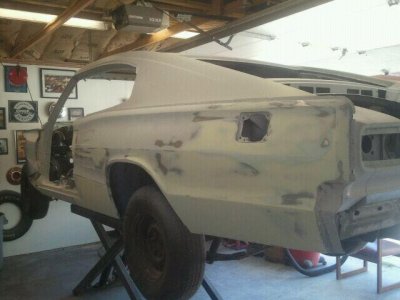
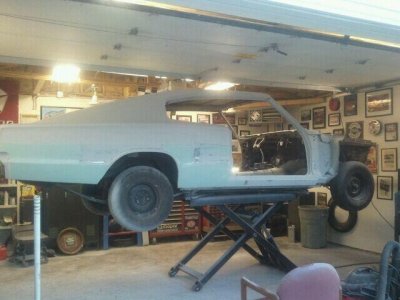
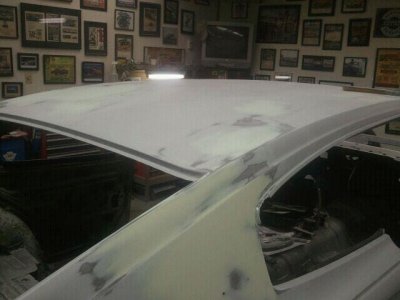
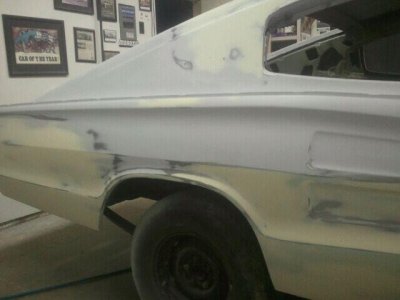
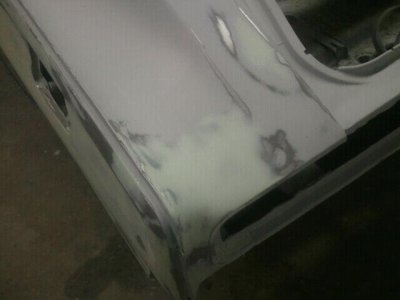
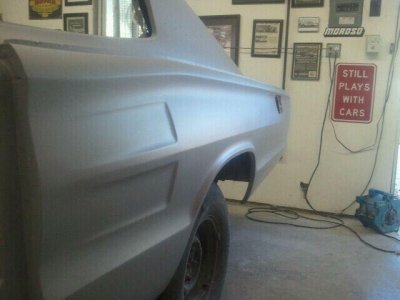
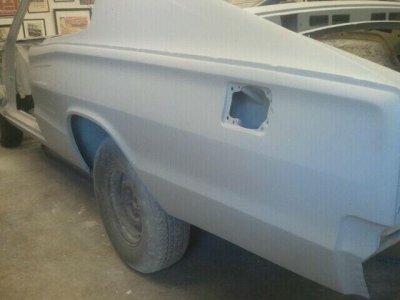
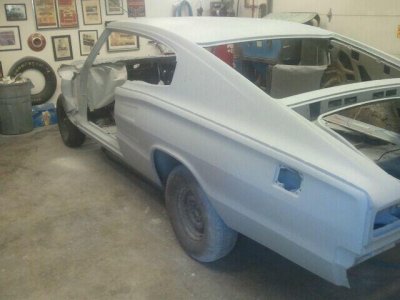
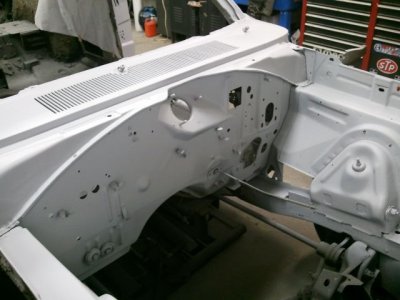
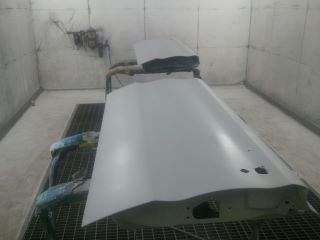
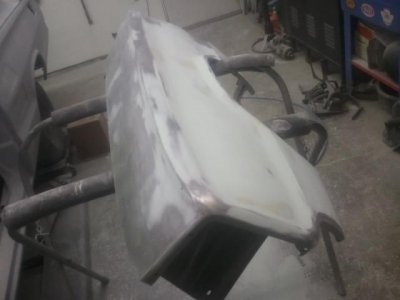
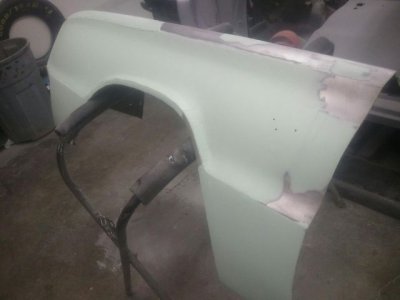
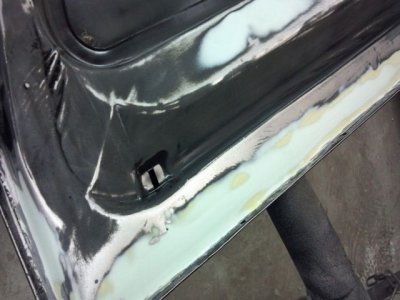
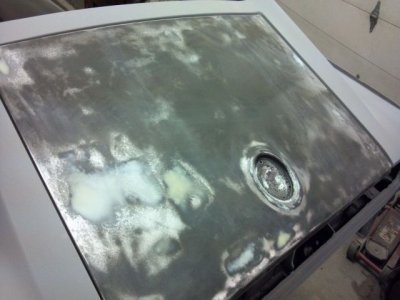
Car was purchased from Kentucky and hauled back here to Wisconsin a few years ago. First year it pretty much sat in my garage untouched. Second year I started gathering parts which was not an easy (or cheap) task. Then the car was totally disassembled, and started with repairing the floor pans and welding in the sub frame connectors. Now I am at the point where the body has been stripped and the bodywork on the shell has been finished. I'm about to start the bodywork on the bolt on panels next.

I will keep posting as I go along. I am going to do everything myself with the exception of the machine work on the block and the transmission.

Any comments, advice, or criticism is welcomed!
 

Attachments

  • charger trailor[1].jpg
    charger trailor[1].jpg
    64.4 KB · Views: 545
  • Charger before 001 (640x480).jpg
    Charger before 001 (640x480).jpg
    69.3 KB · Views: 532
  • Charger before 003.jpg
    Charger before 003.jpg
    58.8 KB · Views: 546
  • Charger before 005.jpg
    Charger before 005.jpg
    75.1 KB · Views: 538
  • Charger before 017.jpg
    Charger before 017.jpg
    76.1 KB · Views: 514
sub frame connectors
 

Attachments

  • subframe connectors 007.jpg
    subframe connectors 007.jpg
    50.9 KB · Views: 495
  • subframe connectors 003.jpg
    subframe connectors 003.jpg
    47.4 KB · Views: 512
body stripped, rust cut out
 

Attachments

  • 66 2.jpg
    66 2.jpg
    71.4 KB · Views: 494
  • IMG_2050.jpg
    IMG_2050.jpg
    50.9 KB · Views: 525
  • IMG_2147.jpg
    IMG_2147.jpg
    58.8 KB · Views: 519
bodywork... (helps that I have been a collision technician for about 25 years.)
 

Attachments

  • ch4.jpg
    ch4.jpg
    50.6 KB · Views: 482
  • ch3.jpg
    ch3.jpg
    55.2 KB · Views: 527
  • ch2.jpg
    ch2.jpg
    47.5 KB · Views: 528
  • ch1.jpg
    ch1.jpg
    41.5 KB · Views: 516
  • ch.jpg
    ch.jpg
    38.6 KB · Views: 506
primer
 

Attachments

  • primer6.jpg
    primer6.jpg
    45.8 KB · Views: 509
  • primer7.jpg
    primer7.jpg
    44.3 KB · Views: 475
  • primer5.jpg
    primer5.jpg
    51.8 KB · Views: 506
  • primer2.jpg
    primer2.jpg
    53.1 KB · Views: 518
Please keep in mind, this isn't a rotisserie restoration... this car is being built to be a driver and a whole lot of track time!
 
Ron, its looking great!! Makes it a story to be able to talk about for years to come doing it all yourself... What color will be on it? My first Mopar was a 67 Charger, white with a maroon interior, im not suggesting that just remembering lol.. Good luck with it..
 
Thanks! It's going back to the original ZZ1 Citron Gold with the original white interior.

That sounds like a great color combo.. Seems like a life time ago and i know its only been 42 years ago lol, i had a 63 Impala SS with just about the same color, very close, the car had a white top and black interior and i thought then that if it would have had white interior it would have been better looking. It was a bit lighter then what your using but yes, i think your Charger will look great for sure. Hope you'll keep us updated! and thanks..
 
Well, not as much progress as I had hoped... but have made some. Both fenders and doors are now done, as well as the trunk lid. The left fender was in really poor condition, besides the little rust repair that I knew it was going to need I also found that it had areas with an inch or more of Bondo. Somebody in the past had some real issues with not wanting to do metal work and decided to just mud everything up! I literally spent around 12 hours on the pair of fenders just doing the metal work. It looks like there is a lot of Bondo now, but it is just a cosmetic coat of finishing type filler.

Also, sometime in the last 40+ years, it appers that the gasket around the deck lid medallion had failed, letting water gather inside the rear lip of the trunk lid. The whole inner lip had to be cut out and patched.

Starting the last panel now ! (hood) After that, final blocking of the primer then off to my shop so I can finally get some color on it!
 

Attachments

  • doors.jpg
    doors.jpg
    8.5 KB · Views: 424
  • 2012-01-1595219540952295.jpg
    2012-01-1595219540952295.jpg
    24.4 KB · Views: 438
  • Resampled952012-01-0995189559952995.jpg
    Resampled952012-01-0995189559952995.jpg
    23.8 KB · Views: 427
  • Resampled952012-02-099521-56-4395273.jpg
    Resampled952012-02-099521-56-4395273.jpg
    43.8 KB · Views: 443
  • Resampled952012-02-099521-55-419521.jpg
    Resampled952012-02-099521-55-419521.jpg
    40.1 KB · Views: 433
amazing transformation so far,can't wait to see the color go on.
 
Looking good. I just wish mine turns out as nice as that when I get done....will be quite a while before I am where you are.
 
The block is almost done and should be here next week sometime, the trans has been dropped off at local tranny-rear end guy here in town that I have known for years and should be done in 2 weeks. The trans is the only thing that I'm not doing myself. Never did one and I'm thinking that I'm too old to start now!
 
like your portable lift, who makes that? and about how much was it? i have a 66 charger that is a daily driver
 
66 charger

Herkules makes them google there site for info ,there is also one on ebay for around $1500.00 I believe the new ones sell for above six thousand there nice.
 
This one was $1200, bought it from a local company called Smash Equipment. Area supplier for collision shops. These can be purchased from Snap-On, Matco, etc... just check around for prices, some are really marked up.
 
Like the work! I will be glad when mine is that far along.


What color are you painting it? You may have mentioned in a previous post, but i didn't see it.


I am going to stay with the blue that is on mine ( Minus the stripe ) And go with black interior.

I will be glad to see yours when it is done.
 
Auto Transport Service
Back
Top