• When you click on links to various merchants on this site and make a purchase, this can result in this site earning a commission. Affiliate programs and affiliations include, but are not limited to, the eBay Partner Network.

'69 road runner......like I needed another!

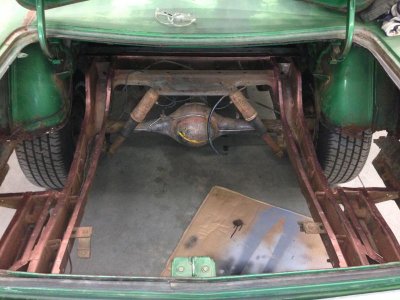
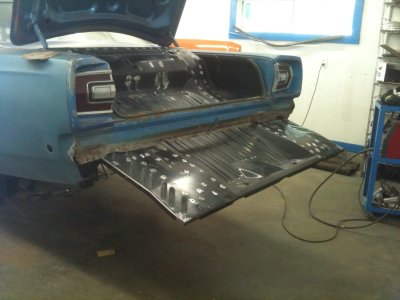
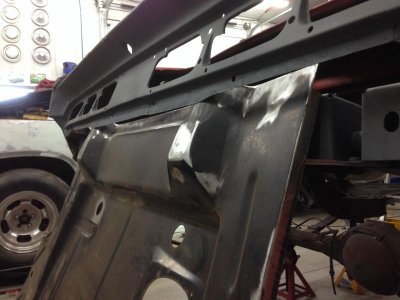
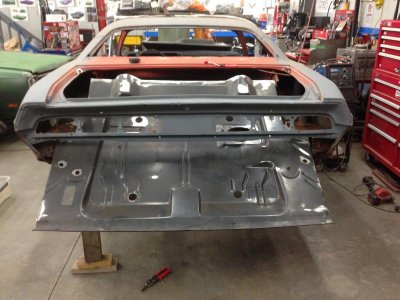
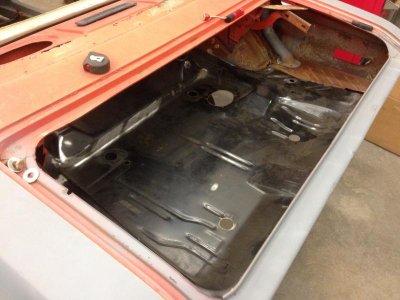
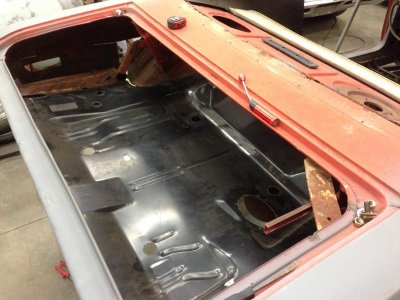
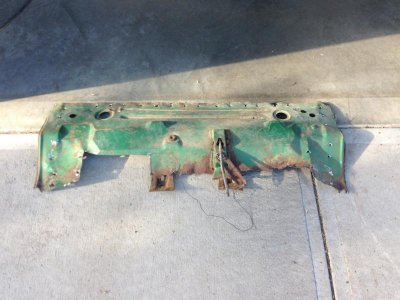
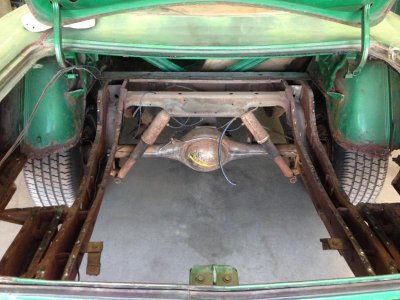
A friend came and we gave it a quick adjustment on the timing. I have premium gas in the "tank" so it seems to like a bout 12 degrees BTDC. Runs nice, no hesitation on revving up and idles nicely. We didn't check total but it really doesn't matter for now. Then I decided it was time to get the remaining trunk pan cut out. Not too bad of a job. Just have to clean up the spot welds now.
IMG_3395.jpg

IMG_3397.jpg
 
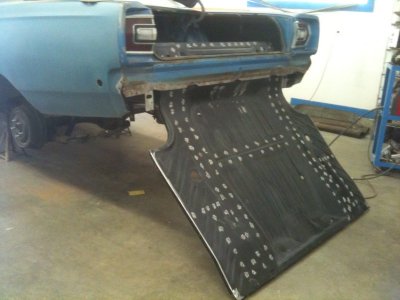
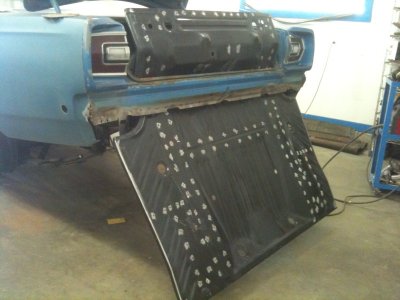
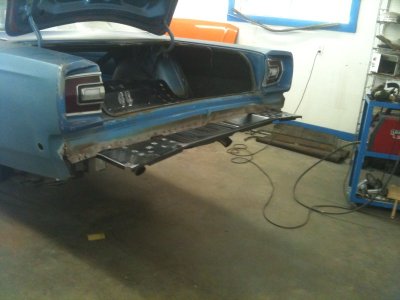
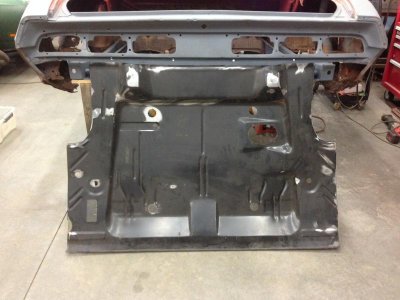
She is all prepped excluding the very back at the tail panel. It's wire wheeled and weld through primed. Once I get a pan I will drill out the rear valance and clean up that area. A friend told me how to do the pan and he had posted pics on "that other site" of how he did it. I can't wait to do this. I posted the pics so that anybody else doing this task can see the process. I want to install the pan and extension prior to repairing the passenger wheelhouse, just so I get it the right shape. I also received a passenger side trunk extension today. Thanx to the wonderful world of FBBO, a member who had an extra contacted me and offered it up. He gave me a smokin' deal. Thanx CHARGERSTEVEN!

IMG_3399.jpg

7807532-trunk6.jpg

7807517-trunk1.jpg

7807519-trunk2.jpg

7807520-trunk3.jpg

7807523-trunk4.jpg

7807525-trunk5.jpg

IMG_3399.jpg 7807517-trunk1.jpg 7807519-trunk2.jpg 7807520-trunk3.jpg 7807523-trunk4.jpg 7807525-trunk5.jpg 7807532-trunk6.jpg
 
Last edited:
Hey Gdrill, A fun project on the go with that Road Runner and you're not wasting anytime! Good to see. In a couple of months I'll be heading to my buddy's to paint his Coronet, who is also just north of Montana. Thanks for sharing the Roadrunner, will be keeping an eye on it.
 
Hi gdrill, I have enjoyed reading about and viewing your project. Thanks for sharing the bit about installing a whole B trunk floor with everything in place and taking time to post progression photos. Wayne
 
Thank you RM23U0A. I am happy to share photos and any helpful info I learn along the way. Maybe somebody else can use my accomplishments and or mistakes to make their life and projects easier!
 
Thanks for the nice comment n pics of that install, im sure it will help others :VB toast:
 
Thanx malex. You can be my buddy too and paint my Coronet while your here! LOL. Where is your Bud? I'm in The Windy City.
Yes, windy is putting it mildly, where you are.. My Buddy's in Crowsnest.
 
The runner, I'll call it that because I haven't named it yet, got new tail lights today. Thanks to member smithschargers. They are in great condition and he was very fair with pricing and shipping. My lenses looked like somebody had gotten revenge on a previous owner because they were smashed out and even one housing was broken from whatever they used to do it.

IMG_3478.JPG


IMG_3480.JPG


IMG_3481.JPG


IMG_3482.JPG


IMG_3483.JPG


IMG_3484.JPG
 
Last edited:
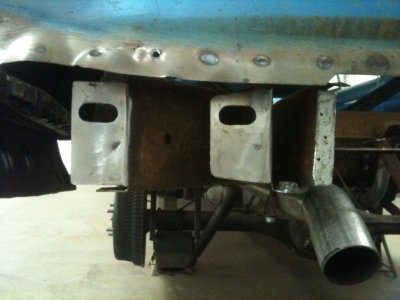
Well, like a kid a Christmas I had to start prepping for the pan. First I removed the bumper to find out that I am very lucky because the rear piece that goes across the back is not rusted out. I guess it usually does due to it being 3 layers thick there. But maybe being a California car helped this out a little as part of it's life was down there. Then I drilled out the remaining spot welds along the back of the pan and extensions. There is some small repairs to do there. I just cut the extensions off at the edge so I could clean up along the back edge.

IMG_3506.JPG


IMG_3509.JPG


IMG_3507.JPG


IMG_3508.JPG
 
I cleaned out the remaining parts of the extensions and test fitted the new ones. They fit quite nicely. I'll see when I get the pan in how much tweaking they need. Then I built a small patch for the driver side wheel house. It had just a small section of rust and I just want to get it to pass inspection so this will do for now. The pass side is a little worse but basically the same.

IMG_3510.JPG


IMG_3512.JPG


IMG_3514.JPG
 
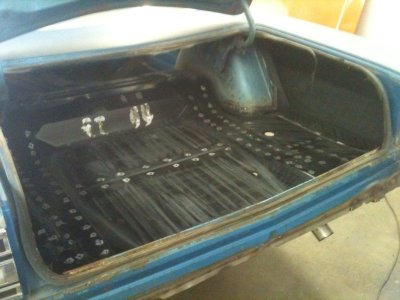
Well I learned that if you don't have to remove the rear crossmember, it doesn't quite work like the pics I posted earlier. I had to make 3 small slits in my tail panel to allow enough flex to push it in. They are hidden by the bumper and you wouldn't know they are there anyway. But now I will have to drill all the holes in the car as I won't be taking it out again! No big deal, it's all prepped underneath and ready to weld. The extensions and pan match up very nicely. The driver side is perfect but the pass has a very slight misalignment. It will be an easy fix. Three cheers to AMD on these pieces!

IMG_3526[1].JPG

IMG_3527[1].JPG
 
I had to get out from underneath the runner for a bit. The trunk pan and extensions are done. I just tacked the extensions to the quarters as they will eventually be replaced so it's an easy removal. I decided to patch a hole in the roof. I am actually pretty impressed with my patience and the result. Then I decided to "patina" it to match the car! :) Not bad for a spray bomb. A buddy has some parts cars so I am going to see if I can salvage the lower corner repair sections from them. If not I will order the kit from AMD.

IMG_3129.JPG

IMG_3530.JPG

IMG_3531.JPG

IMG_3532.JPG

IMG_3534.JPG


IMG_3535.JPG


IMG_3536.JPG
 
I got another "I'm gonna drive you this summer" patch done. I'm just doing what is needed to get it to pass an inspection. The car will need much more work once I begin a resto but for now I just want to have some summer fun.

IMG_3537.JPG


IMG_3538.JPG


IMG_3539.JPG


IMG_3540.JPG


IMG_3541.JPG


IMG_3542.JPG


IMG_3543.JPG
 
And the next one. Now behind the wheel will be a bit of work. This was the easy stuff! The driver side is way better. In the end that quarter should be saved but this one has to go. It has at least 5lbs of bondo on it!

IMG_3543.JPG

IMG_3544.JPG


IMG_3545.JPG
 
Auto Transport Service
Back
Top