• When you click on links to various merchants on this site and make a purchase, this can result in this site earning a commission. Affiliate programs and affiliations include, but are not limited to, the eBay Partner Network.

'72 Charger project

mattsinger

Well-Known Member
Local time
3:34 AM
Joined
Oct 30, 2011
Messages
229
Reaction score
20
Location
Davison, Michigan
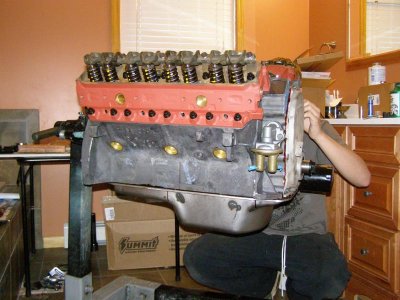
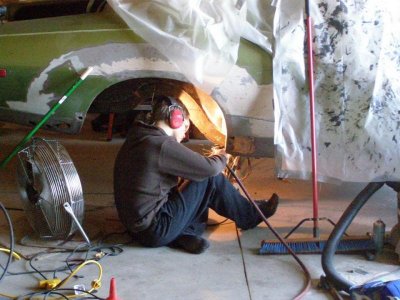
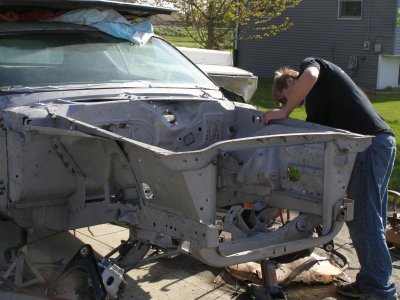
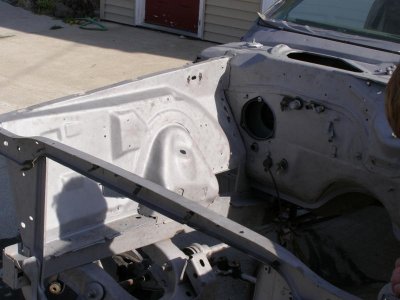
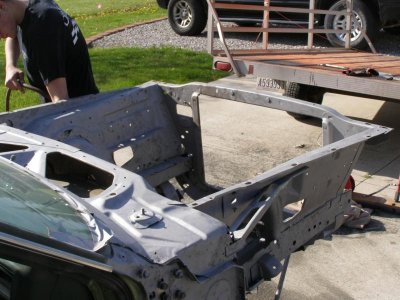
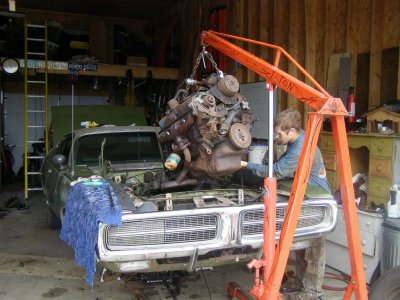
I've been lurking in the background for a while reading lots....thought I'd put a post up and share some pics of my sons 72 Charger we are working on.
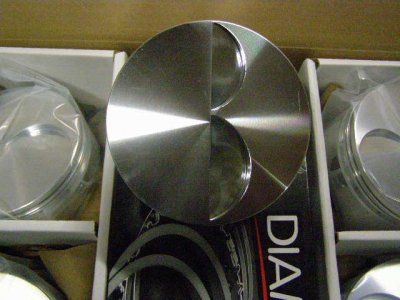
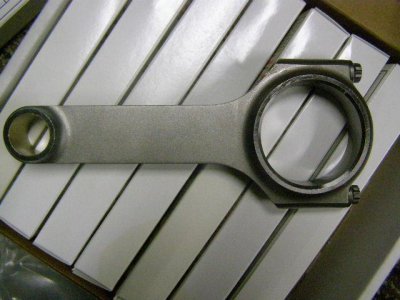
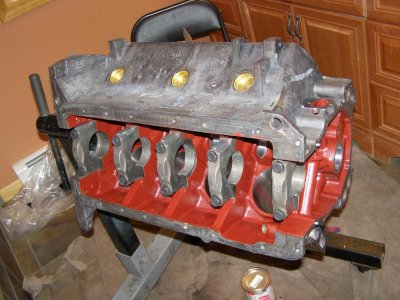
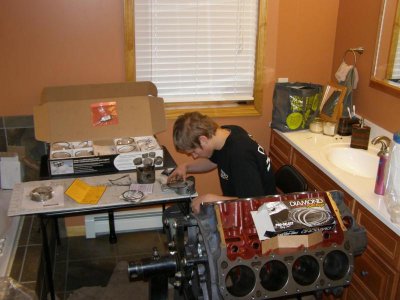
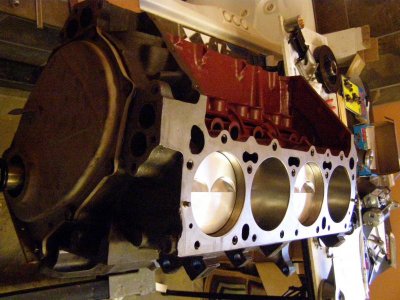
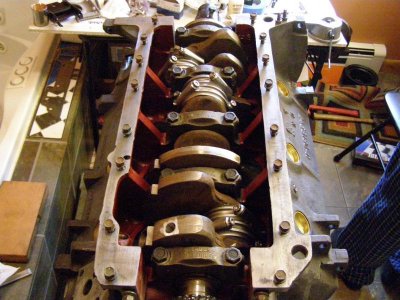
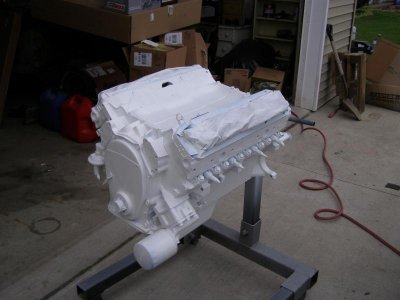
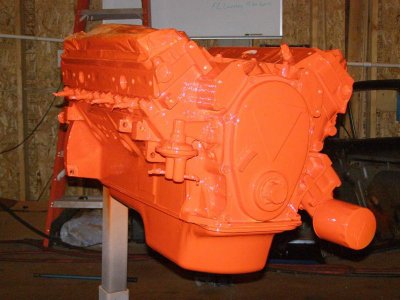
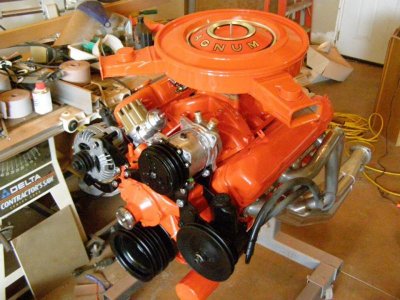
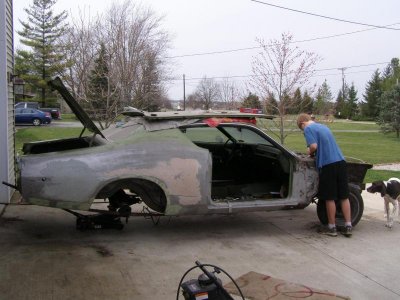
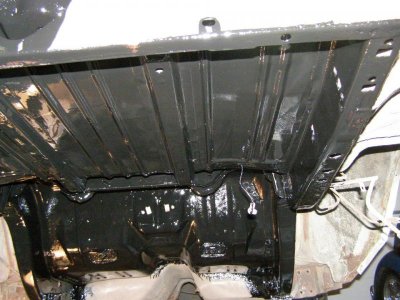
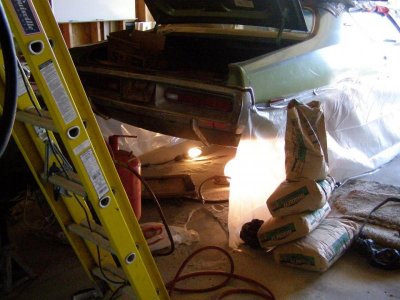
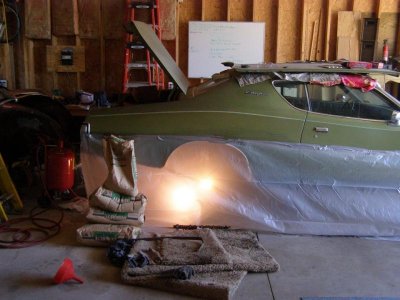
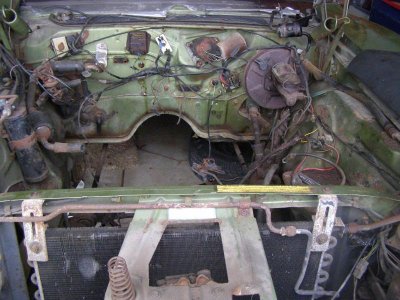
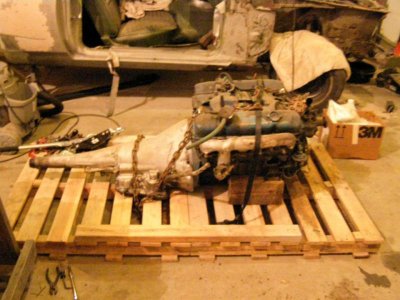
We towed it home about 11 months ago. He has most of the underside blasted and painted, starting to work on the underhood area now. The drivers front fender and door have the most rust...but I'm sure we can make it look OK. This will be his daily driver, with plans to have it on the road this summer. The original 318 had a cracked block....so we picked up a lightly used 383.

More to come
Matt
 

Attachments

  • 422016_275347962534584_100001781478212_667277_1422499773_n.jpg
    422016_275347962534584_100001781478212_667277_1422499773_n.jpg
    85.4 KB · Views: 932
  • 240730_164752333588176_100001602323784_399218_7513019_o.jpg
    240730_164752333588176_100001602323784_399218_7513019_o.jpg
    81.9 KB · Views: 954
  • 241054_164752536921489_100001602323784_399222_3401029_o.jpg
    241054_164752536921489_100001602323784_399222_3401029_o.jpg
    88.6 KB · Views: 913
  • 259174_164753660254710_6258011_o.jpg
    259174_164753660254710_6258011_o.jpg
    77.5 KB · Views: 896
  • 392713_233361780060564_100001602323784_645233_1548214463_n (1).jpg
    392713_233361780060564_100001602323784_645233_1548214463_n (1).jpg
    71.2 KB · Views: 918
After finding the 318 had a crack in the block...we pulled the 383 down hoping for a quick re-ring and bearings....but found a bent rod. Not wanting to have to rebuild it twice....we figured we might as well go through it all. Found a great deal on some 440 length Scat rods and Diamond pistons.
 

Attachments

  • 401185_258536524209756_100001602323784_708200_951195151_n.jpg
    401185_258536524209756_100001602323784_708200_951195151_n.jpg
    39.7 KB · Views: 869
  • 395988_258536477543094_100001602323784_708198_954113617_n.jpg
    395988_258536477543094_100001602323784_708198_954113617_n.jpg
    51 KB · Views: 878
  • 374743_258536407543101_100001602323784_708196_1269716195_n.jpg
    374743_258536407543101_100001602323784_708196_1269716195_n.jpg
    46 KB · Views: 880
  • 379514_258536424209766_100001602323784_708197_1279671724_n.jpg
    379514_258536424209766_100001602323784_708197_1279671724_n.jpg
    42.3 KB · Views: 862
  • 307789_244215295641879_100001602323784_673234_1542745340_n.jpg
    307789_244215295641879_100001602323784_673234_1542745340_n.jpg
    43.8 KB · Views: 868
Had the block bored .030. and internals balanced. Picked up a windage tray and Hemi type oil pan from 440 Source and started assembly.
 

Attachments

  • 412922_289665974430144_1476685338_o.jpg
    412922_289665974430144_1476685338_o.jpg
    75.2 KB · Views: 865
  • 340872_294242590639149_100001602323784_806611_76525410_o.jpg
    340872_294242590639149_100001602323784_806611_76525410_o.jpg
    62.6 KB · Views: 872
  • 466418_326581334071941_100001602323784_888641_1998385656_o.jpg
    466418_326581334071941_100001602323784_888641_1998385656_o.jpg
    78.5 KB · Views: 874
  • 457163_326581090738632_100001602323784_888639_1939576034_o.jpg
    457163_326581090738632_100001602323784_888639_1939576034_o.jpg
    87.4 KB · Views: 892
  • 478541_326829407380467_100001602323784_889299_9625867_o.jpg
    478541_326829407380467_100001602323784_889299_9625867_o.jpg
    79.8 KB · Views: 881
I added a couple small welds to the baffles in the pan...I'd have to have one come loose. We went with a Comp cams Xtreme Energy 274 Cam, and an Edelbrock Performer RPM intake. Also stumbled across a killer deal on a lightly used set of ceramic Hooker super comp headers.
 

Attachments

  • 456990_313296745400400_100001602323784_852273_1166769956_o.jpg
    456990_313296745400400_100001602323784_852273_1166769956_o.jpg
    88.1 KB · Views: 885
  • 469033_327864280610313_100001602323784_892419_1107457764_o.jpg
    469033_327864280610313_100001602323784_892419_1107457764_o.jpg
    75.1 KB · Views: 874
  • 394110_302037273193014_100001602323784_823195_882201399_n.jpg
    394110_302037273193014_100001602323784_823195_882201399_n.jpg
    74.6 KB · Views: 853
  • 416481_311597125570362_100001602323784_847503_1263921807_o.jpg
    416481_311597125570362_100001602323784_847503_1263921807_o.jpg
    38.6 KB · Views: 898
  • 328570_289792947750780_100001602323784_796774_1850889598_o.jpg
    328570_289792947750780_100001602323784_796774_1850889598_o.jpg
    47.5 KB · Views: 853
A little epoxy primer and paint...and it looks pretty good.

Now to try and figure out the body work.
 

Attachments

  • 460254_328607673869307_100001602323784_894050_1673092880_o.jpg
    460254_328607673869307_100001602323784_894050_1673092880_o.jpg
    46.9 KB · Views: 860
  • 412912_329201623809912_100001602323784_896028_993501758_o.jpg
    412912_329201623809912_100001602323784_896028_993501758_o.jpg
    63.5 KB · Views: 849
  • 524371_337993132930761_100001602323784_918993_542729275_n.jpg
    524371_337993132930761_100001602323784_918993_542729275_n.jpg
    81.1 KB · Views: 888
This is pretty much where we stand today. Did some of the sandblasting of the underside over the winter. Most of the underside is done in POR15. IF the weather drys up some this weekend, we hope to start stripping some of the engine compartment down.
 

Attachments

  • 461138_318393994890675_100001602323784_866180_1953191441_o.jpg
    461138_318393994890675_100001602323784_866180_1953191441_o.jpg
    75.5 KB · Views: 854
  • 313704_220701517993257_100001602323784_604668_129328120_n.jpg
    313704_220701517993257_100001602323784_604668_129328120_n.jpg
    76.6 KB · Views: 867
  • 297685_205597302837012_100001602323784_555044_3363502_n.jpg
    297685_205597302837012_100001602323784_555044_3363502_n.jpg
    76 KB · Views: 867
  • 306340_201468146583261_100001602323784_541450_6070436_n.jpg
    306340_201468146583261_100001602323784_541450_6070436_n.jpg
    69.4 KB · Views: 890
  • 309270_201468043249938_100001602323784_541449_3071226_n.jpg
    309270_201468043249938_100001602323784_541449_3071226_n.jpg
    63.4 KB · Views: 881
WOW.... building the engine in the kitchen....reminds me of ME ...30 years ago....except i built my 383 in my 5 x 10 bedroom in a fleetwood trailer....LMAO...atta boy kid...KEEP IT GOIN' !
 
That looks like a cool project, and, it looks absolutely dreadful laying on the floor while sand blasting, it looks actually dangerous, all that free silica released and contained in the plastic sheeting...might want to rethink that process again b/c that stuff WILL kill ya!
 
That looks like a cool project, and, it looks absolutely dreadful laying on the floor while sand blasting, it looks actually dangerous, all that free silica released and contained in the plastic sheeting...might want to rethink that process again b/c that stuff WILL kill ya!
yep..not fun, but not as bad as it looks. A good resperator, a fan moving clean air in, and the garage door open to let the junk out. Makes a mess, but works good.
 
My son got a little more old crud cleaned off it this weekend. Now a little patch work and primer
 

Attachments

  • P4220192.jpg
    P4220192.jpg
    73.5 KB · Views: 825
  • P4220193.jpg
    P4220193.jpg
    52.5 KB · Views: 797
  • P4220194.jpg
    P4220194.jpg
    75.5 KB · Views: 806
WOW.... building the engine in the kitchen....reminds me of ME ...30 years ago....except i built my 383 in my 5 x 10 bedroom in a fleetwood trailer....LMAO...atta boy kid...KEEP IT GOIN' !

Yeah. I was noticing the whirlpool tub and vanity. My wife would go berzerk if I wheeled the engine through the bathroom LOL. Looks good.
 
Yeah. I was noticing the whirlpool tub and vanity. My wife would go berzerk if I wheeled the engine through the bathroom LOL. Looks good.
We de-commisioned that bathroom for the winter. Too cold in the garage, and didn't want to try and carry the engine down the steps to the basement.
 
nice work on the project.have you picked out a color yet, or are you going to keep it green?
 
thanks.....Since the interior is green...and in great shape...we are going to do the outside in green, but no the same....deciding on sub-lime or green go.
 
Thanks, the one i made the internal bracket for i hung it tonight and gotta modify it it's sticking out too far gotta cut the flange off and reweld it on so the fender will line up with the door. We are quite pleased with it [aint gonna be no show car i don't think] but we'll see how it turns out, so far it ain't bad for a couple of rednecks that ain't never welded or fabricated,painted ect.
 
I need to light a fire under my son after they get out of school.....Hope to make some good progress on it in the next month.
 
Good luck with your project,i have had the ups and downs with my son also [he is not intrested in bodywork] altho he does help out doing sanding an spraying the primer.
 
Auto Transport Service
Back
Top