RT68440
Well-Known Member
Hey guys, Im a new member of the forum. Some of you may have seen my intro thread, but for those of you that haven't, Ill do a quick recap. My name is Chris and I have been restoring a '68 Charger on and off for about 7 years now. My dad bought the car for us to work on together back in 1998 when I was a freshman in high school. It was a nice 10 footer and it ran great. My dad taught me basic mechanics on it. We rebuilt the brakes, put a cam in it and headers and exhaust. Eventually we had the motor rebuilt, so we restored the engine bay back to original (previous owner rattle canned the engine bay and had everything that unbolted chromed). We drove the car here and there, but my dad was never fully satisfied with it because he always noticed the flaws with it. My dad has never done body work and has never welded, so we just lived with it. When I was 22, I attended WyoTech and learned how to weld and do body work. After I graduated, I got a job at a hot rod shop where I still work. After a few years of working there and cutting up and modifying parts to make things fit, I had enough nerve to start restoring the Charger in May of 2009. I started at the rear of the car and removed the quarters, trunk floor, rear valance and tail light panel. I discovered that the rails had some pin holes at the rears, and instead of patching, I decided to just replace them. So I made a fixture out of 1" square tubing to the original rails, and removed them. We bought a set of clean southern rails and got them installed. I then installed an AMD rear cross member, lower valance, valance corners that I had to cut the crap out of to make them look like they should, 1 piece trunk floor and trunk floor extensions, and I sectioned in lower inner wheel housings and the outer wheel housing lips out of AMD pieces. We bought a set of CBD full quarters a few years ago. I have tons of pics of the rear sheet metal replacement, but pics are all on my dads camera, so I will have to get them and post them up.
My girlfriend (now wife) bought a house in May of 2010, about a year after I started working on the car. So a couple days a week I would stop by my parent's house and work on the car. It was really slow going and basically took me most of the 6-7 years to rebuild the rear of the car working maybe 2-3 hours a week on it. I have a Mustang that is a street/strip car that Im always messing with, so my garage was always consumed with that. This past year my parents built a house and my mom was not having any cutting/grinding/dust in her new garage, so this was a good opportunity to park my Mustang over at their house and bring the Charger to my house to speed up the process a little. Plus my garage is a two car and my parents old house was only a single car. So, I made up some dollies at work and loaded up the Charger on my bosses trailer and took it over to my house. This was just after New Years 2016. Ive torn into the front of the car and have made much more progress in the last two months than I have in 4 summers working on it at my parents.
Here are some pics showing moving the car to my house and the front metal work so far:
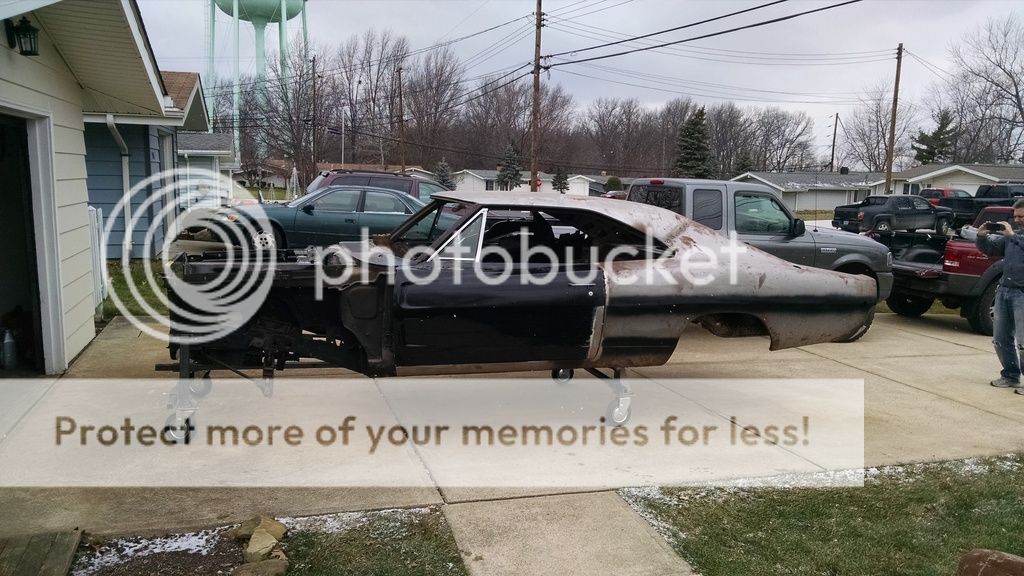
Pulling it out of my parents garage. This is the first time that its been outside of this garage sine it drove in under its own power in 2009:


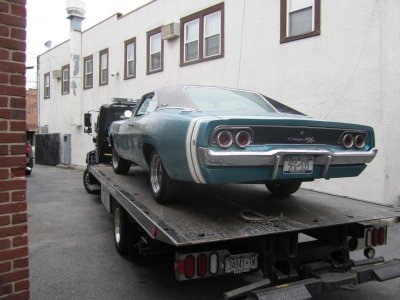
Loading it on the trailer:


On the way to my house:

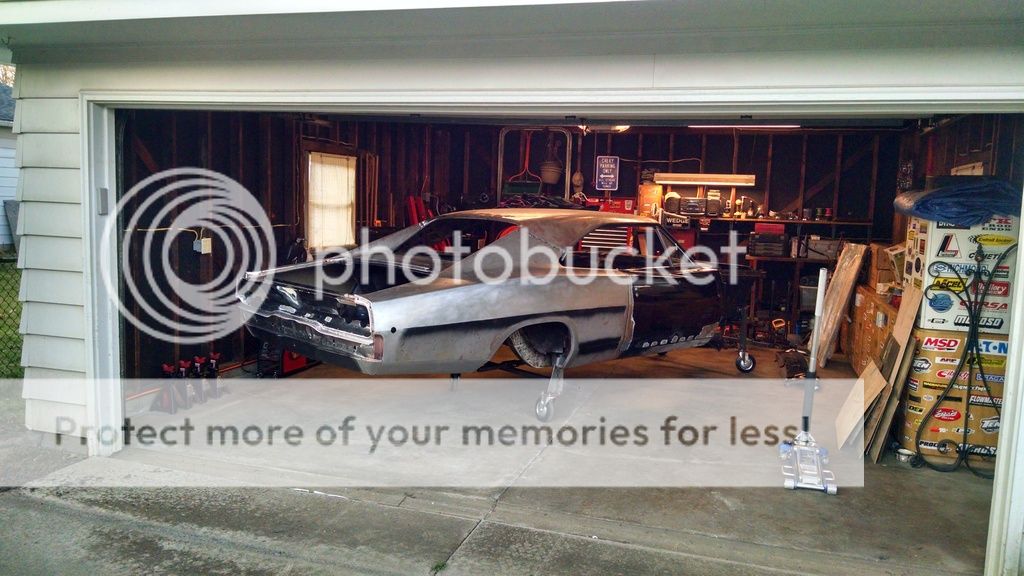
In my garage:


I am replacing the front rails, so the first thing that I did was get it up on jack stands and pull the K member and torsion bars out. The K member and front suspension has never been out of the car, so a lot of PB blaster, torches and taking my time not to break anything was the name of the game:


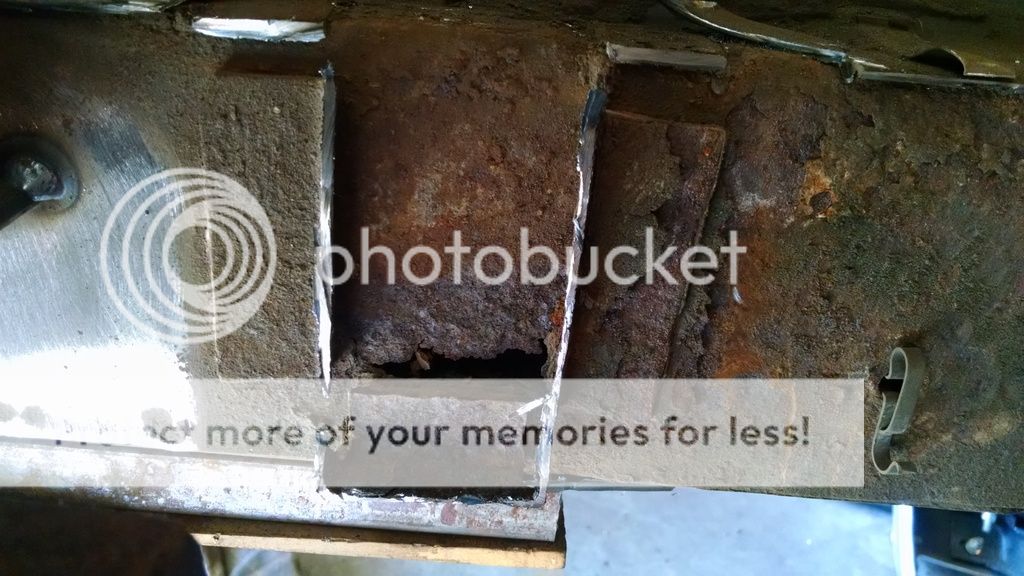
Rot in the rails:


With the K member out, I made a fixture for the front of the car out of 1" tubing. I then started by removing the inner aprons and the core support:


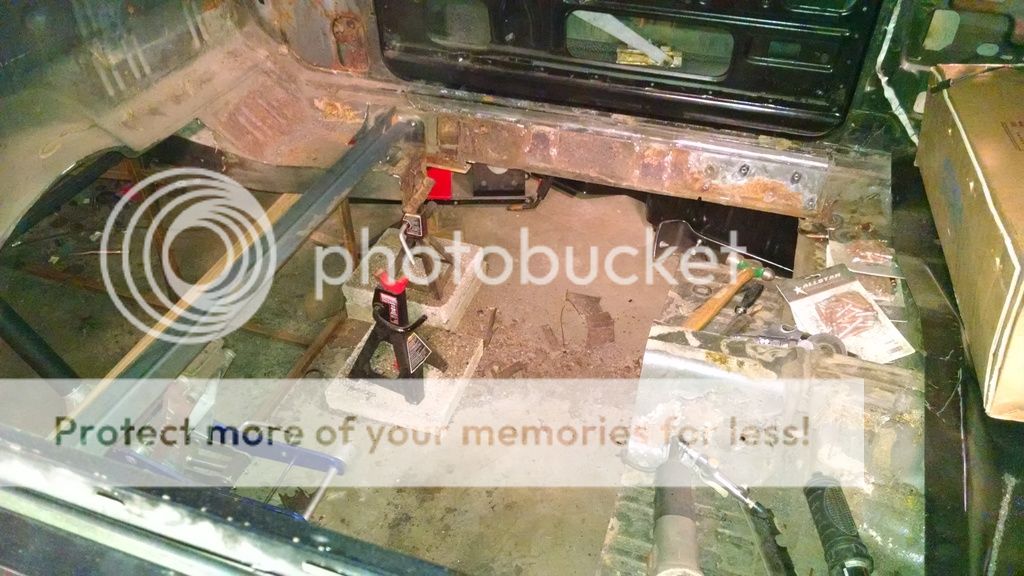
I started removing the floor of the car to expose the torsion bar cross member so I could separate the front rails from the cross member. The cross member looked fine from under the car, but after I started peeling the floor away, it was apparent that the cross member would have to be replaced:


I added more bracing to the front of the car just to be sure:


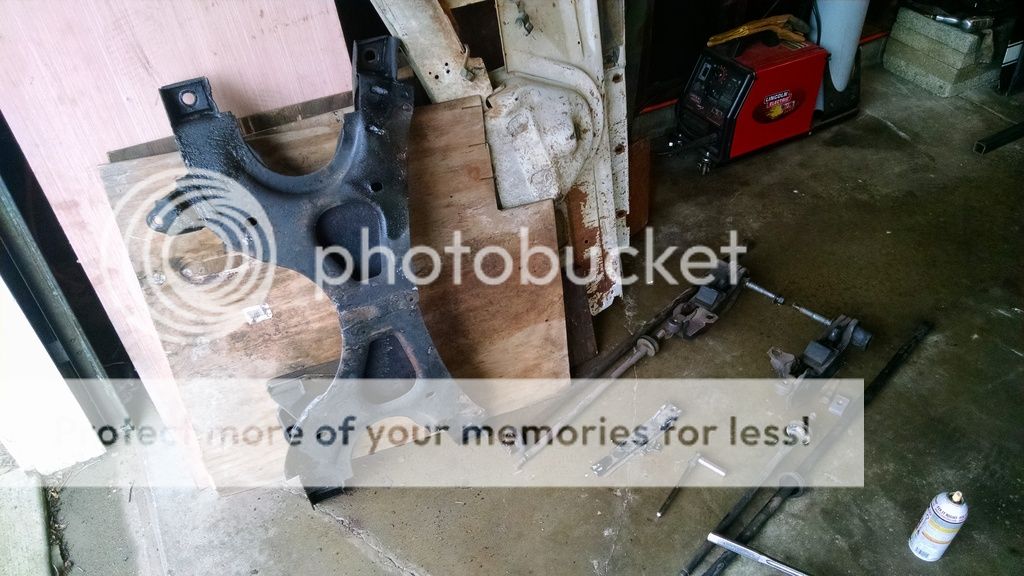
Then, out came the cross member:


So it was pretty obvious that the inner rockers were going to need some love. So I removed the seat braces and cut more of the front floor away to expose all of the inner rocker to see how big of a patch needed to be made:


The seat braces will need some patch work, but overall they aren't terrible, so Im going to fix them. I soaked them in the parts washer at work then glass beaded them to start my work on them:

I started on the passenger side rocker. With the inner rocker exposed, I marked out where I wanted to patch it and cut that section out. I took the old piece to work and made a new piece on my lunch break. I brought it home, tacked it in place, welded it up and ground it. Then I did the same exact process on the drivers side:

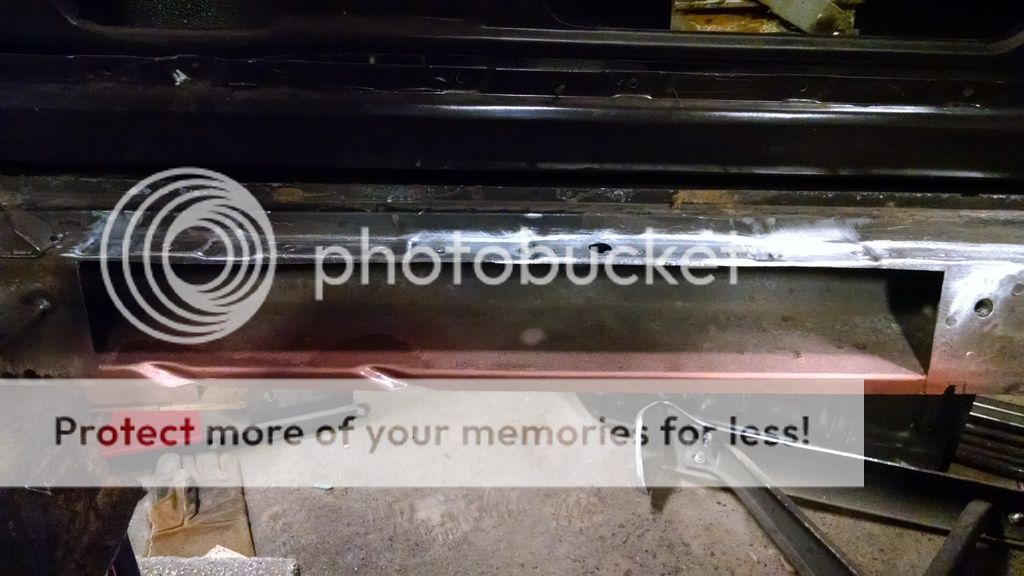


Drivers side:


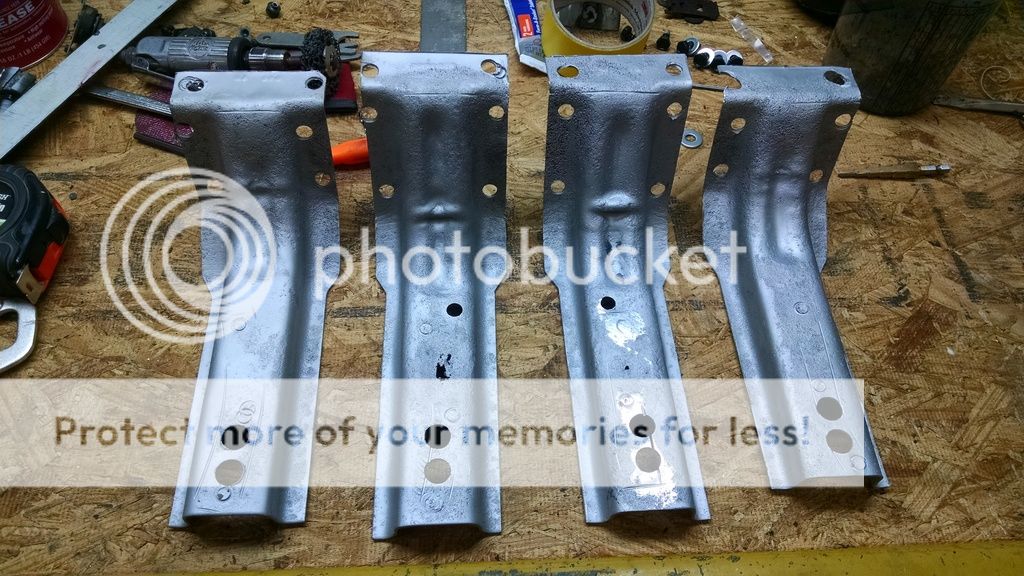
With the rockers done, it was time for the cross member. I ordered an AMD piece, and waited a week for it to come in. Once it did, I wasn't too happy with the fitment. The flanges were pretty far away from the inner rocker which I was ok with fixing, but after taking some measurements I realized that the slugs that the torsion bars slide in to were at totally different angles then the stock piece:

I decided to return the AMD piece and look for an original. After finding a clean cross member (thanks Jamey), I cleaned up and straightened the flanges, fixed the chisel marks from breaking the spot welds, and drilled my holes. The used piece literally dropped back into place. So this week I am going to blast it and get it welded in:
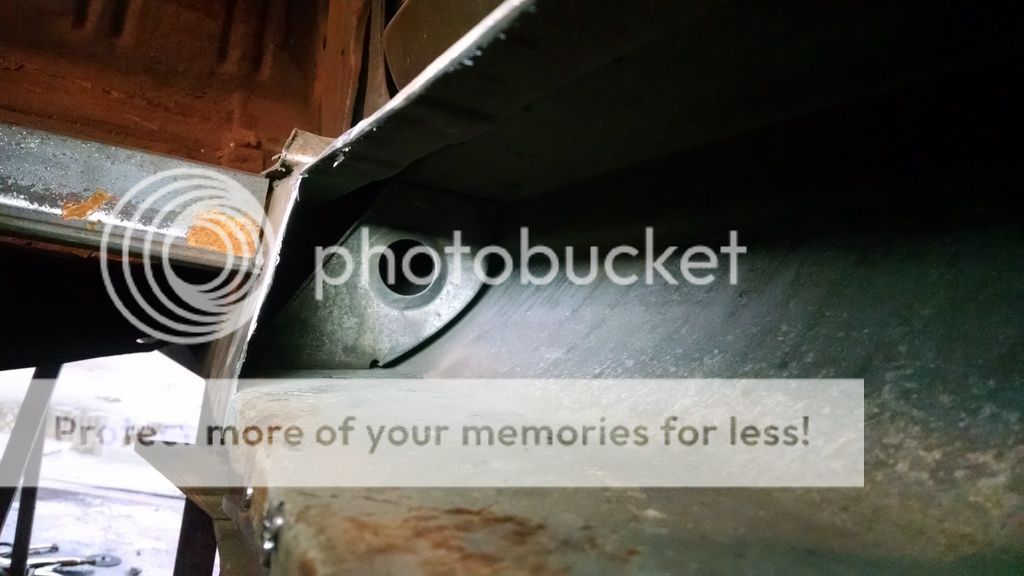
Test fitting the cross member:


After doing some prep work:


So that brings me up to date. I will keep this thread updated and thanks for looking!
My girlfriend (now wife) bought a house in May of 2010, about a year after I started working on the car. So a couple days a week I would stop by my parent's house and work on the car. It was really slow going and basically took me most of the 6-7 years to rebuild the rear of the car working maybe 2-3 hours a week on it. I have a Mustang that is a street/strip car that Im always messing with, so my garage was always consumed with that. This past year my parents built a house and my mom was not having any cutting/grinding/dust in her new garage, so this was a good opportunity to park my Mustang over at their house and bring the Charger to my house to speed up the process a little. Plus my garage is a two car and my parents old house was only a single car. So, I made up some dollies at work and loaded up the Charger on my bosses trailer and took it over to my house. This was just after New Years 2016. Ive torn into the front of the car and have made much more progress in the last two months than I have in 4 summers working on it at my parents.
Here are some pics showing moving the car to my house and the front metal work so far:
Pulling it out of my parents garage. This is the first time that its been outside of this garage sine it drove in under its own power in 2009:

Loading it on the trailer:
On the way to my house:
In my garage:

I am replacing the front rails, so the first thing that I did was get it up on jack stands and pull the K member and torsion bars out. The K member and front suspension has never been out of the car, so a lot of PB blaster, torches and taking my time not to break anything was the name of the game:

Rot in the rails:
With the K member out, I made a fixture for the front of the car out of 1" tubing. I then started by removing the inner aprons and the core support:
I started removing the floor of the car to expose the torsion bar cross member so I could separate the front rails from the cross member. The cross member looked fine from under the car, but after I started peeling the floor away, it was apparent that the cross member would have to be replaced:
I added more bracing to the front of the car just to be sure:
Then, out came the cross member:
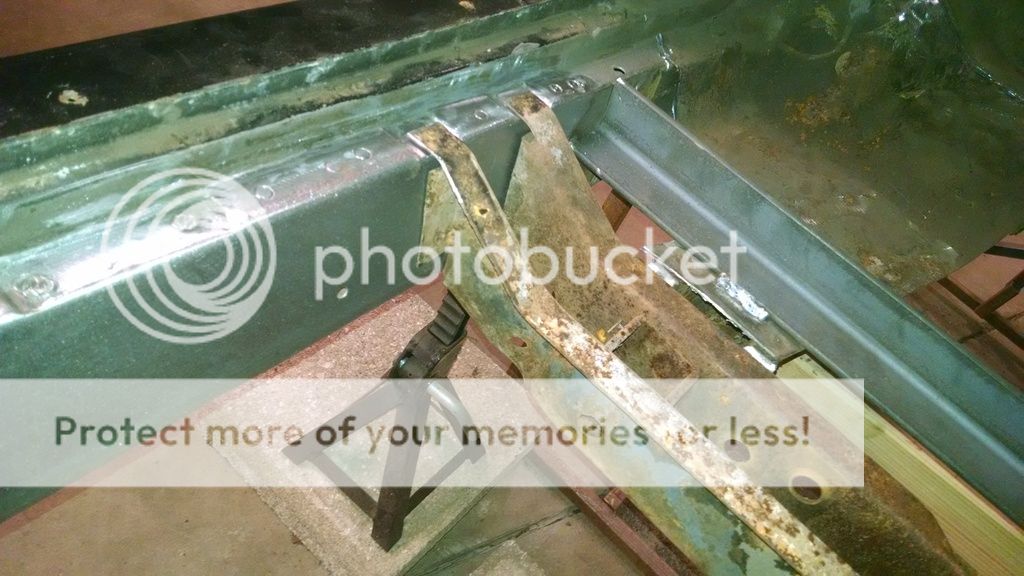
So it was pretty obvious that the inner rockers were going to need some love. So I removed the seat braces and cut more of the front floor away to expose all of the inner rocker to see how big of a patch needed to be made:


The seat braces will need some patch work, but overall they aren't terrible, so Im going to fix them. I soaked them in the parts washer at work then glass beaded them to start my work on them:

I started on the passenger side rocker. With the inner rocker exposed, I marked out where I wanted to patch it and cut that section out. I took the old piece to work and made a new piece on my lunch break. I brought it home, tacked it in place, welded it up and ground it. Then I did the same exact process on the drivers side:


Drivers side:
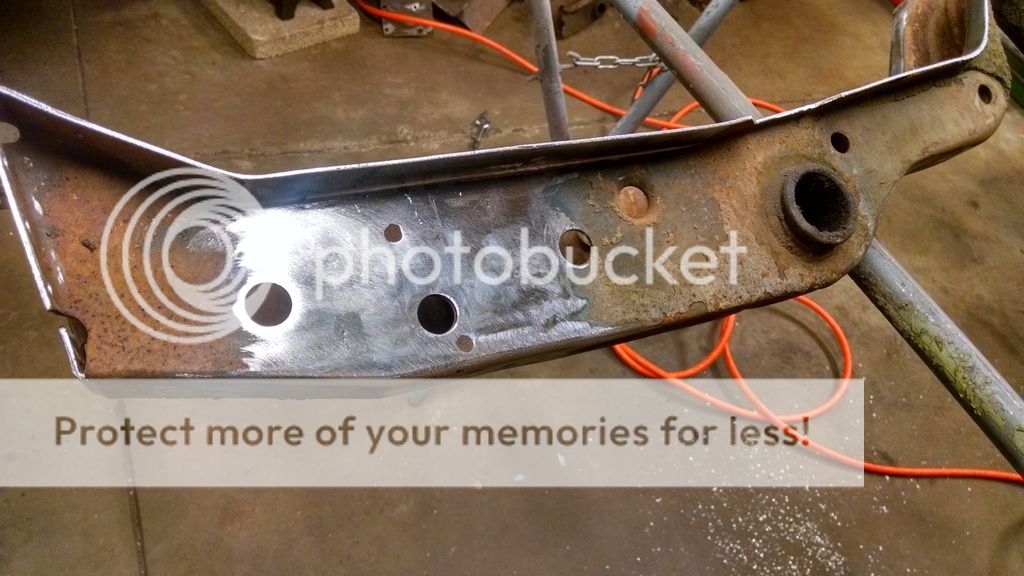
With the rockers done, it was time for the cross member. I ordered an AMD piece, and waited a week for it to come in. Once it did, I wasn't too happy with the fitment. The flanges were pretty far away from the inner rocker which I was ok with fixing, but after taking some measurements I realized that the slugs that the torsion bars slide in to were at totally different angles then the stock piece:
I decided to return the AMD piece and look for an original. After finding a clean cross member (thanks Jamey), I cleaned up and straightened the flanges, fixed the chisel marks from breaking the spot welds, and drilled my holes. The used piece literally dropped back into place. So this week I am going to blast it and get it welded in:
Test fitting the cross member:

After doing some prep work:

So that brings me up to date. I will keep this thread updated and thanks for looking!