• When you click on links to various merchants on this site and make a purchase, this can result in this site earning a commission. Affiliate programs and affiliations include, but are not limited to, the eBay Partner Network.

Fuel Injected, Twin Turbo Charger

Wilde Racing

Active Member
Local time
10:31 PM
Joined
Aug 19, 2012
Messages
35
Reaction score
3
Location
Tracy, CA
Hi all, I thought I'd post my build thread in here. I soon hope to be driving the car soon, although I'm still a long way off from being done. A little bit about me, I'm a very broke (do to two amazing kids) DIY type of guy, I want to build everything myself and some times it costs a bit more that way. Anyway, a two year build in a nut shell.....


I've owned the car sense I was fifteen, but just now decided to start working on it.


Pasted from another forum...


IMG_1124.jpg


IMG_1126.jpg


IMG_1125.jpg


I got the intake from Richard at WCCH.

IMG_1315.jpg


IMG_1332.jpg


IMG_1313.jpg


IMG_1338.jpg


IMG_1340.jpg


IMG_1342.jpg


IMG_1363.jpg


IMG_1364.jpg


IMG_0558.jpg


IMG_0566.jpg


IMG_0587.jpg


IMG_1378.jpg


IMG_0584.jpg


IMG_0585.jpg


IMG_0591.jpg


IMG_0789.jpg


IMG_0788.jpg


IMG_0809-1.jpg


IMG_0814.jpg


IMG_0815-1.jpg


Invested a few more hours in the drivers side manifold........


10e793b6.jpg


4e9378b4.jpg


5ced5e8c.jpg


3c55155a.jpg


Well I got the overall header design done. I still need to finish the merge at the flange for number one and five. and tack number five. The headers are as equal length as I have patience for, Number three is about an inch to short..:eyes:


02a86b29.jpg


6c59fdd3.jpg


a30aa703.jpg


d8ab7ee1.jpg


6d90a28b.jpg
 
Last edited:
I got the drivers side header all tacked together. I need adjust one primary that rolled while tacking, but now I just need to make a device to hold the stupid thing and weld her up....:nod:


here is a few shots of the last merge, what a pain in the ***.....


IMG_0862.jpg


IMG_0863.jpg


IMG_0864.jpg


IMG_0869.jpg


IMG_0872.jpg


IMG_0874.jpg


I got a few supplies the other day. I could not stand the titanic looking factory water pump and my planed belt routing wont allow a full on electric water pump, I decided to go with a cheap cast aluminum one.

IMG_0885.jpg


Think I have enough 1/8 NPT weld bungs??

IMG_0886.jpg


Well update.... five more hours of hair pulling out madness....

IMG_0899.jpg


IMG_0900.jpg


IMG_0901.jpg


IMG_0902.jpg


IMG_0903.jpg


IMG_0905.jpg


IMG_0907.jpg


IMG_0908.jpg


IMG_0910.jpg
 
As for an update, I have started a few new hobbies in the last two weeks which has pulled me away from working on the charger. One of the new hobbies is carbon fiber. I need some non metal custom stuff and I cant mold or weld plastic, carbon fiber and fiberglass is the next best thing I think... I've got a ton of supplies on the way and have made a few chunks of practice carbon. I plan on making the center console out of carbon as well as other things. Ill post pictures of the aspect of the build later.

My other new hobby is machining. In the aim of improving my tooling abilities, I recently acquired a small bench top style drill/mill. It is a very old Jet-16. It should help with any of the milling need for the charger project, once I figure out how to use the thing.... lol I might start a thread in our tooling section after I figure a few things out with it...

Here is the titanic-esk drill/mill, It nearly killed me and a friend of mine when we unloaded it. It is a pig.....

IMG_0926.jpg


I milled a 3/8 bolt head down to 10mm so I can mount the four jaw chuck to my rotary table. I know I could have bought an allen cap screw, but why? I need the practice anyway.

IMG_0928.jpg


I also managed to fit in a small amount of header work last night..

IMG_0930.jpg


IMG_0932.jpg


I got number four pretty much done....


IMG_0957-1.jpg


IMG_0954.jpg


Well it's time to start welding :D

I also raised number six primary to gain "air" room for the poor shock bushing..


IMG_0990.jpg


IMG_0993.jpg


IMG_0998.jpg


IMG_1006.jpg


IMG_1010.jpg


IMG_1016.jpg


IMG_1022-1.jpg


IMG_1028-1.jpg


IMG_1022.jpg
 
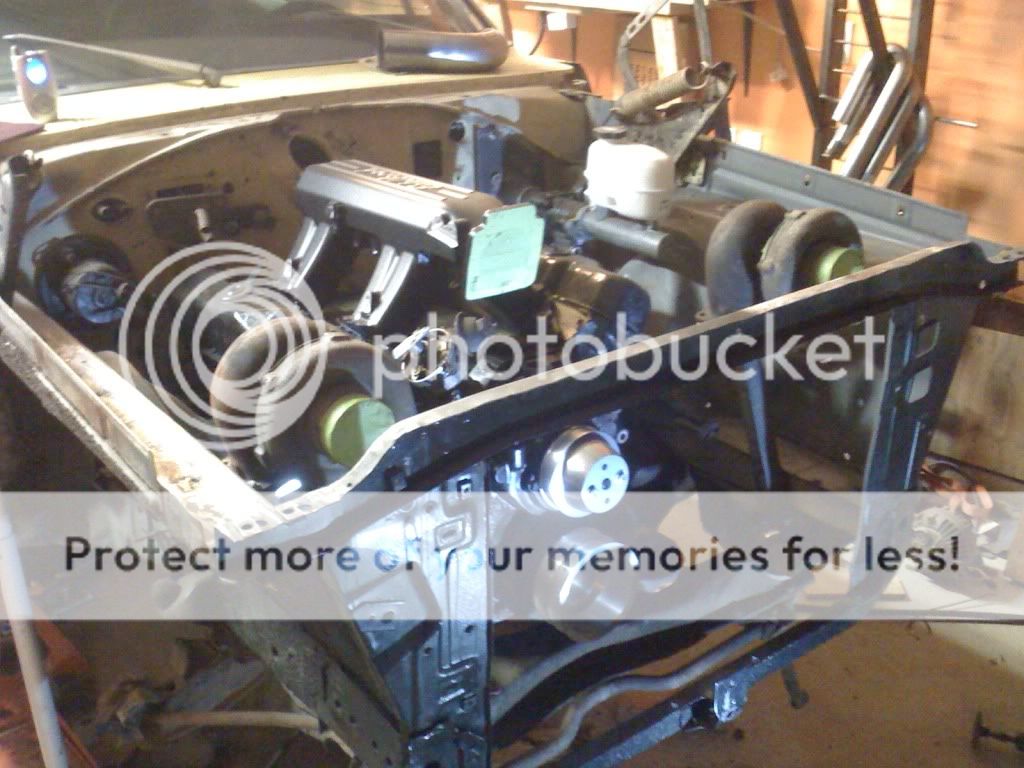
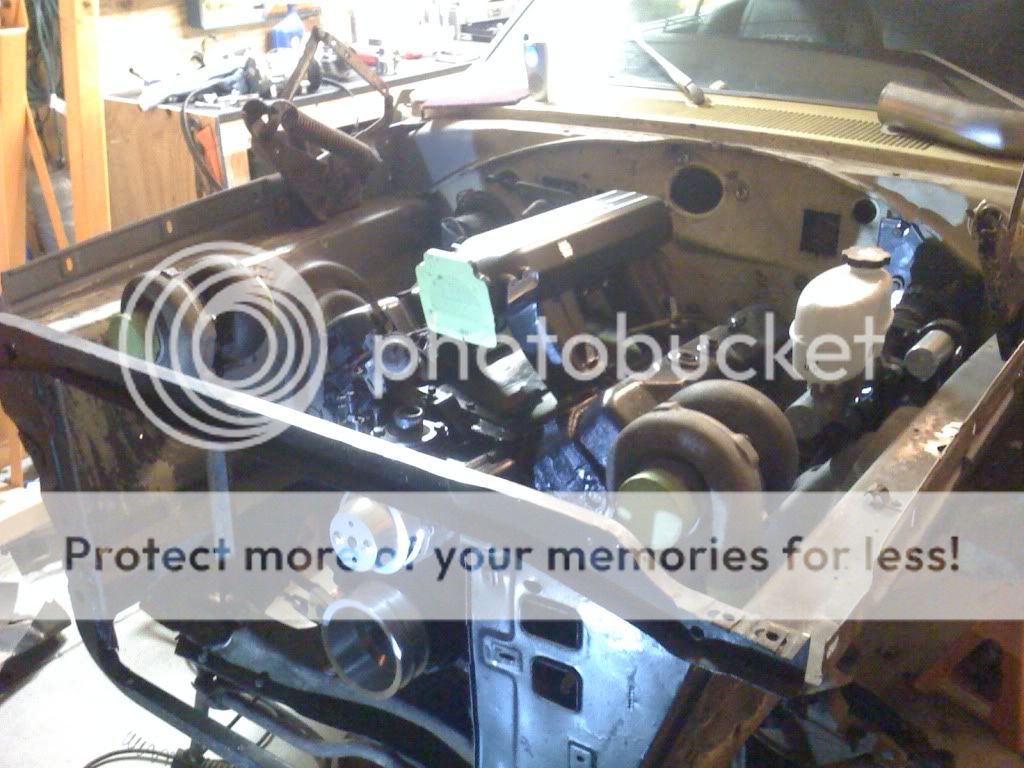
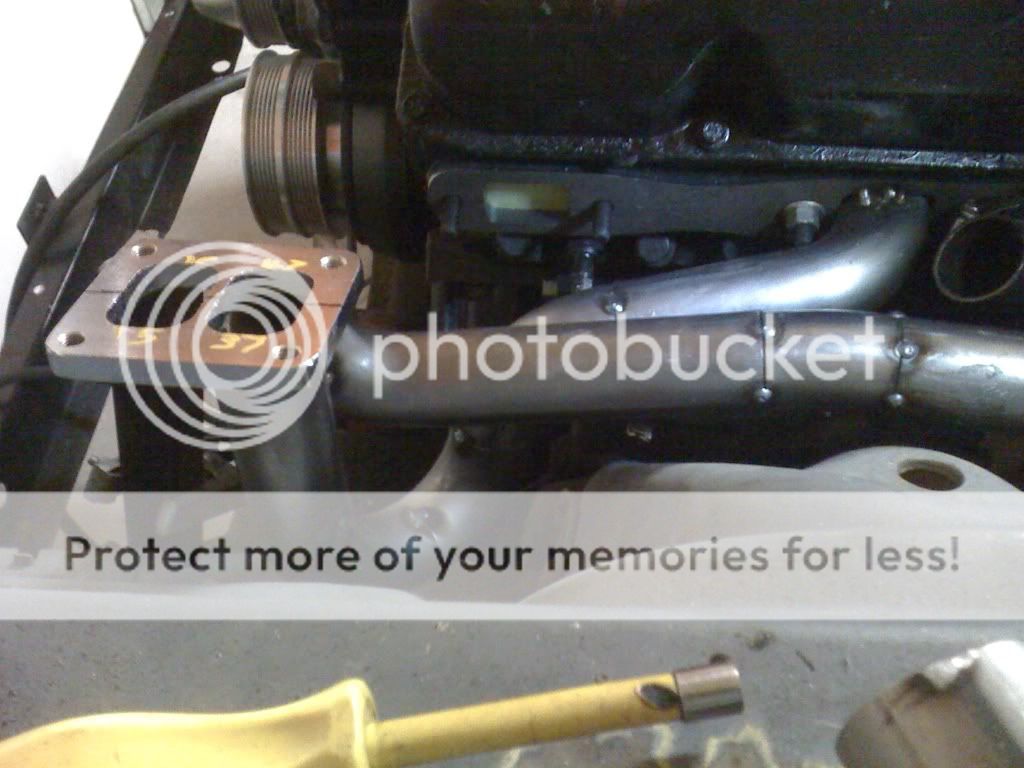
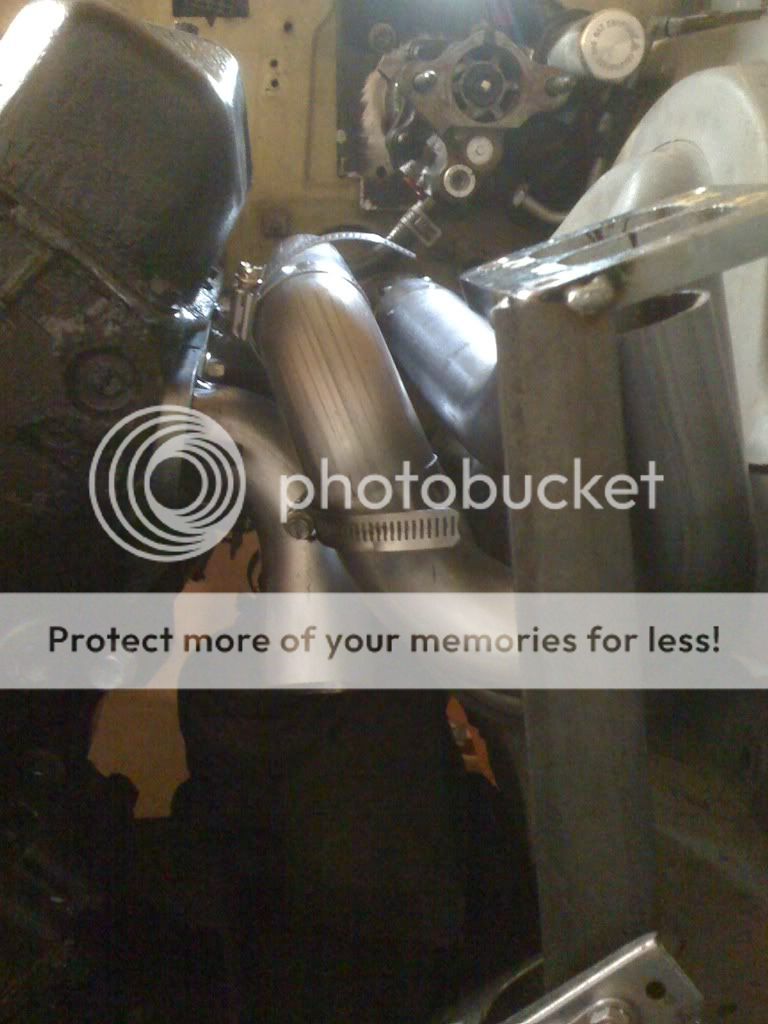
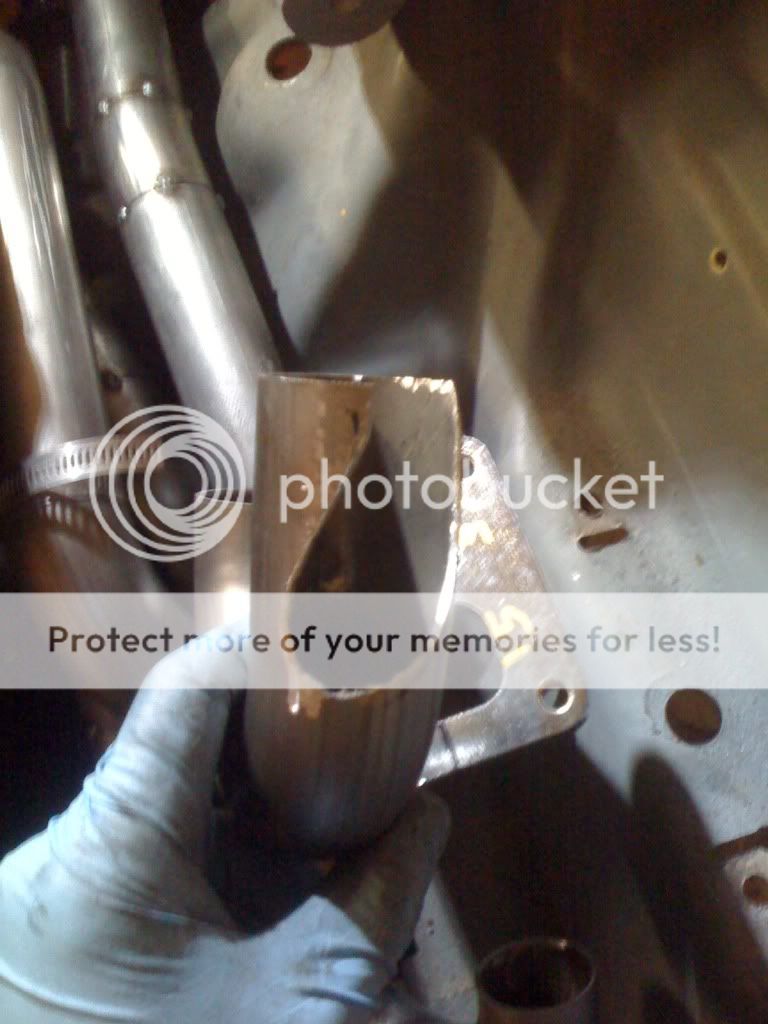
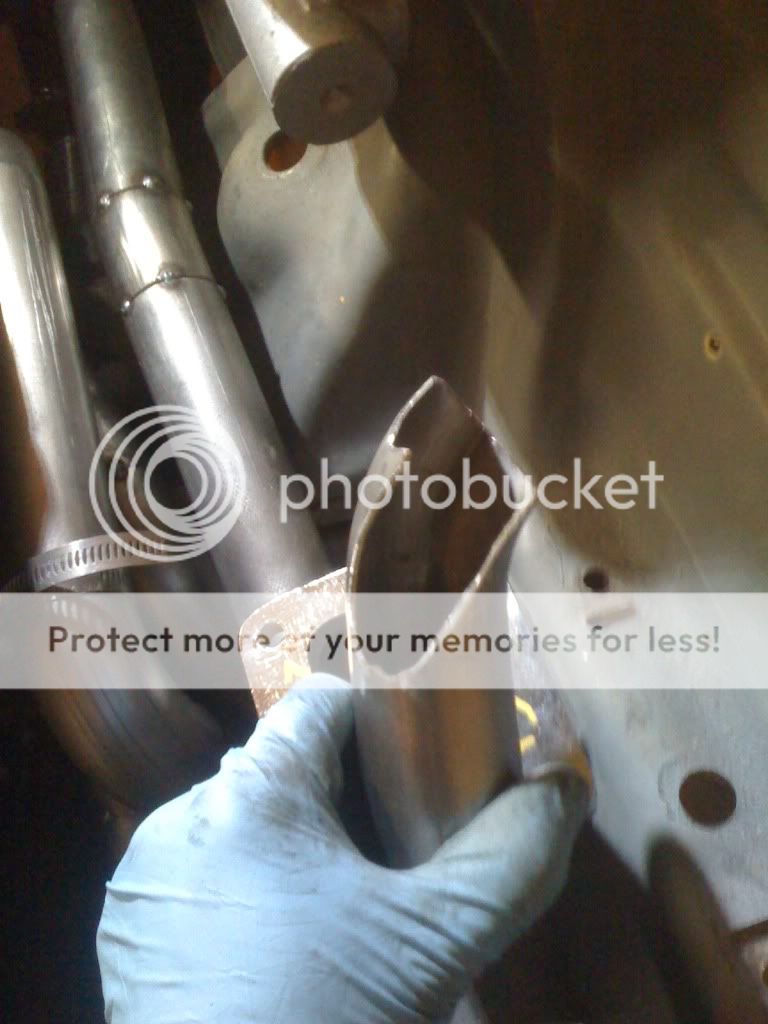
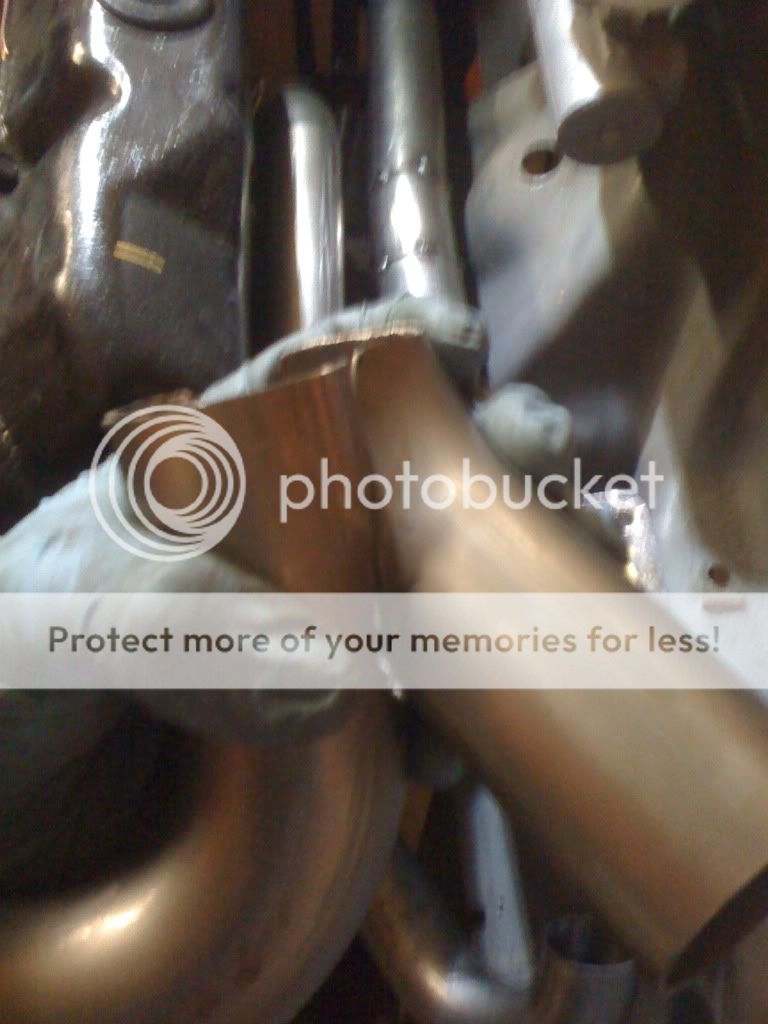
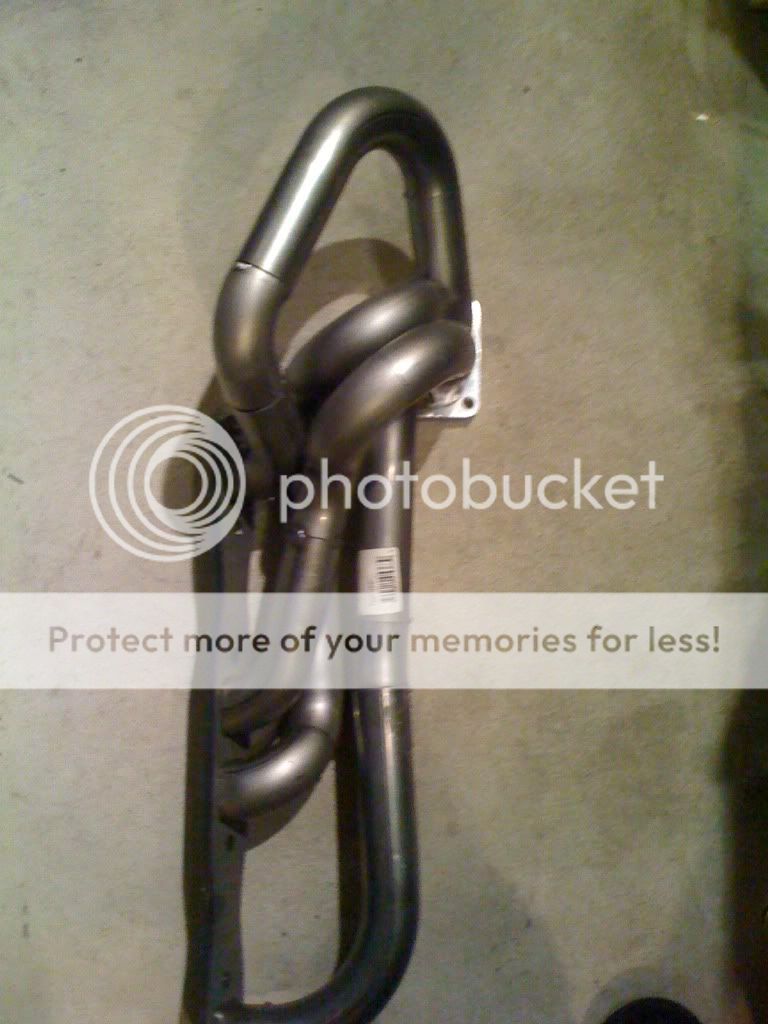
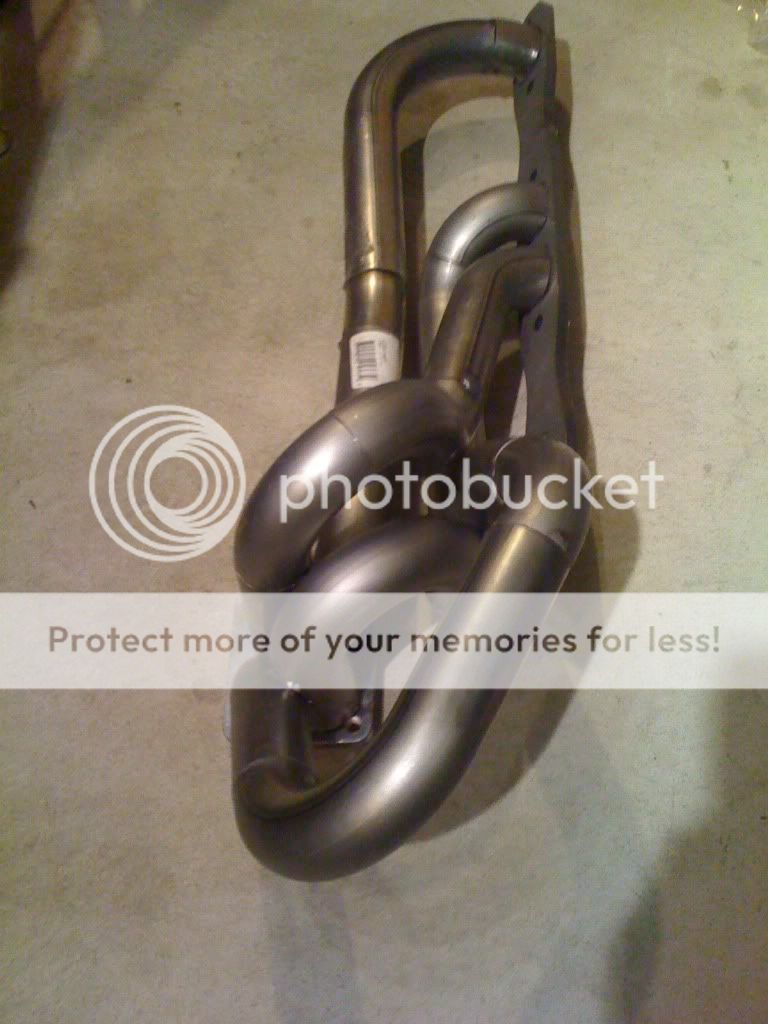
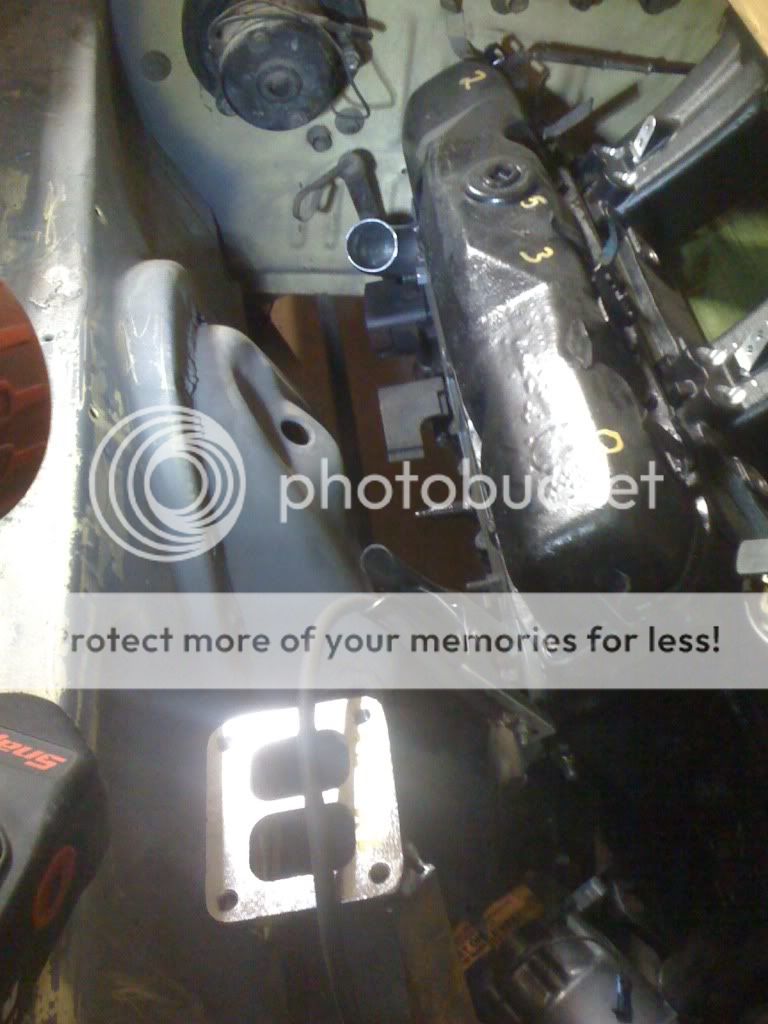
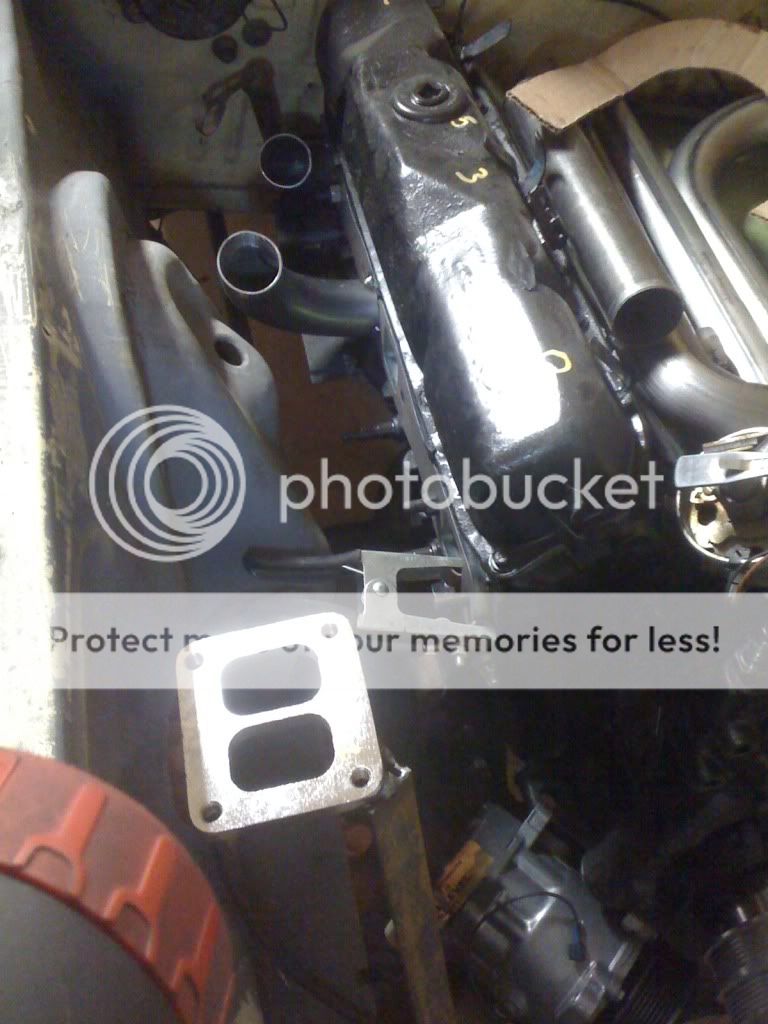
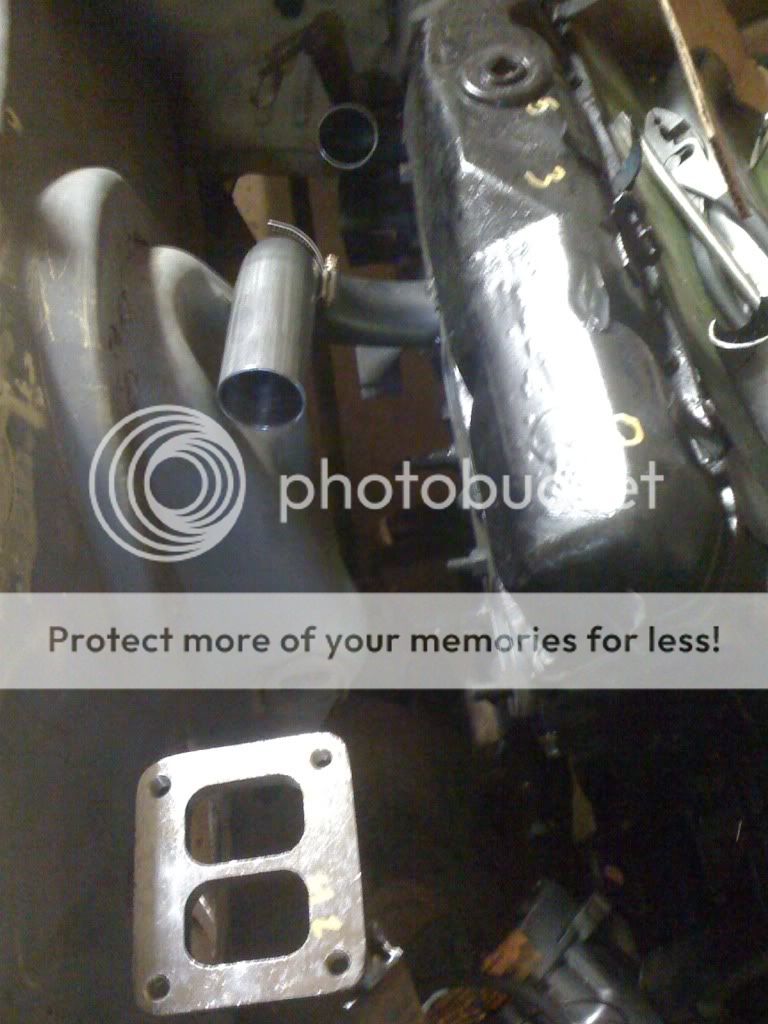
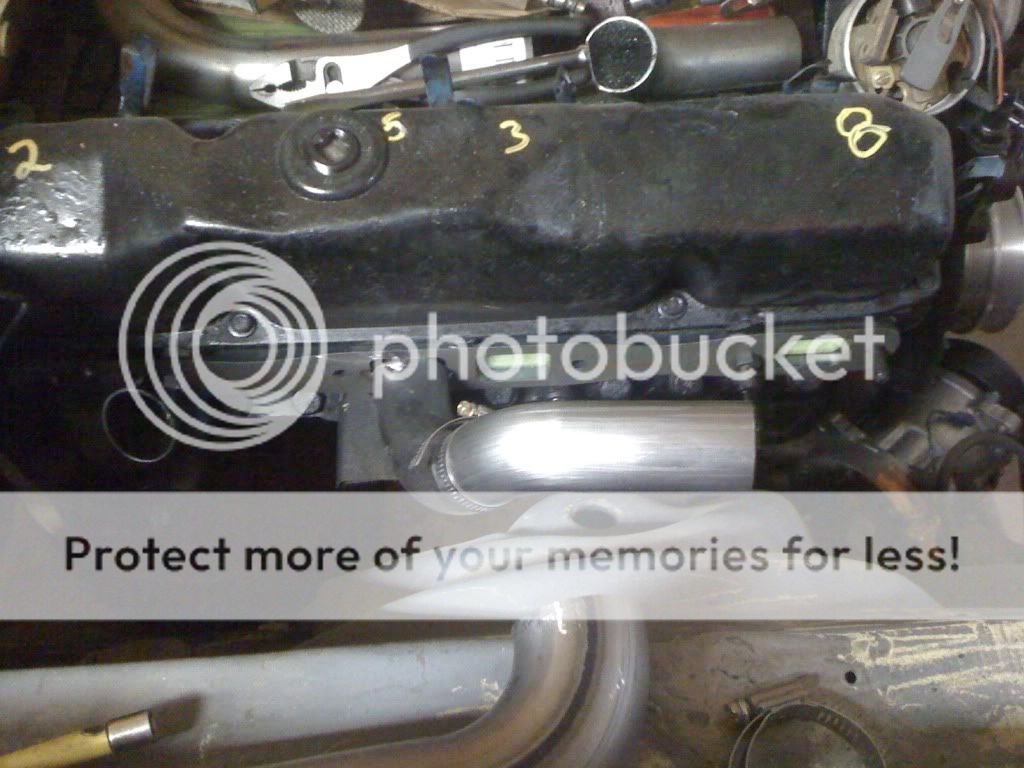
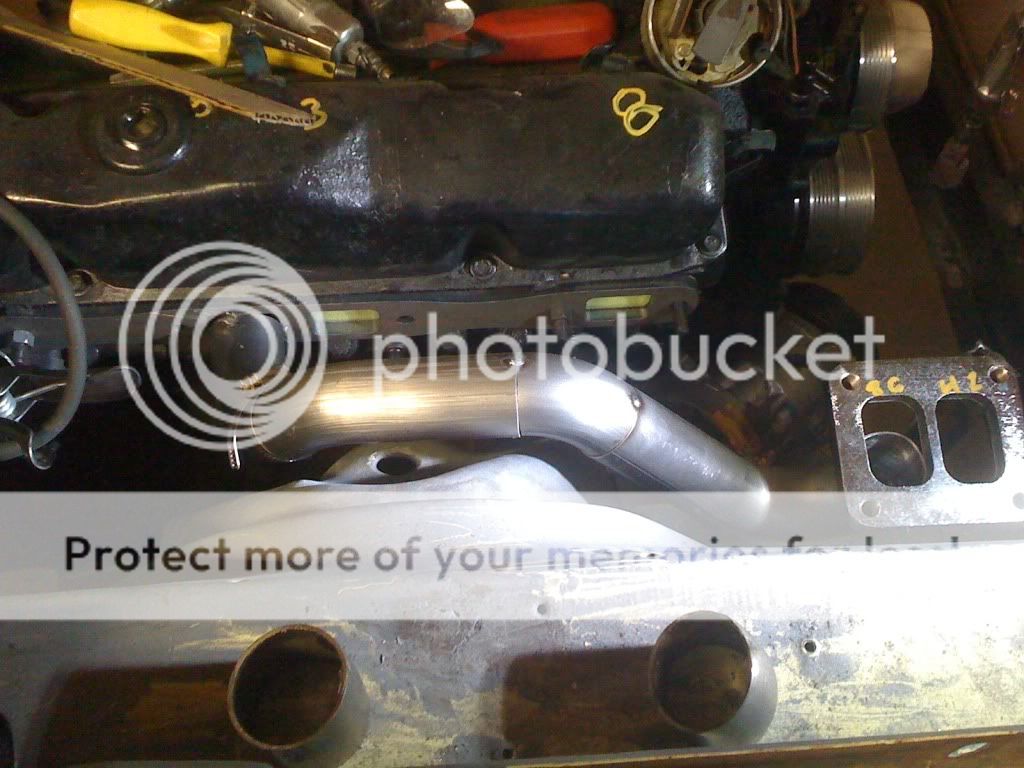
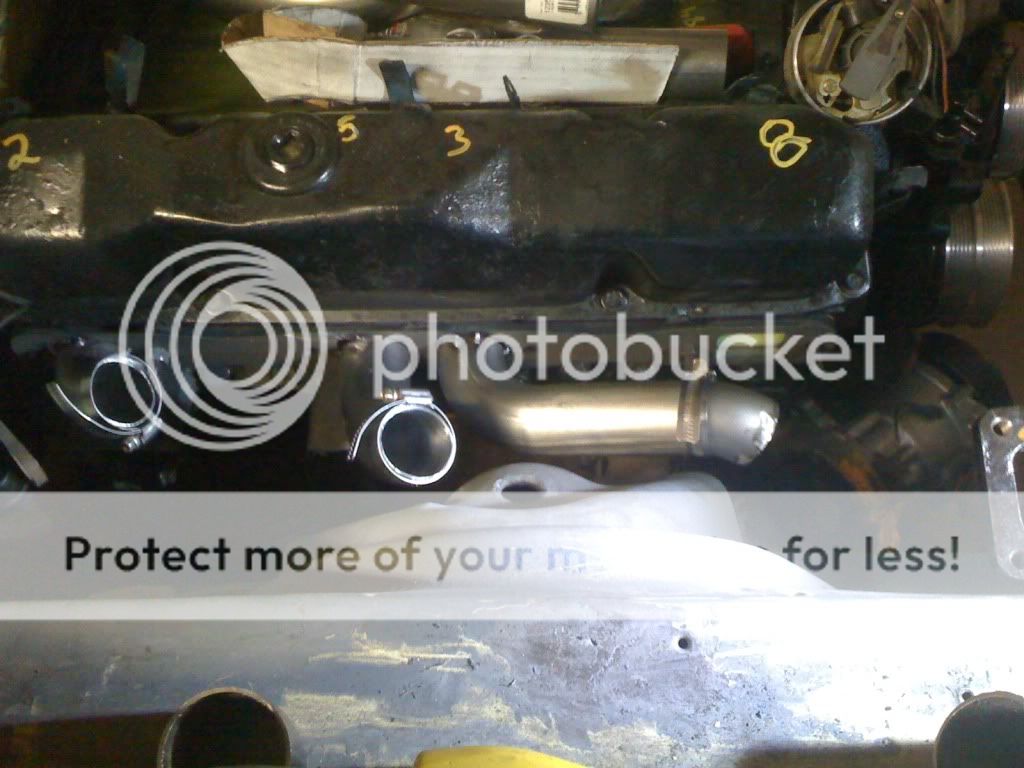
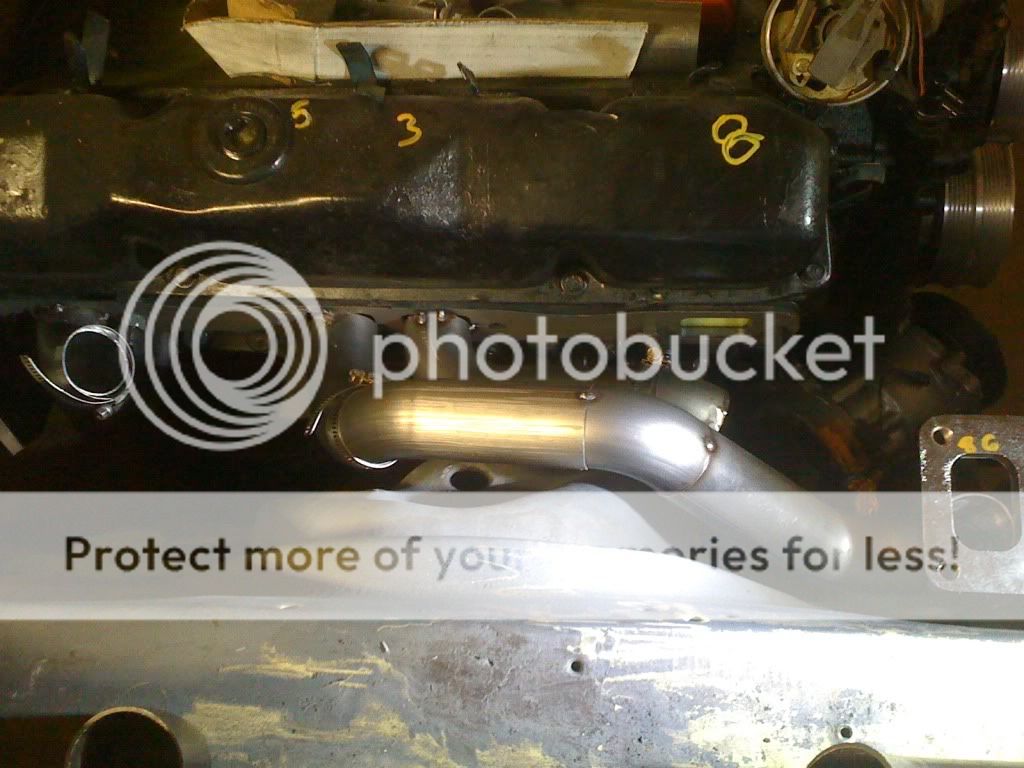
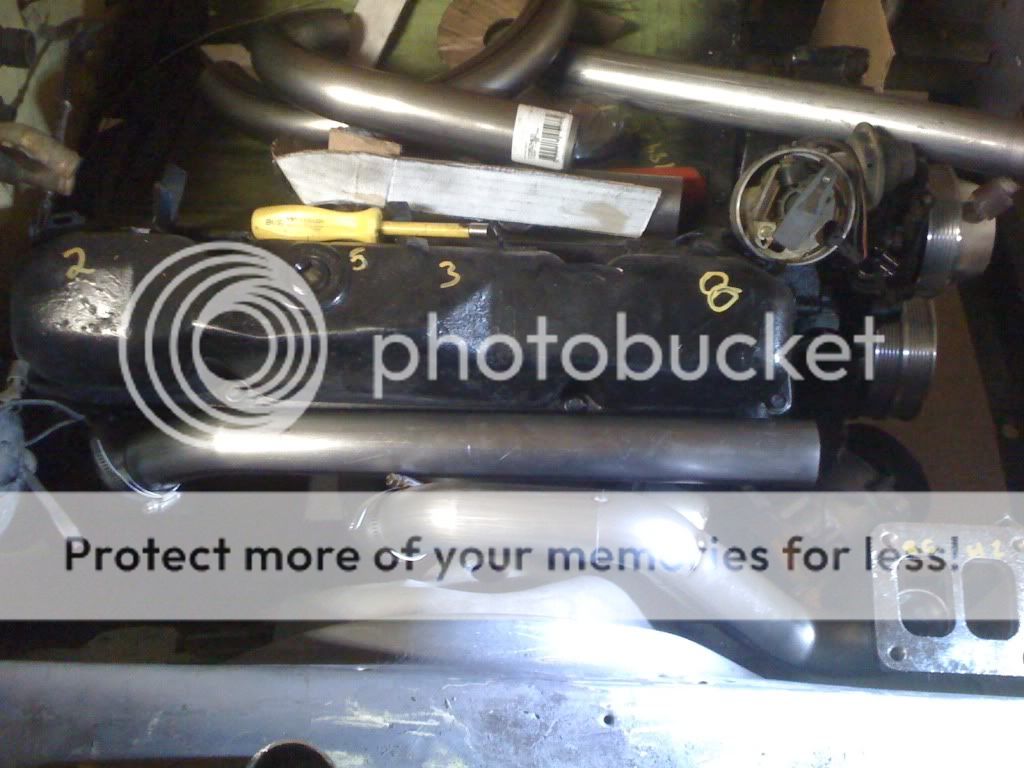
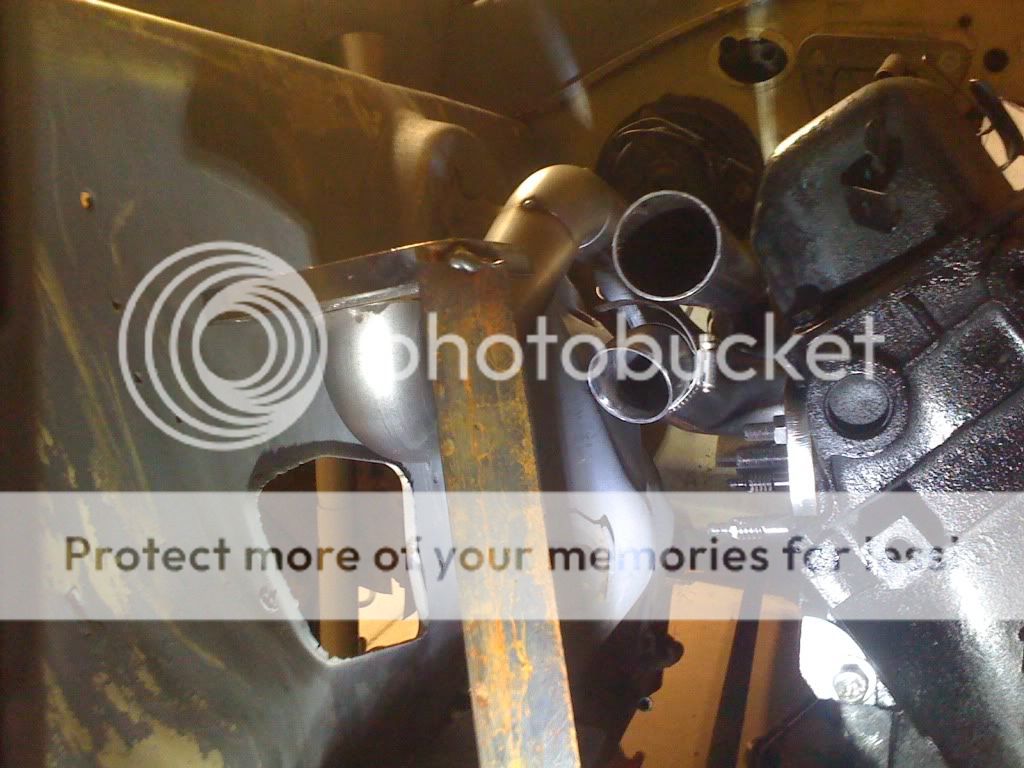
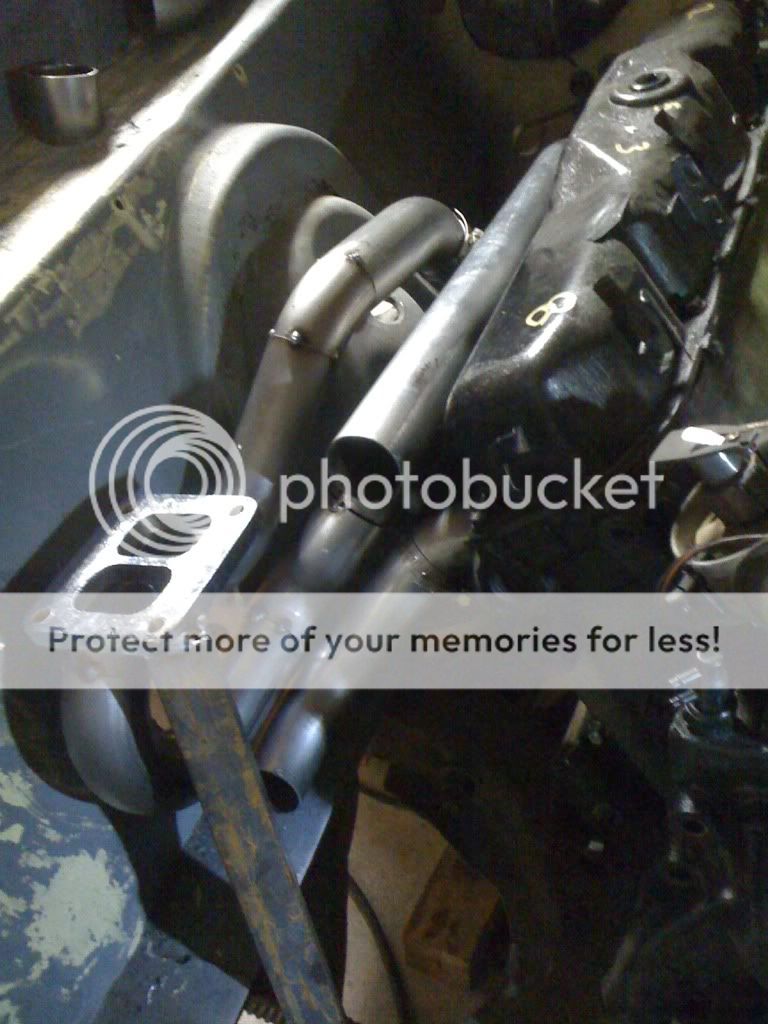
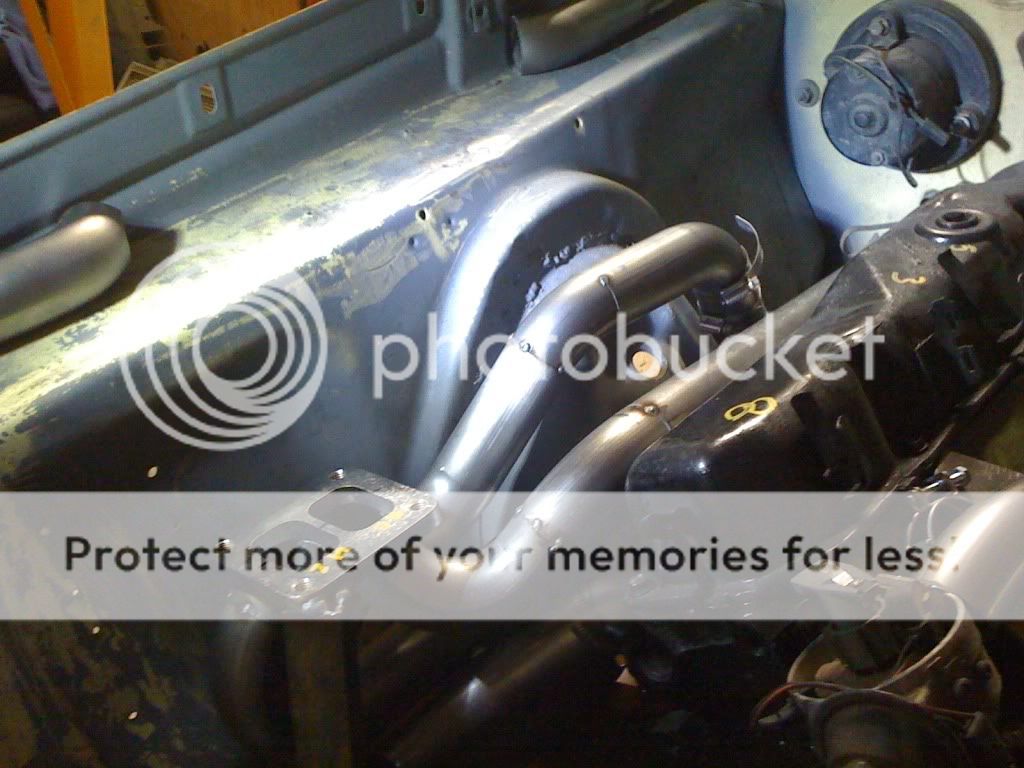
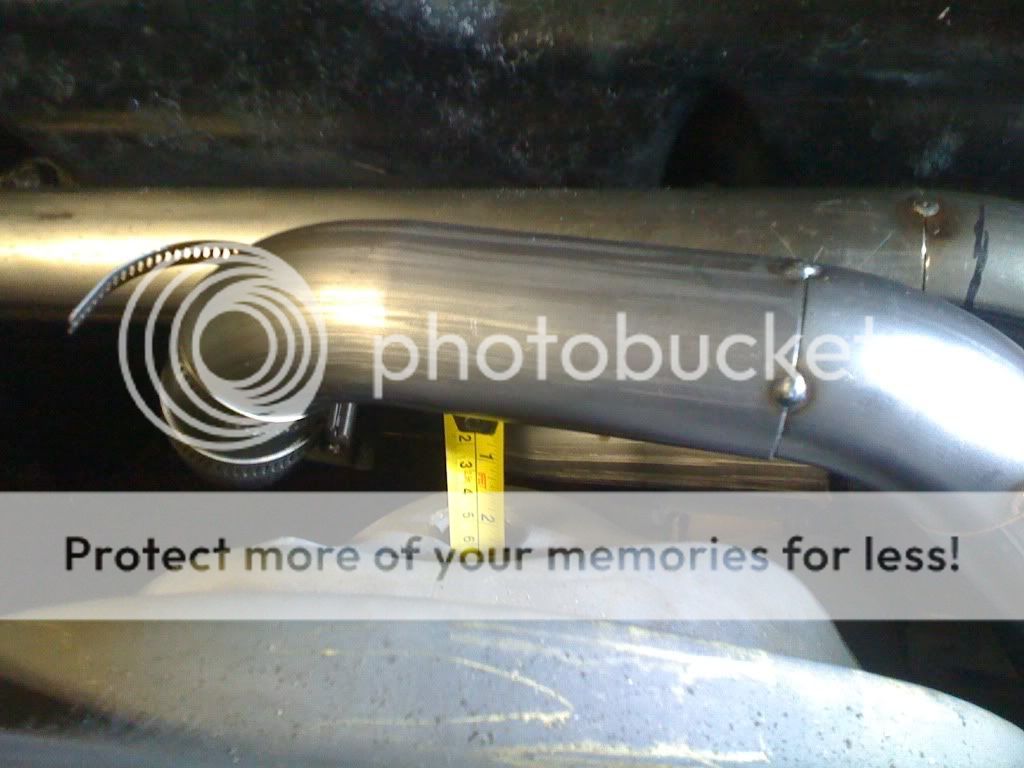
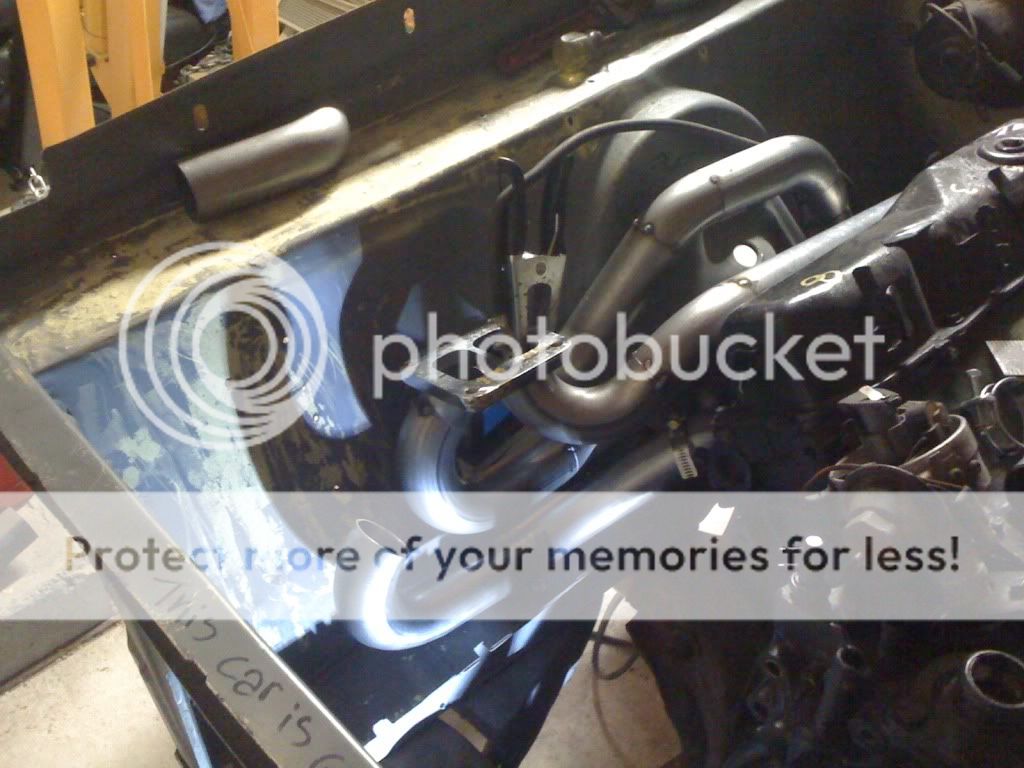
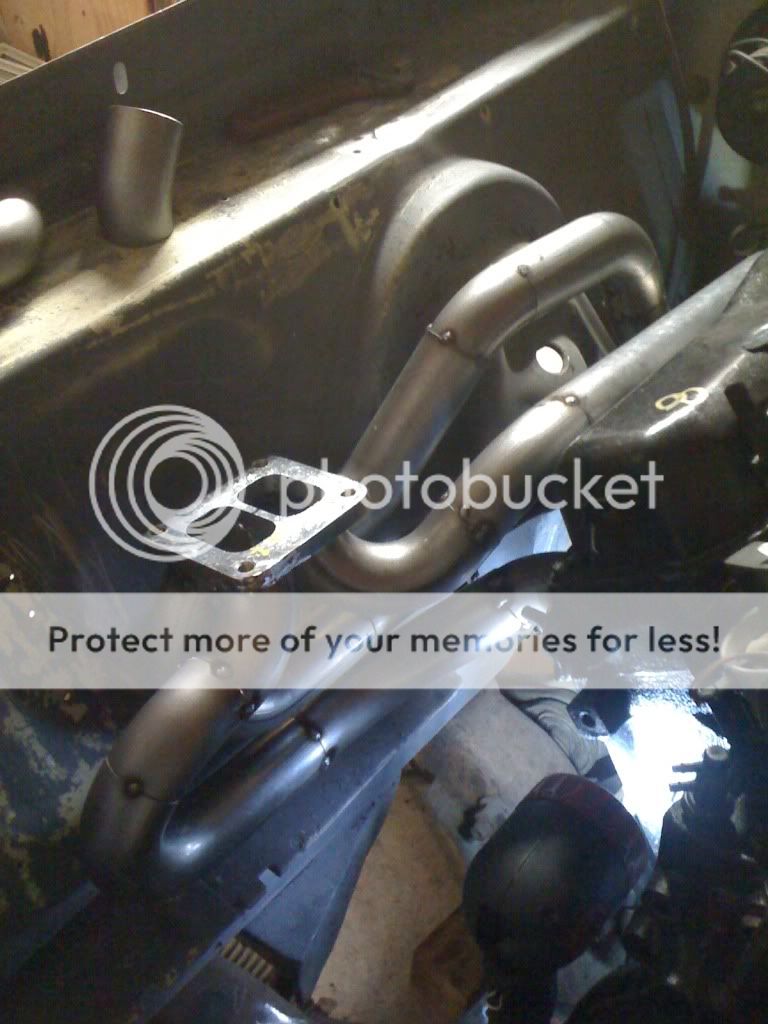
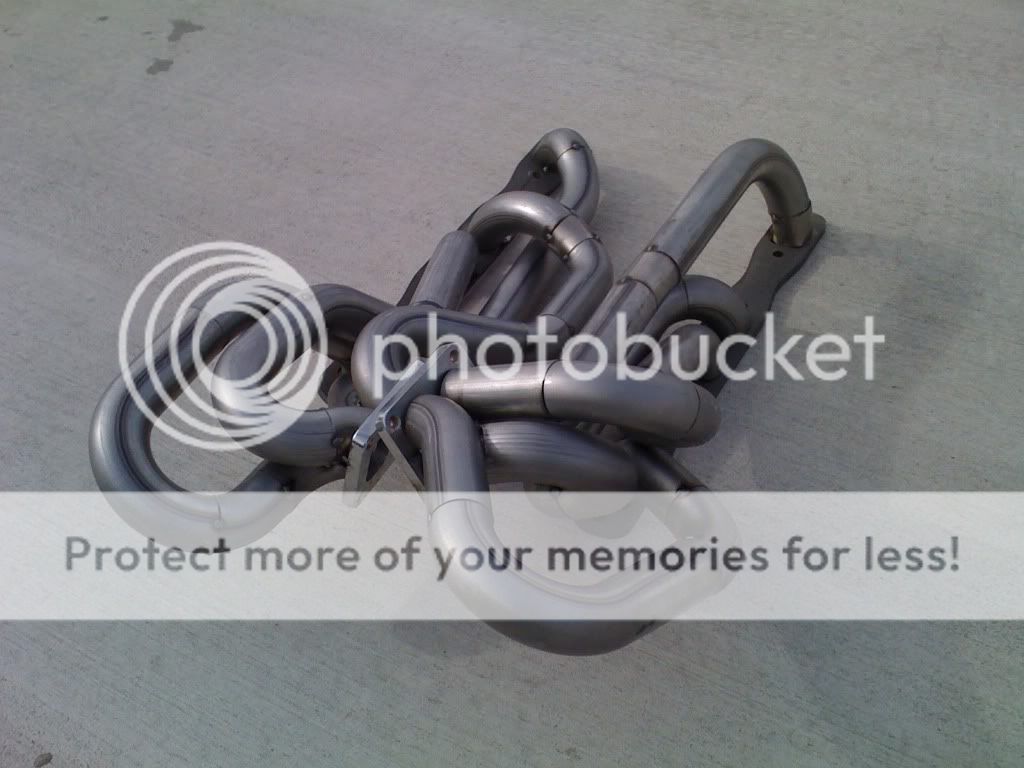
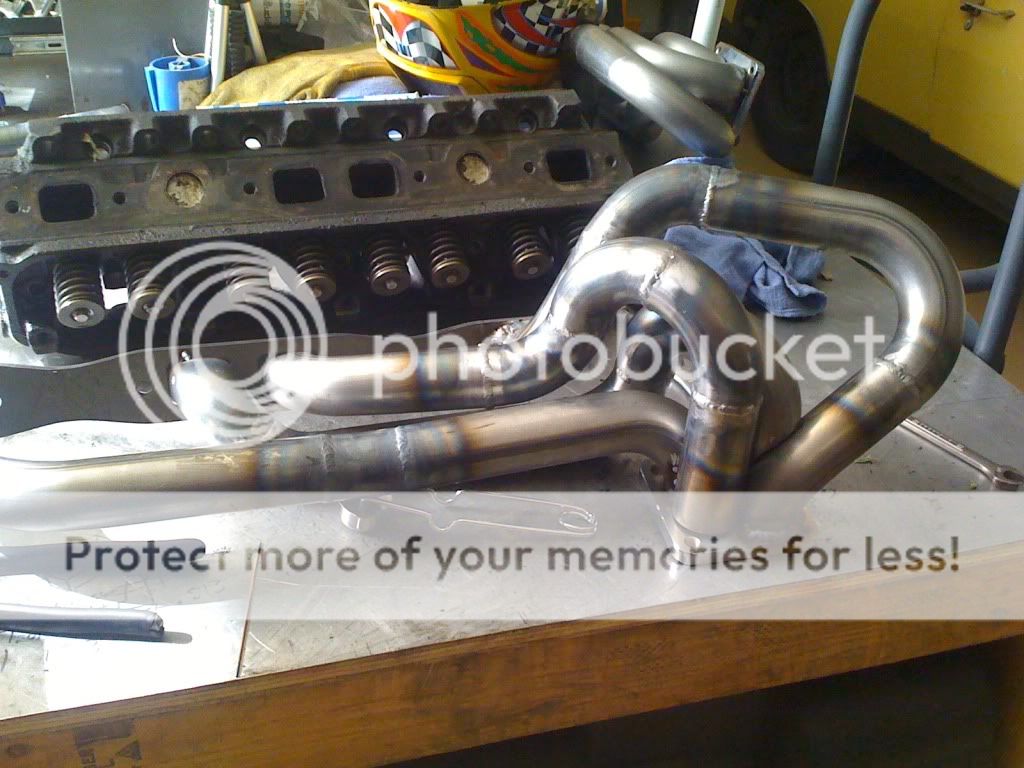
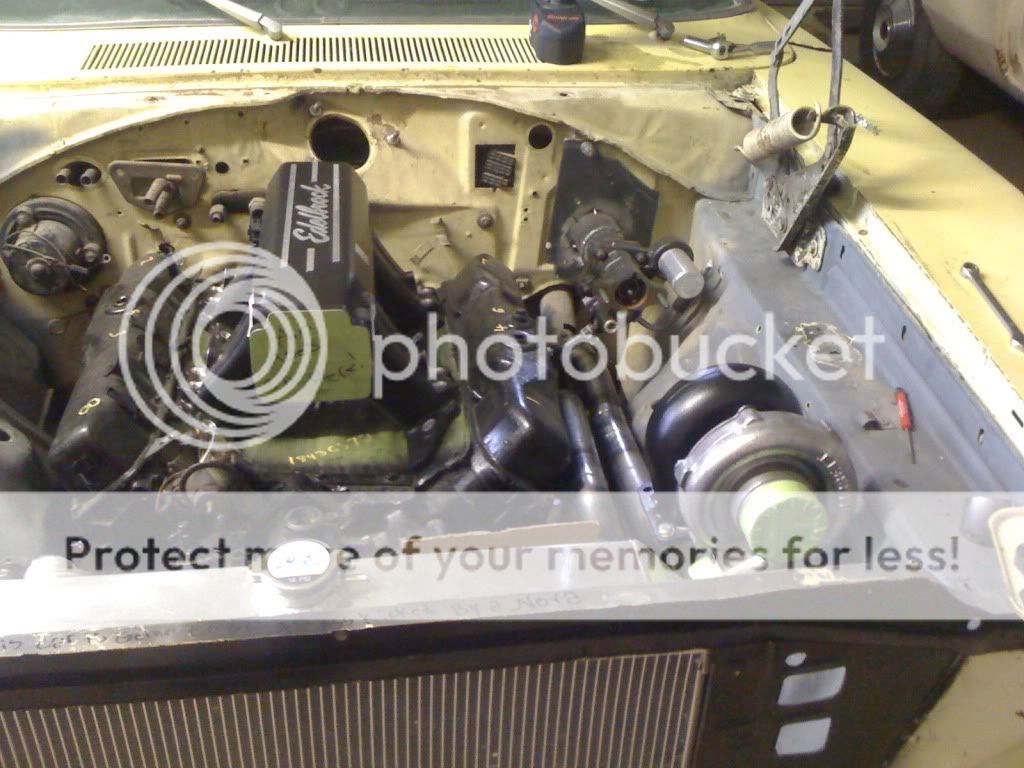
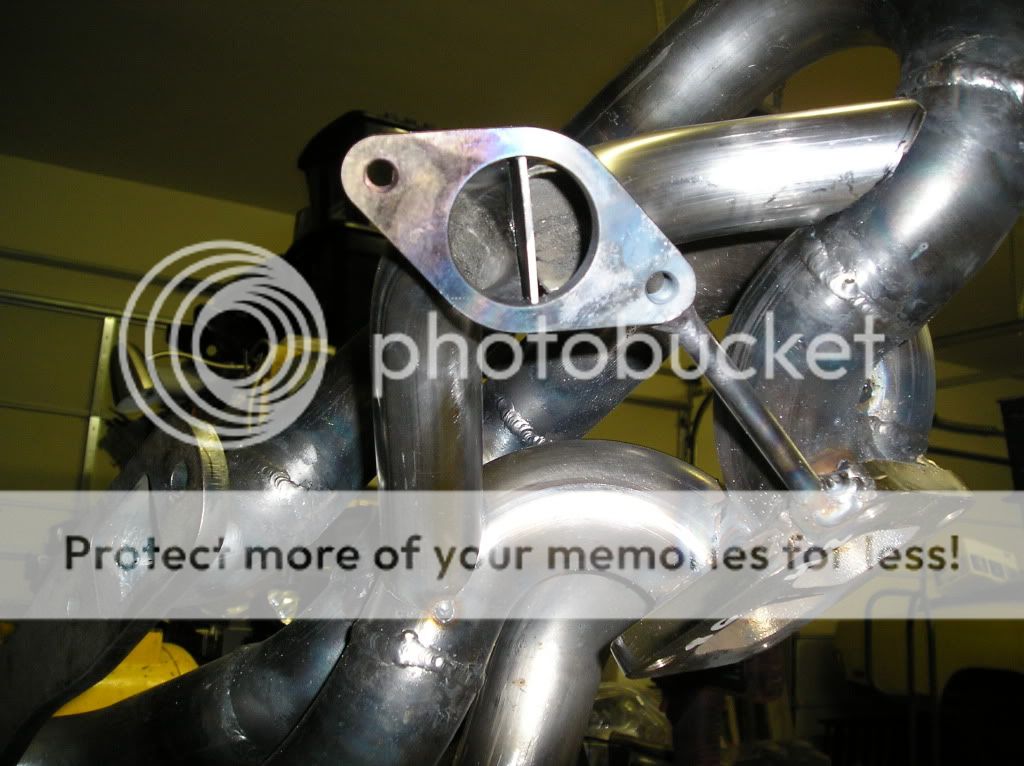
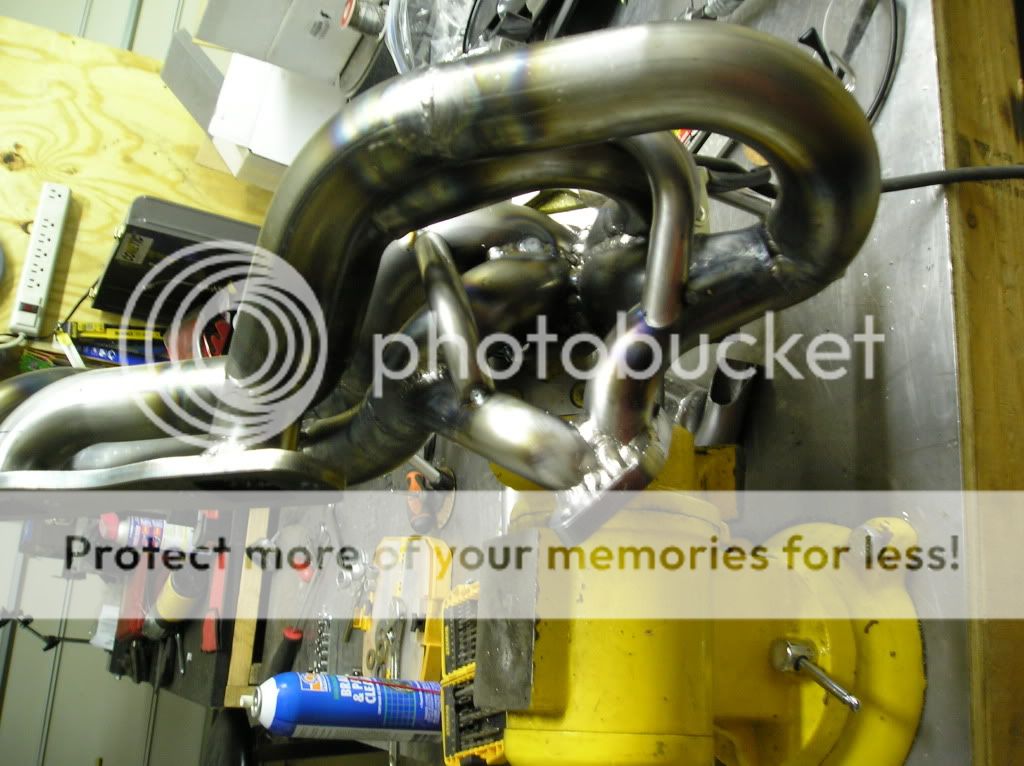
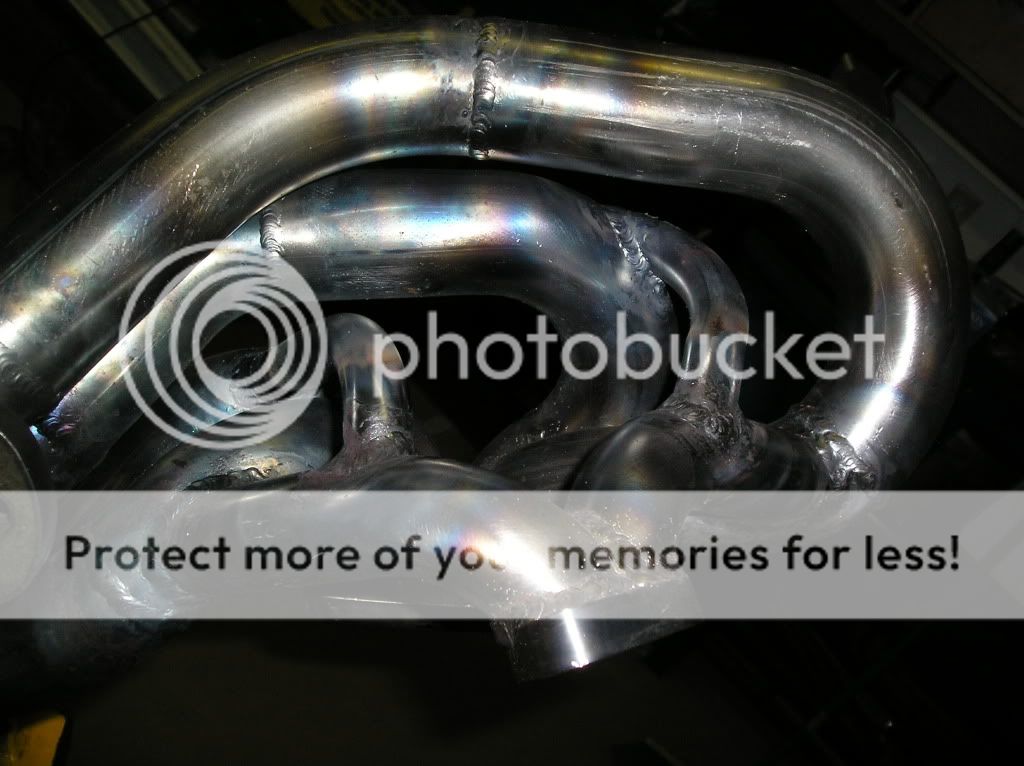
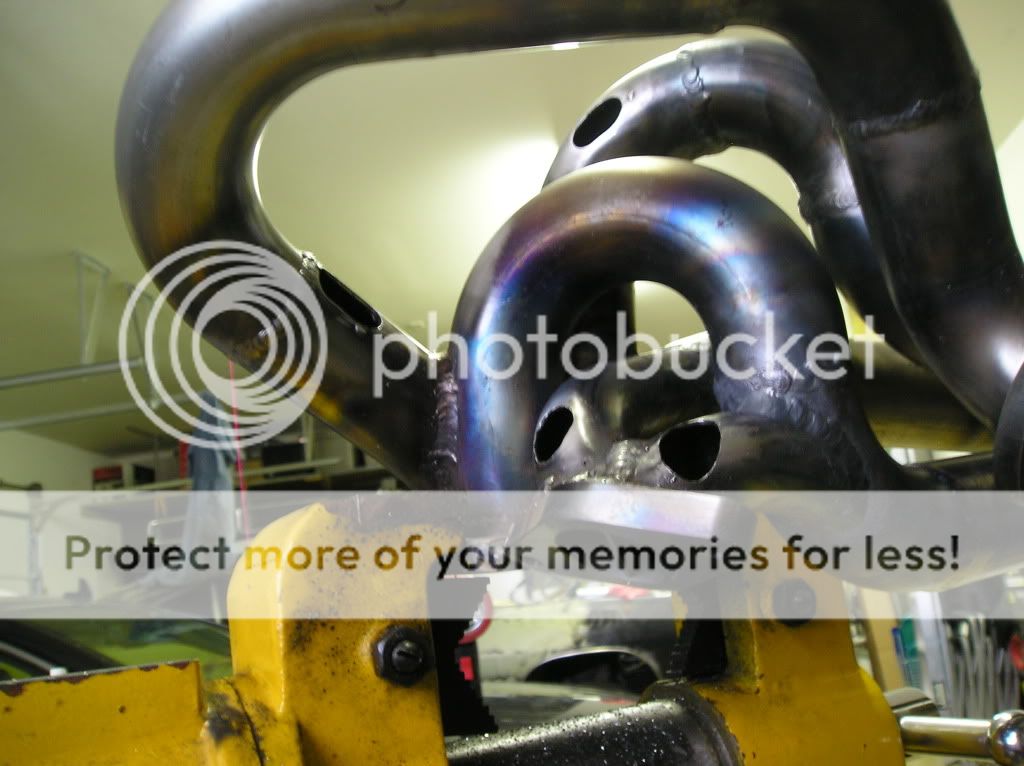
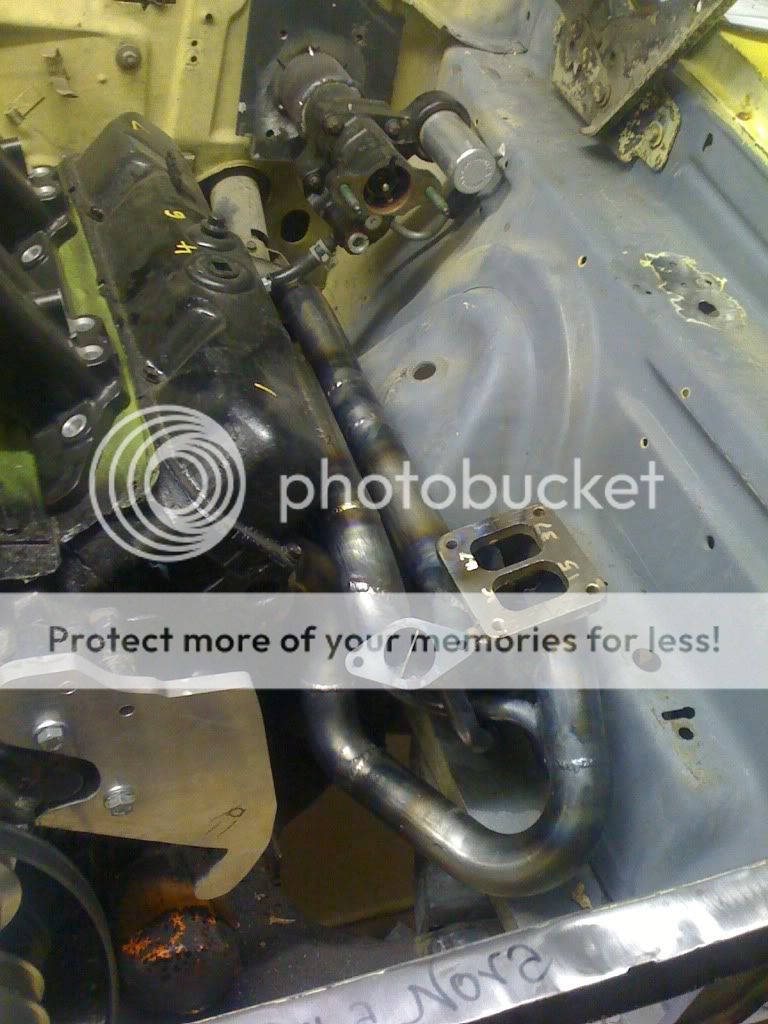
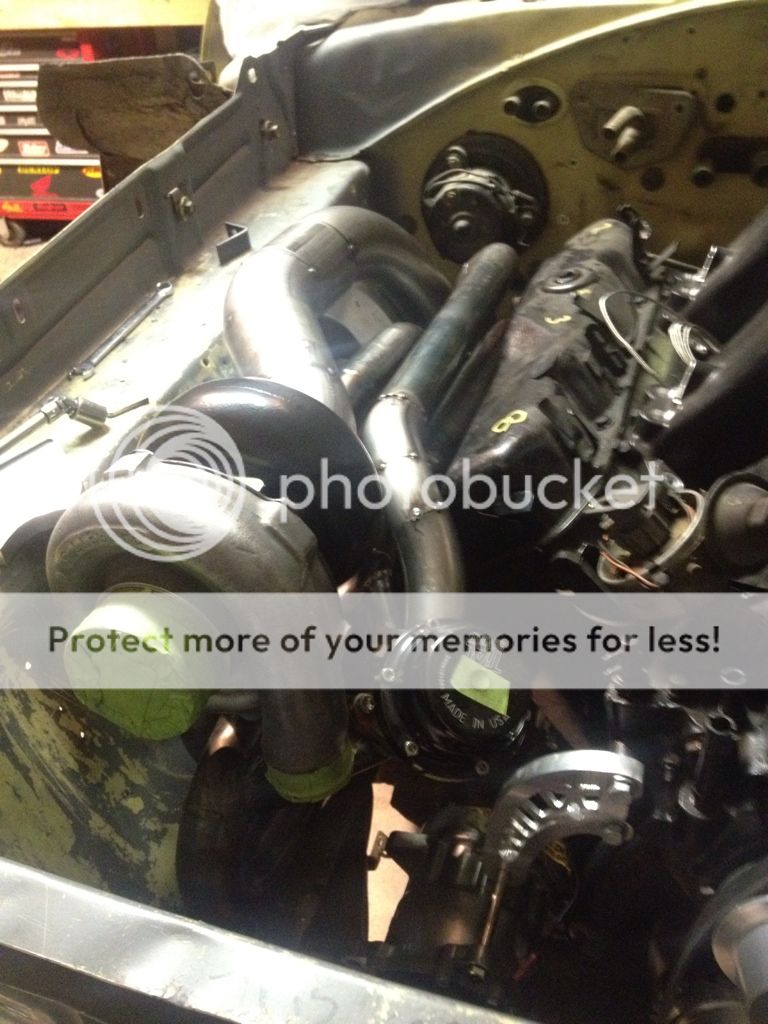
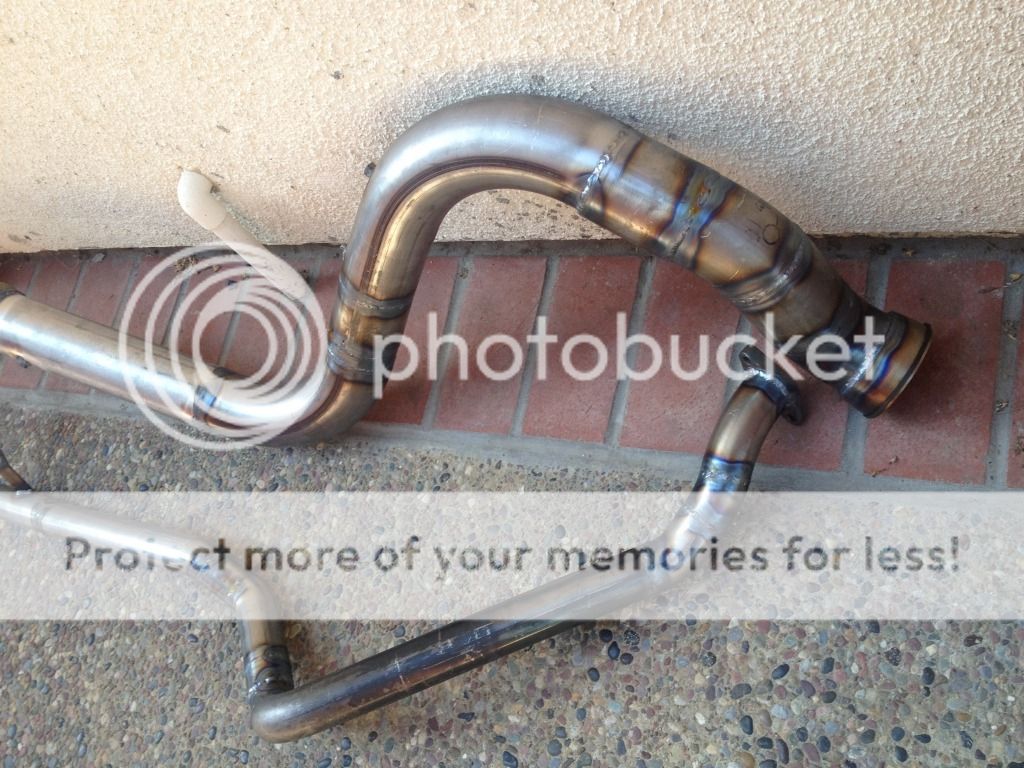
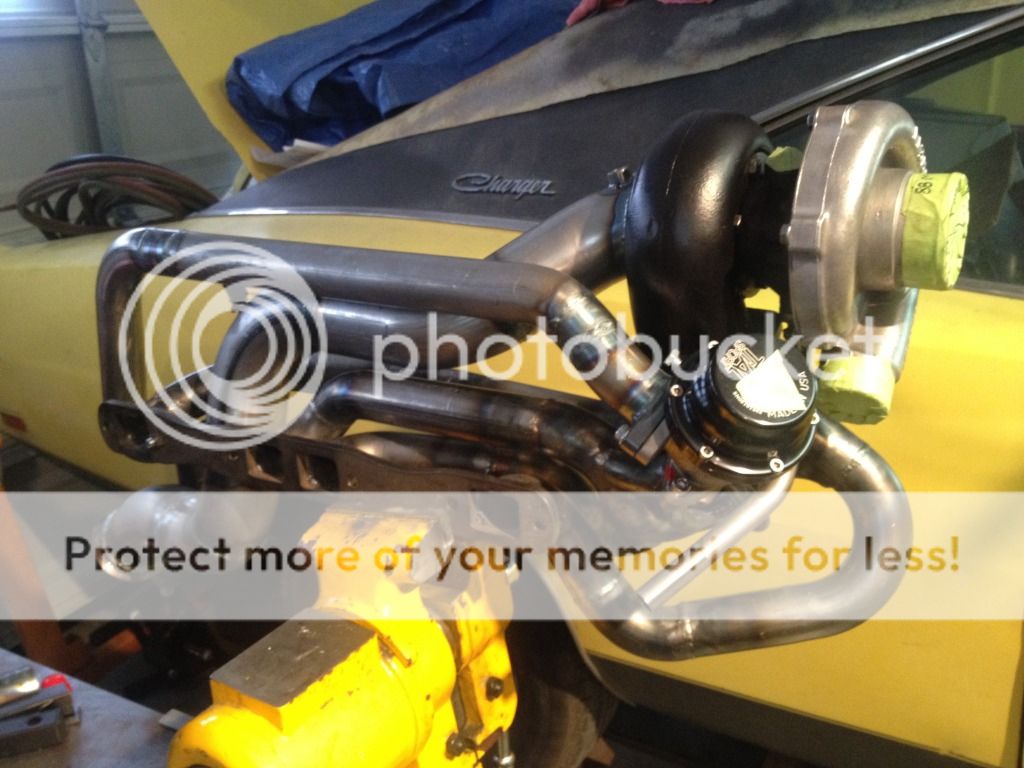
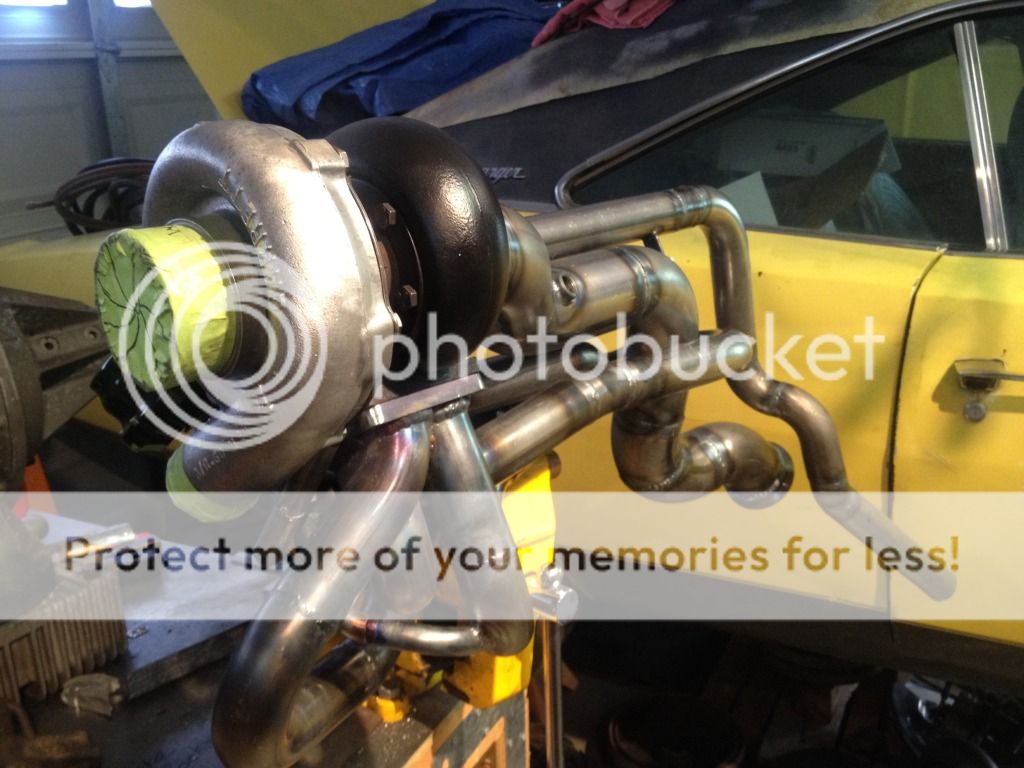
Back from the dead..... I have been moving to a new house this past month so it has been a while sense I got and "Charger time". I did manage to find time to weld up one header. It is not totally done but I'll finish it up when I weld the waste gate and the seven sensor fittings........

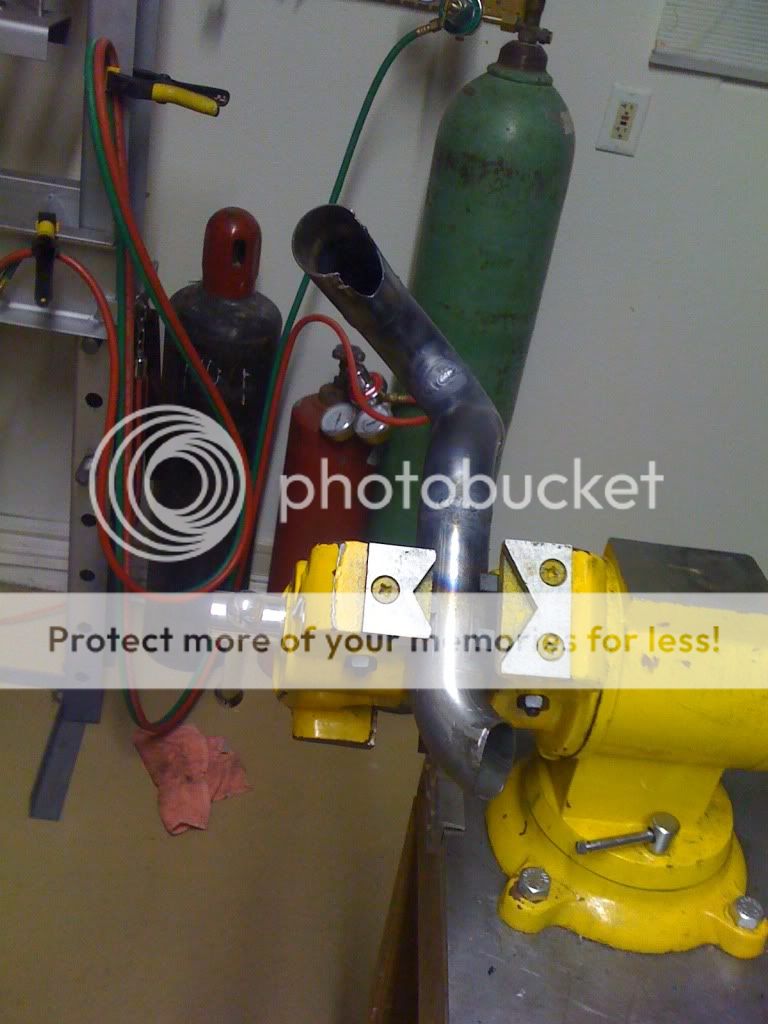
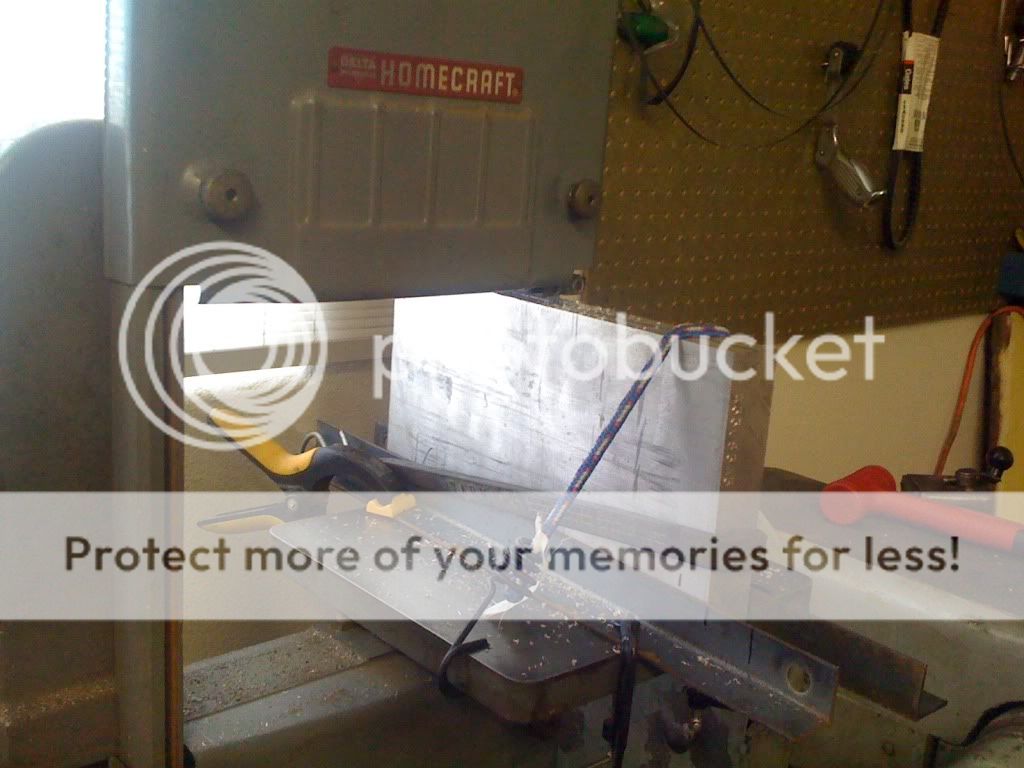
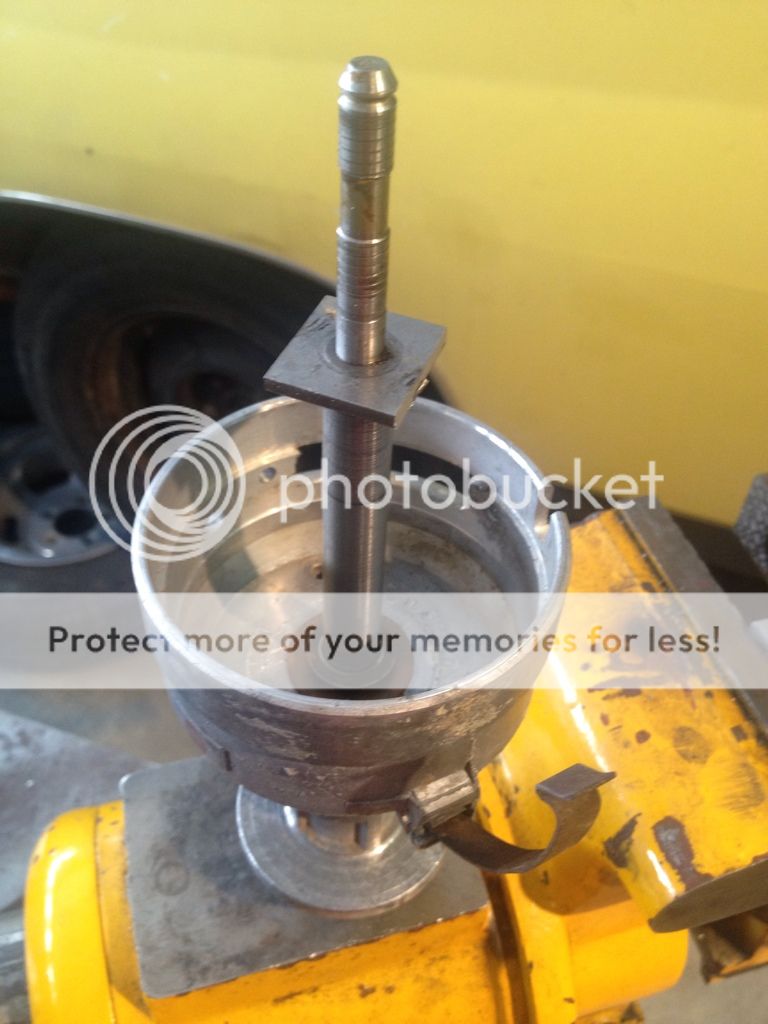
You can see my "poor man's TIG" in the background of the first shot. That is what I'll be using for most of the joints......

IMG_1164.jpg


IMG_1165.jpg


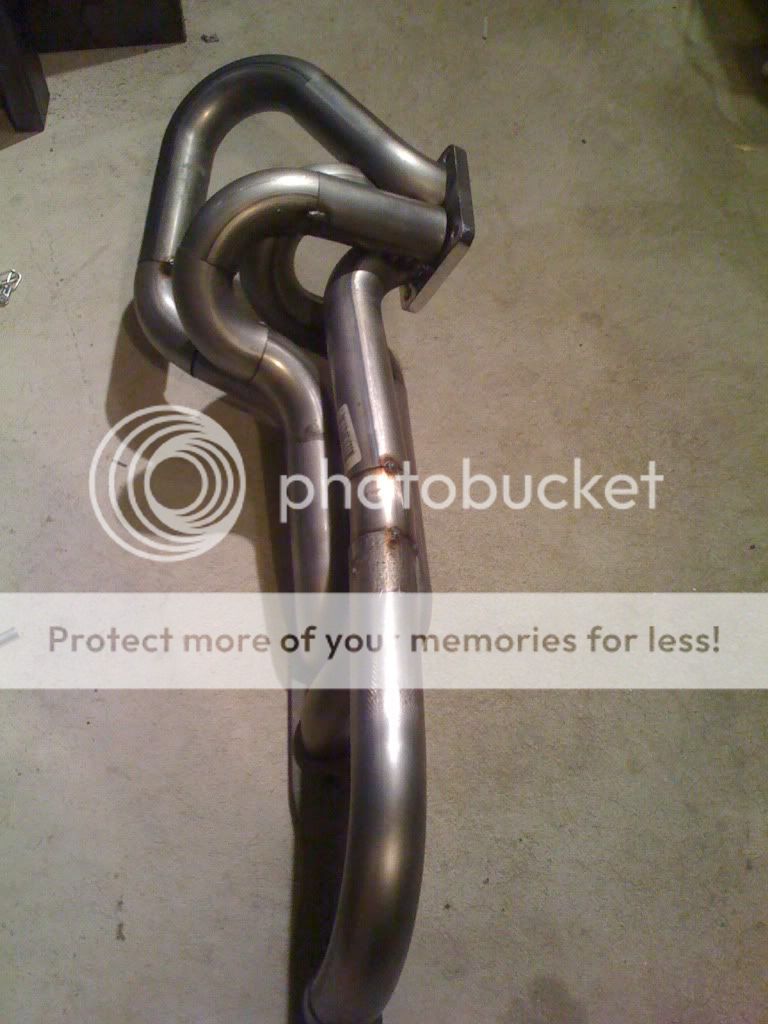
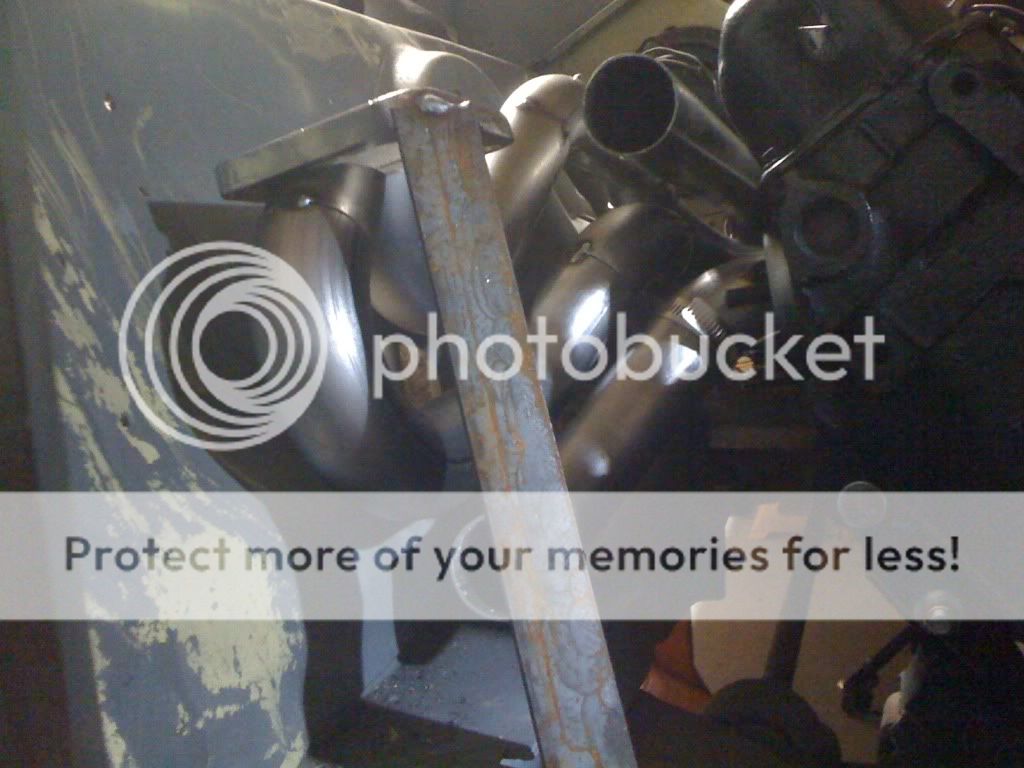
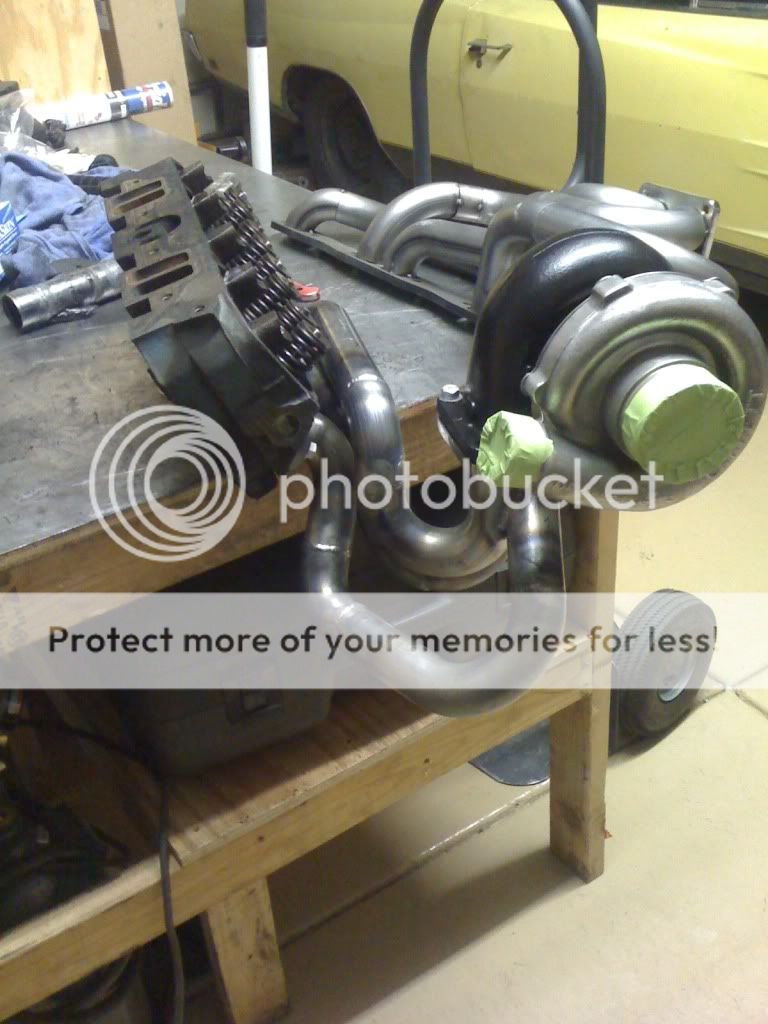
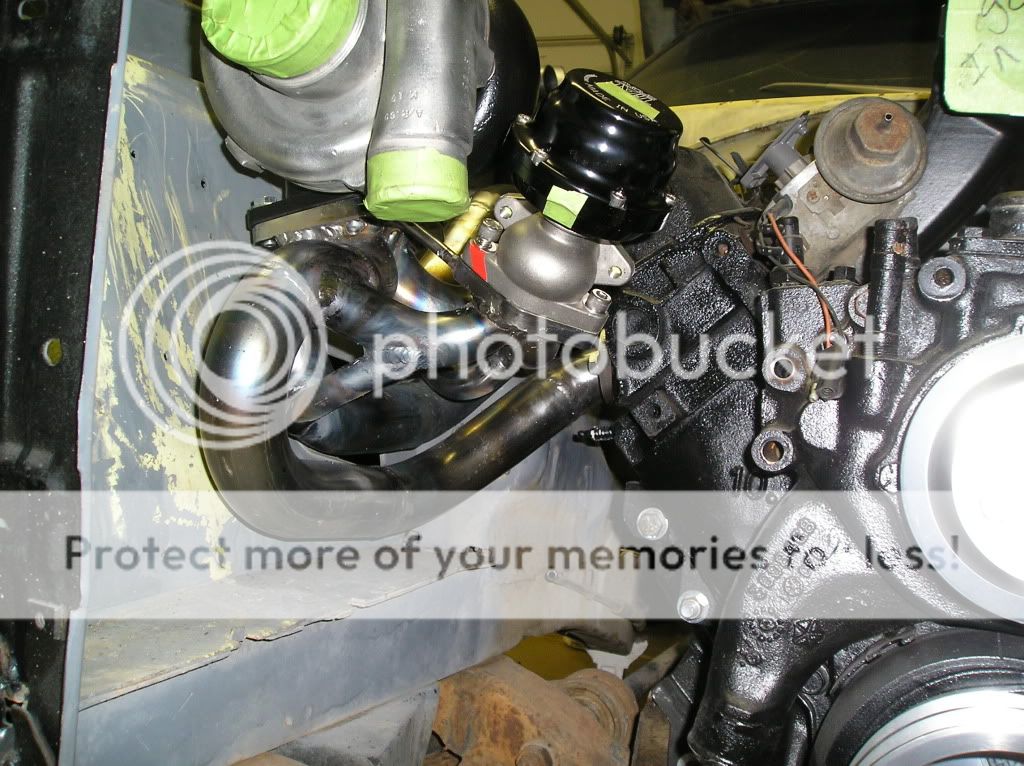
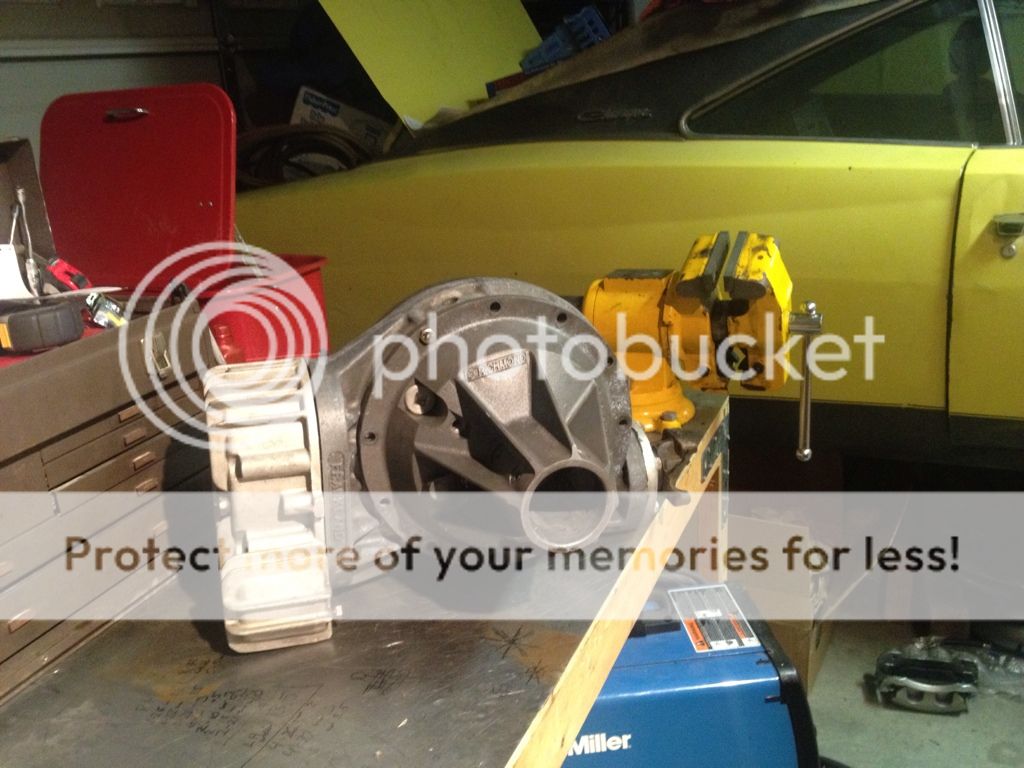
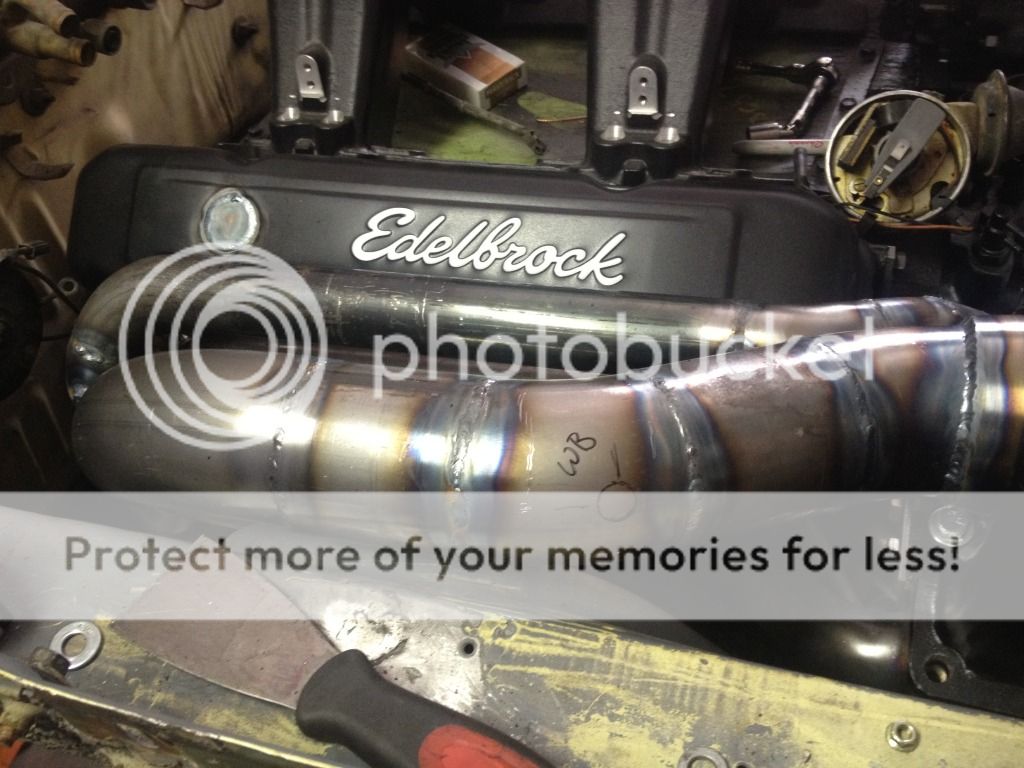
I also spent some time cleaning the old turbos up... BTW, I know the paint wont last very long at all, but the stuff is some of the best exhaust paint I have found. It is John Deere "Muffler black" if you care...

IMG_1179.jpg


IMG_1196.jpg


That's all for now, I did order a few EGT probes to aid in the placement planing ahead.


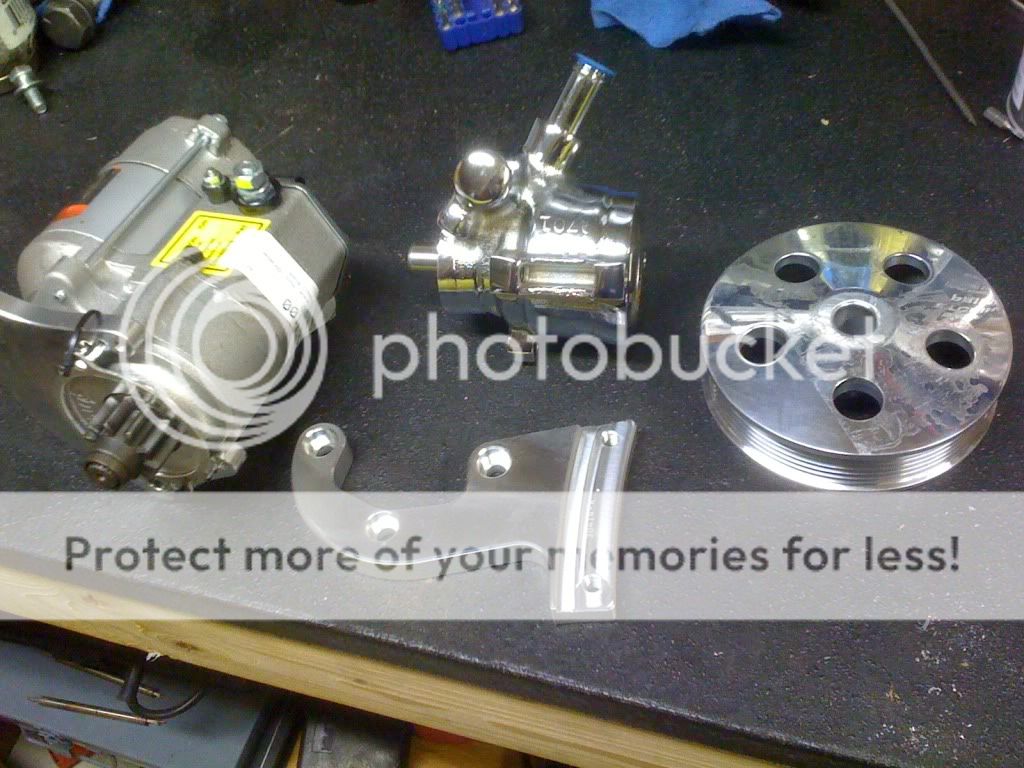
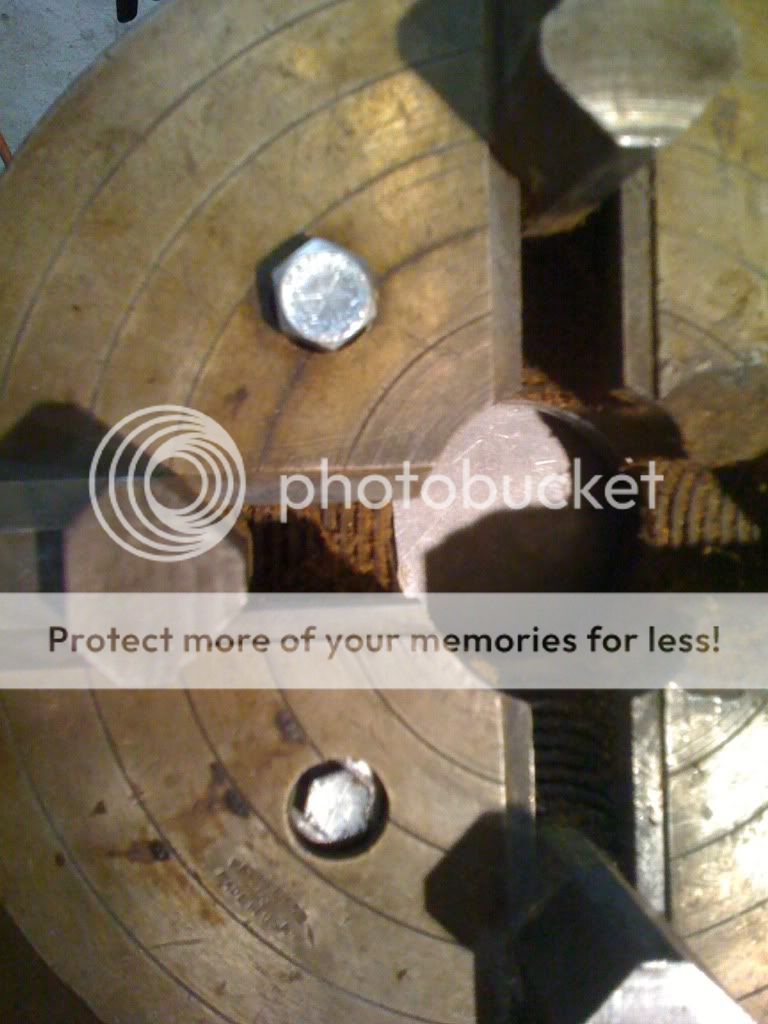
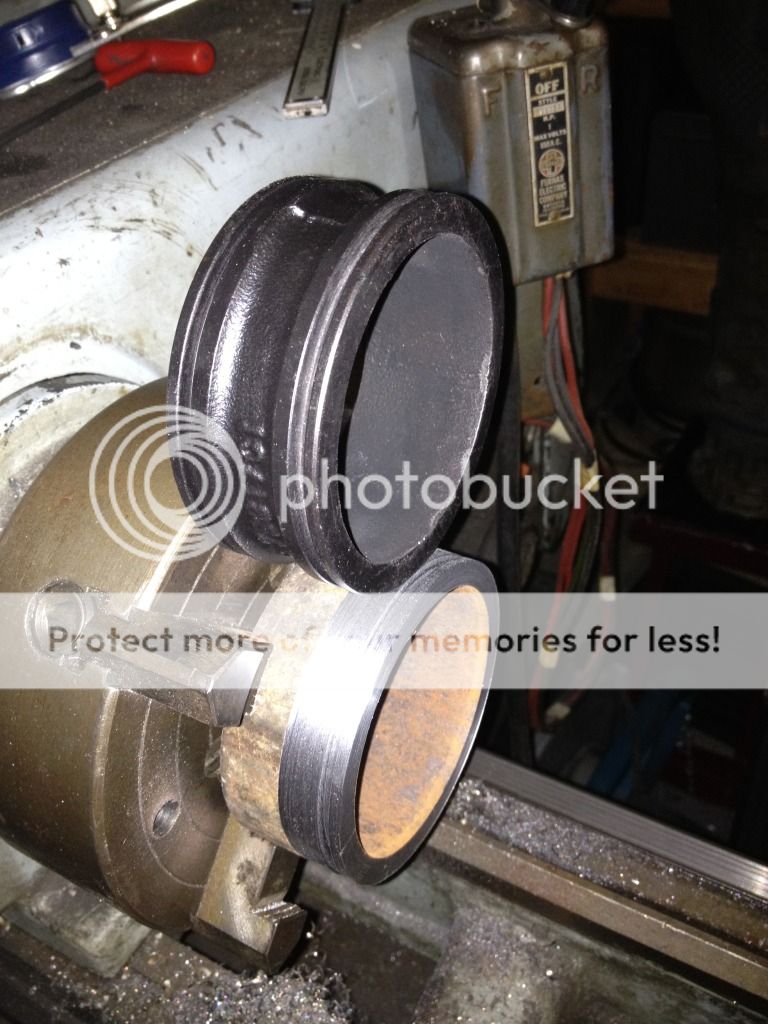
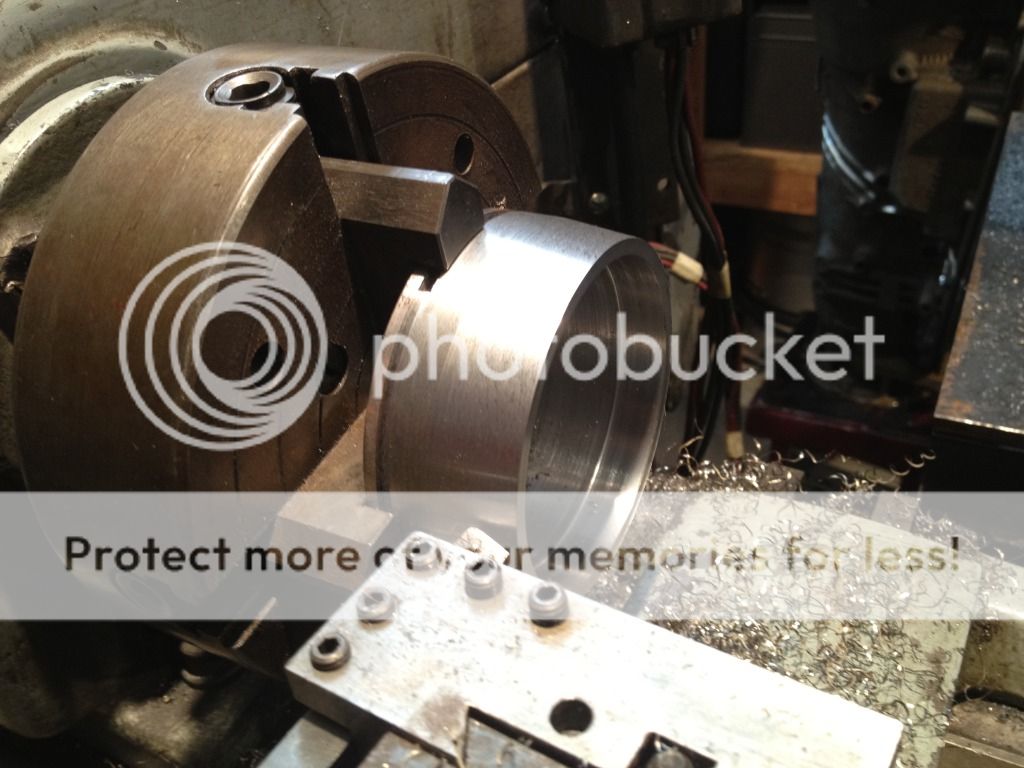
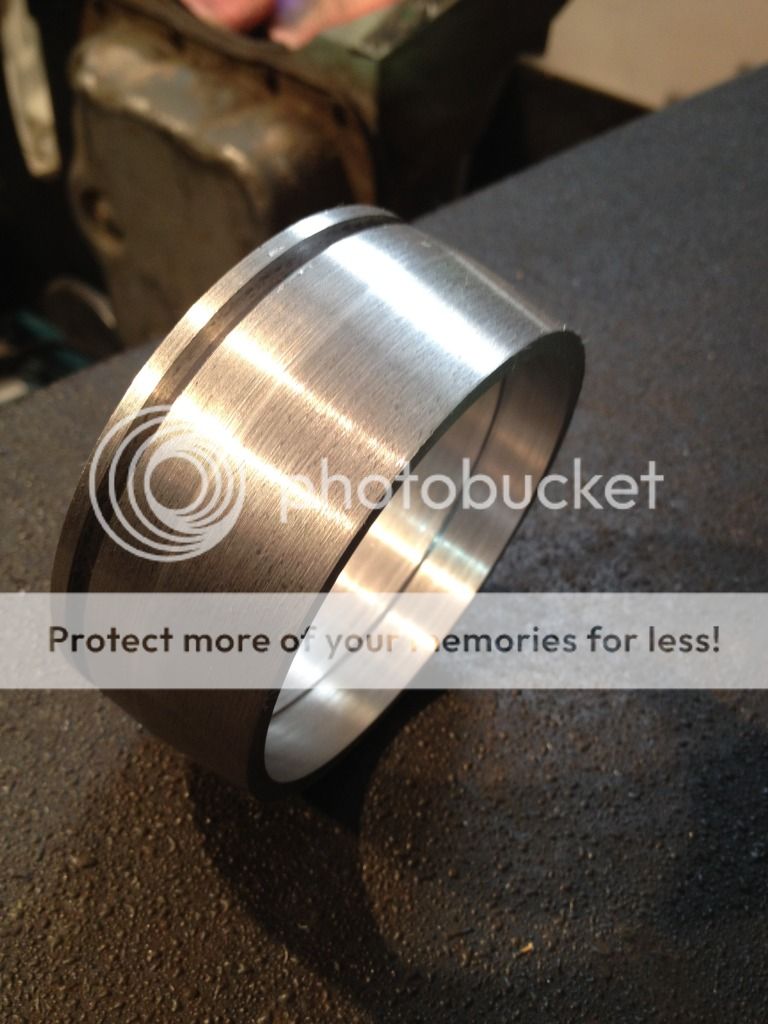
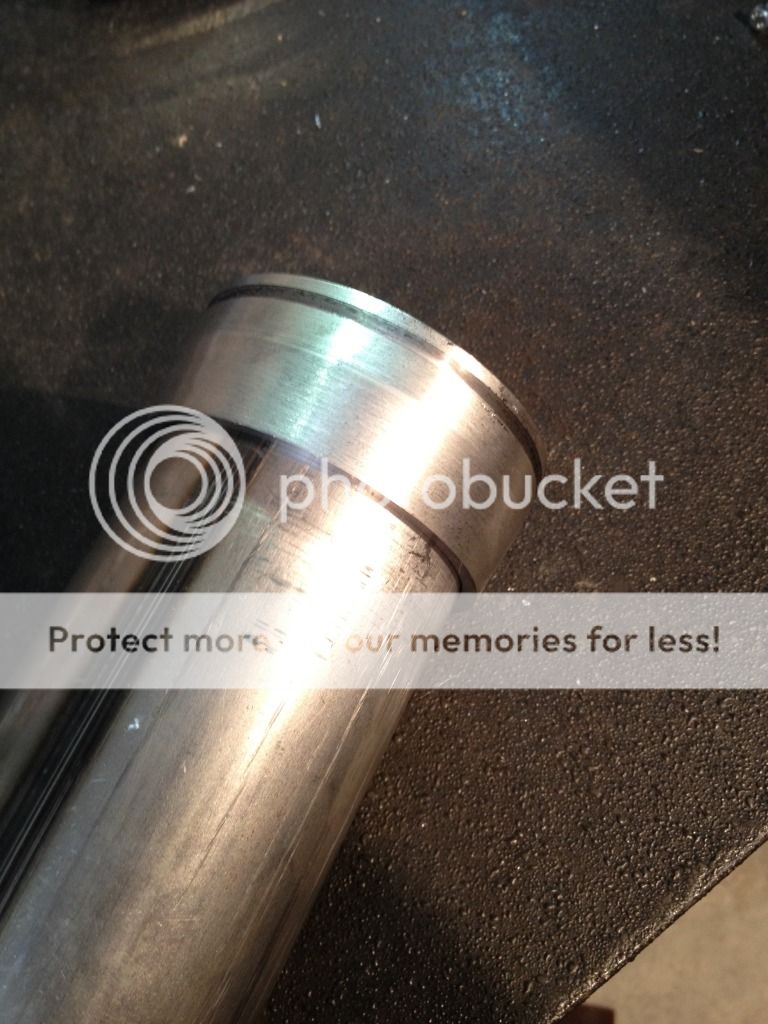
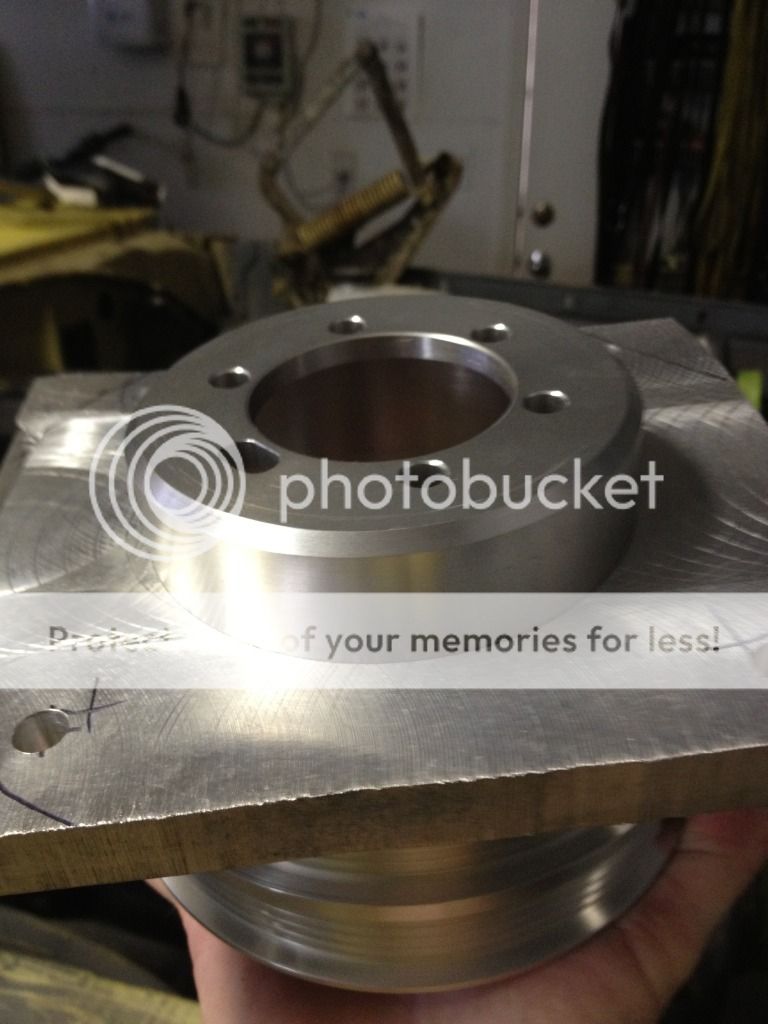
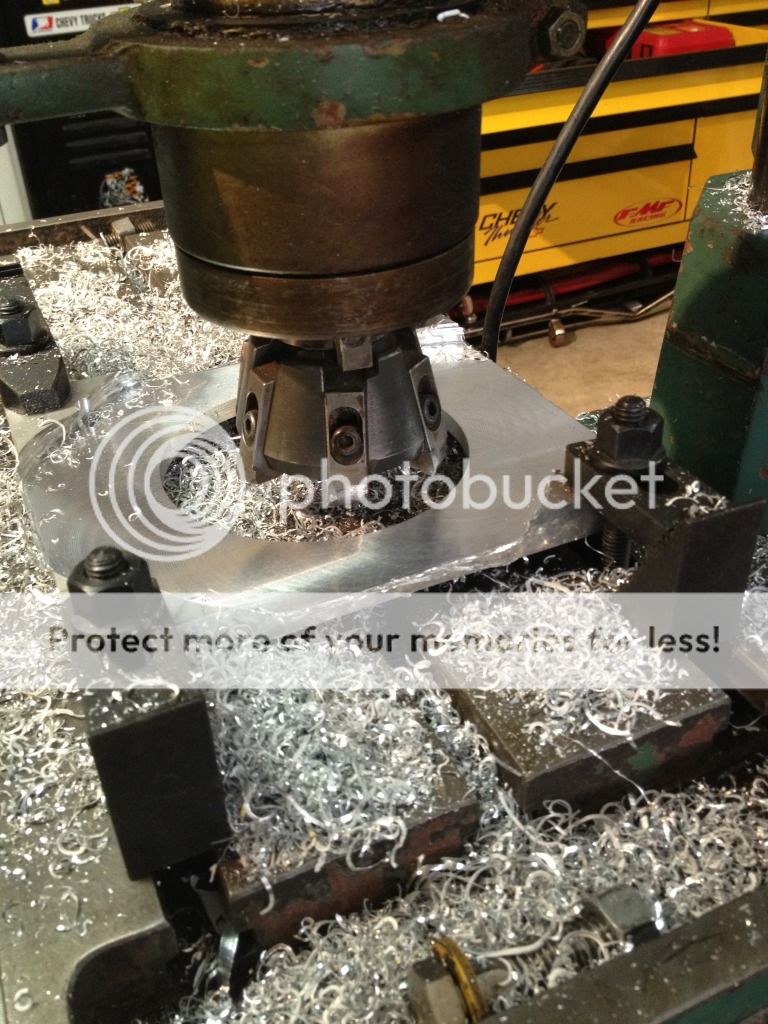
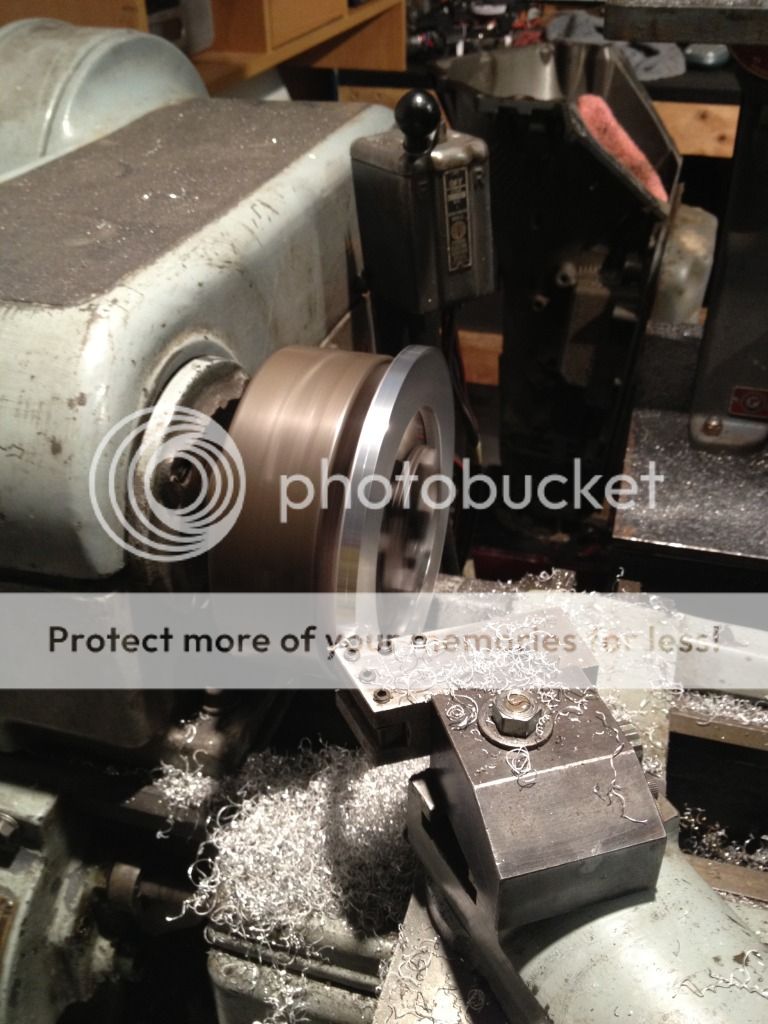
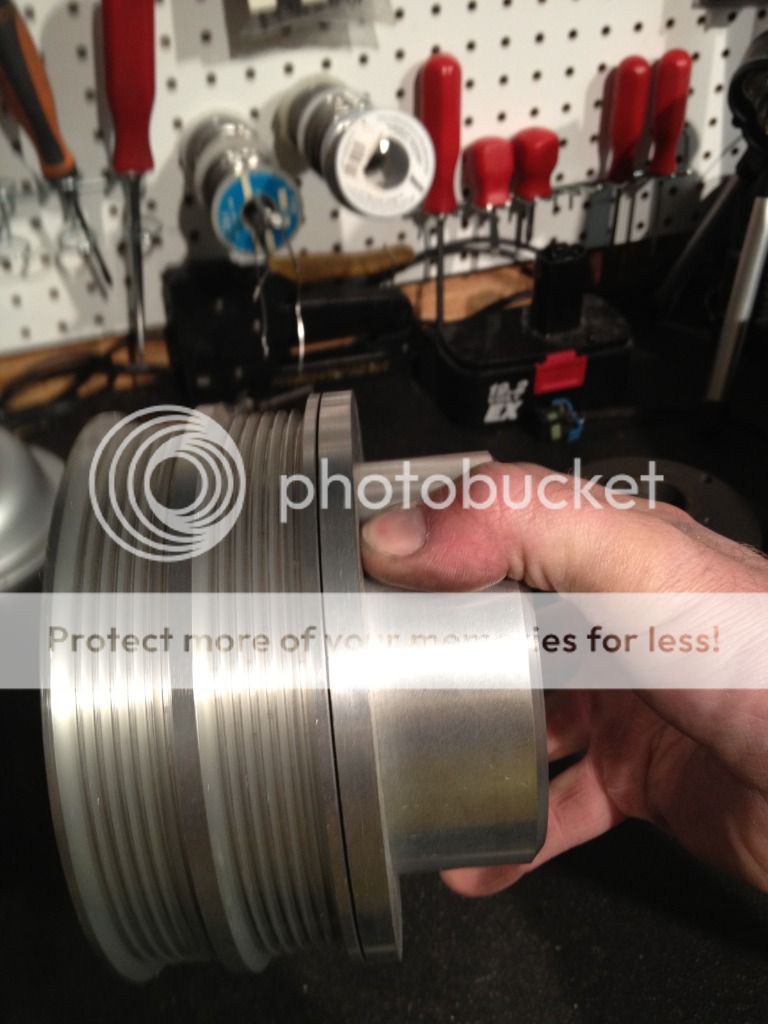
I've been busy lately, I acquired a new toy/tool. A logan Lathe :) 
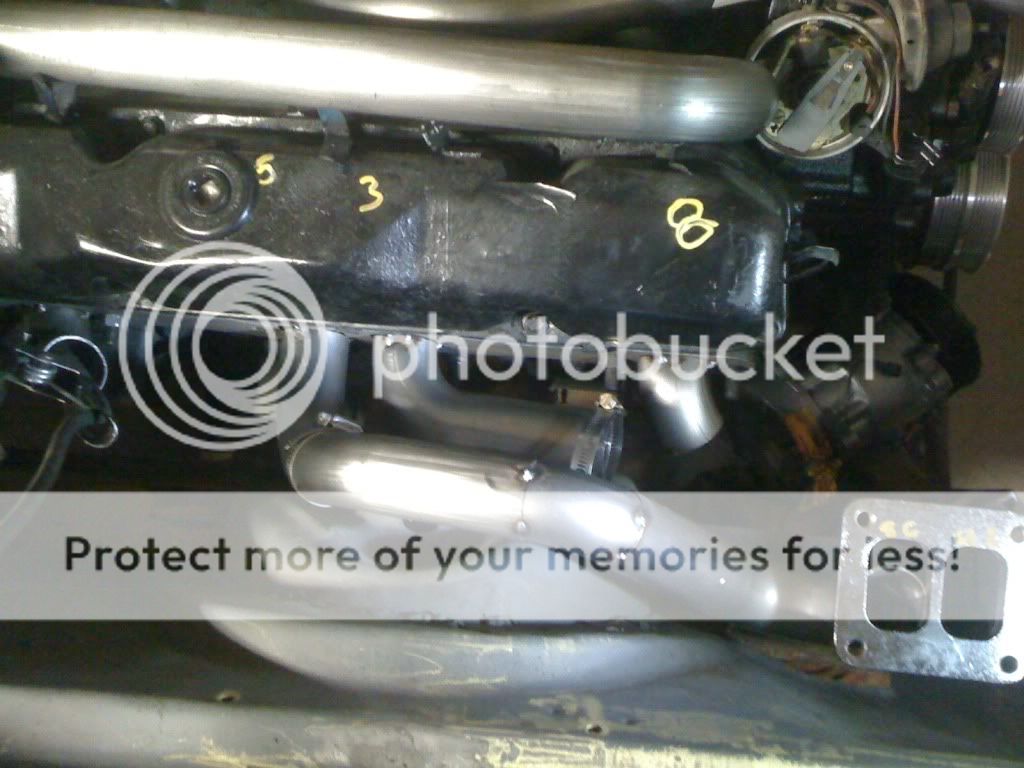
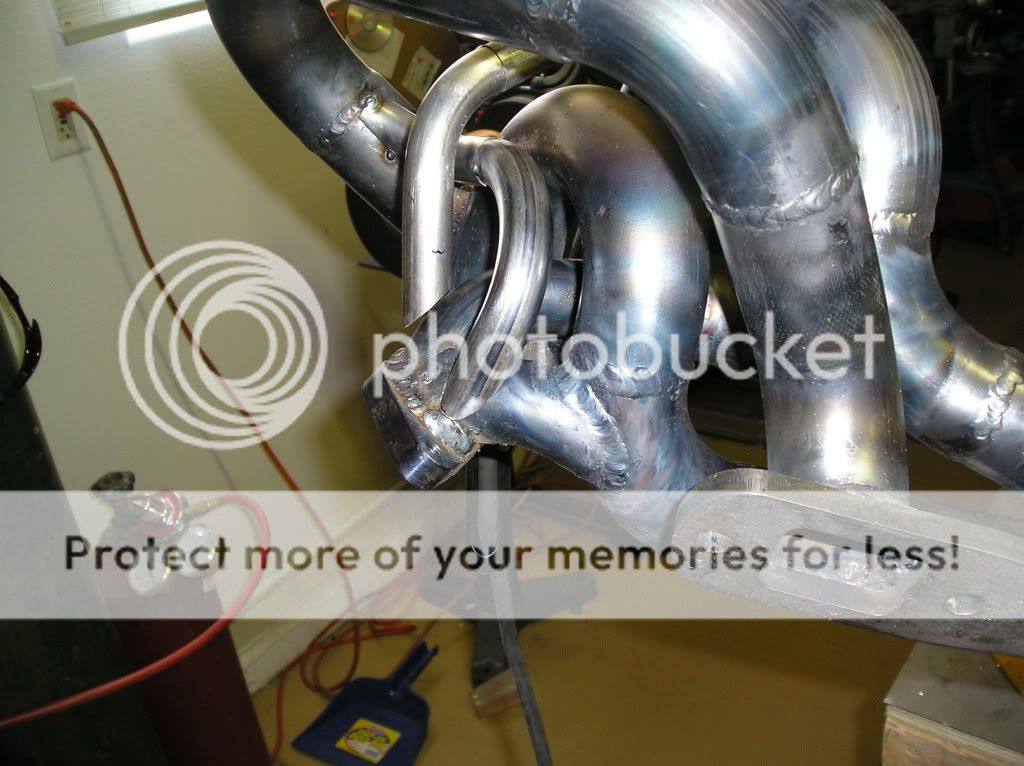
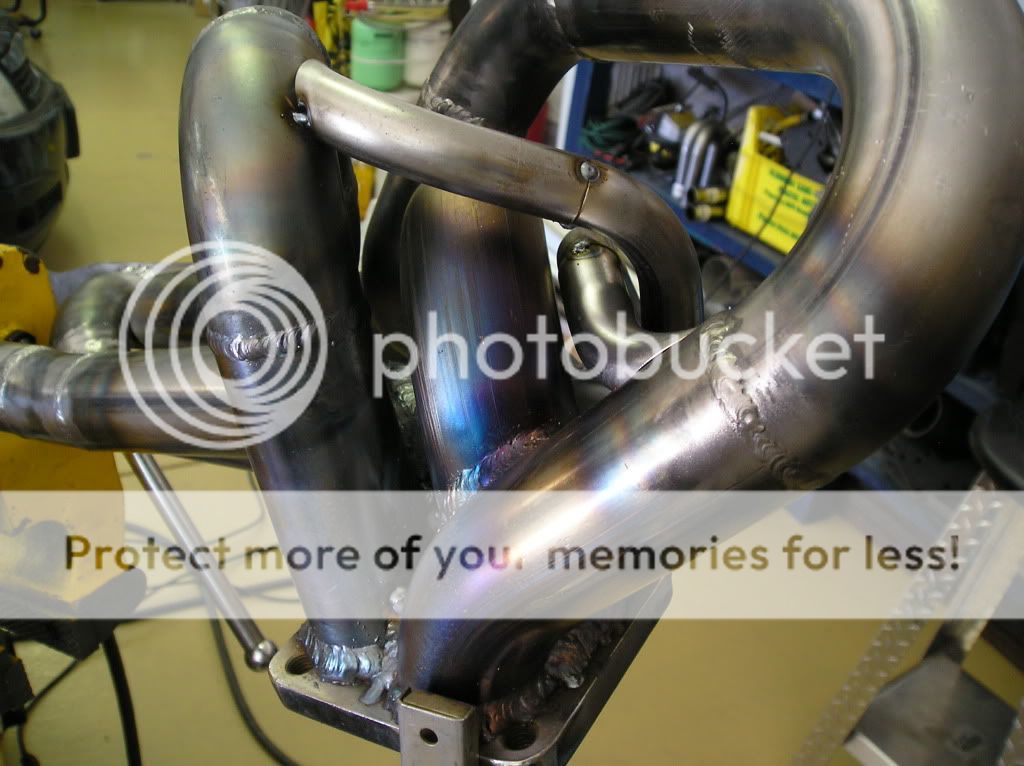
but here is a small update.....

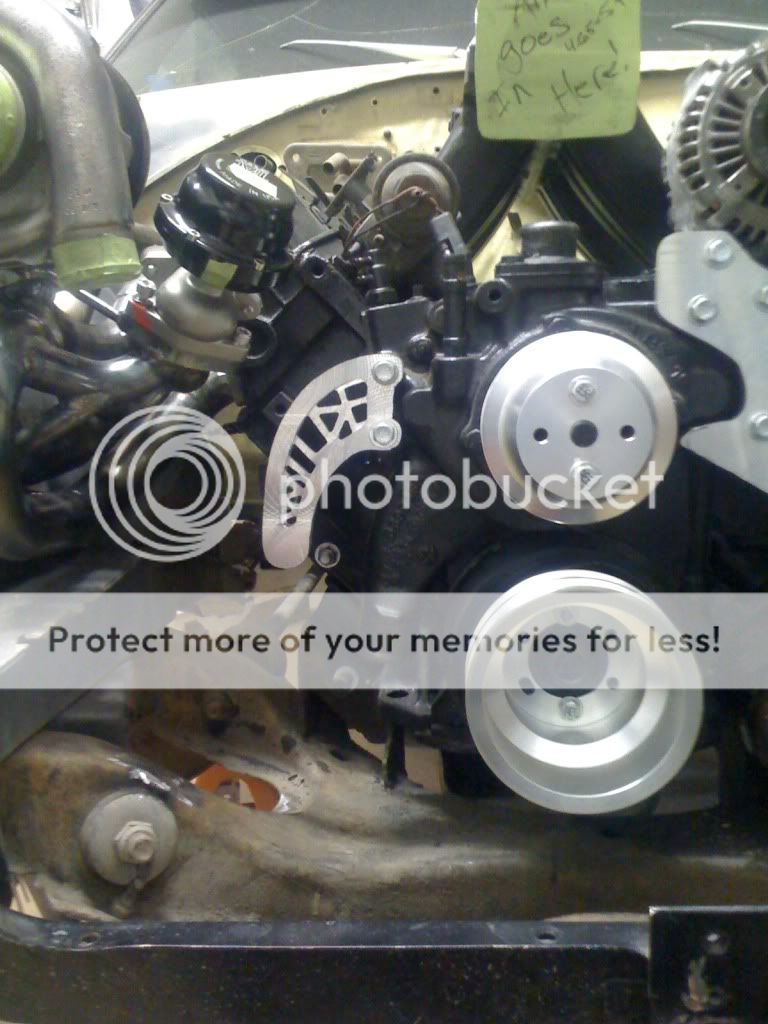
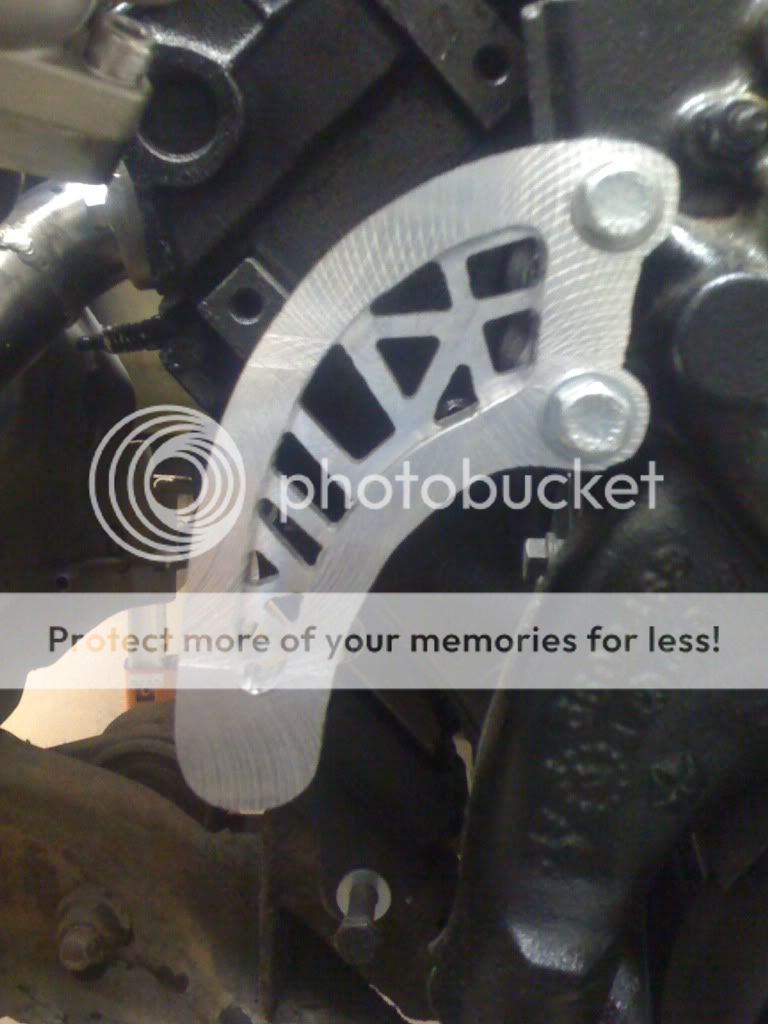
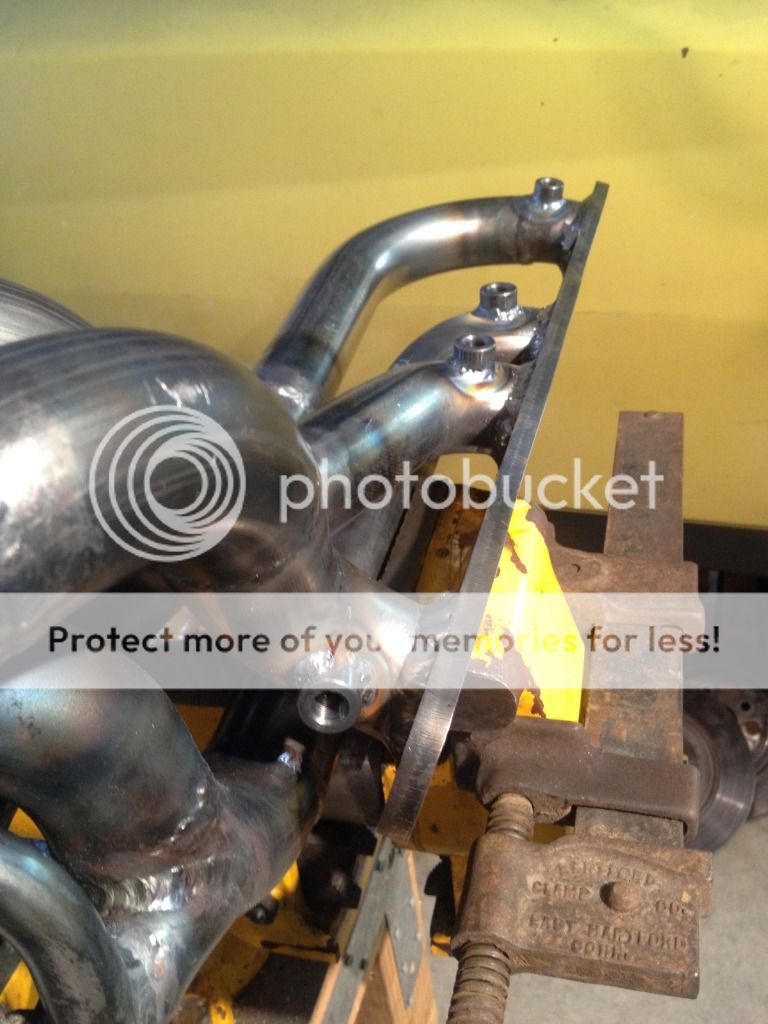
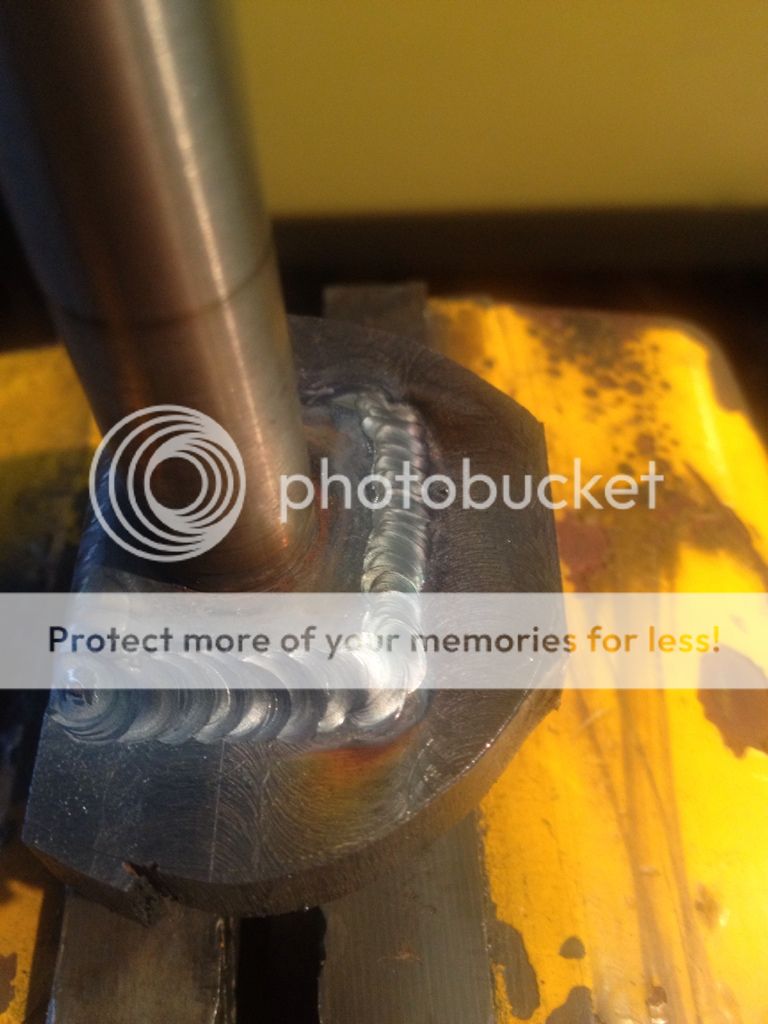
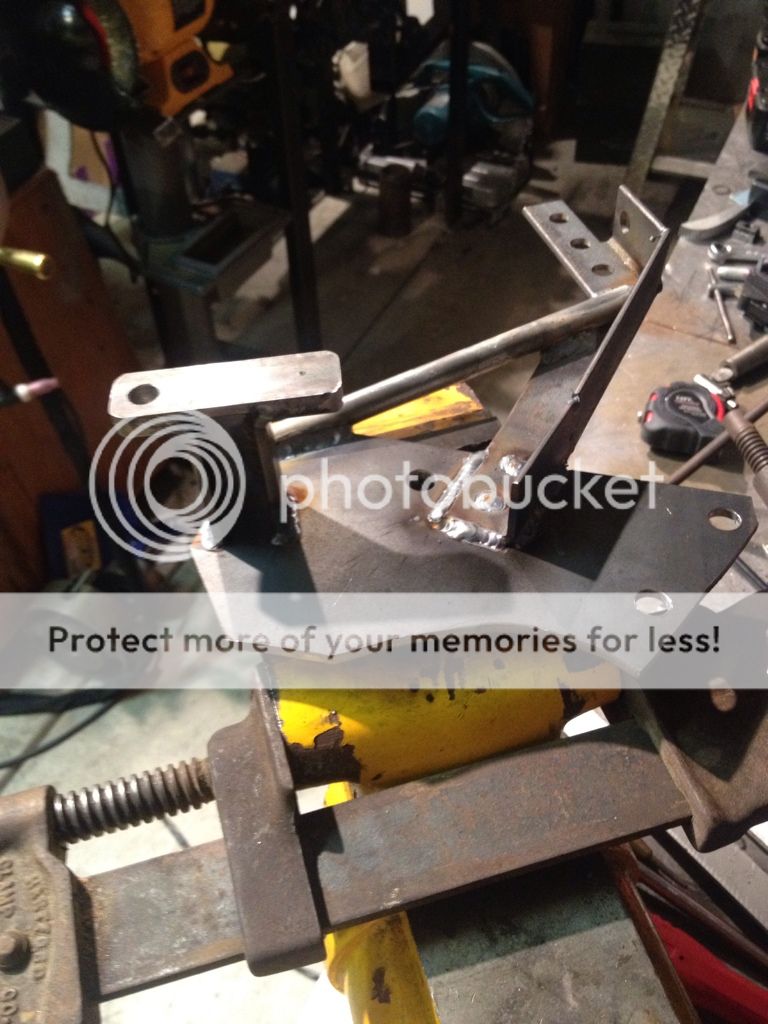
Acc. bracket is in the process of be made..... It's like splitting hairs....

IMG_1285.jpg


IMG_1283.jpg


IMG_1288.jpg


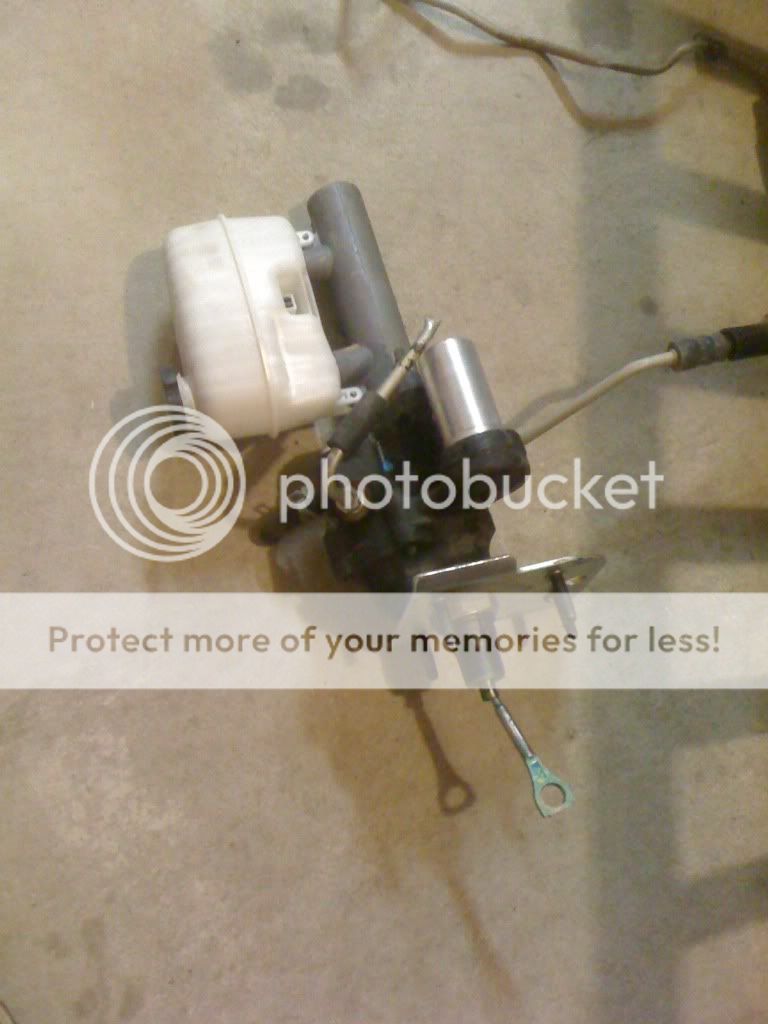
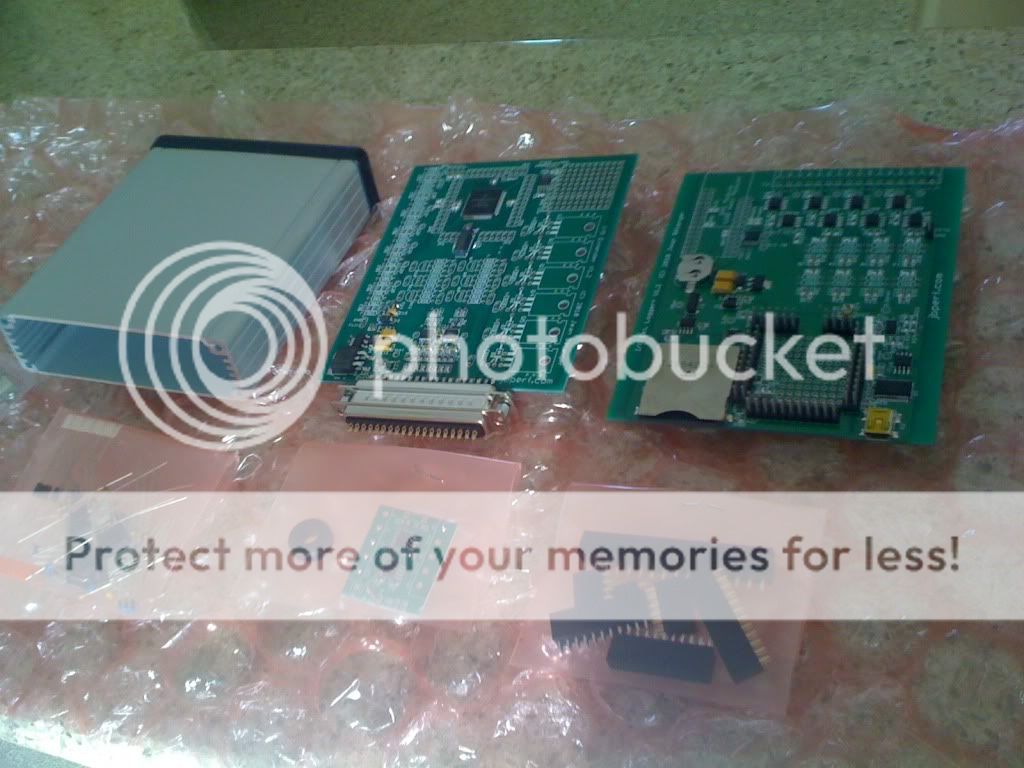
I also got a few wiring/computer components. A HUGE thanks goes out to Jean at JB Performance, these boards are his work...

Basically what you see is three boards, the smallest of which is for two EGT sensor inputes, the other two have 8 more EGT inputs, 3-axis accelerometer, SC card socket, real time clock, optional GPS module, 8 ADC conditioners, 6 high current drivers, 6 low current input/output circuits... :huh: These are just the data acquisition portion of the computer system!

IMG_1248.jpg


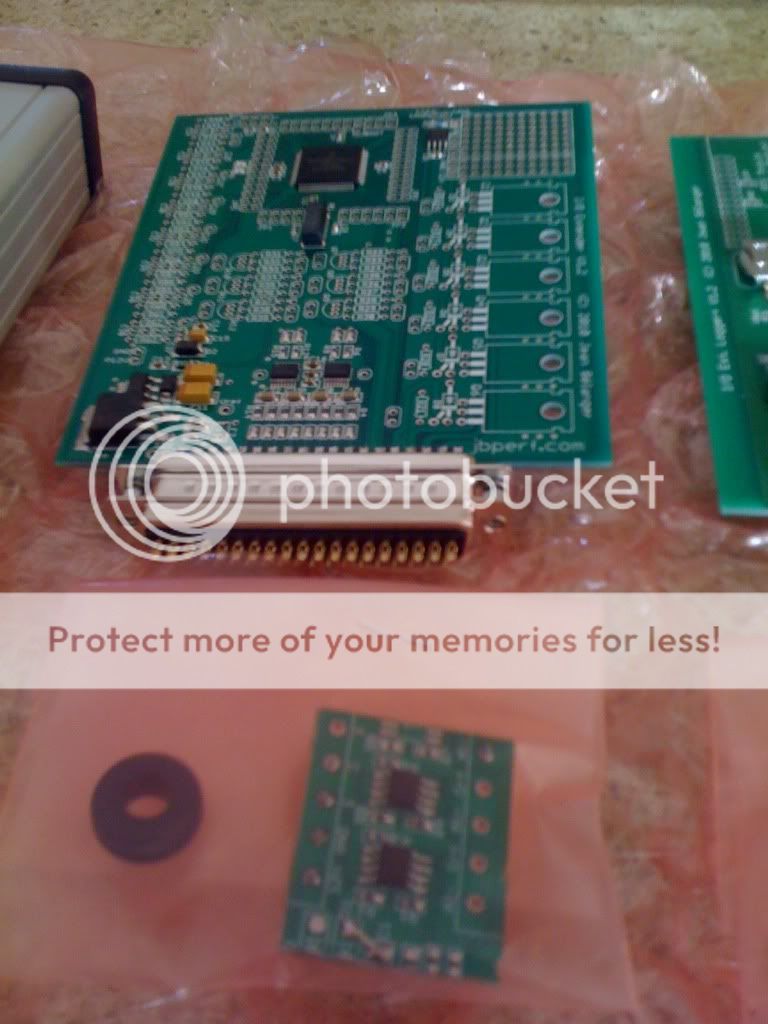
EGT board (small) and the main I/O board using CAN communication...

IMG_1251.jpg


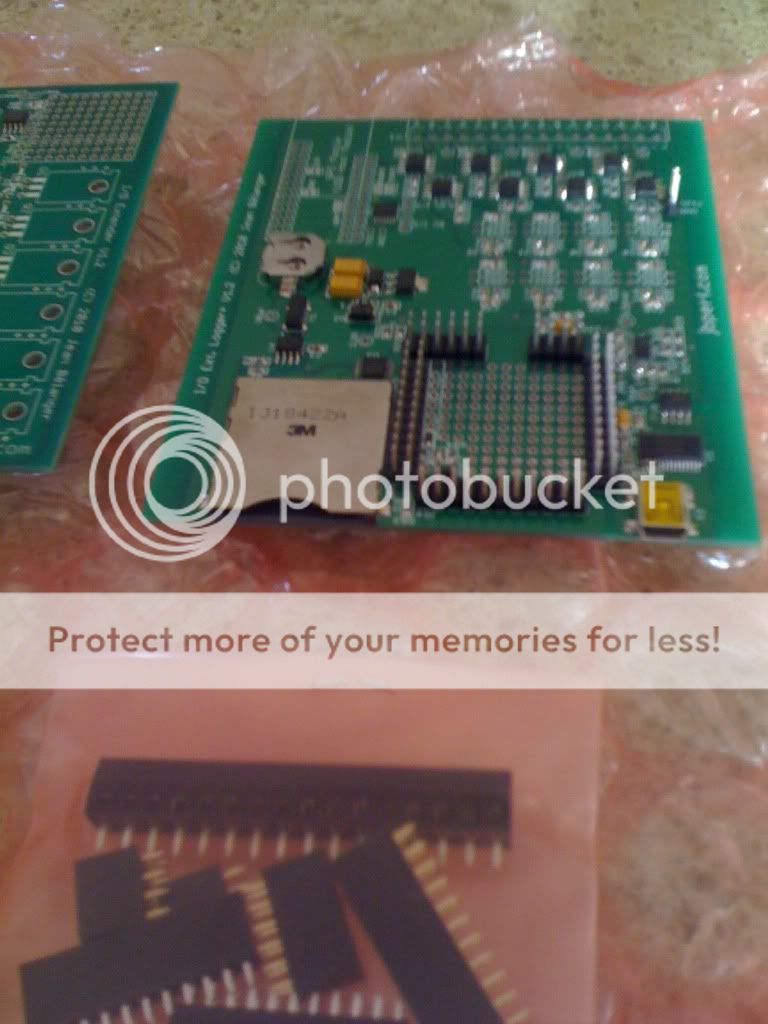
Main EGT board with all the extra goodies...

IMG_1252.jpg


That's it for now, I have plans to get a lot accomplished this week end so be on the look out....
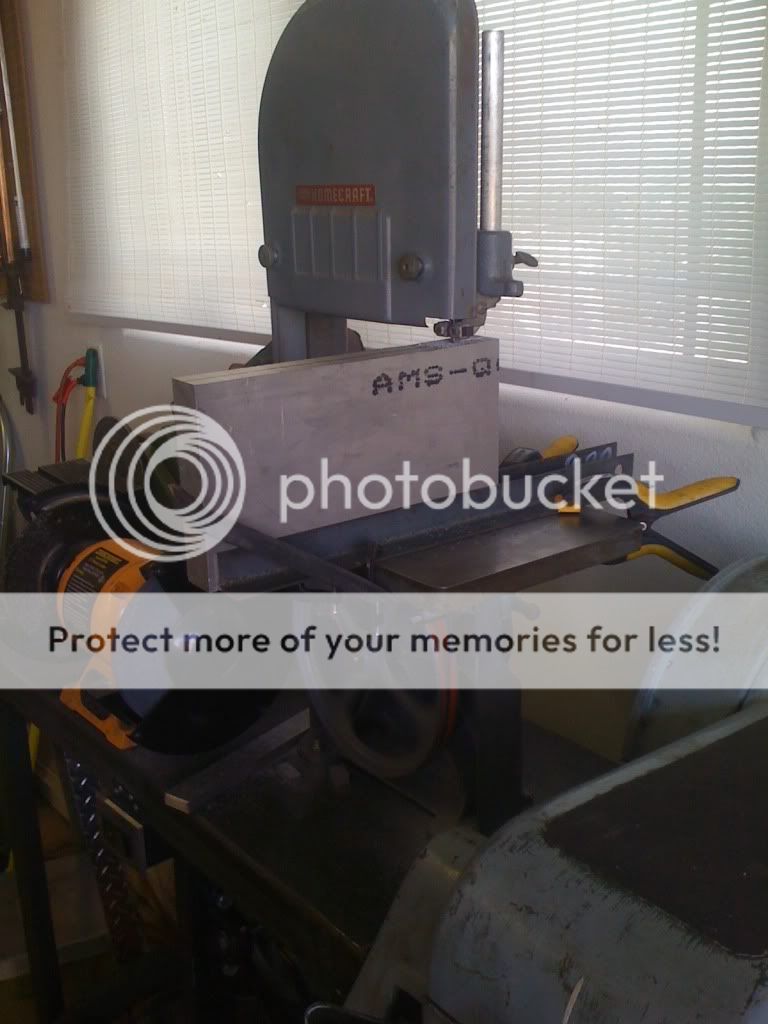
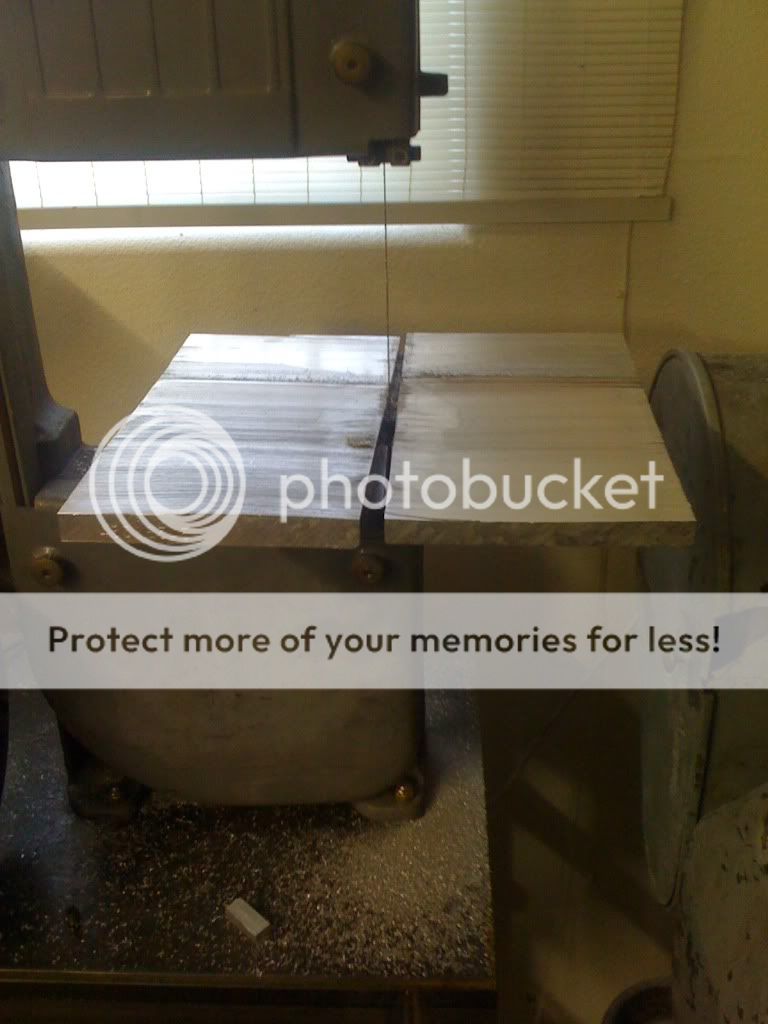
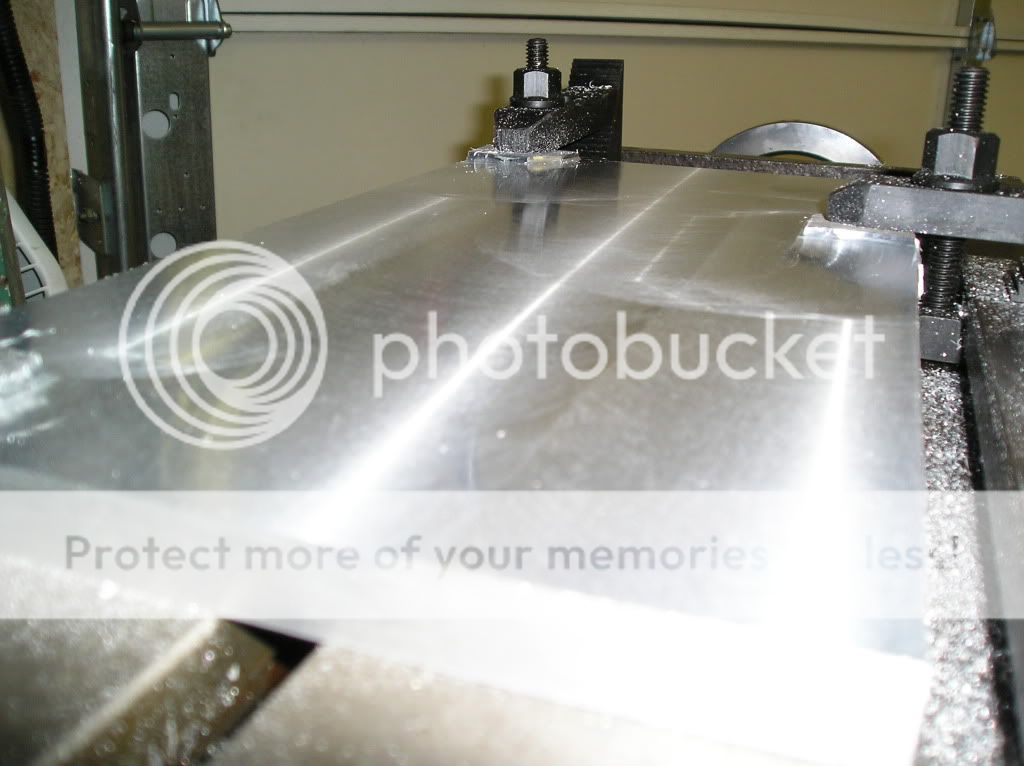
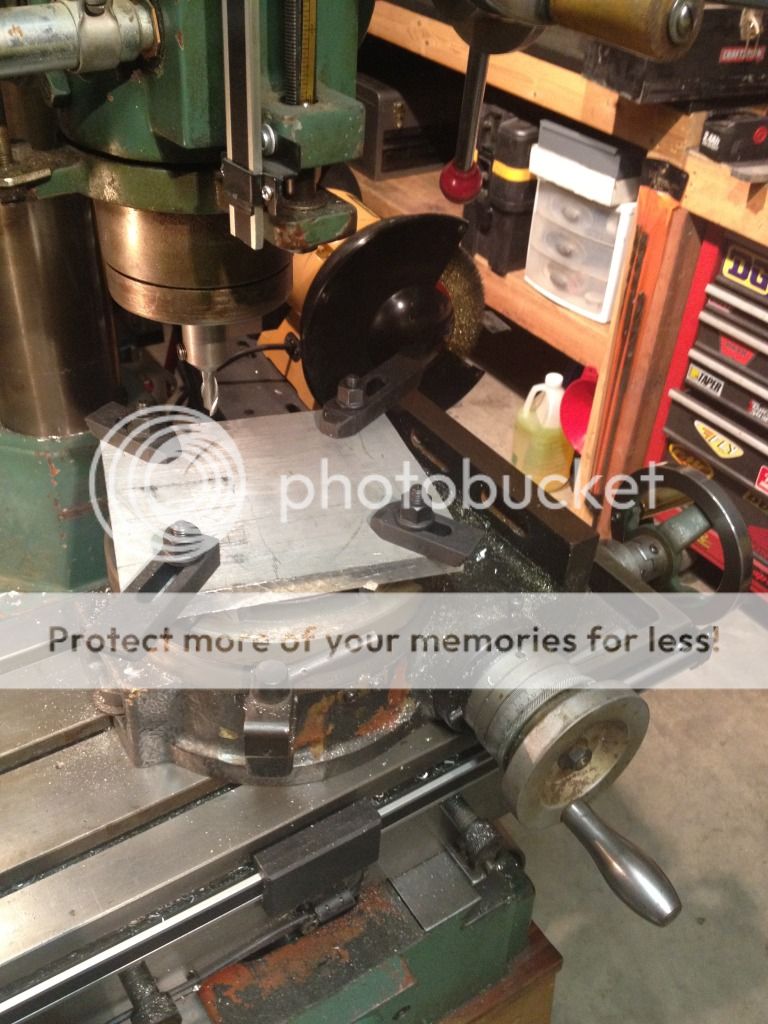
Flattening the band saw cut....

P1010006.jpg


P1010042.jpg


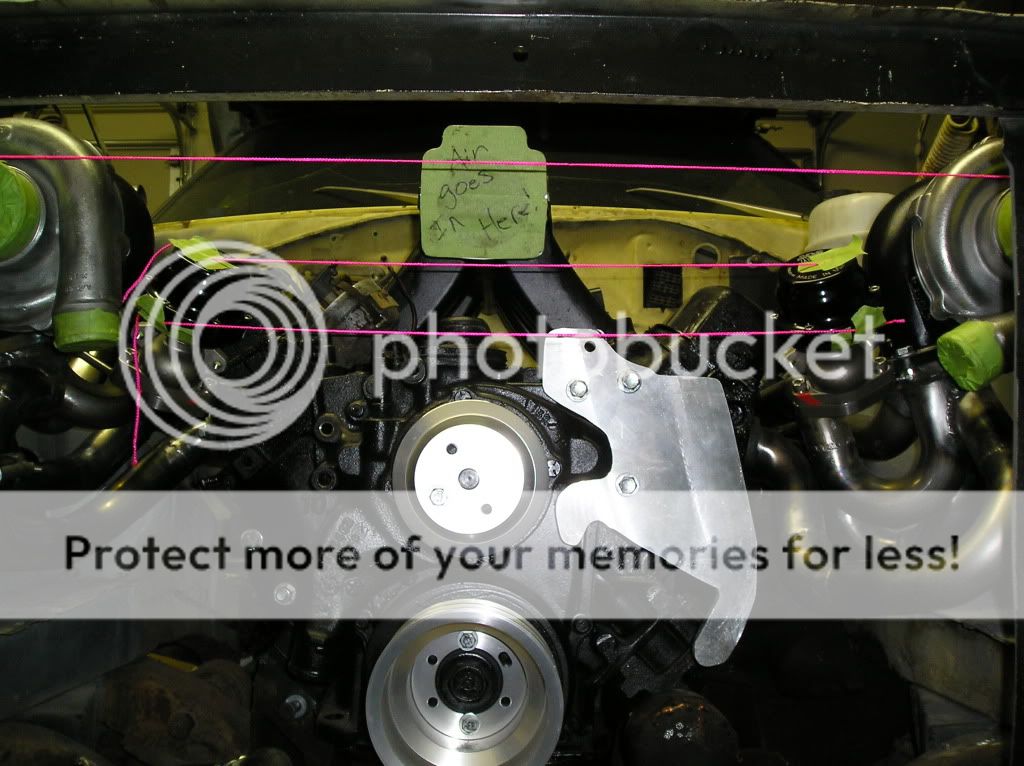
Bracket roughed out, alt mounted, and wastegates tacked.

P1010061.jpg


P1010069.jpg


I was unsure how to make sure the waste gates were mounted even and near the same angle, I came up with the string alignment idea.

P1010070.jpg


P1010072.jpg


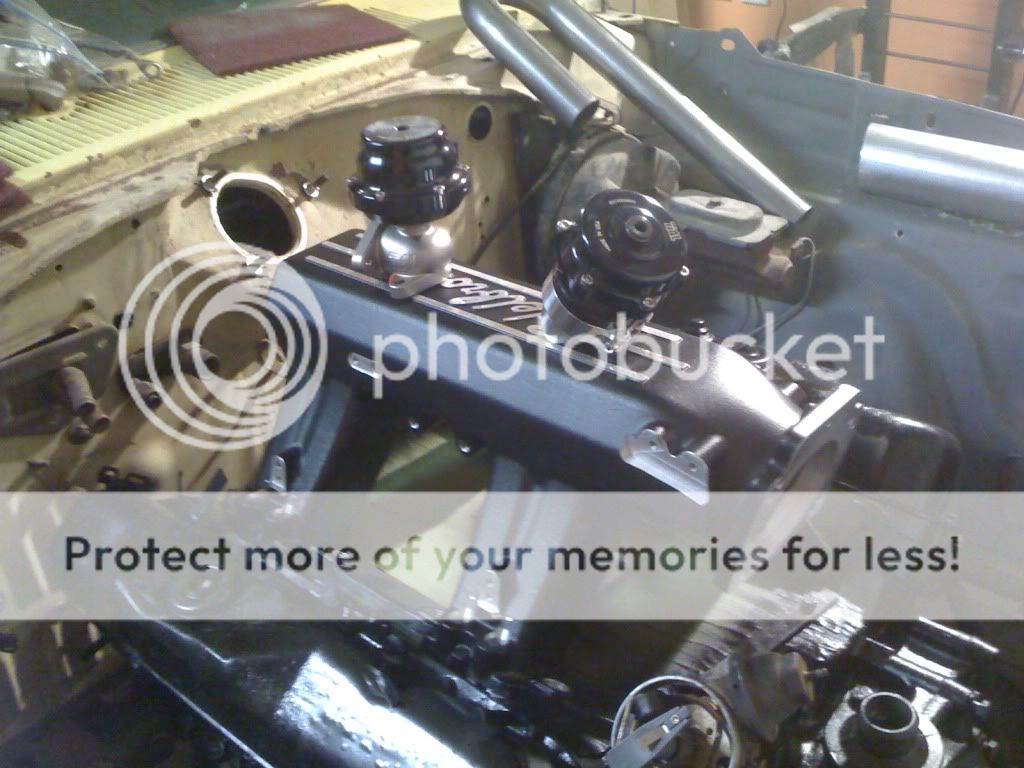
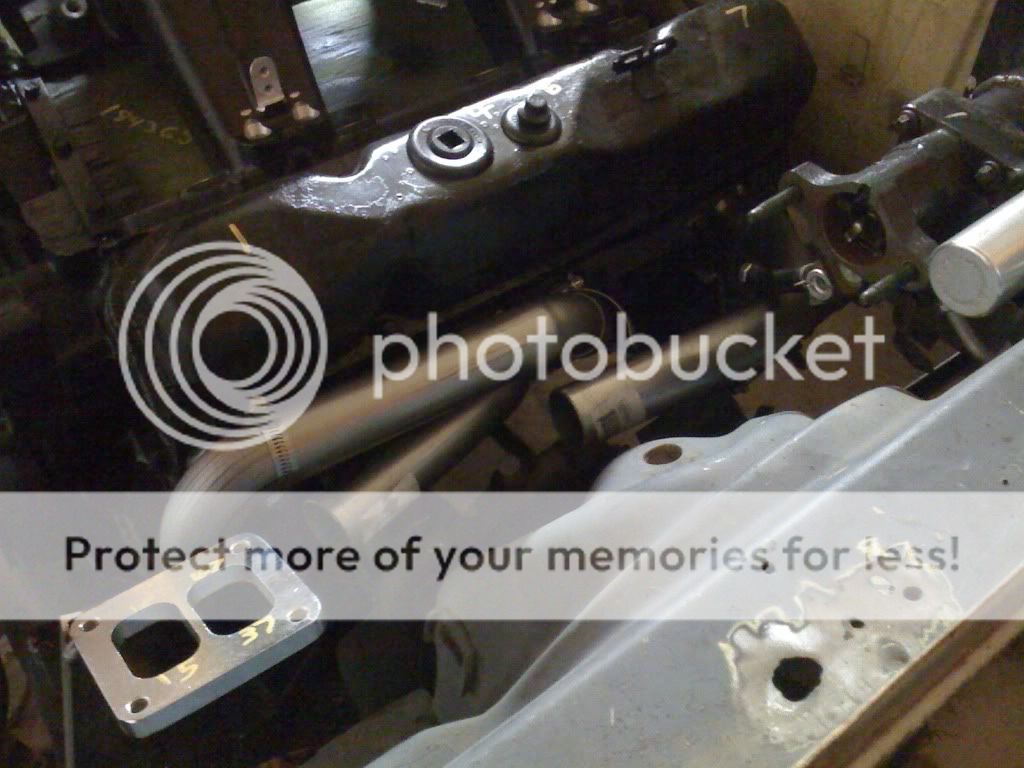
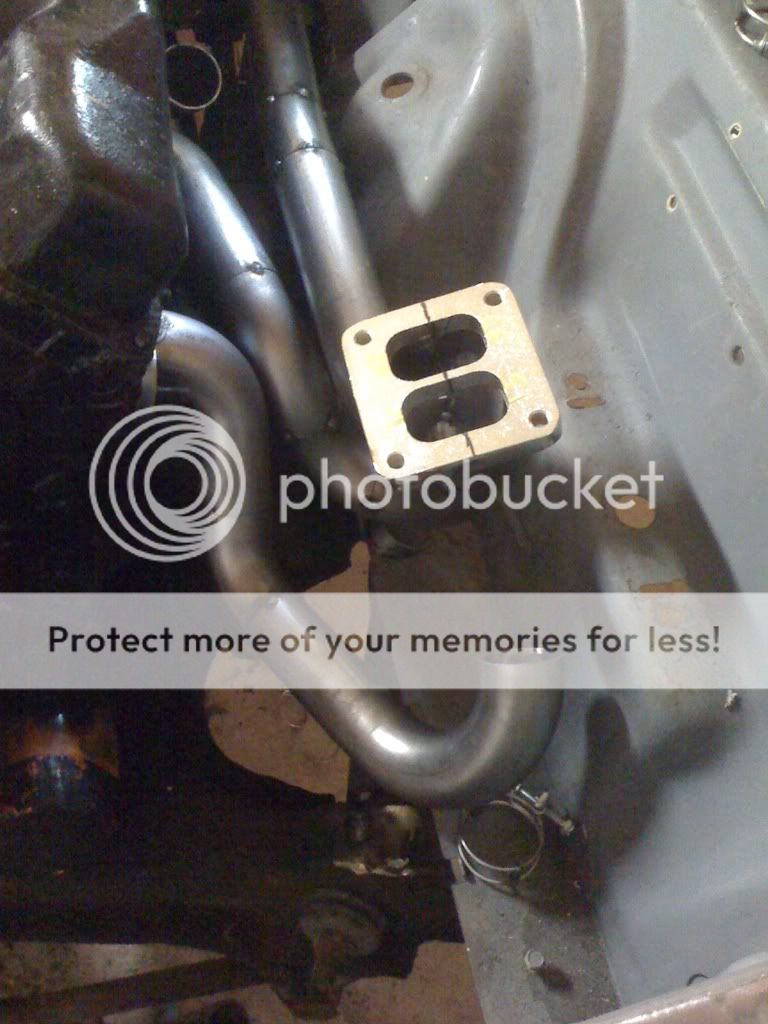
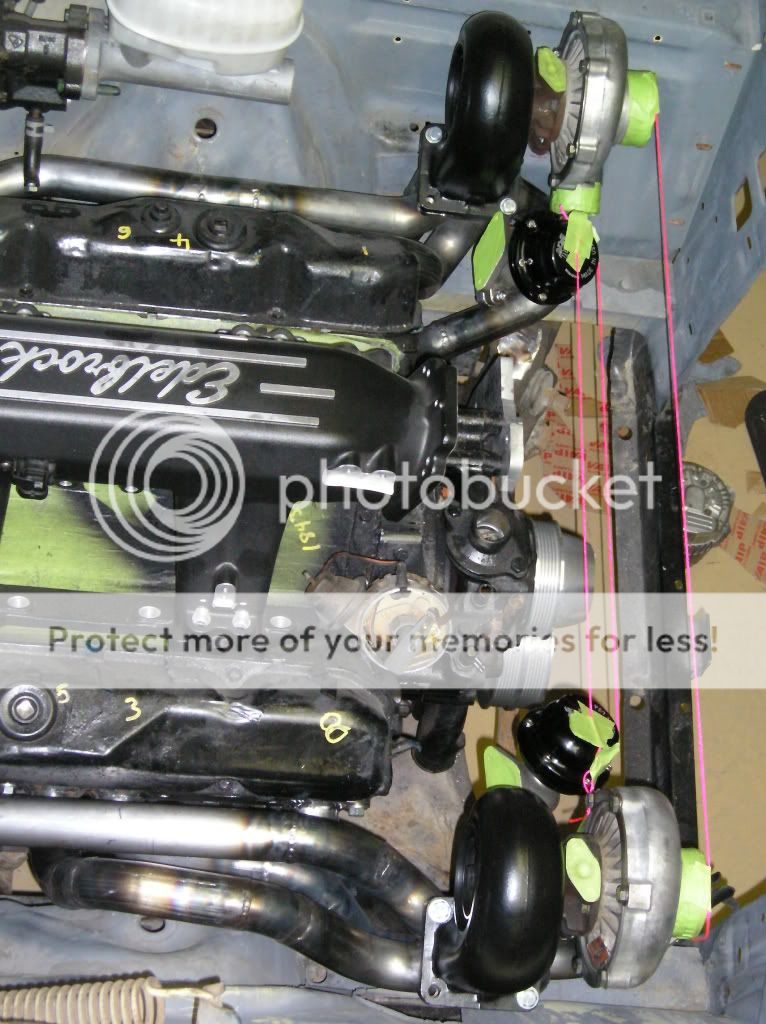
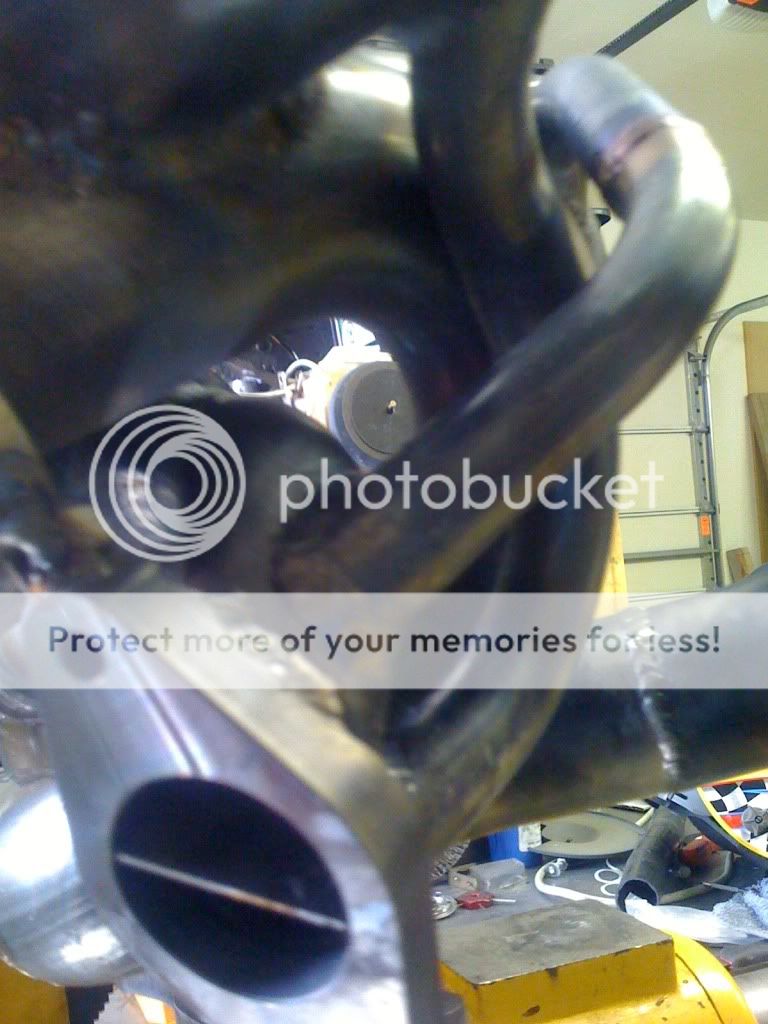
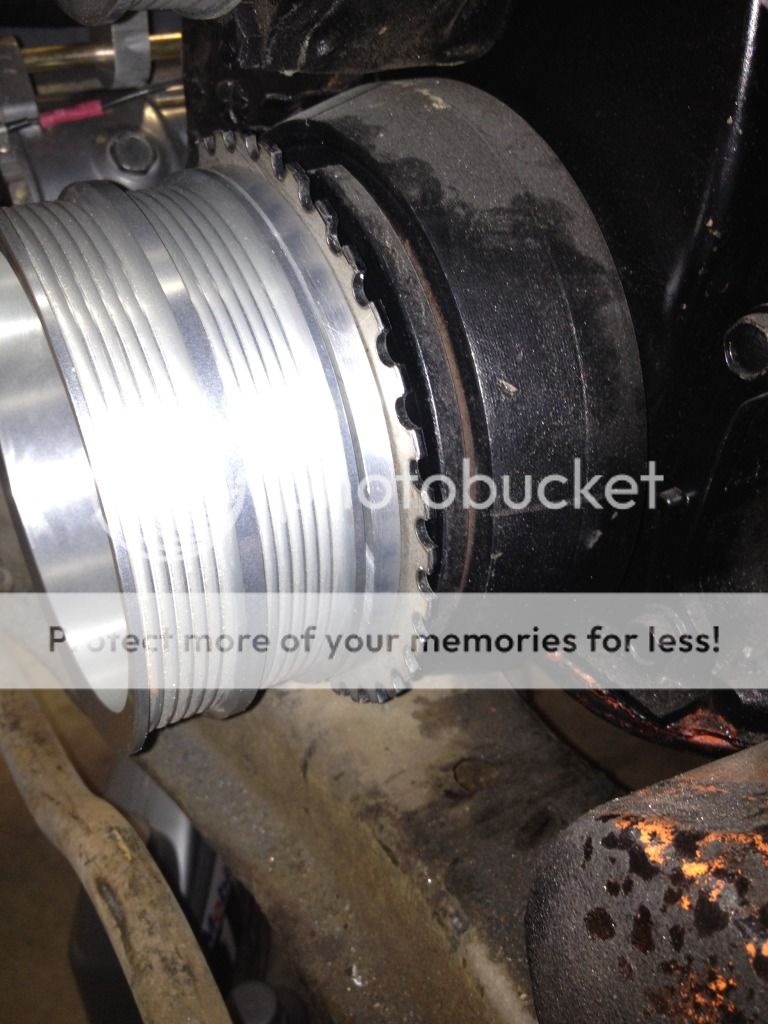
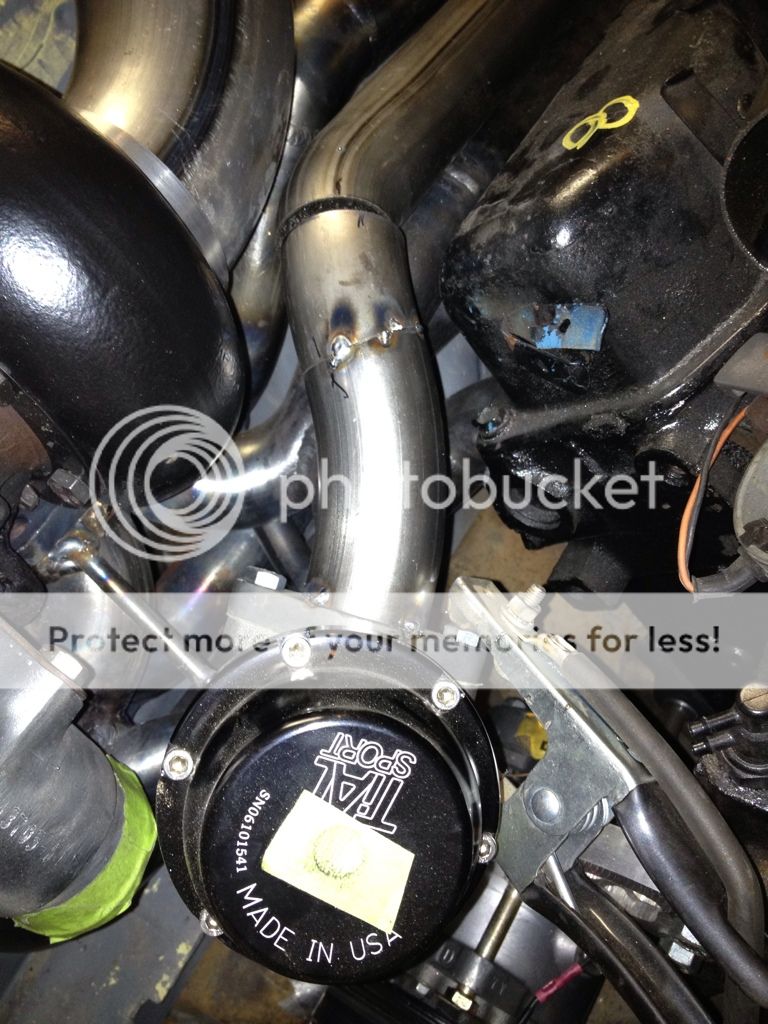
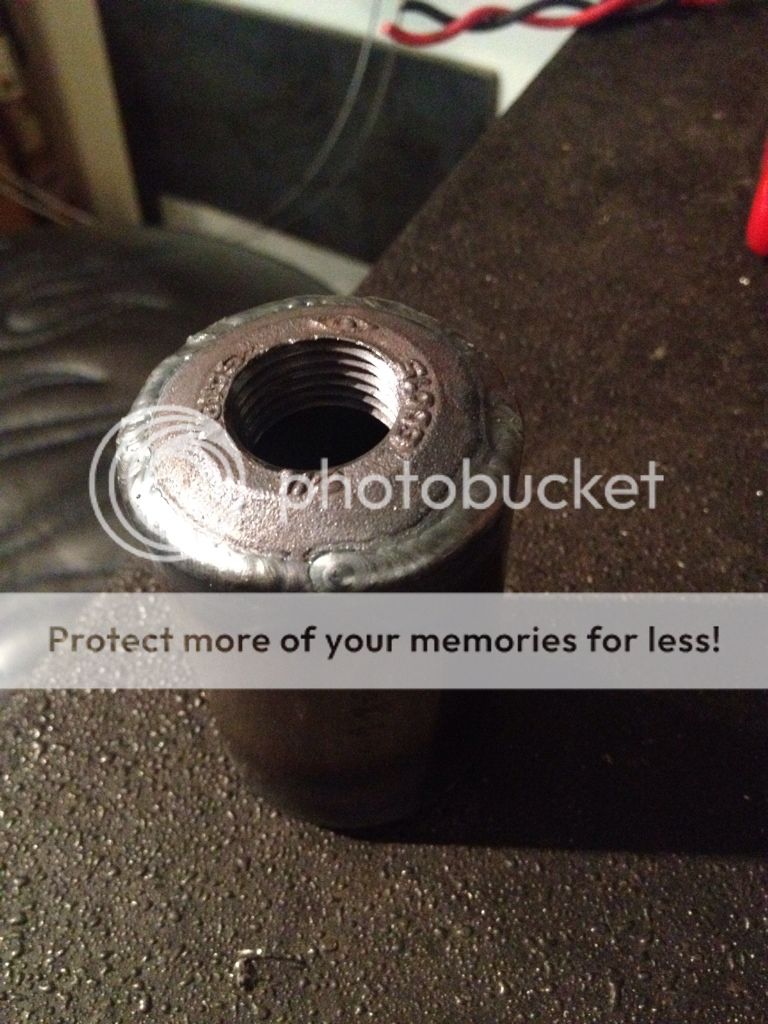
I've has a few people ask how I'm going to plum my waste gates, I basically am building a miniature header for the gate, keeping each pipe as isolated as possible given the room I have and keep the bank divided to take full advantage of the split scroll turbo housing. I've head many think this is a waste of time and energy but I'm whiling to spend the time....*

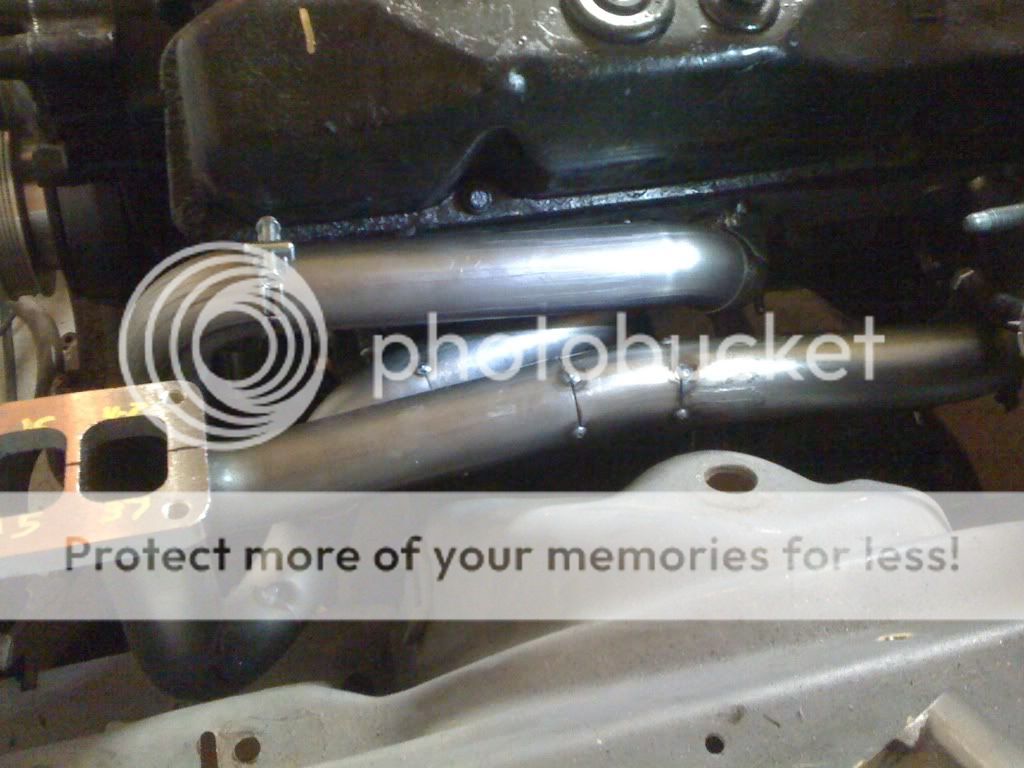
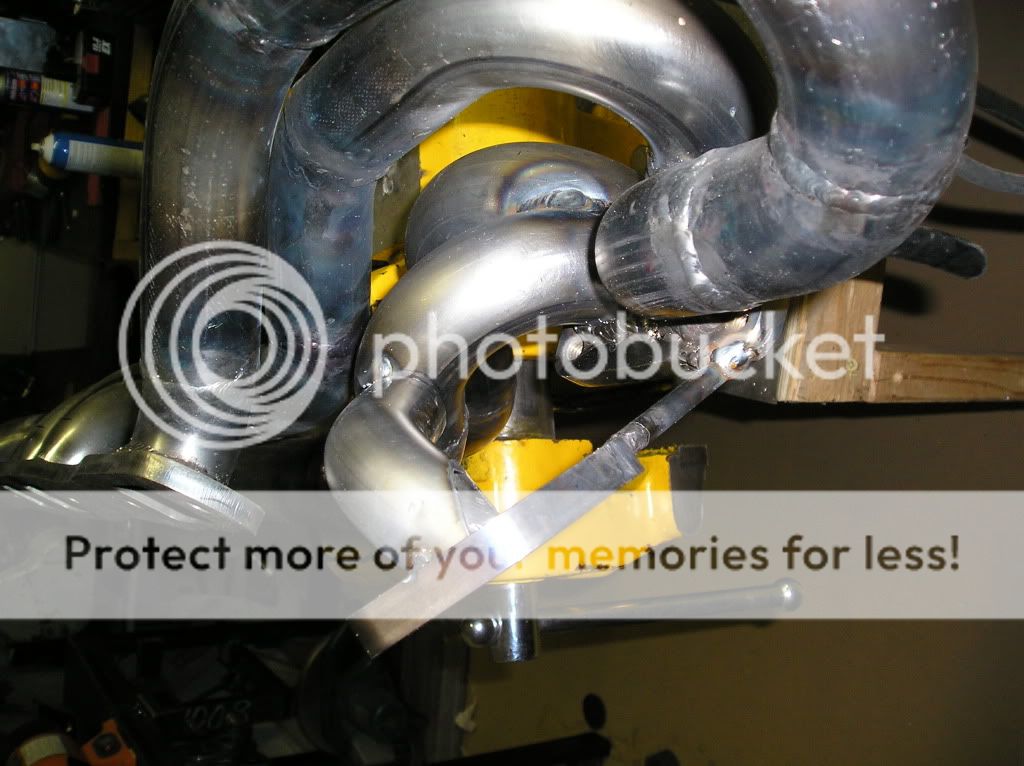
Here is the divider, it is thicker the the pipe wall but not by much....

P1010076.jpg


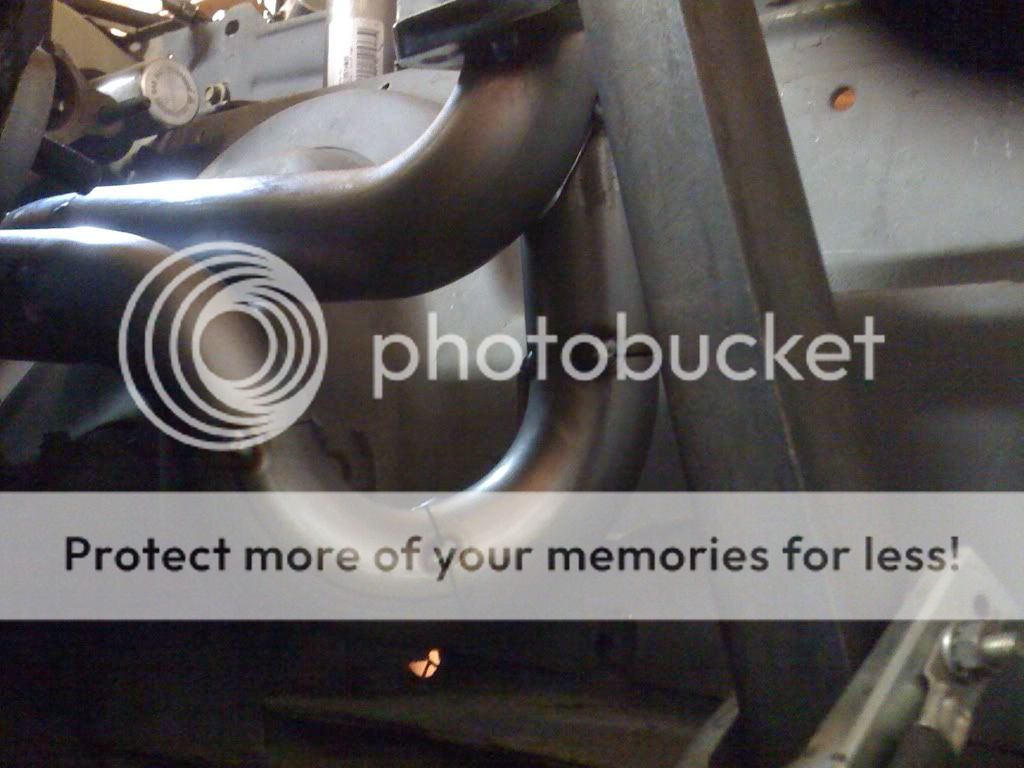
The first pipe of the waste gate header...

P1010081.jpg


Both "main" pipes in, the divider will get centered later.

P1010084.jpg


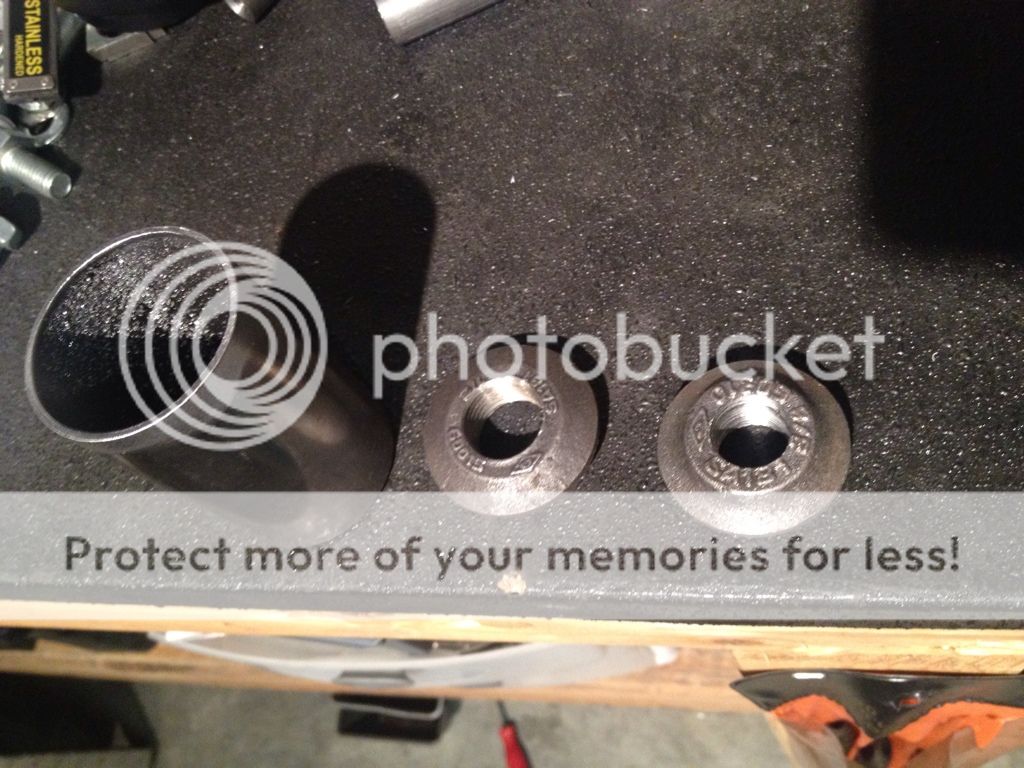
Here are the "sub" pipes used to allow all cylinders to bleed pressure. The two mains are 1 1/4 the small pipes are 3/4 I think. I can't remember..... :)

P1010096.jpg


P1010114.jpg


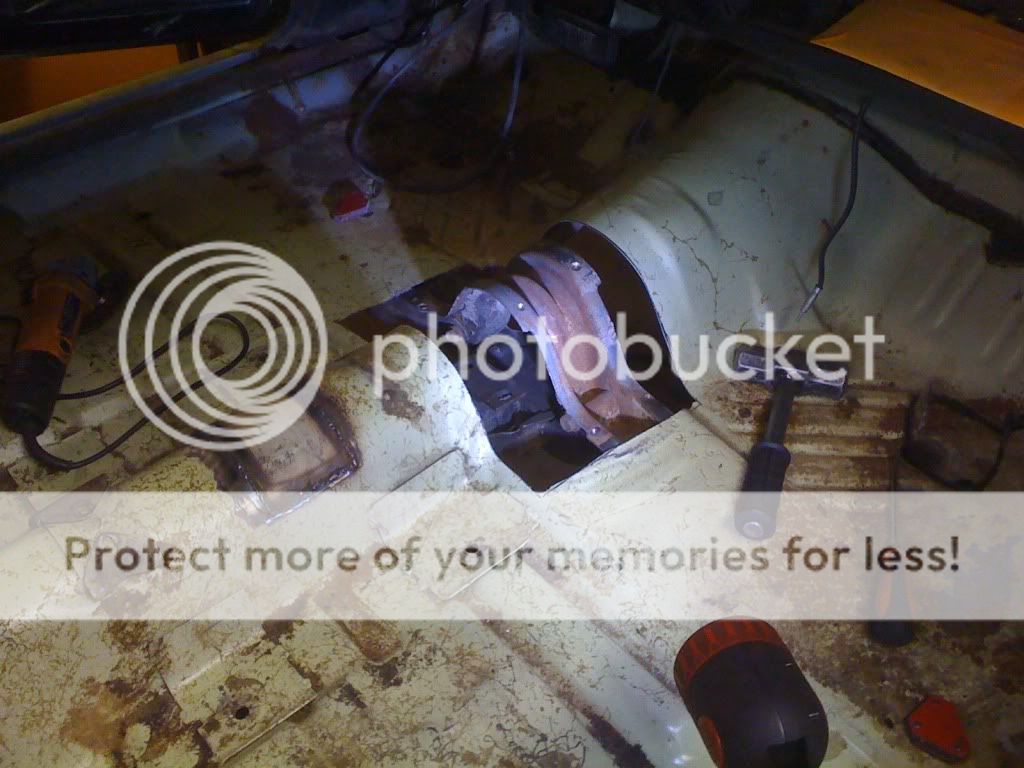
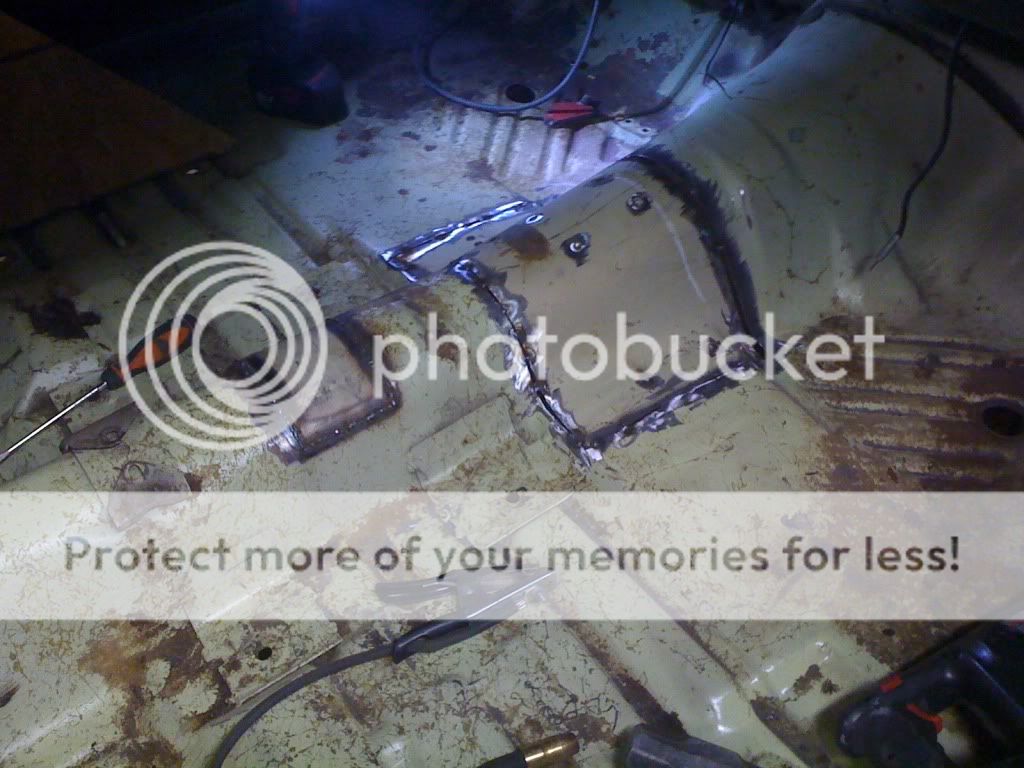
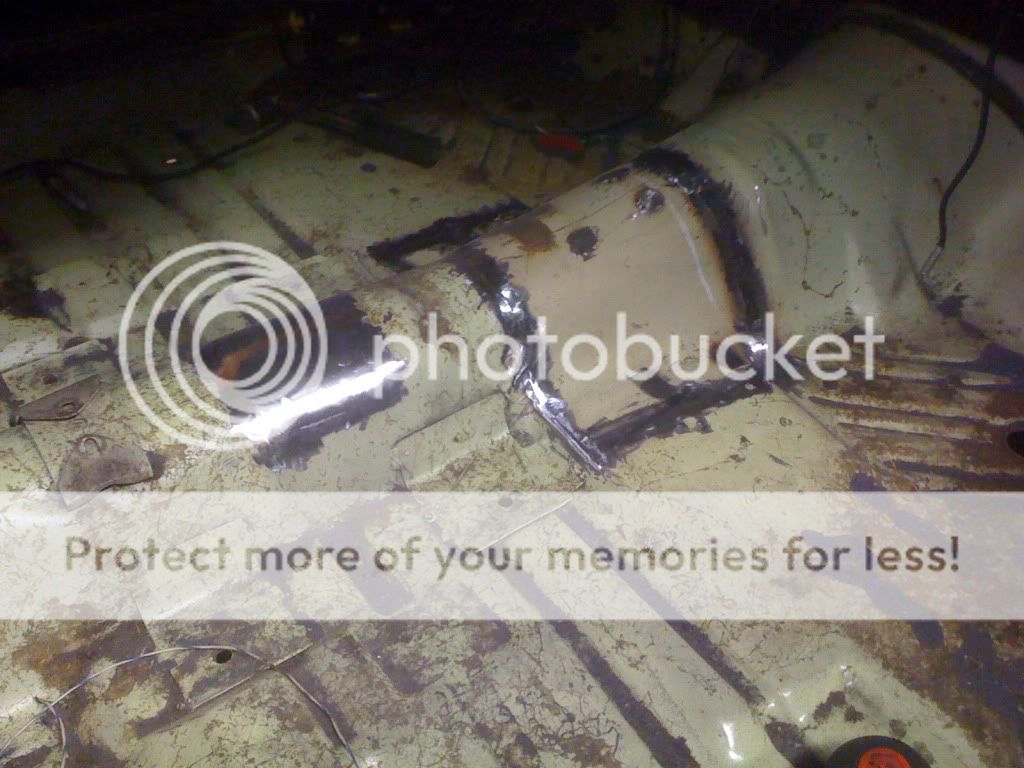
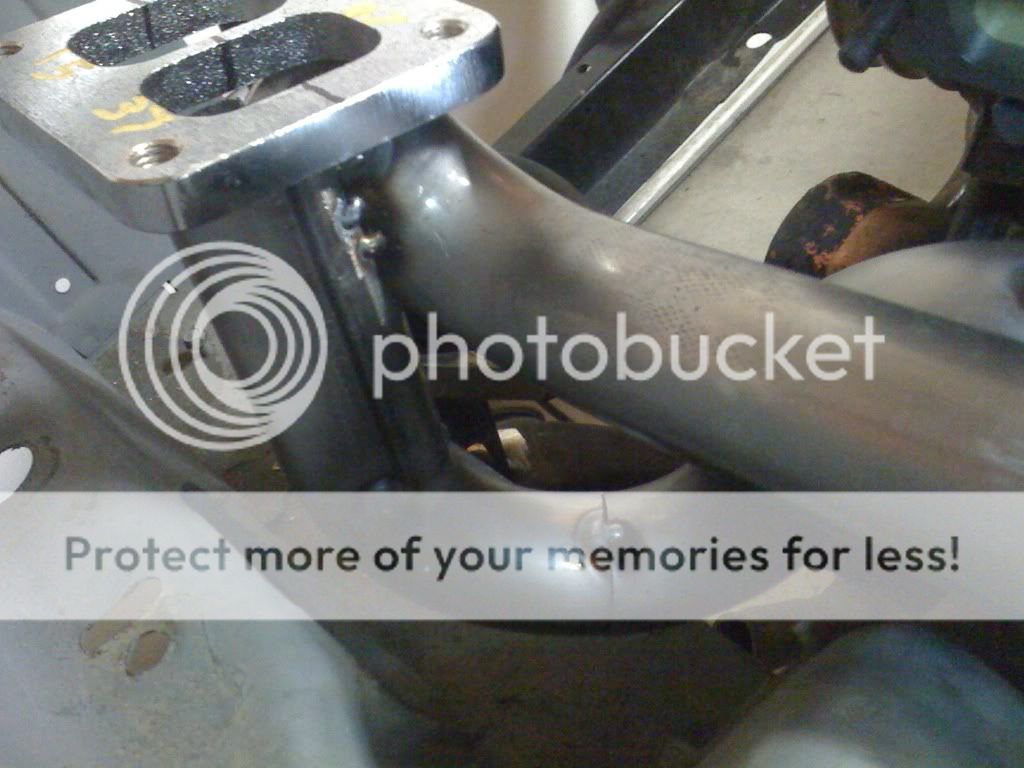
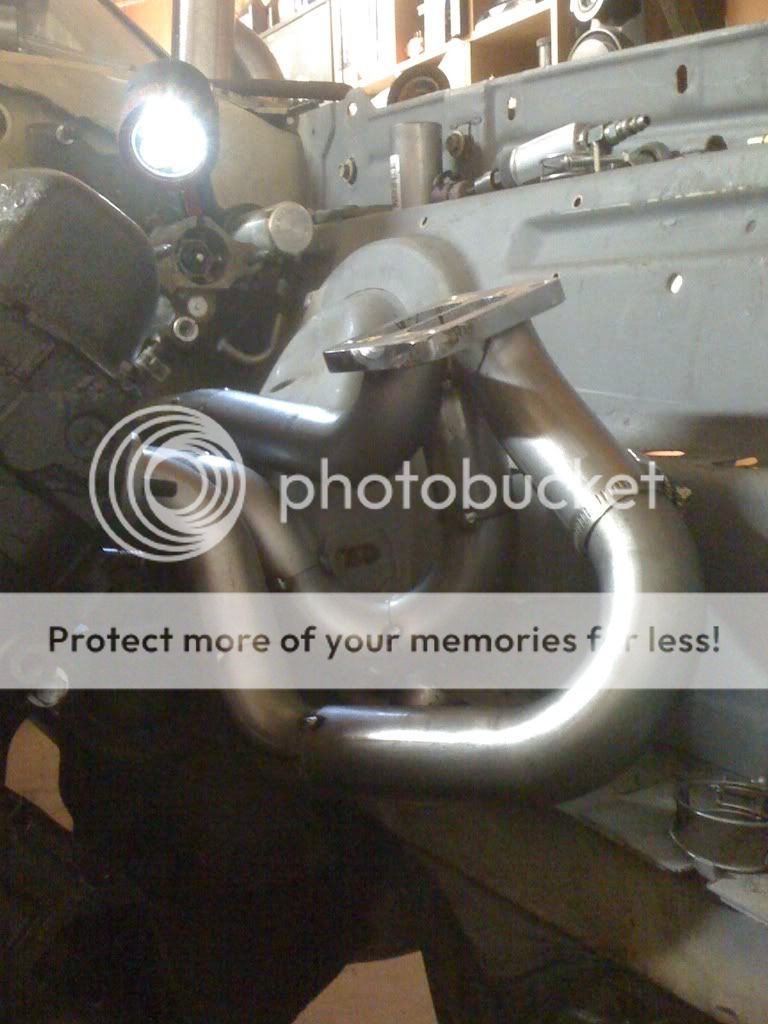
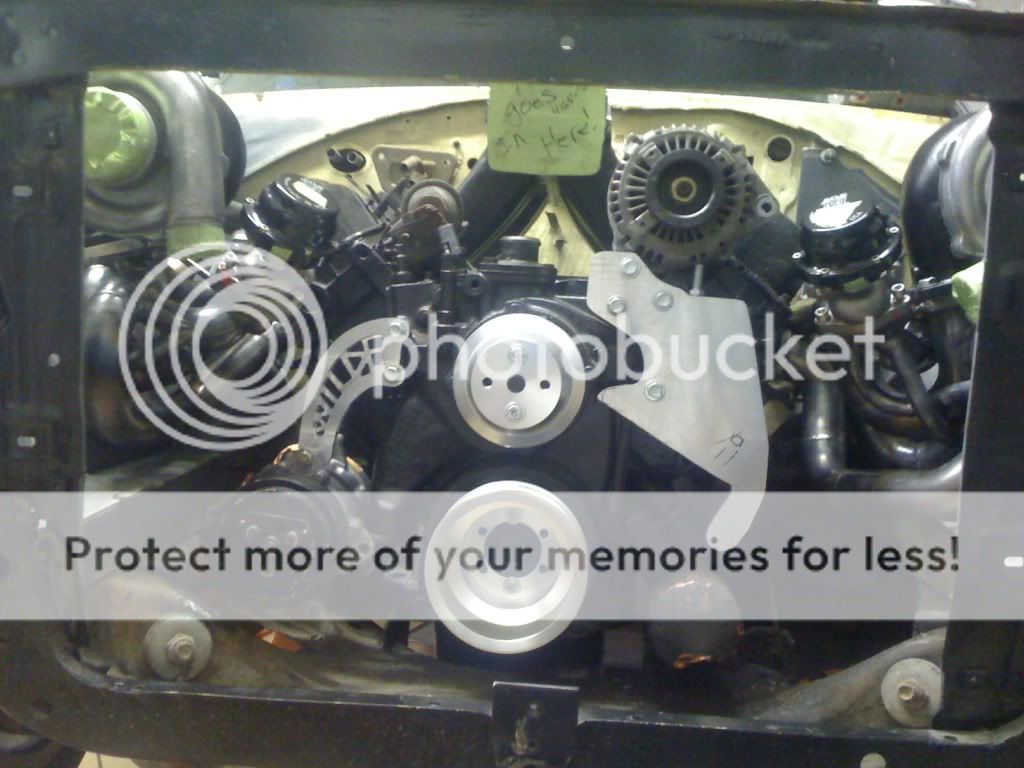
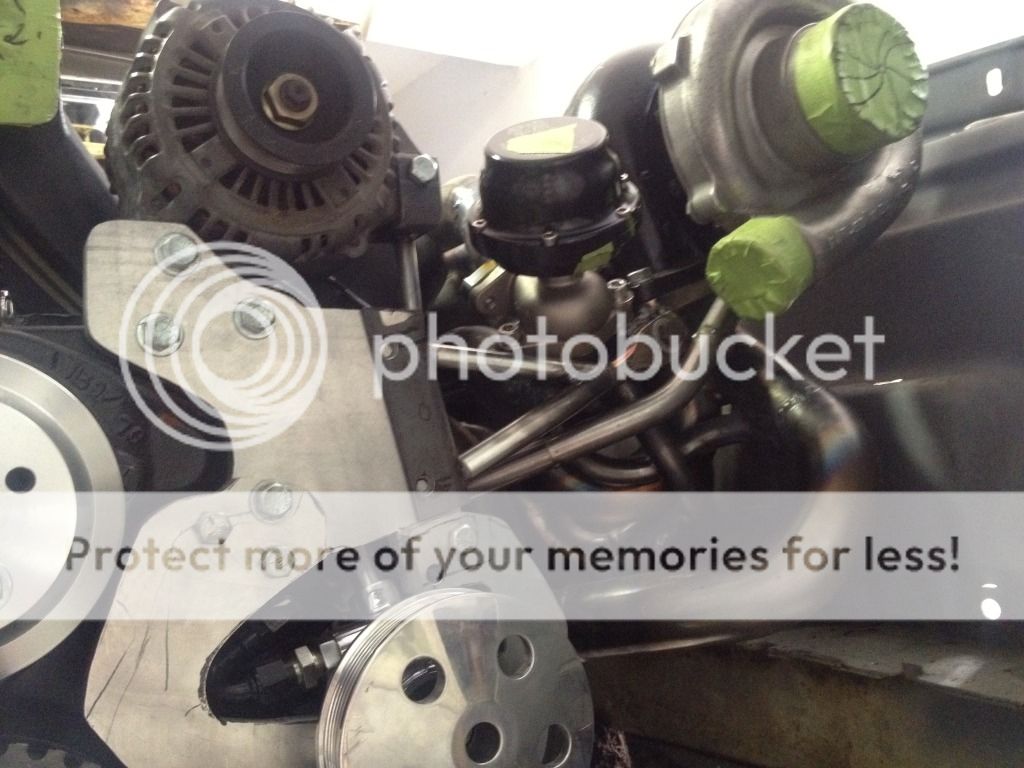
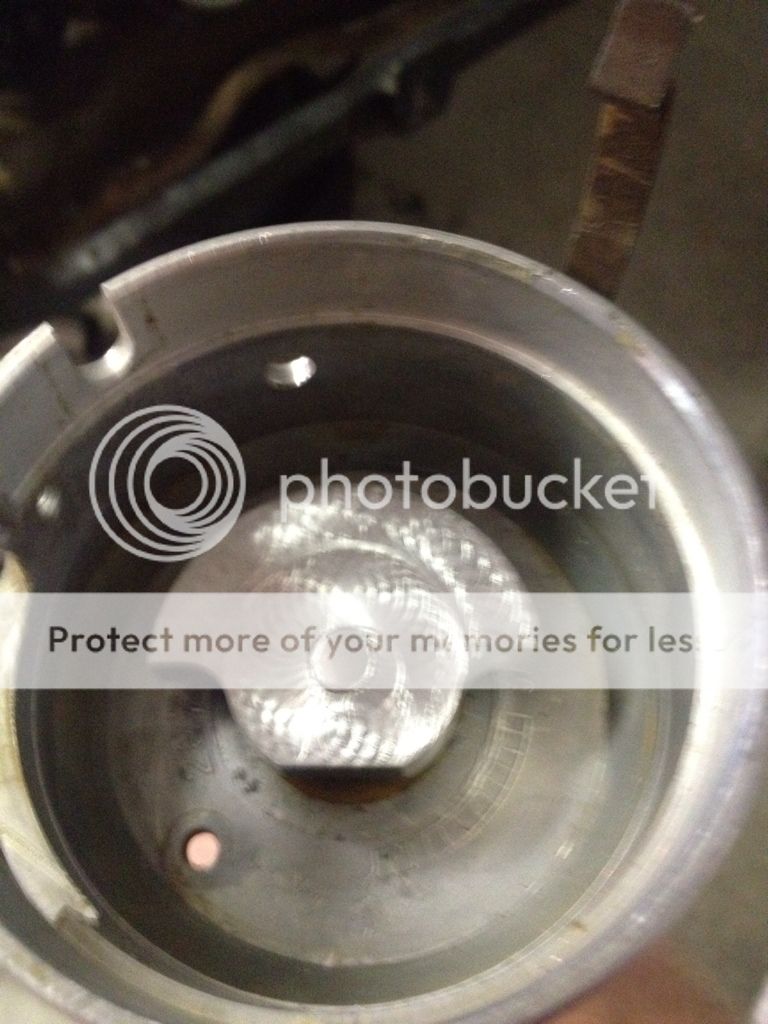
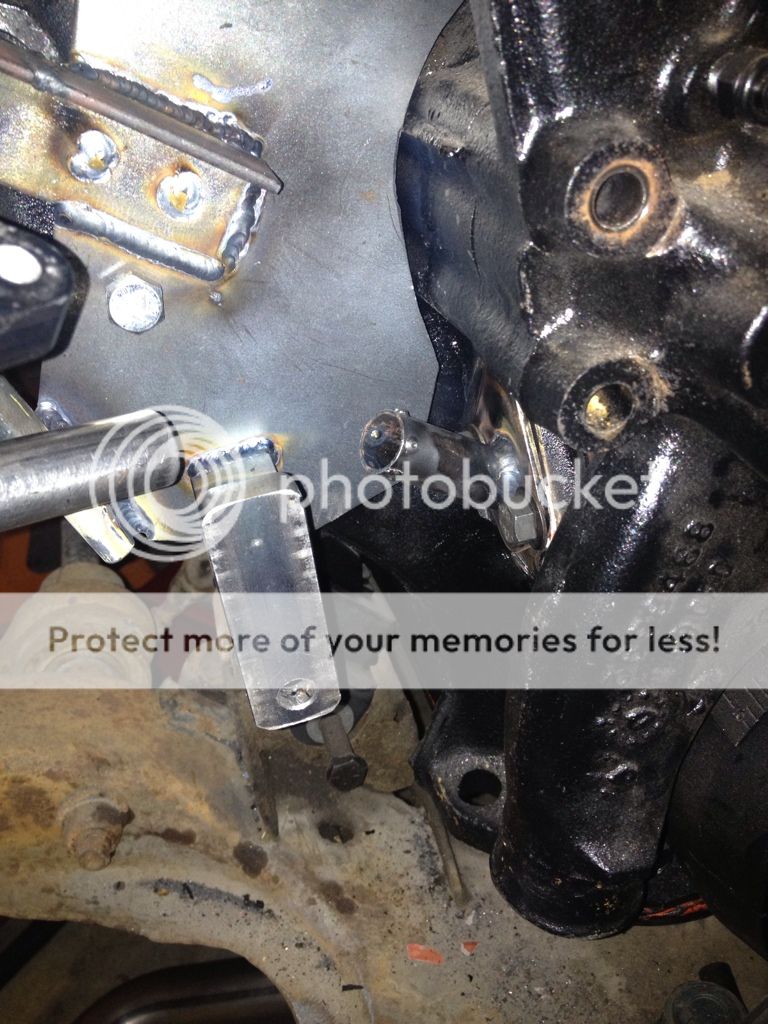
Back on the car, I was going to leave the support on but after some thought I think I'm going to cut it out.


P1010128.jpg


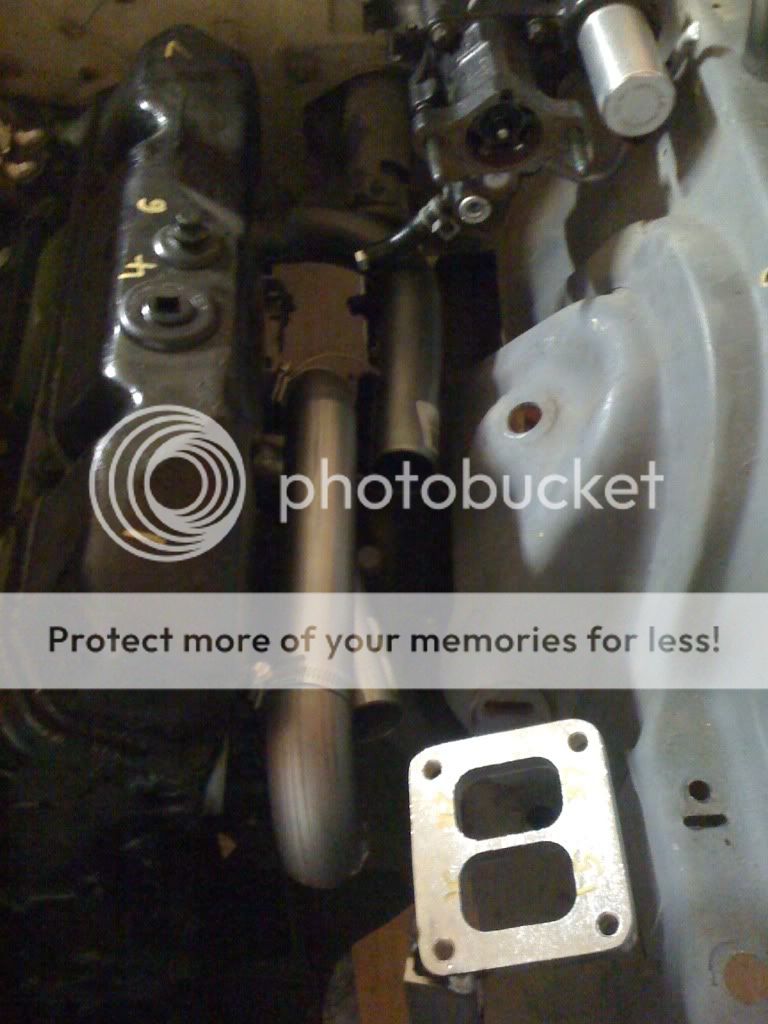
I've started to do the same for the left side waste gate, I'll post those pictures when it I'd complete.*


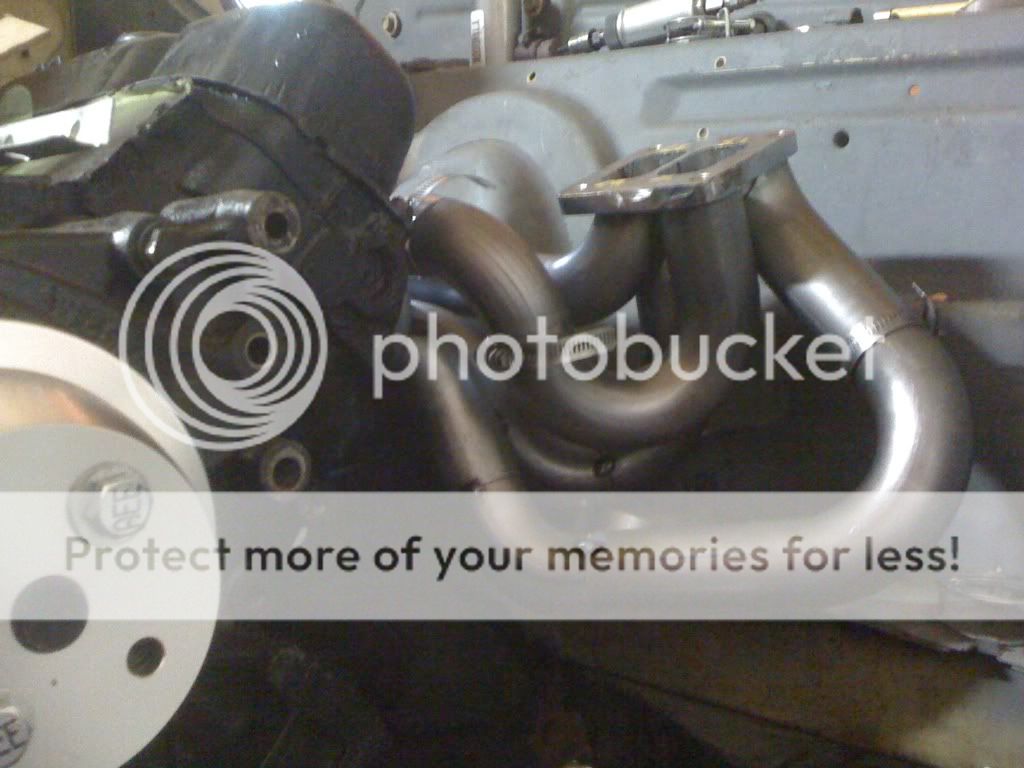
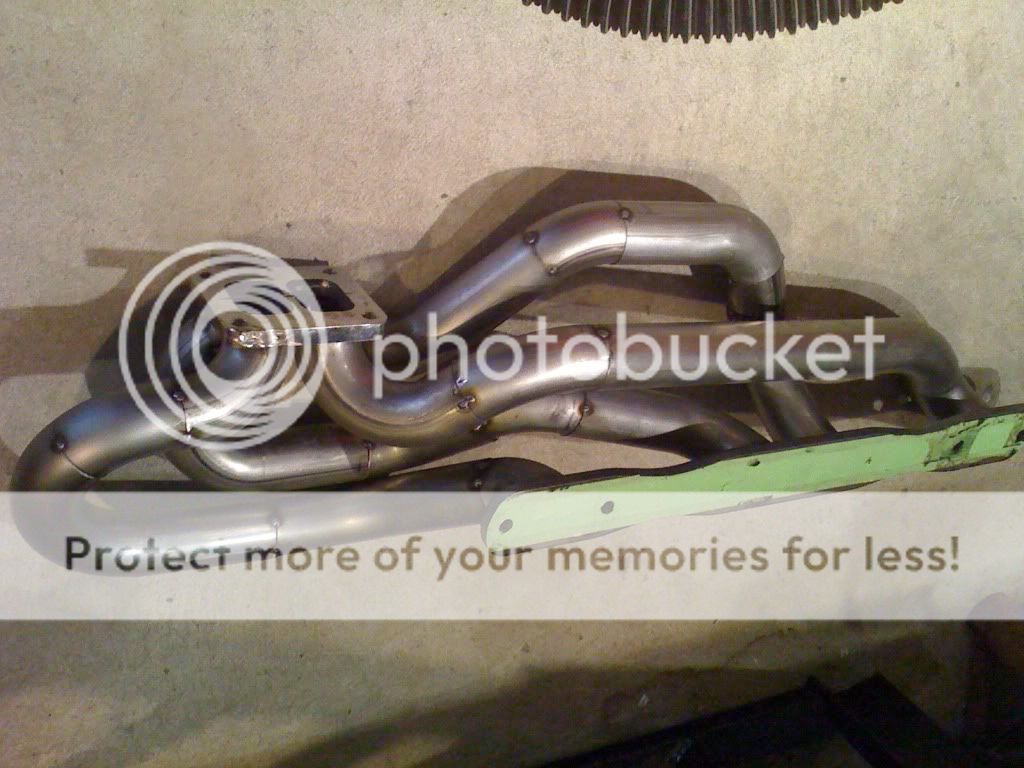
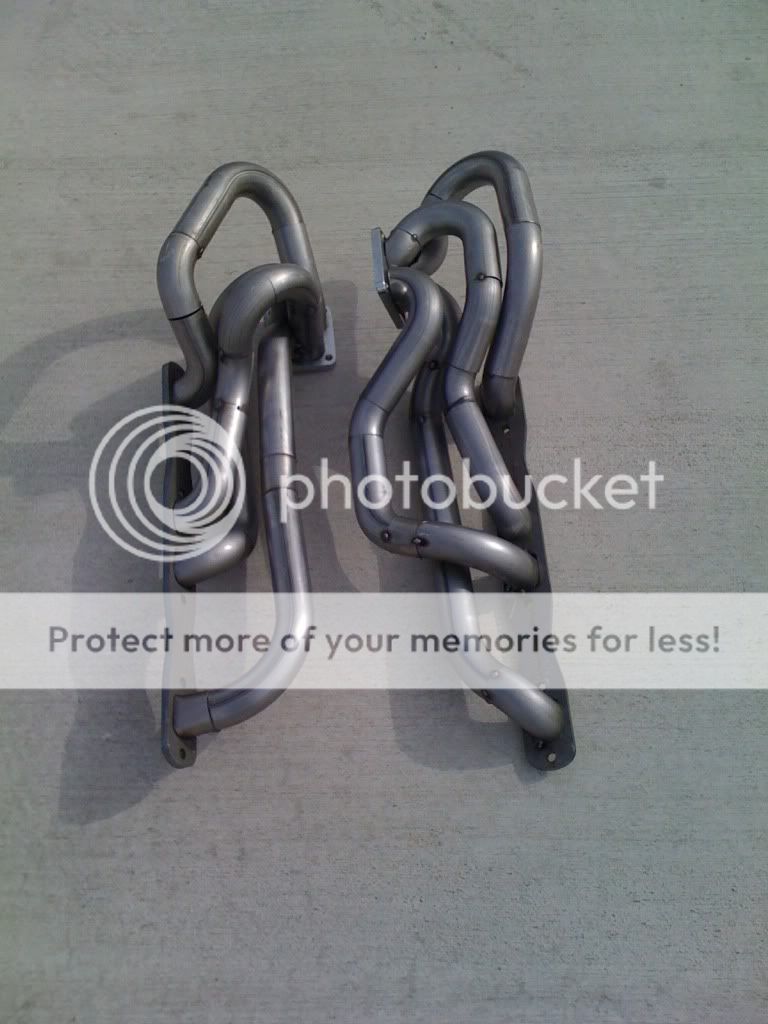
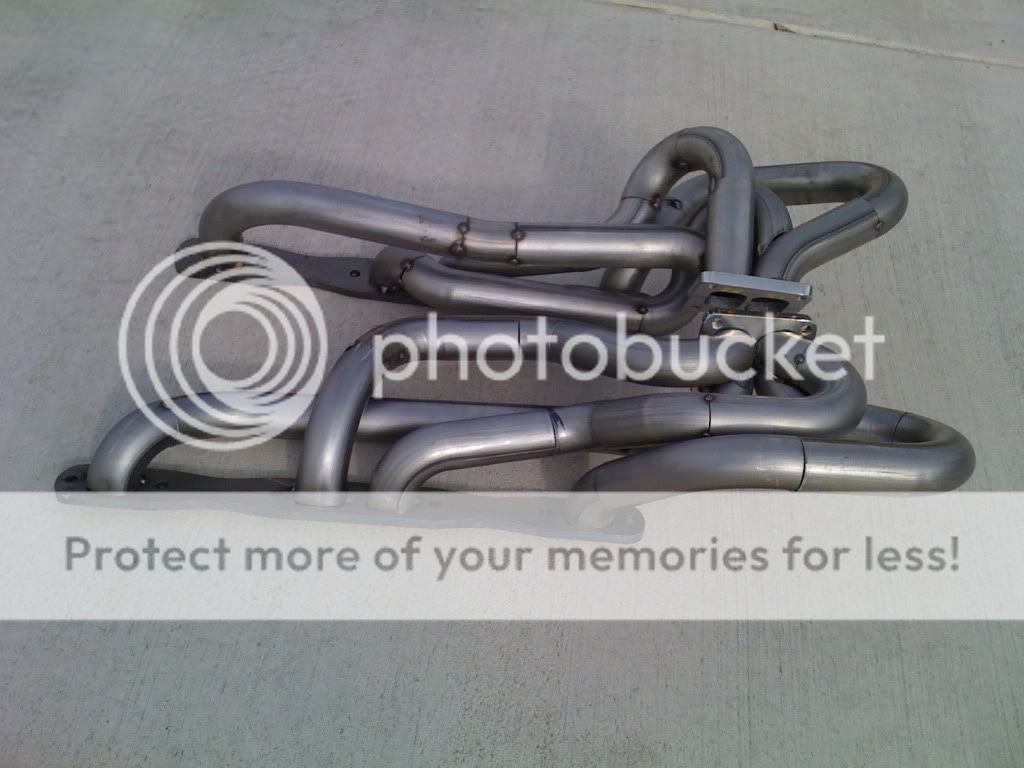
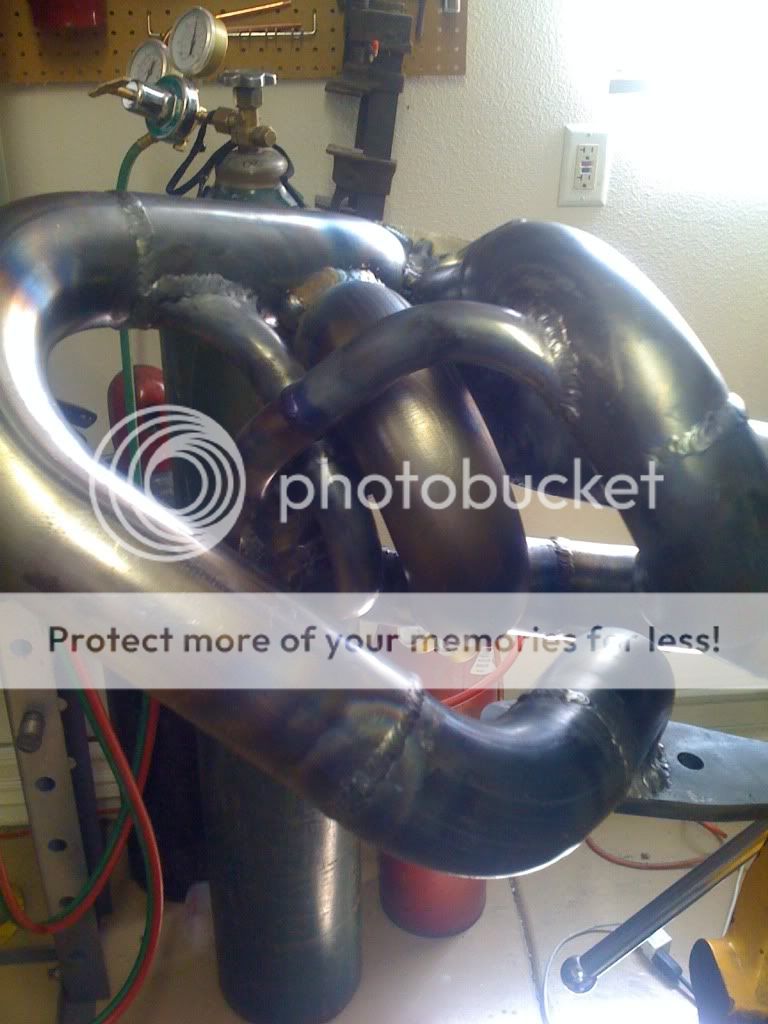
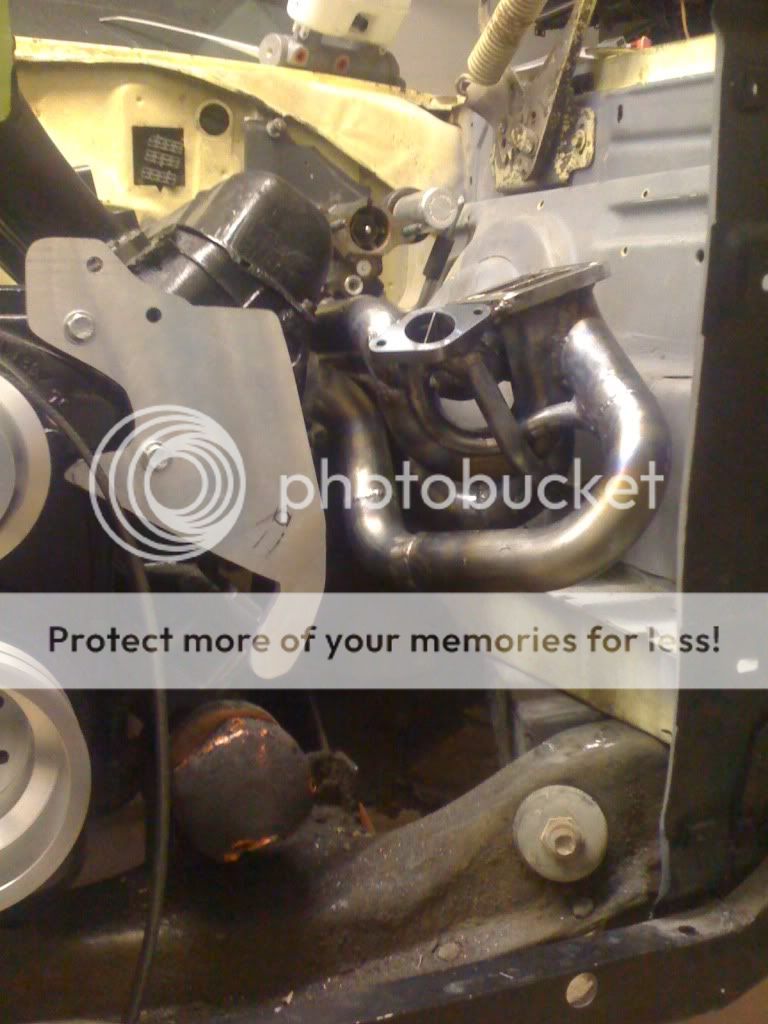
A little more done. The left side gate is done, so the only thing left for the manifolds is to touch up a few ugly welds, weld in eight EGT probe bosses, weld in two drive pressure fitting bosses, a bit more welding in the merge and a little port clean up. I'm beyond burnt out on the headers, so I'll come back to most of this stuff later........

Here is the progress of the left side...
Connect to holes...

P1010141.jpg


P1010137.jpg


P1010135.jpg


IMG_1402.jpg


IMG_1404.jpg


IMG_1405.jpg


IMG_1406.jpg


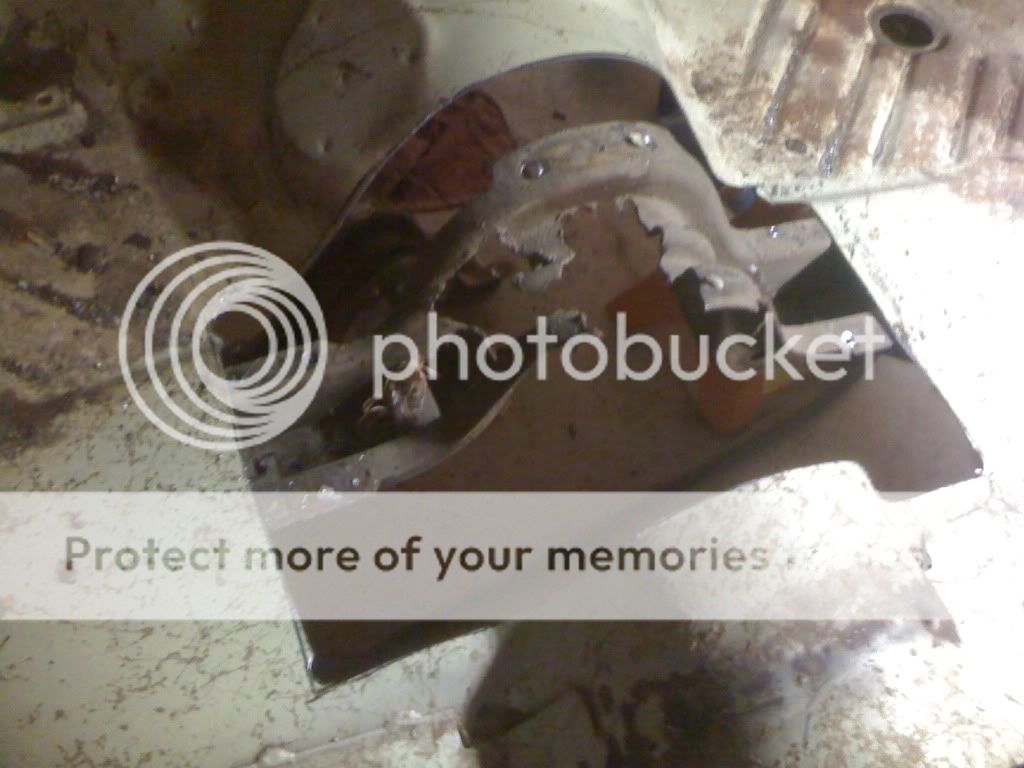
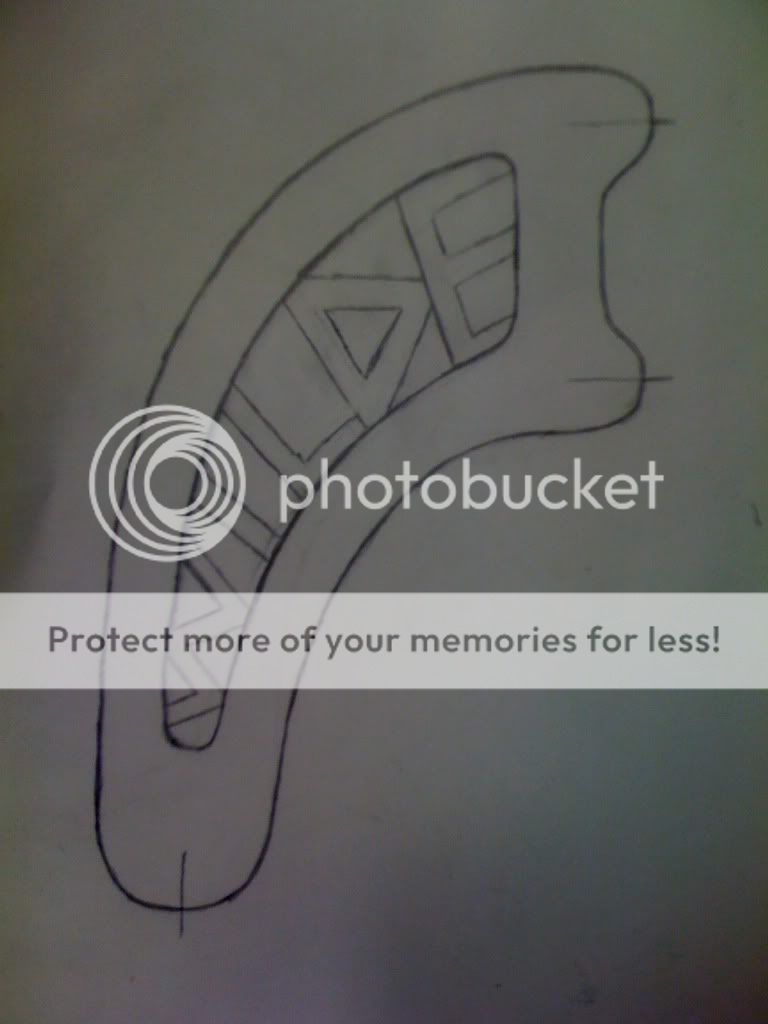
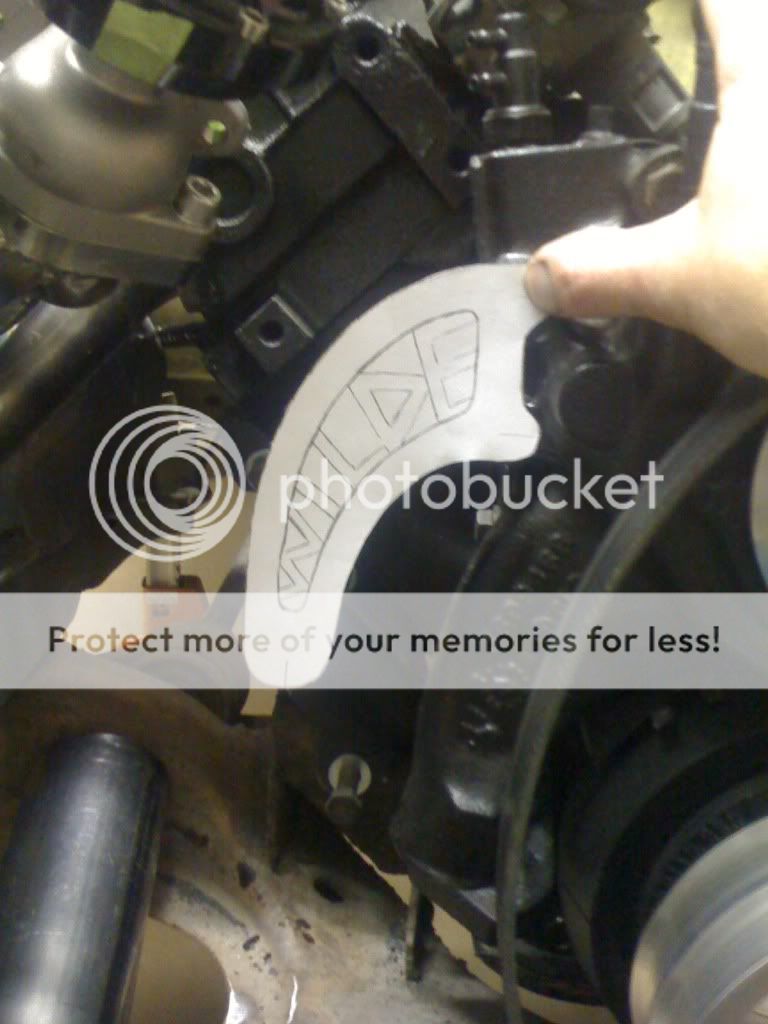
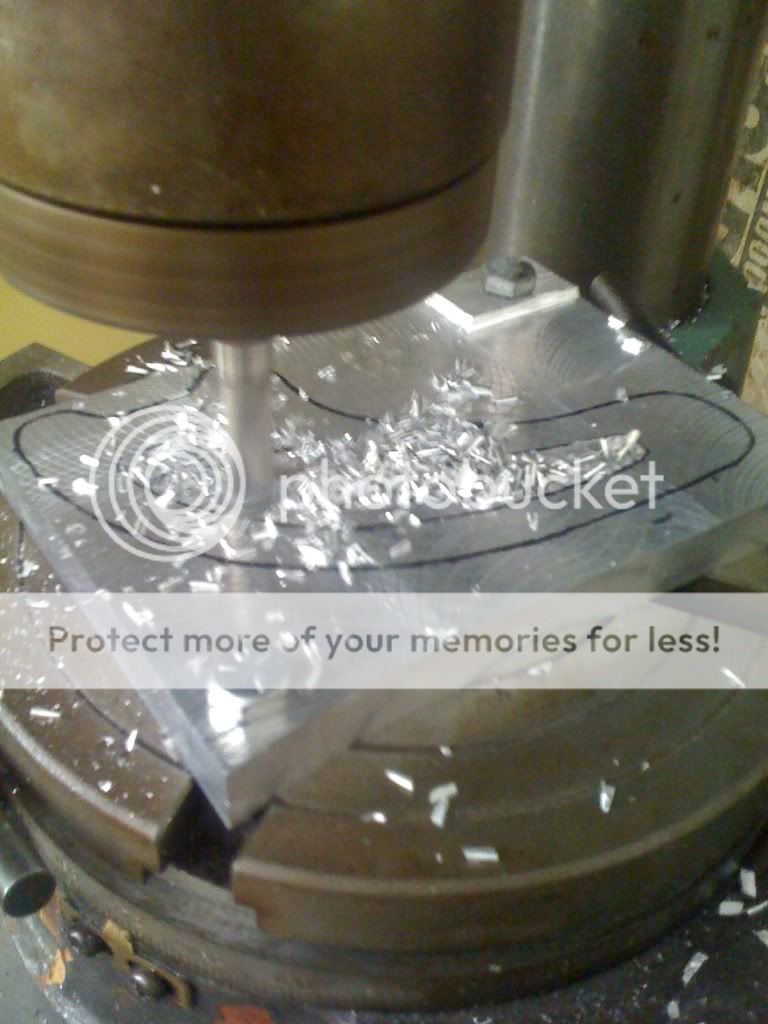
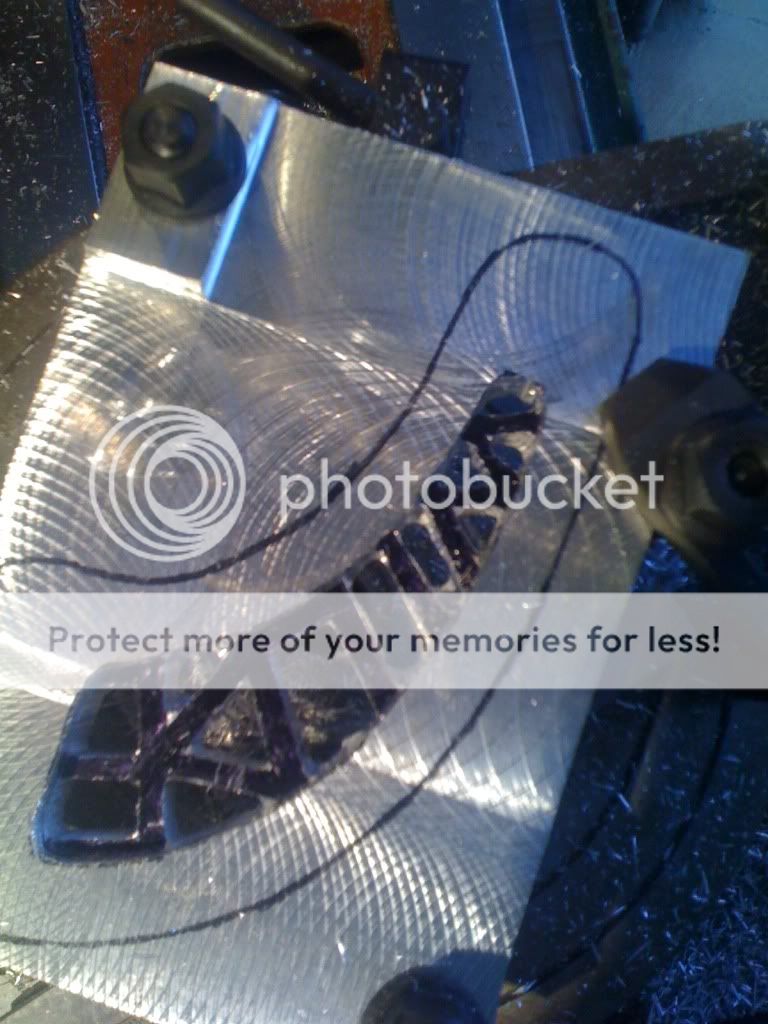
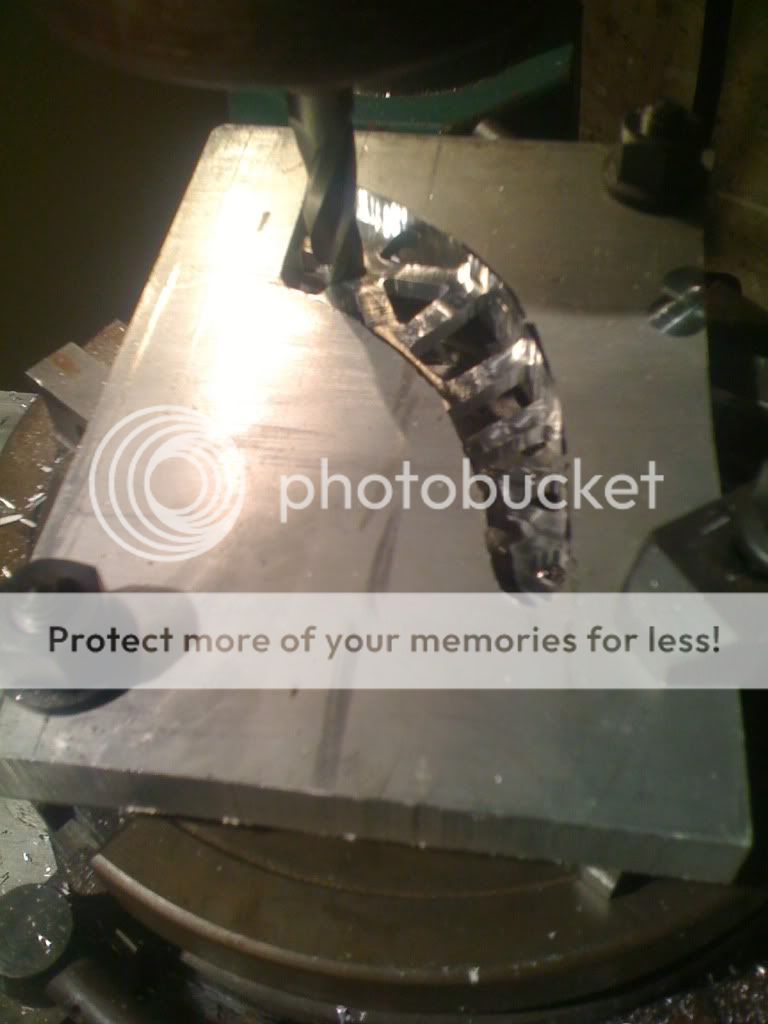
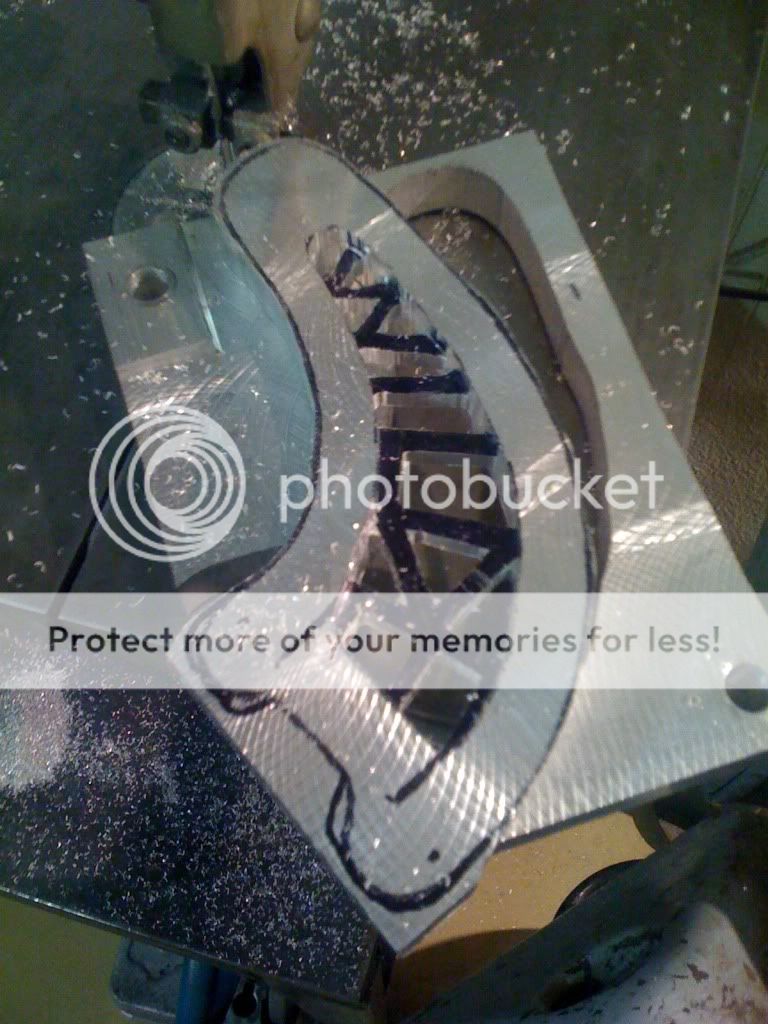
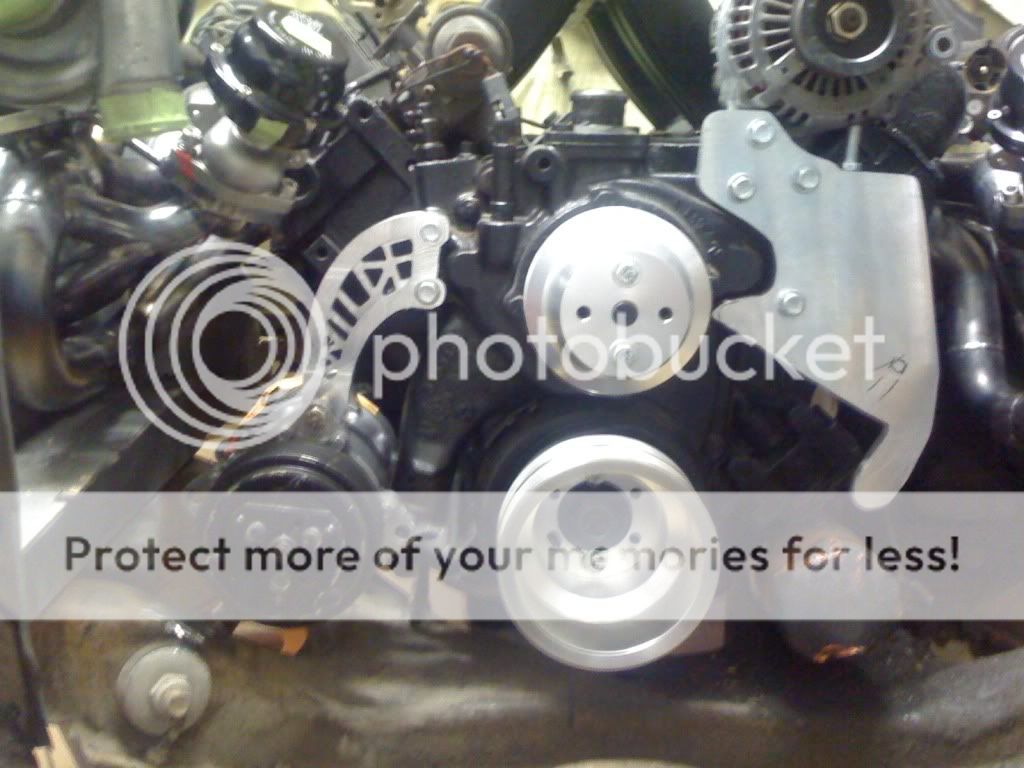
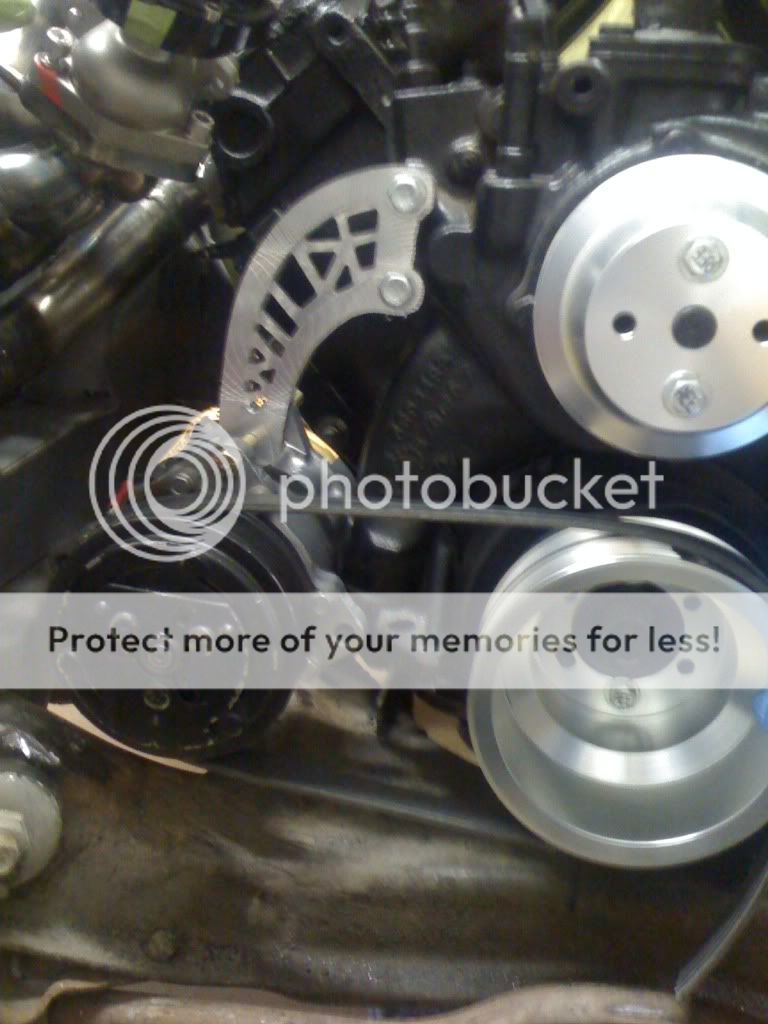
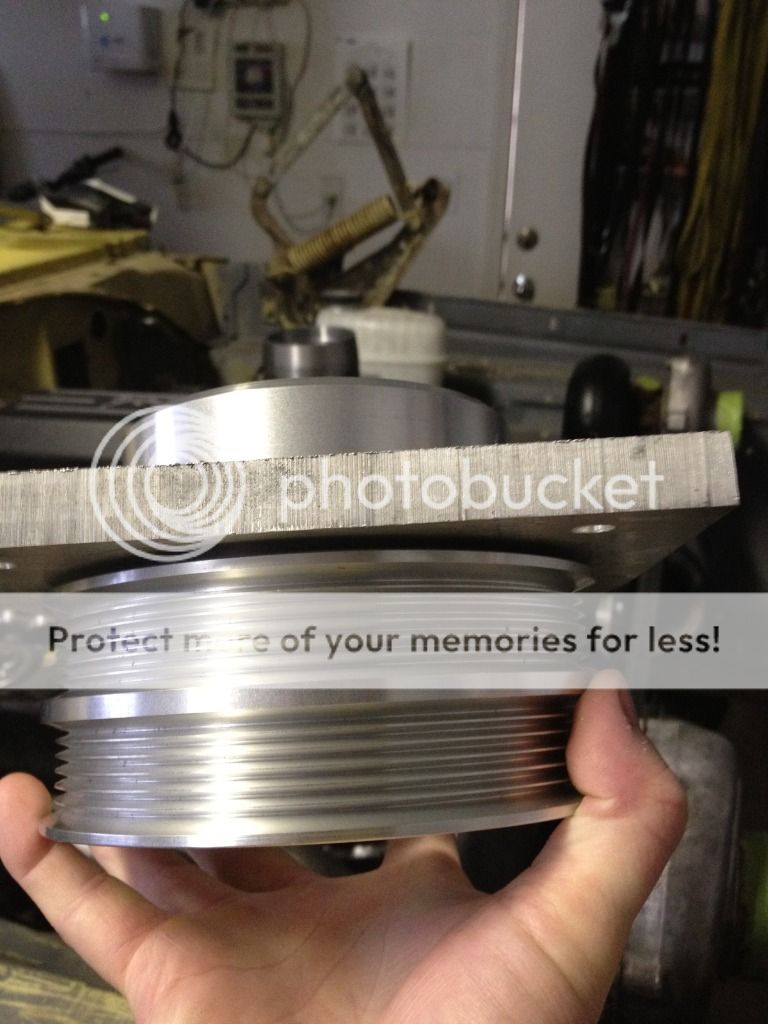
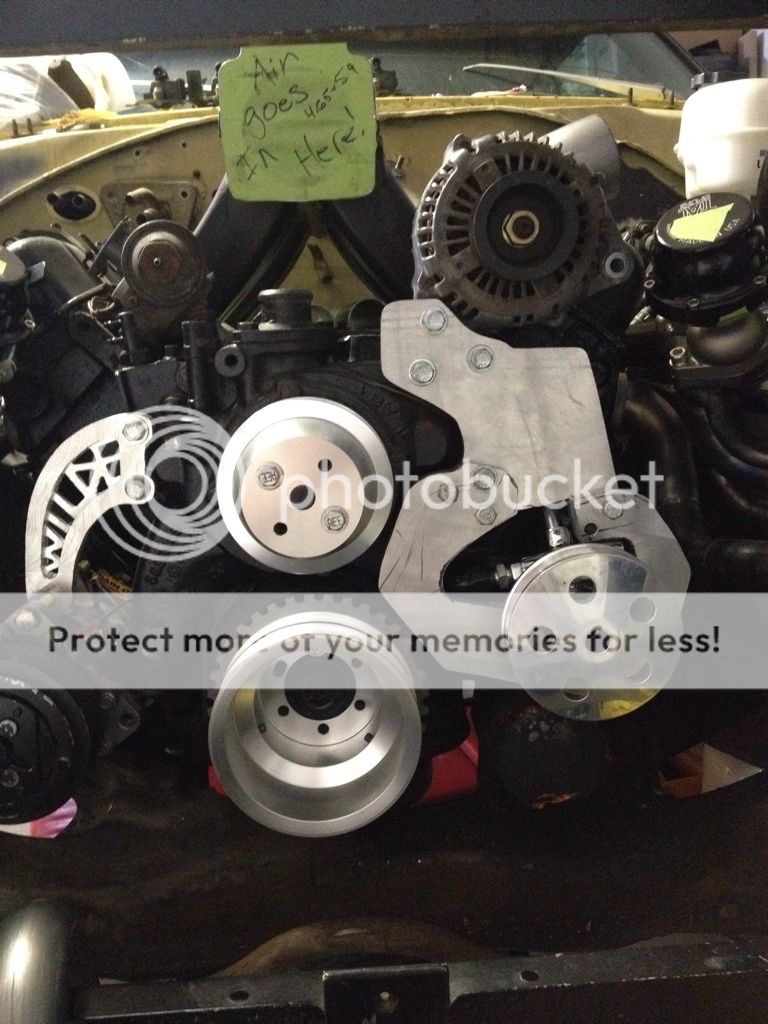
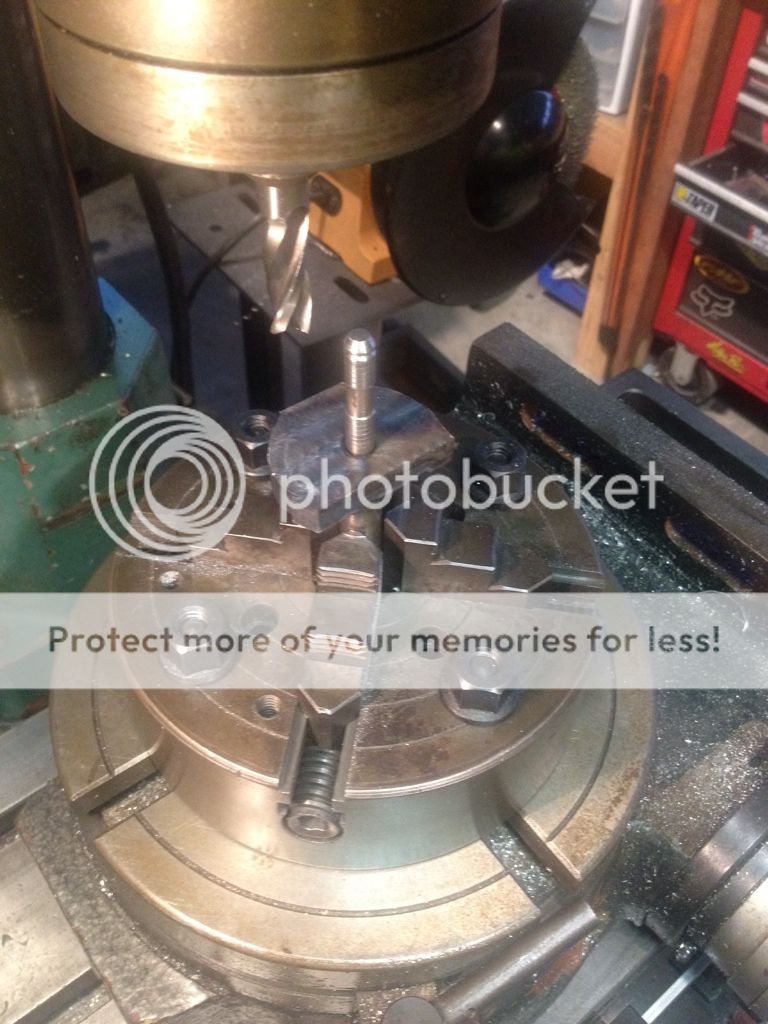
O.K now to move on to the A/C compressor bracket, first, I can not draw well but I wanted something unique. I had planed on a March-ish looking bracket but my wife gave me this idea so I appeased her and drew it up. I ended up liked it enough to try and make it. Turned out O.K imo, but I still have a bit of clean up to it. It also serves as a way to identify what family I belong to if the unthinkable happens, theft deterrent, and more proof I do things the hard/long/waste of time way.......

IMG_1356.jpg


IMG_1357.jpg


IMG_1367.jpg


IMG_1384.jpg


IMG_1391.jpg


IMG_1395.jpg


IMG_1412.jpg


IMG_1413.jpg


IMG_1417.jpg


IMG_1418.jpg


IMG_1420.jpg


I plan in building another pivot support for the rear of the A/C pump, the I'll use an adjustable rod to tighten the belt. Never mind the bolt holding the alternator up, it was just used to position the alternator for more brain storming........
 
Thread/project from the dead......

I have been busy these last few months with a new job, the birth of my son, and a move. (I HATE moving btw) Anyway, I have had very little time to work on the charger but I'm trying to sneak out to the garage (now a little two car garage) when I can.....

I just made this piece and I'm a bit proud (hints the post) of the way it turned out. I needed some way to connect my budget turbos to the down pipe as these turbos use a sealing ring instead of a V-band. The OE piece is cast so I made this guy that I can weld to instead...

The factory adapter pipe is siting on top..
IMG_1818.jpg


Turning down and tapering the end to make welding easier.
IMG_1824.jpg


Finished piece, one down, one to go.
IMG_1828.jpg


IMG_1832.jpg


IMG_1833.jpg


I managed to sneak out to the garage for a few more hours this afternoon. I need to attach my tone ring to the crank, I bought a 440source aluminum crank pulley but it is too thin to drill and tap this is the best solution I could come up. Basically I will machine a washer that will have three bolts that bolt from the inside of the pulley, then I can drill and tap the "washer" for the ring.

I started out with some left over stuff from the accy. bracket, I wanted to save as much as I could so I used the rotatory table to cut it out.

IMG_1838.jpg


IMG_1841.jpg


As you can see, I'm no damn machinist.... :redneck:

Test fit, and then rough cut it with the band saw..

IMG_1849.jpg


IMG_1850.jpg


Thinning it up a bit.

IMG_1855.jpg


Chuck it in the lathe and spend an hour or two making it round and adding a taper..

IMG_1861.jpg


Pretty good I think, just need a bit more out for the taper, then I need to drill and tap all the holes.

IMG_1867.jpg


Here is what it will look like once it is finished.

IMG_1871.jpg


I managed to duplicate the exhaust fitting and I finished up the pulley mounty thinggy....


f0dda5bd.jpg


00c04d8b.jpg


7e0be81d.jpg


c8b77436.jpg


Next up on the never ending list.... Finish accessory brackets including power steering mount, tack down pipes including gate dumps, route turbo drains, mock and tack all EGT bosses. Once all of that is done the engine is coming back out and I can start wrapping up the turbo side of this project....


Well I've tried to not update as much and hold off until I actually make some progress.. Turns out I cant wait.....


I got a little more done on the power steering pump bracket but I hate the way it is turning out so I've tried to forget about it for a while....

ecd66a33.jpg


7fbc27c9.jpg


I did however acquire a bit of magnesium in the shape of this...... Anyone have a lighter?

7b802683.jpg


5a910ad4.jpg


654bce18.jpg


Exhaust made it this far...

448ee20a.jpg


a11ddb0c.jpg


Yes that is the waste gate dump...

384f7672.jpg


I wanted Disc brakes for the car and as I'm broke I thought this idea might work out. The Hub was "removed" using a 20-ton press, the rotors and calipers are off a 2010 GT :eek2: I still need to turn the hubs down slightly and make a caliper mount but other wise I thing it will work out well (and cheap).....


8f06b3b0.jpg


c04fe6ba.jpg


fd1fb3b5.jpg


4a456aa6.jpg
 
Getting a little more time to work on it lately. I got the drivers side down pipe tacked, I just need to finish the waste gate pipes, mark all the locations for the egt and wide band ports, pull the exhaust and finish welding it up! Then I can finial move on to something else.


Im so exhausted of work on the exhaust, I have spent a little time mounting the seats. All that is left is to finish the shifter mount.

4ecb60a6.jpg

Well here is the after work weekend update. I got a lot done, but still SO much more......


Passenger side down pipe and waste gate down pipe welded... Be gentle on the weld quality judgment I'm just learning to TIG weld. :hack:


IMG_2552.jpg


Passenger side shot showing custom valve cover weld... (Weld done by a pro TIG welder Stoichiometric)


IMG_2563.jpg


Drivers side turbo support and alternator bracket.


IMG_2557.jpg


EGT ports welded in the drivers manifold..


IMG_2575.jpg


drivers side assembled on bench..


IMG_2577.jpg


IMG_2580.jpg


Welding is almost complete on the headers, bit I thought I would spend some time on the crank and cam sensors...

caa4239b.jpg


2d919c27.jpg


166d9e17.jpg


dadd58ad.jpg


1e87d98e.jpg


Not too much of an update, but I got the exhaust pretty much finished up. I got the ac rear support done, Im also using the fuel pump port for the right turbo drain. I'm also building a little reservoir for the power steering pump. I also plan on building a normal power steering tank that will be mounted I the fire wall or under the intake, but the little one should keep the pump happy.. I also started planing the radiator and piping, pretty tight fit...

8B5451D5-66EA-405D-AD0A-67C8C36D445E-1588-0000041527728789.jpg


A55D407D-DC93-446D-AF77-8CBC66162520-1588-0000041521E2B413.jpg


9673FA9B-F9E3-4F1F-8E00-BF6802EA5C74-1588-000004151481159E.jpg


07B8ED20-8DB8-48C3-82D3-6A51C666E65E-1588-000004151BD1577A.jpg


8A31EC14-C6D7-4B6D-B084-5DB61EFE0161-1588-0000041507BAEBF8.jpg
 
HOLLY CRAP! Talk about thread dump....

Sorry about that... (if your still reading this)
 
Amazing work.


Did you also post this on yellowbullet????

I remember the pics from somewhere...


Dan
 
Great work. Very interesting to see your ingenuity shape this project. Looking forward to following this through to the end (or should I say 'start'). Thanks for taking the time to post your pictures. They are much appreciated.
 
tt

that is awesome work, car should be amazing!!! i had a couple turbo cars and i would suggest if you can ceramic coat the turbo housing and the headers. and run e85 your exhaust temps will be around 400 degrees cooler which means alot more HP. my buddy has a junk gm but he is running that e85 and running 9.3 in the quarter mile street car single turbo. just a suggestion. once again awesome build cant wait to see more progress. :headbang:
 
that is awesome work, car should be amazing!!! i had a couple turbo cars and i would suggest if you can ceramic coat the turbo housing and the headers. and run e85 your exhaust temps will be around 400 degrees cooler which means alot more HP. my buddy has a junk gm but he is running that e85 and running 9.3 in the quarter mile street car single turbo. just a suggestion. once again awesome build cant wait to see more progress. :headbang:

Thanks guys, The headers will be coated. the turbo housings will not, well at least not the current turbos. E85 is an option as well as methanol. I had a turbo truck that ran mid 11's that weight 5,000 pounds. It ran on pump gas and I sprayed methanol once boost came on. It seamed to work well, but that was before the E85 craze took off.
 
wow is all i can use to describe this build. I have a machine shop in your garage? That is awesome:headbang:
This is a very interesting build and the fact that ur fabricating all the brackets and tubes.. Makes me feel like in a preschool level here,lol. Good job and good luck holding on when this puppy blasts down the track. :grin:
 
With all that exhaust plumbing and those turbos up high, when people hear that thing coming, they're not gonna give a thumbs up... They're gonna hide their women and children.
 
Auto Transport Service
Back
Top