You are using an out of date browser. It may not display this or other websites correctly.
You should upgrade or use an alternative browser.
You should upgrade or use an alternative browser.
Minnesota Gold
- Thread starter Durandal25
- Start date
Durandal25
Well-Known Member
Durandal25
Well-Known Member
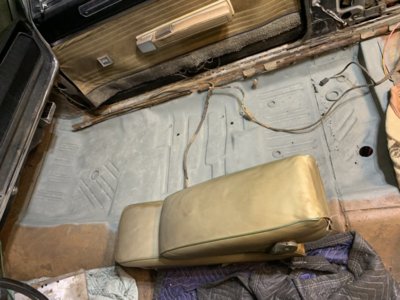
Got my floor pan, driver side in too today. That’ll be fun
Durandal25
Well-Known Member
Durandal25
Well-Known Member
Durandal25
Well-Known Member
Durandal25
Well-Known Member
Durandal25
Well-Known Member
Got the block, heads, crank and rods off to the machinist today. Totally juiced. Going to get the heart and soul back into this metal monster soon.....she hasn’t made a sound since 79’
Durandal25
Well-Known Member
Durandal25
Well-Known Member
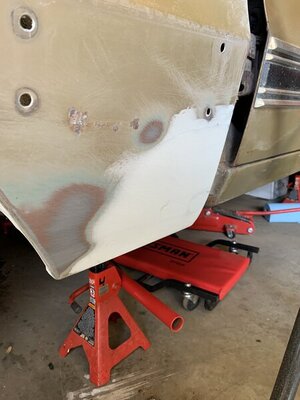
.....obviously a second coat will be needed , but it’s a solid repair
Durandal25
Well-Known Member
Going to tackle the back two quarters and trunk extensions next week. I’m sure that will be quite the challenge
Durandal25
Well-Known Member
Well, just went out and got a couple of gallons of ZZ-1 Gold Poly and supplies. I'm getting much closer to paint on the engine bay, trunk and other bits. Going to practice a bit first and try not to waste much paint.....but I've watched a million hrs of vids on the subject and will begin this process on areas I can re-paint as I mess up. Getting a middle of the road DeVilbiss set up, and will make sure I have a gun for primer only. Going to 600 grit the these areas, fix any pits and chips.....then hit it.
YY1
Well-Known Member
start on the hood...
...or go get a junkyard hood to practice on.
I happened to find a cavalier hood in my dumpster one day, so I pulled it knowing I'd need to practice on something before I painted my engine compartment.
It took three tries with scuffs/sanding in between before I felt comfortable trying it for real.
Orange peel was my worst issue.
"Too far" crust was the next biggest issue.
The Nason's paint I was using was somewhat prone to that so I had to take that into consideration.
Looking forward to seeing that car all shiny.
Durandal25
Well-Known Member
Well, I am going to definitely do that sirstart on the hood...
...or go get a junkyard hood to practice on.
I happened to find a cavalier hood in my dumpster one day, so I pulled it knowing I'd need to practice on something before I painted my engine compartment.
It took three tries with scuffs/sanding in between before I felt comfortable trying it for real.
Orange peel was my worst issue.
"Too far" crust was the next biggest issue.
The Nason's paint I was using was somewhat prone to that so I had to take that into consideration.
Looking forward to seeing that car all shiny.
Durandal25
Well-Known Member
Booster is off, and on its way to Booster Dewey.
Durandal25
Well-Known Member
Durandal25
Well-Known Member
Durandal25
Well-Known Member
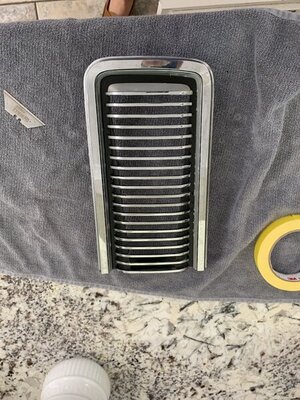
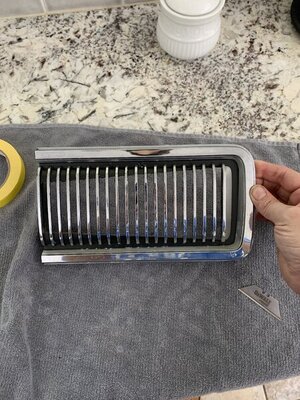
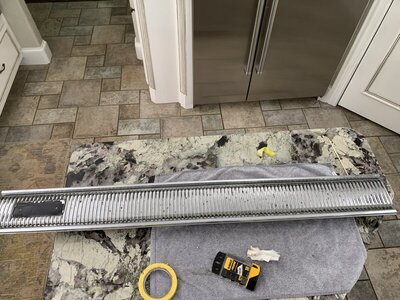
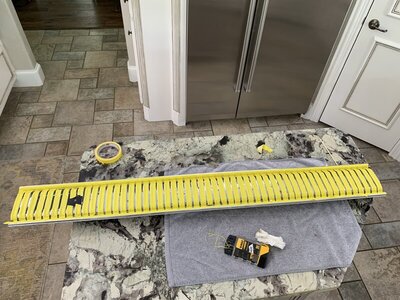
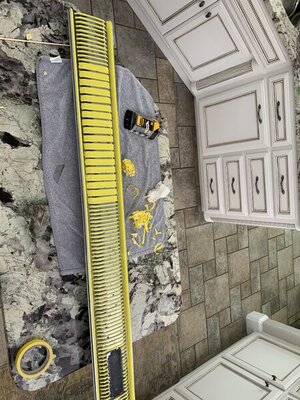
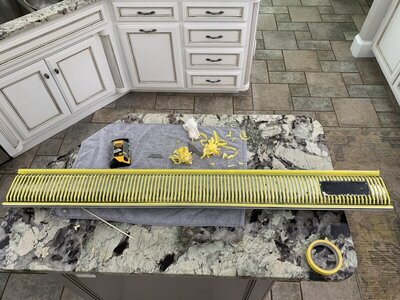
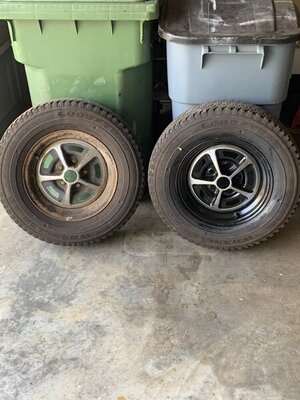
I’ll add a wheel pic as well. Took one off the RIM and the inner was in great shape.....so I just sanded, primed and painted the outer. Used the yellow tape and cut out all the needed bits . Time consuming, but great results. I’m using a new Rustoleum product for exterior automotive trim and it’s great so far

Durandal25
Well-Known Member
Durandal25
Well-Known Member
Similar threads
- Replies
- 2
- Views
- 432
- Replies
- 43
- Views
- 6K

