• When you click on links to various merchants on this site and make a purchase, this can result in this site earning a commission. Affiliate programs and affiliations include, but are not limited to, the eBay Partner Network.

My 1967 Belvedere Convertible Plans and Restoration (aka - Mad Scientist Build)

I think its more laugh at him for having to do it for that much longer....and then he can return the favor when we get snow tomorrow night.....ppfft

Glad to see you back in the trunk. Gotta finish up that fine rear so you can get to the front.

You just had to say it didn't you?????????? The white crap is everywhere now, now I'll have to wait for another good couple of rains to wash the salt away.
 
Uh . . . yeah . . . back in the trunk again . . .

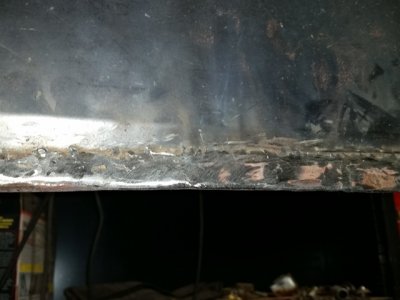
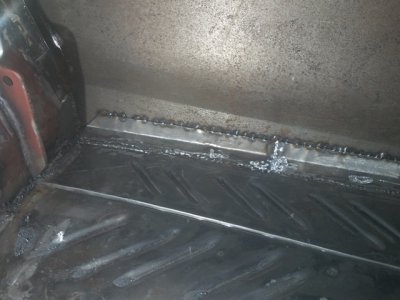
Got back in the trunk again tonight . . . and got the metal all tacked in place . . .

The front section . . .

sm_trunkworkpass03.jpg

And the back section . . .

sm_trunkworkpass04.jpg

Making progress . . . .
 
You just had to say it didn't you?????????? The white crap is everywhere now, now I'll have to wait for another good couple of rains to wash the salt away.

I knew it was coming....I watched the weather. I have a winter weather advisory right now for sleet, freezing rain and snow...I have to put mine away too.
 
Progress . . . on being able to get BACK to the Belvedere . . .

Just got back from a test drive in the Shoebox with the new heater core installed . . . the heater box ( this one was made out of metal not plastic ) was cleaned up and shot with some new paint inside and out . . . swapped the 160 degree thermostat for a 180 degree - the car was originally overheating but settled down once I got the carb tuned in a little better. Seems to be running well . . . nice weather tomorrow and some more driving will tell the story.

Also got to the landscaping place and picked up my replacement clutch for the lawn mower - the will get replaced tomorrow so I can get the grass cut - yes, it already needs it down here . . .

Also made a trip out to Hotchkis and met up with Kevin about how to best build a frame for the rear seat backs - they have a bracket that locks the seats - and it needs to be fairly sturdy. Went to the metal supplier and got a piece of rectangular stock, got it cut to 45 degree angles, and it's ready for me to start my handywork to get it fabbed into the car with the seat back brackets working . . . should be fun ? ? ? ?
 
All I have to do is look at my car and my back starts hurting.....
 
Working on the Driver wheel well . . .

Finally got back to the shop to work on the Belvedere, and I finally decided it was time to start getting work on the last of the body work so that I can get to the bodywork and finally to paint.

Started on the front of the wheel well . . . I need to move the bottom of the wheel well forward about 2" to flush it with the inner well.

sm_drwheelwell01.jpg

So it got marked and cut . . .

sm_drwheelwell02.jpg

Then the front 2" was cut off the piece that was removed . . . so it could be reattached . . .

sm_drwheelwell03.jpg

The next step will be make a little patch to fill in the missing piece . ..

sm_drwheelwell06.jpg

And the final result of the work is that the bottom of the wheel well and the inner well are aligned . . .

sm_drwheelwell07.jpg
 
Nice work Kahn, I take it your stuffing something really fat in there?
 
Thanks 747 Mopar . . . I'm riding the fence on this, my Uncle said he drove a car with a 4-link and he didn't much care for the ride . . . likes the ride of springs much better . . .

So I'm still not quite sure what to do here . . . but the current state of my car, NOW would be the time to get it done . . . still thinking on this . . .

Which 4-link would be the way to go ? ? ?


If the 4 link is still on the table, look at the Martz Chassis.
 
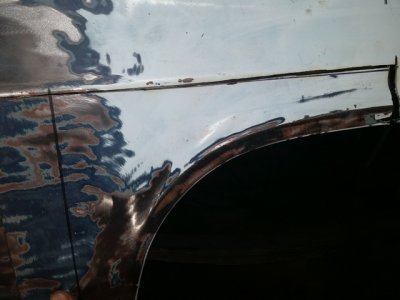
More work on the driver quarter panel and wheel well . . .

Got back in the shop and got started working on the wheel well . . .

sm_drqtr08.jpg

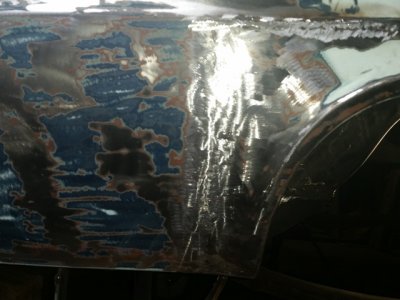
Cut out the bad metal and welded in new metal . . .

sm_drqtr09.jpg
 
Nice work Kahn! Keep pushing forward.. bodywork soooon!

You'll be flyin down the road with Beastie Boys blaring out of the speakers in no time!! :) !!!
 
Side tracked again by the golf league, but back in the shop again today !

Had a couple of issues with the code re-write on did on the golf league website yesterday, and had to get them resolved, but they're behind me now and I'm back in the shop and working on my driver wheel well again . . . going to get this thing done !

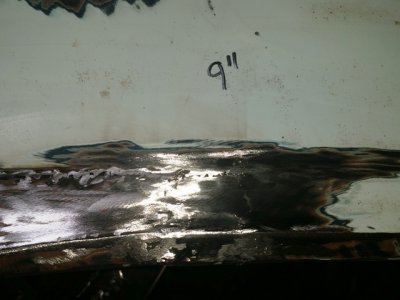
Here's the progress that I've made on it so far today . . . got extra metal added to the bottom edge to make it straight across
( forgot to get a before picture to shoe the difference )

sm_drqtr10.jpg

And I'm working my way around the edges, rolling the wheel well lip, and connecting the new outer de-humped metal to the wheel well . . .
( gawd . . . I hope that makes sense . . . )

sm_drqtr11.jpg

Need to work my way all the way around the wheel well, get it all connected, and buttoned up . . . fix a little rust behind the wheel on the quarter panel, and I might be ready for the driver side to go to epoxy primer and get started on the body work ? ? ?

maybe ? ? ?

Man will that be a sight for sore eyes . . . the start of body work ! ! !
 
Sure like the change in the weather . . .

I've been able to get out to the shop more now that the weather has changed for the better . . . sure like the warmer weather !

Got (2) shifts in the shop today, this morning and after lunch . . . made a bunch of progress and I"m shooting to get the driver quarter done.
( gotta set a goal )

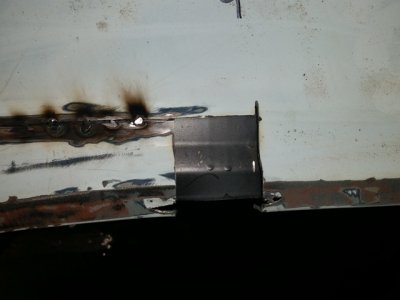
IN the morning session, I got the following done . . . got this gap in the quarter . . .

sm_drwheelwell06.jpg

patched and ready . . .

sm_drqtr12.jpg

the front section of the quarter was welded up . . .

sm_drqtr13.jpg

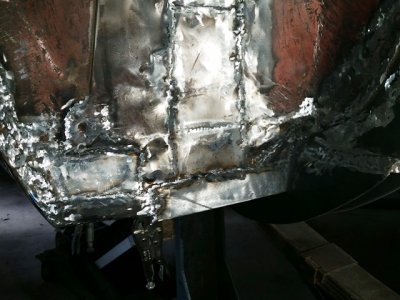
Got much more of the inside of the wheel well filled in too . . .

sm_drqtr15.jpg

And in the afternoon session, I got the quarter panel cleaned up even more - ready for primer . . .

sm_drqtr14.jpg

And more of the inside wheel well welded - but the picture was useless . . . I'll get another pic tomorrow . . .
 
Not completed - but made great progress . . .

My "hope" was to finish up the driver quarter panel, but I didn't make it - but I did manage to make some great progress !

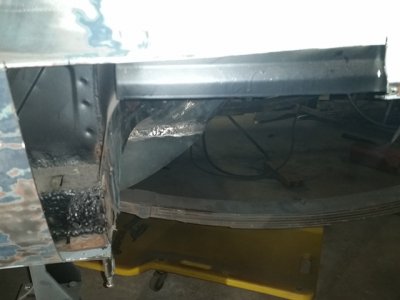
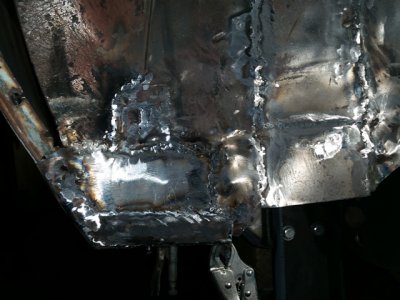
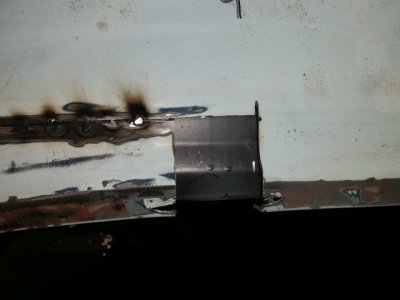
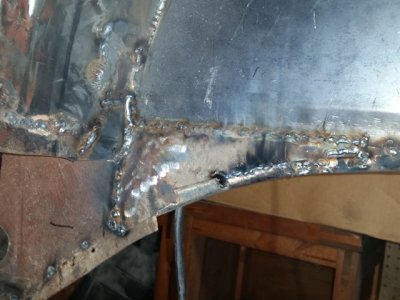
The front bottom edge of the panel had not been welded in place, so I got that done too. Here's the picture of the inside edge of the rolled wheel well lip welded to the de-humped inner wheel well . . . got most of the top finished up.

sm_drqtr16.jpg

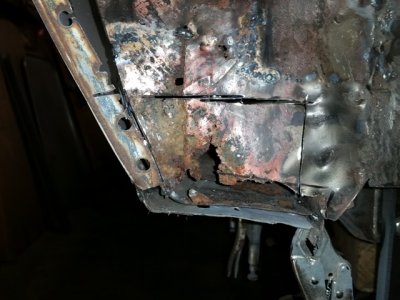
And the parts that I did not finish up yet . . . on the inside of the wheel well . . .

sm_drqtr17.jpg

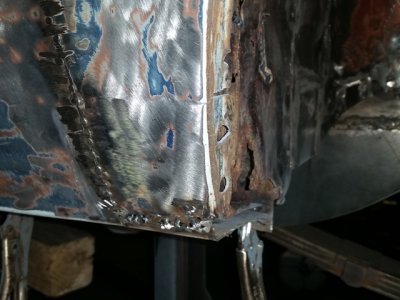
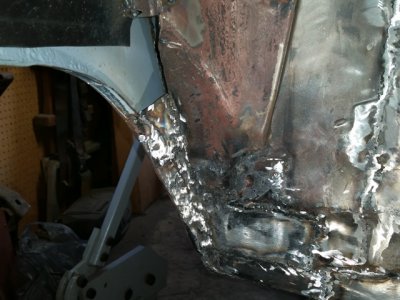
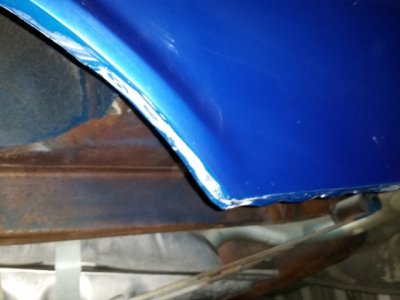
And this mess, on the outer back edge, where I have NO metal to know what it's suppose to look like - I get to make it up ! !

sm_drqtr18.jpg

Getting closer . . . then I get to do it all over again on the passenger side of the car too . . .
 
Well DUH . . . . need to know what it looks like ? ??

Ok . . . remembered that my neighbor has a 67 Belvedere in his shop so I made a visit to the shop and snapped a picture . . .

SO now I know what I'm up against . . . . I just need to make this "mess" . . .

View attachment 249926

Look more or less like this ( how it should look ) . . .

sm_howitshouldlook.jpg

Having an IDEA of how it should look will really help with the FAB work ! ! ! YAY ! ! !
 
That's definitely convenient to have a reference point next door and helps with the motivation too.

Another day closer to a finished car!
 
Another little step forward . . .

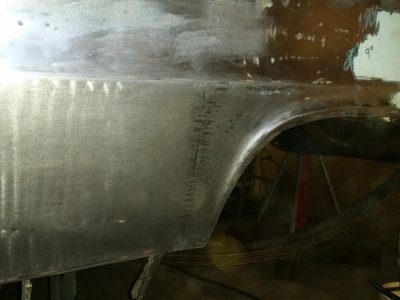
Got the inside part of the wheel well fitted and welded in place . . . only got the outside remaining . . .

Got this section of the wheel well . . .

View attachment 250095

looking like this . . .

sm_drqtr19.jpg
 
Auto Transport Service
Back
Top