• When you click on links to various merchants on this site and make a purchase, this can result in this site earning a commission. Affiliate programs and affiliations include, but are not limited to, the eBay Partner Network.

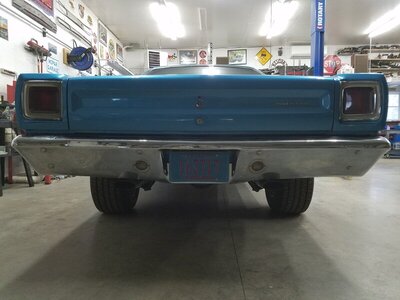
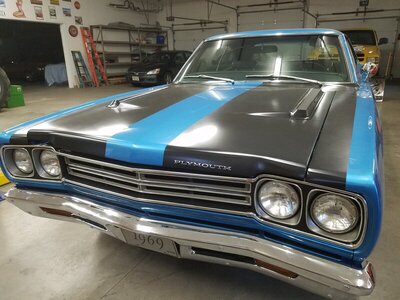
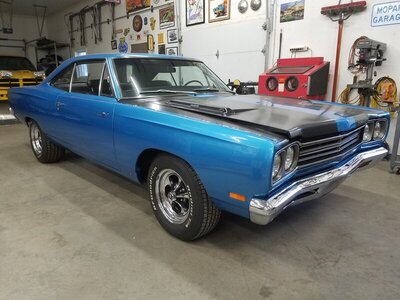
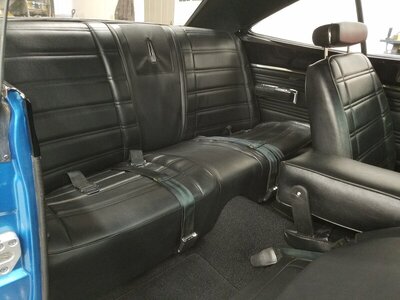
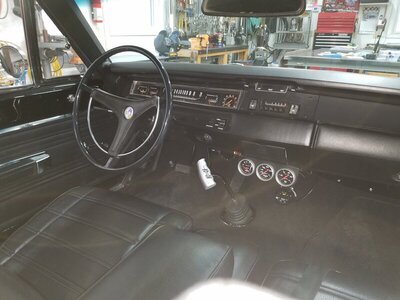
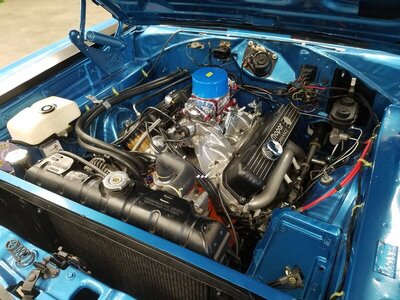
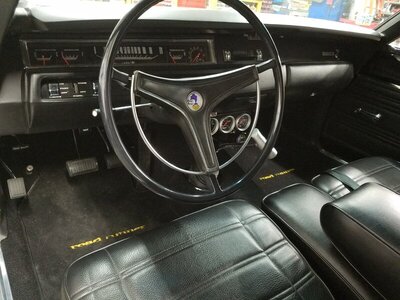
My 69 Road Runner

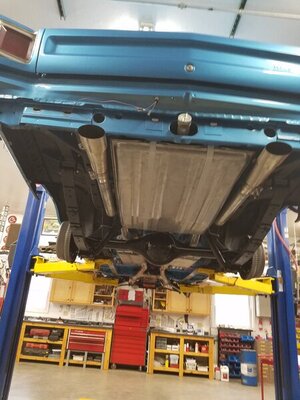
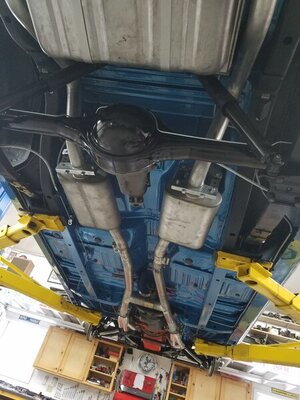
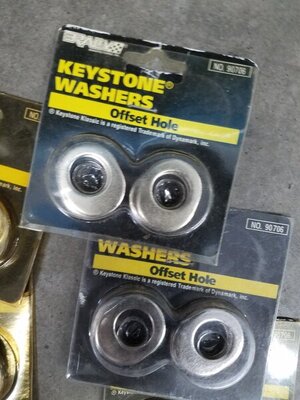
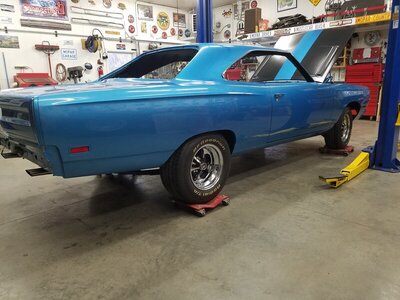
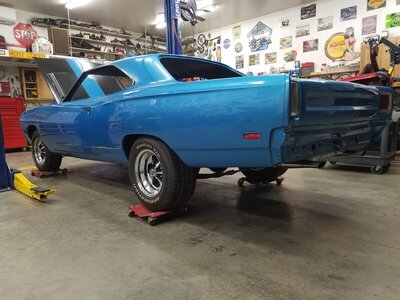
Got in a good productive day. Gas tank is in and hooked up, exhaust installed. Found some new, not made anymore Keystone uni washers, and got the wheels bolted back on the car. Been quite awhile since it has been a roller - it's a good feeling.

20220206_111502.jpg 20220206_111510.jpg 20220206_112002.jpg 20220206_155647.jpg 20220206_155606.jpg
 
Last edited:
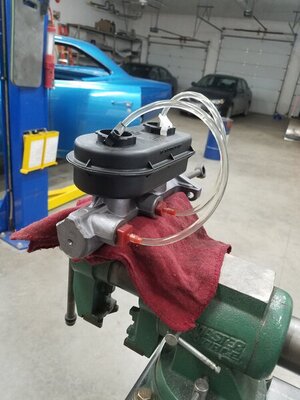
This is the last of my cars to convert to a 15/16" master cylinder. Had this one from Cass sitting on a shelf for a year now. Bench bled, installed, and lines are bled as well.

20220206_141627.jpg 20220206_155542.jpg
 
Hi Joel,
Your car is moving along nicely.
Say where did you get that master cylinder?
 
Hi Joel,
Your car is moving along nicely.
Say where did you get that master cylinder?
Hey Don. I buy them from Cass at Dr. Diff. He has them made up so they accept the stock Mopar push rod. Easy bolt on.
 
Sorry for the delay this is the grease I spoke of earlier.
IMG_20220127_130136827.jpg
 
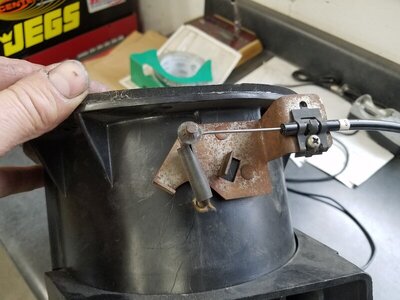
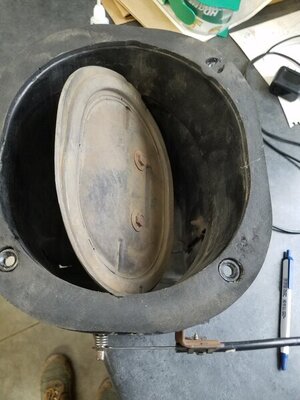
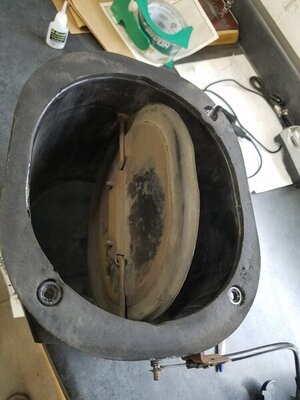
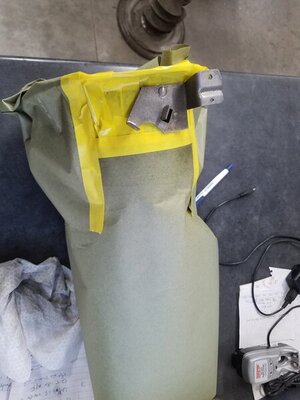
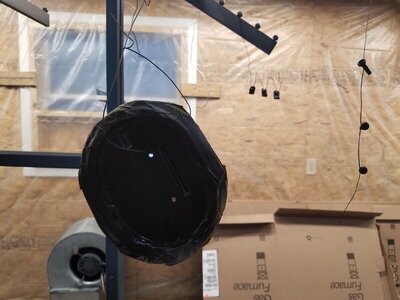
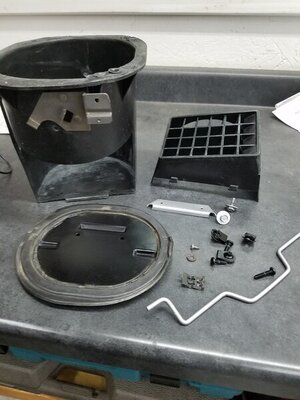
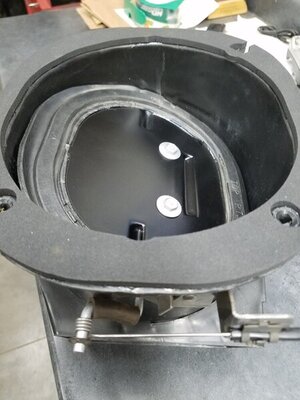
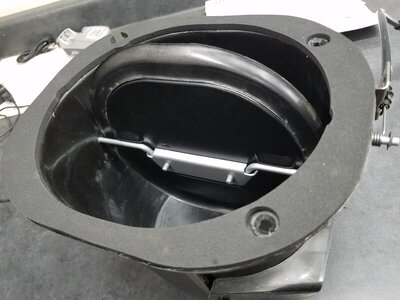
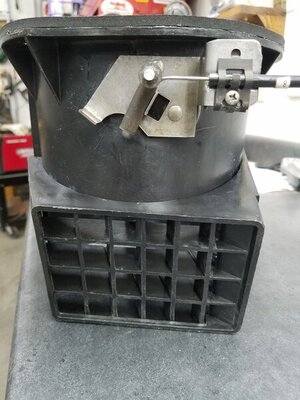
Grabbed the drivers side vent box and don't know if I forgot about it or figured it was good enough. But decided to spruce it up a bit. Blasted and painted all the metal pieces. scrubbed the metal cable mount with some phosphoric acid and clear coated it. Looks much better.

20220208_151742.jpg 20220208_151749.jpg 20220208_151755.jpg 20220208_170959.jpg 20220208_171029.jpg 20220209_070936.jpg 20220209_074123.jpg 20220209_074135.jpg 20220209_074141.jpg
 
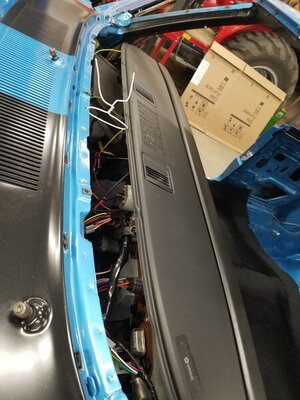
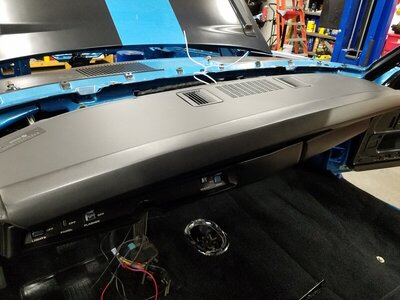
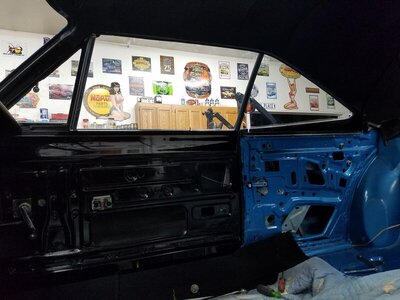
Got the dash assembly in the car and then realized I wanted to make any final door adjustments before bolting that in for good. Been dreading dealing with the window assemblies, but that is what is up next.

20220209_075939.jpg 20220209_080003.jpg
 
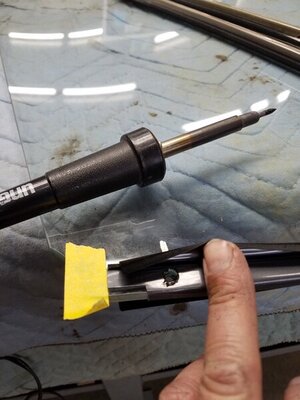
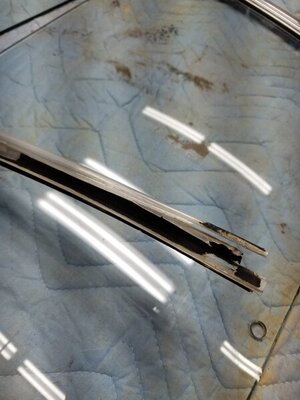
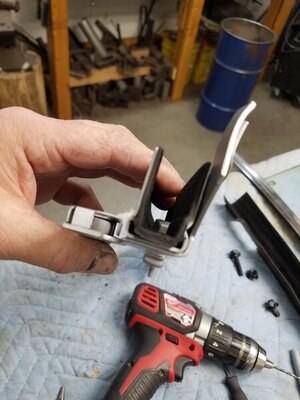
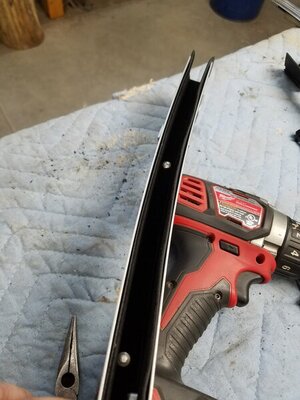
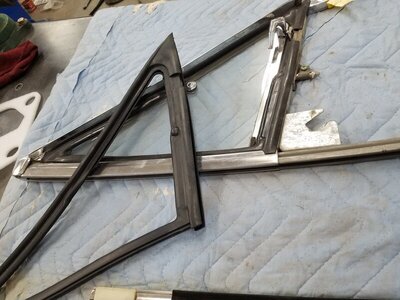
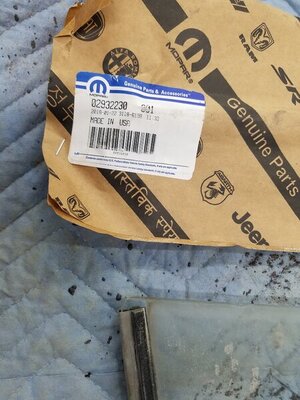
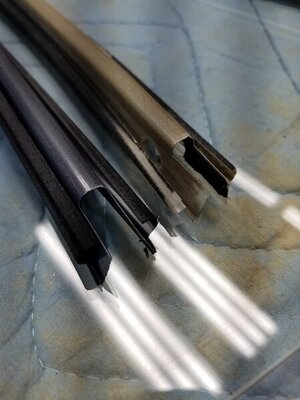
3 day weekend spent on windows. Picked up a pair of the very hard to find and expensive 029322230 vent wing run channel guides from a member here last spring. This was before the new run of reproductions were available. I will say these are very nice compared to the junk ones that were previously reproduced. Used an old one for a pattern to snip the ends to the correct contour and length. I use a solder iron to make the holes. Tried a punch on the terrible repro's on the last car and it split the mylar, ruining it and I had to buy another. These originals seem to be a better quality and would probably be ok punching, I was just to scared to try. I reused the white plastic guides because the new ones don't fit without modifying.
20220209_145339.jpg 20220210_142626.jpg 20220210_144025.jpg 20220210_170548.jpg 20220211_114202.jpg
 
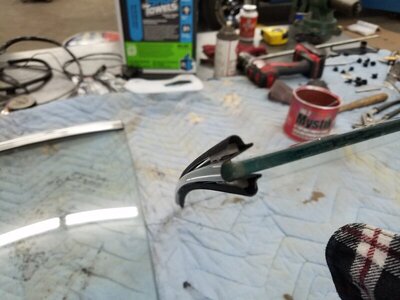
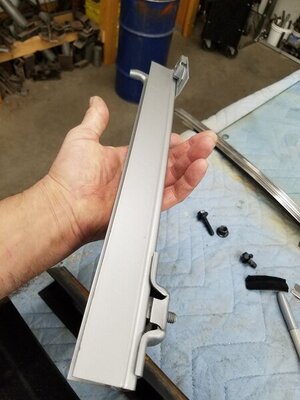
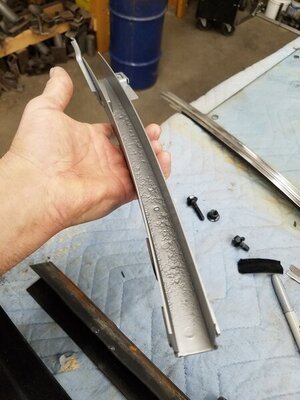
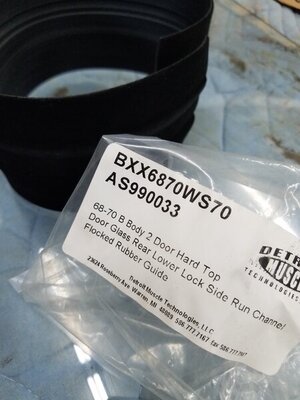
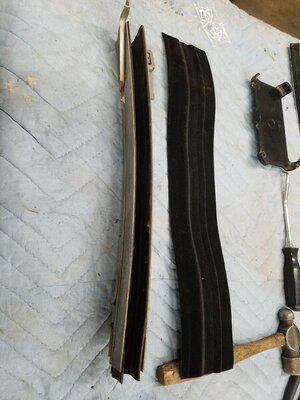
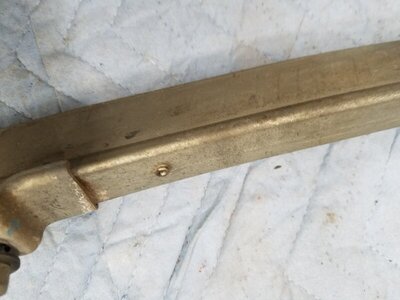
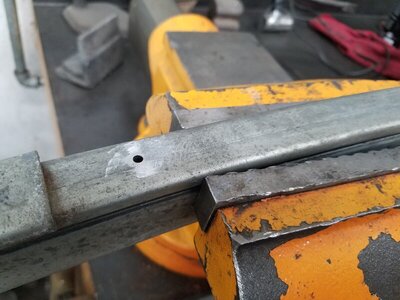
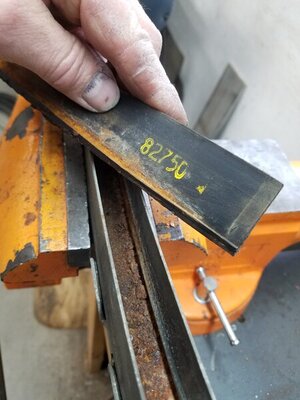
Of the cars I have restored, I have never taken apart the rear run channels. The drivers side had a tear in it, so I decided to replace the slides. Huge surprise as to what laid underneath the rubber. This was a Texas car, so I am betting most of our cars are in the same condition in this area, just that nobody ever takes these apart. Drivers side I was able to clean up in my blast cabinet, but not so for the passenger side. Had to blast that side as best I could and then soak in acid, followed by more blasting. Even opened up a pin hole that needed a dab of weld. Got them clean, primered, and painted.

20220210_093502.jpg 20220210_093508.jpg 20220210_125650.jpg 20220210_074355.jpg 20220210_074357.jpg
 
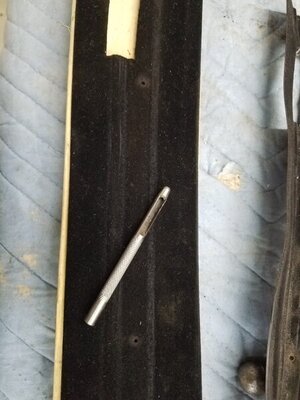
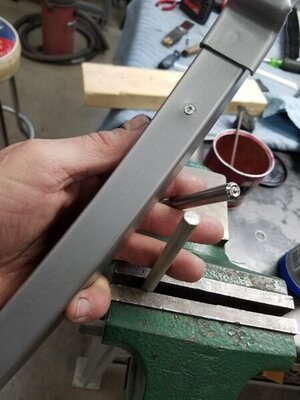
They are held in place with 2 rivets, which come with the new seals. You have to cut a hole for the nylon slide, cut to length, and punch holes for the new rivets. I used a piece of round stock in a vise and the punch I bought for ash tray rivets to reinstall. It actually went pretty smooth.

20220210_093336.jpg 20220209_185155.jpg 20220209_185237.jpg 20220209_185711.jpg 20220209_193258.jpg 20220209_194015.jpg 20220210_080643.jpg 20220210_080834.jpg 20220210_080839.jpg
 
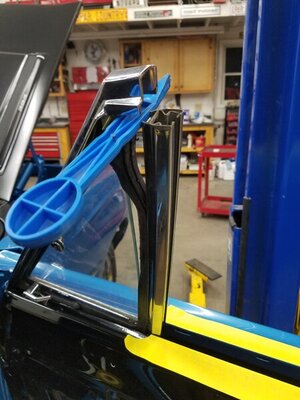
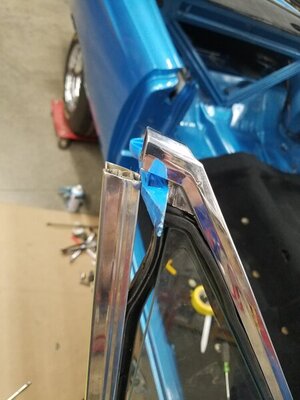
New vent wing gaskets, and ready to install. The easiest and safest way I have found to install front assemblies is to first drop in the vent wing. Then take out the small screw at the very top. Gently pry the top apart enough to slide the glass down.

20220209_145343.jpg 20220212_063211.jpg 20220212_063224.jpg
 
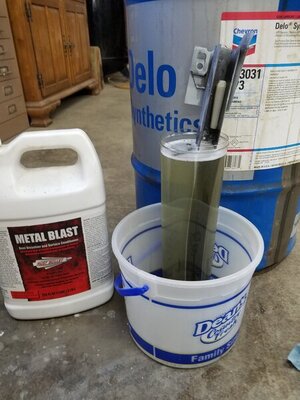
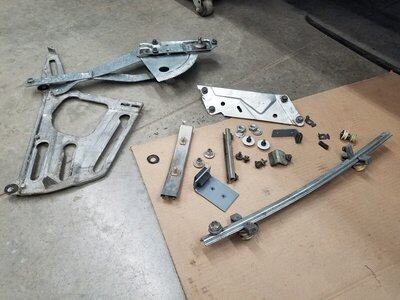
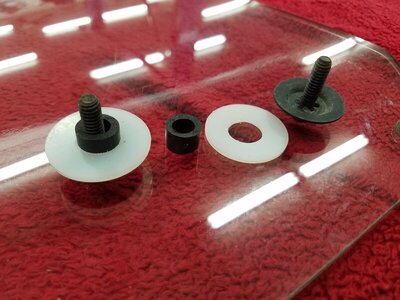
Then on to the rears. These assemblies had never been out of the car, so needed a good soaking/cleaning in my parts washer. What a pile of parts for the rears. Wonder how long it took them to design it all? Cut some new rubber chunks for the bolts through glass and found some new nylon washers.

20220213_115505.jpg 20220213_164729.jpg
 
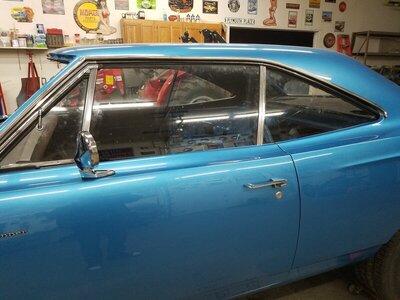
Door and quarter glass installed and adjusted.

20220214_062204.jpg 20220214_062138.jpg
 
You are really moving with reassembly. Work looks fantastic.
 
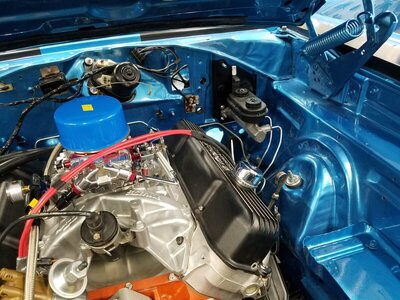
Nothing very exciting to report on the assembly. I had pretty much everything cleaned up and ready to be installed. So I am sticking a fork in this one and calling it done, until the snow and salt are off the roads at least. Then some tuning with the new motor/carb setup.....

20220309_073801.jpg 20220309_073705.jpg 20220309_073610.jpg 20220309_073629.jpg 20220309_073855.jpg 20220309_073835.jpg 20220309_073653.jpg 20220309_073728.jpg 20220309_073738.jpg
 
Auto Transport Service
Back
Top