• When you click on links to various merchants on this site and make a purchase, this can result in this site earning a commission. Affiliate programs and affiliations include, but are not limited to, the eBay Partner Network.

Progress report, Junkyard Dog

You trying to say that I am some kind of tool?:tongue8:

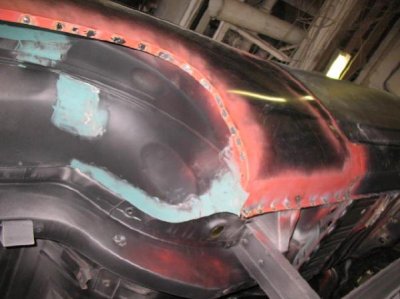
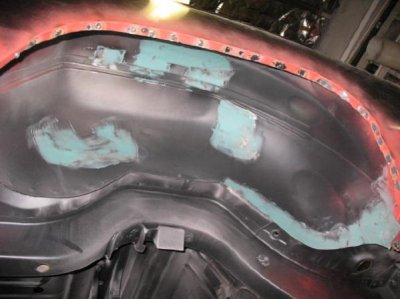
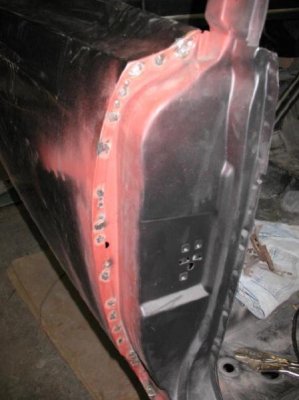
Thanks for the compliments anyway.
Sorry, it was meant to be a compliment, like name a tool in your honor....bad analogy I guess. No bad intentions. Forget I said it. Carry on. As you were.
 
Thanks Stuart for posting that link. It's reassuring to see that others are going through some of the same things to make these parts fit.

Yeah, that was a good link Stu..Cool resto thread!

Matt....I had just a bit of that C-Pillar issue on mines as well. Not even close to the magnitude you had. I was able to manipulate it enough with a body dolly/hammer.

Just to give you a heads up, pay special attention to the bottom window corner area on your quarters. I noticed on mine, right after the little stepped area where the window trim sits down in..There is a crack in the panel (on both) about 3/4" of an inch long. Look REAL close. It opened up on the passenger side a bit more after the welding was done. I'll post and take a pic of what I got on the drivers side over at the F.T. Thread.

Call me ignoranus....I thought "tool" was a compliment. hhmmm..That's why that guy took a swing at me :angry5:
 
I new what he ment that is why I added the smiley face after it like I was being sarcastic. I really do appreciate the compliment, sorry if that wasn't clear in my reply. Sometimes it gets very busy in my head, Hahaha.
 
I new what he ment that is why I added the smiley face after it like I was being sarcastic. I really do appreciate the compliment, sorry if that wasn't clear in my reply. Sometimes it gets very busy in my head, Hahaha.

No worries, it's all good! Awesome project!
 
rr

Matt,that is impressive.Taking it very methodical and meticulous will pay off in the long run for metal fitment..But,I wouldn't back up too close to that wiring in the background or it might reach out and grab you,never to let you go.LOL!!. Bernie.
 
I thought AMD panels was suppose to be better than that? Not good that youd have to slice them like that to work.I know you didnt have a choice..Im just talking about the quality of the AMD being that far off as to see 2 done similar..Makes me want to not buy the new AMD panels..might as well stay with what I have & make them work..I only have issues where taillight panels fits..can stick my finger in the middle where suppose to fit tight..Great project & awesome work..I couldnt do it..Congrats..you will soon have it going & ready for another..
 
From what I have seen over the years that lower area of the quarter where it meets the door never fit very well. The vertical gap towards the bottom doesn't always match and the horizontal gap at the bottom of the door is usually the size of the Grand Canyon. You did a nice fix, though.
 
Thanks Stuart for posting that link. It's reassuring to see that others are going through some of the same things to make these parts fit.

yeah when i saw your slice i knew i had seen it before , these cars are old they settle and none of them are to factory specs anymore . Even when they where new on the line they had all kinds of schimms . wedges ,mallets to make the sheet metal fit better . They still do on most of the lines today .
 
Started to weld the passenger side quarter on for good!
 

Attachments

  • IMG_6129_1.jpg
    IMG_6129_1.jpg
    35.7 KB · Views: 822
  • IMG_6130_2.jpg
    IMG_6130_2.jpg
    35.2 KB · Views: 857
  • IMG_6132_3.jpg
    IMG_6132_3.jpg
    33.2 KB · Views: 836
keep the pace up matt,looking better everytime i see it.
 
big job

boy that right there is a labor of love
i thought my charger was rusted?
 
Thanks guys for checking in on me. Lots of welding and grinding on these quarters but nothing that makes for any pictures you haven't allready seen before. Quarters are about 75% installed, still have the c-pillar, deck filler area to weld and then I will move on to the trunk gutters, tail light buckets and the panel that goes between the tail light buckets. After that I will move back to the front for the radiator core support and the final fit on the fenders and hood.
 
Nice job Sir!

I’ll have to use your thread as a step by step manual for my car. Hopefully I can skip a few steps. Nice progress Matt! You deserve a break.... :sixpack:
 
Wish I would have done this before I had welded so much of the quarters on because it probably would have ben easier to deal with but it is what it is. I knew I had an issue in this area but I didn't know to to what extent. This is what I am up against now. I made a cardboard template of the drivers side because it looked right to me where as the passenger side didn't.
 

Attachments

  • IMG_6210_4.JPG
    IMG_6210_4.JPG
    173 KB · Views: 610
  • IMG_6211_5.JPG
    IMG_6211_5.JPG
    150.5 KB · Views: 607
  • IMG_6208_2.JPG
    IMG_6208_2.JPG
    160.5 KB · Views: 600
  • IMG_6207_1.jpg
    IMG_6207_1.jpg
    32.8 KB · Views: 646
First thing I did was strip the e-coat off so as not to hammer it into the panel as I beat it into shape. Grabbed a steel pipe and a big hammer and went to town on it! Good results.
 

Attachments

  • IMG_6209_3.JPG
    IMG_6209_3.JPG
    130 KB · Views: 584
  • IMG_6212_6.JPG
    IMG_6212_6.JPG
    168 KB · Views: 592
  • IMG_6213_7.JPG
    IMG_6213_7.JPG
    149 KB · Views: 589
Actually, having welded it to the extent you did probably helped in this case.
 
Auto Transport Service
Back
Top