smyythe68
Well-Known Member
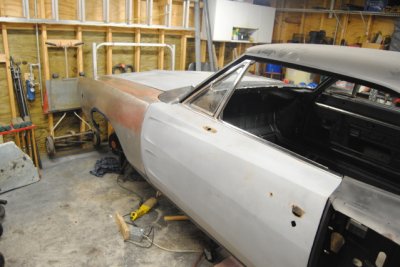
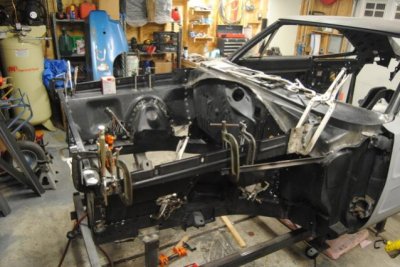
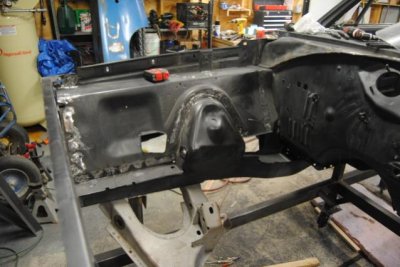
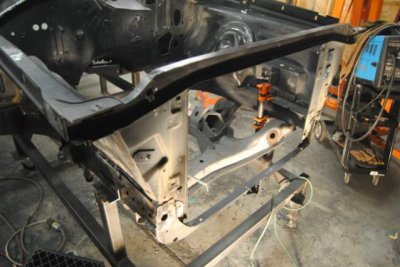
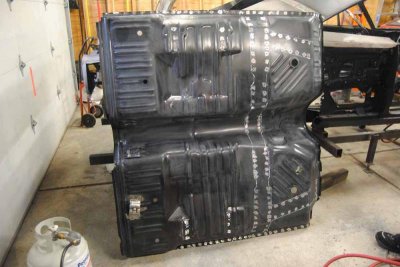
It's nice to see someone else taking on what the motor city area has to offer us. It's amazing for them to be born here but it's hard for them to survive. Keep up the good work! I'll be looking to get mine sandblasted soon, how was ray's pricing?
")