Donny
Well-Known Member
- Local time
- 5:34 AM
- Joined
- Aug 28, 2009
- Messages
- 3,207
- Reaction score
- 550
- Location
- North East San Antonio TX
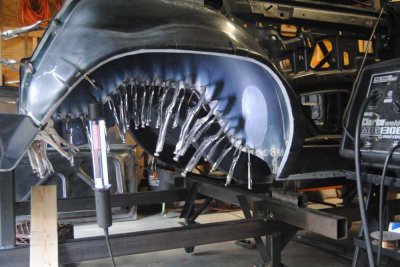
Looking good bud! What I was saying was install the inner wheelhouse, hang the qtr, then slip the outer wheelhouse in place, just don't weld anything until all fit in correctly. Cheers!
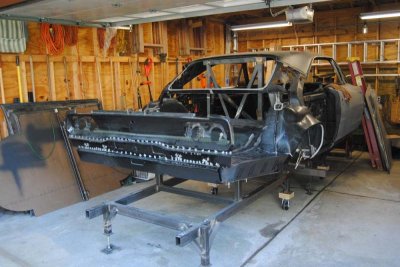
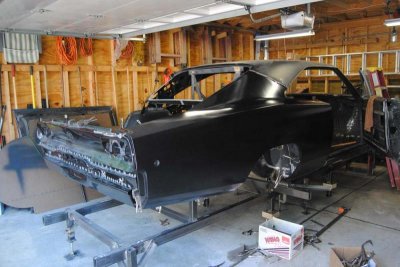
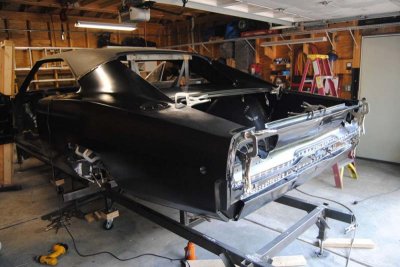
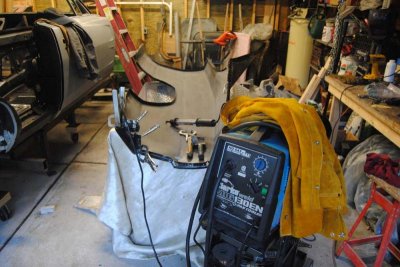
") , ground down the spot welds from the quarter removals, blasted down the trunk gutters and lock support, and did a little more fitting / marking on the right wheel houses. Got the answers I needed on the rear valance and valance corners from AMD. Posted that info on my thread in the bodywork forum. Reconfirmed my trunk area measurements on a unmolested 68 charger so I know I’m good to go in the department. Happy Independence Day to all!!
, ground down the spot welds from the quarter removals, blasted down the trunk gutters and lock support, and did a little more fitting / marking on the right wheel houses. Got the answers I needed on the rear valance and valance corners from AMD. Posted that info on my thread in the bodywork forum. Reconfirmed my trunk area measurements on a unmolested 68 charger so I know I’m good to go in the department. Happy Independence Day to all!!