CJD AUTO
Well-Known Member
Started this project when a customer was going to install an XV suspension setup with SRT8 running gear. XV imploded, and I offered this a solution for the customers request to have a modern car in an old wrapper. Been kicking myself ever since!
So the car he started with was a salvage title SRT8 that ran and drove, but was hit in the front. Now that I was using the suspension, I needed a jig. A quick tram gauge check showed the cars rails and cradle were bent. So off to the frame shop to pull the car into spec. That means a new cradle and pull the engine for the frame shop.
This is the car as delivered:

To the frame shop:

Back from the frame shop:


Then I had to level out the drive on and use it as the frame table. Set the Charger at ride height and locked it down. Now to build jigs that attach to the rack:


And end up with these jigs that locate the suspension and floor mounts:

Off with the SRT8 and on with the Roadrunner. I have the body on air jacks to manipulate the stance to the customers liking. Remember the jigs fix the suspension at ride height. I am simply adjusting the rake off the body and will attach the body to the rack at the customers preferred stance and ride height:


Okay, RR body locked down. Now to start cutting the floor section out. The LX floor is actually narrower than the RR's original, so I need to bridge the gap. I'll use a 2x5 box beam. This is where I get adamant that this isn't a body over. When they "skin" an LX car, they are removing the outside of the LX floor's bridge beams. This IS the structure of that car. You are seriously compromising the chassis integrity. So I remove the floor section from the LX where it attaches to the bridge beam, and attach to the new RR's box beam structure. Hope that made sense!

 [/URL
[/URL


Throw a little paint, not sure why, ended up blasting!


And then slip it into place and locate with the jigs:


About 30 feet of weld per side. It is built in layers to the rocker:

Fitting the dash frame. Just the frame, upholstery is for some else!

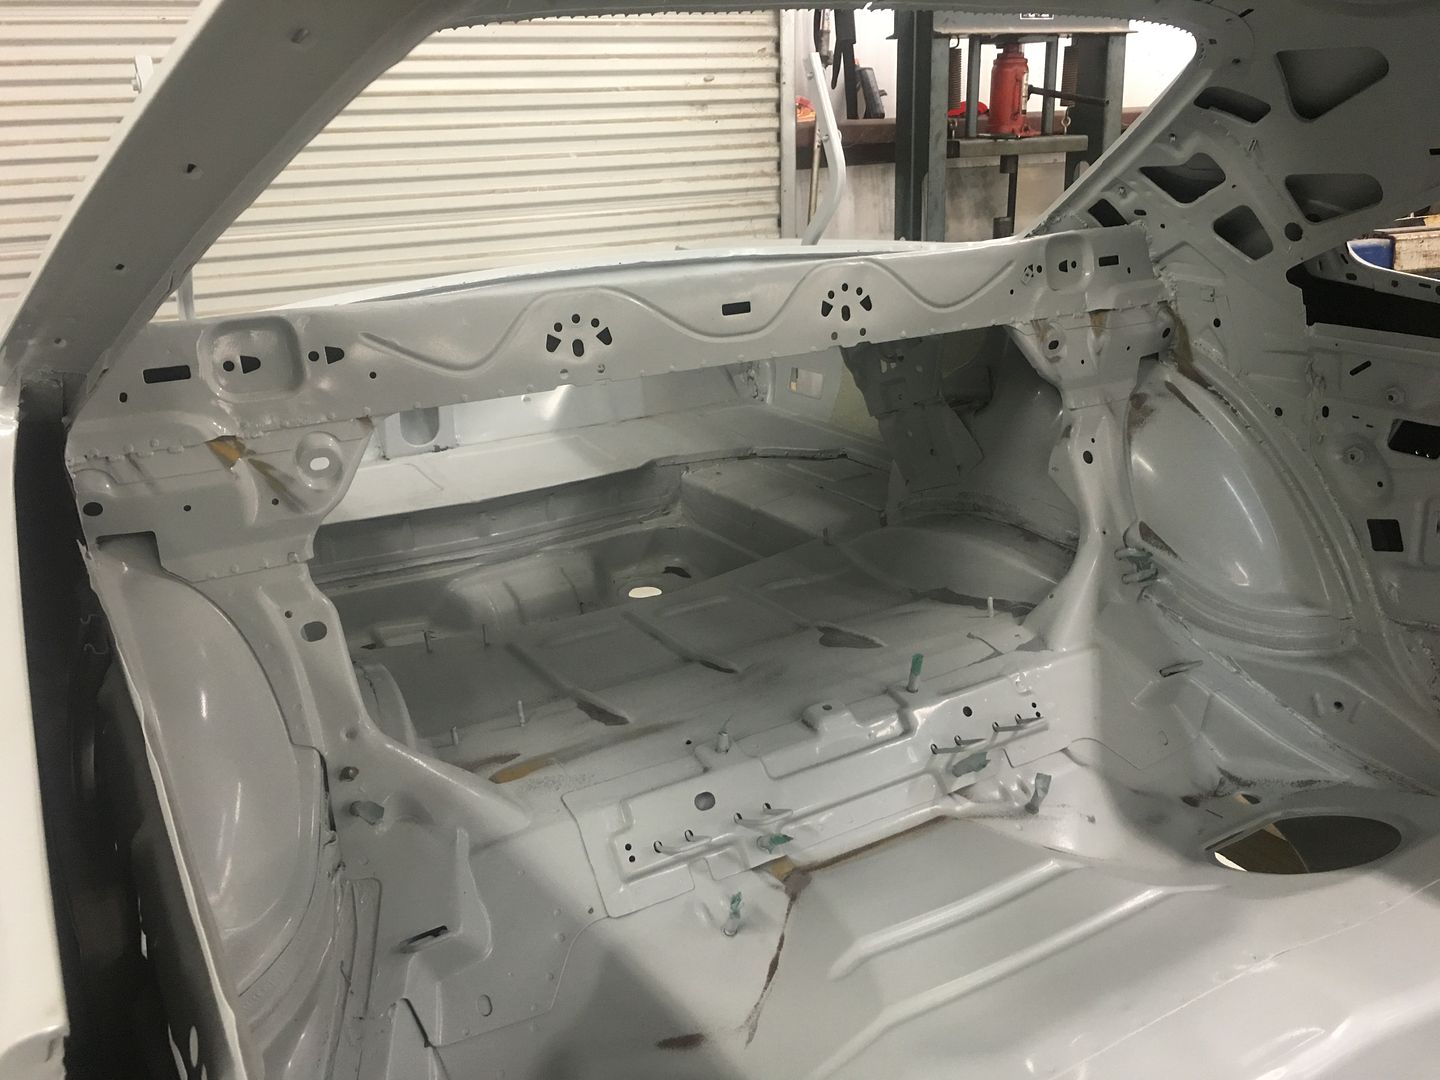
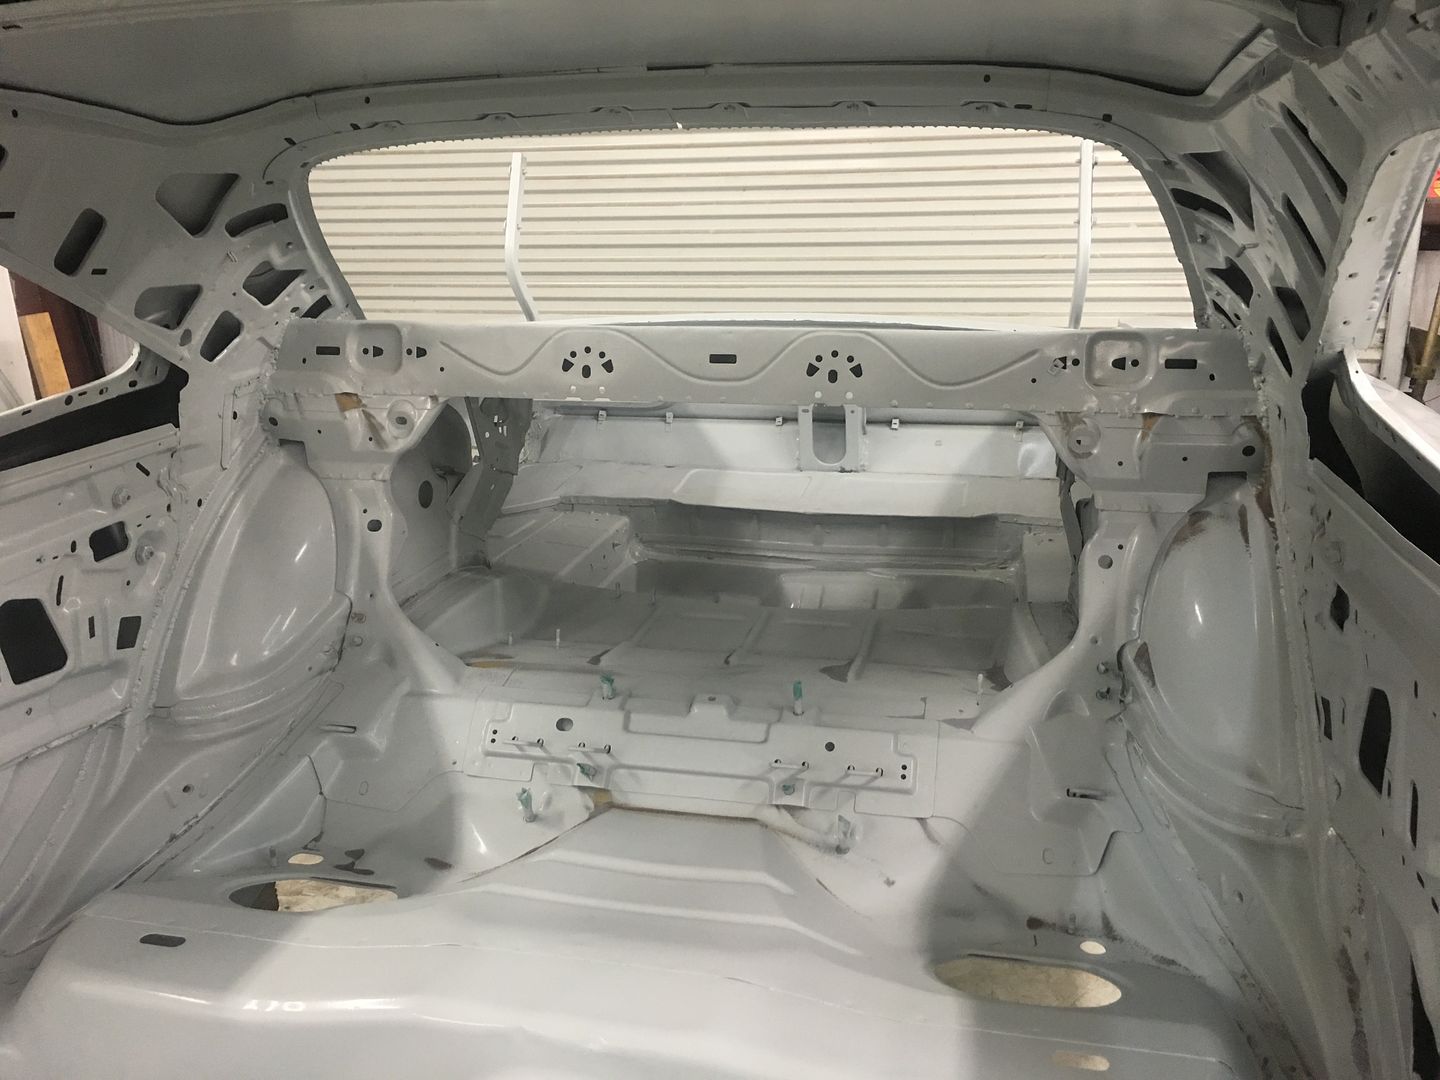
Now to do the same for the rear section. The wheelbase is shorter on the RR than the SRT, so a little trimming on the rear of the front section was necessary. Now to remove the rear section:


Leaving only this:

Cut in half and call the scrap guy:

So the car he started with was a salvage title SRT8 that ran and drove, but was hit in the front. Now that I was using the suspension, I needed a jig. A quick tram gauge check showed the cars rails and cradle were bent. So off to the frame shop to pull the car into spec. That means a new cradle and pull the engine for the frame shop.
This is the car as delivered:
To the frame shop:
Back from the frame shop:
Then I had to level out the drive on and use it as the frame table. Set the Charger at ride height and locked it down. Now to build jigs that attach to the rack:
And end up with these jigs that locate the suspension and floor mounts:
Off with the SRT8 and on with the Roadrunner. I have the body on air jacks to manipulate the stance to the customers liking. Remember the jigs fix the suspension at ride height. I am simply adjusting the rake off the body and will attach the body to the rack at the customers preferred stance and ride height:
Okay, RR body locked down. Now to start cutting the floor section out. The LX floor is actually narrower than the RR's original, so I need to bridge the gap. I'll use a 2x5 box beam. This is where I get adamant that this isn't a body over. When they "skin" an LX car, they are removing the outside of the LX floor's bridge beams. This IS the structure of that car. You are seriously compromising the chassis integrity. So I remove the floor section from the LX where it attaches to the bridge beam, and attach to the new RR's box beam structure. Hope that made sense!
Throw a little paint, not sure why, ended up blasting!
And then slip it into place and locate with the jigs:
About 30 feet of weld per side. It is built in layers to the rocker:
Fitting the dash frame. Just the frame, upholstery is for some else!
Now to do the same for the rear section. The wheelbase is shorter on the RR than the SRT, so a little trimming on the rear of the front section was necessary. Now to remove the rear section:
Leaving only this:
Cut in half and call the scrap guy:

 Love this!


