• When you click on links to various merchants on this site and make a purchase, this can result in this site earning a commission. Affiliate programs and affiliations include, but are not limited to, the eBay Partner Network.

The Willomet Charger

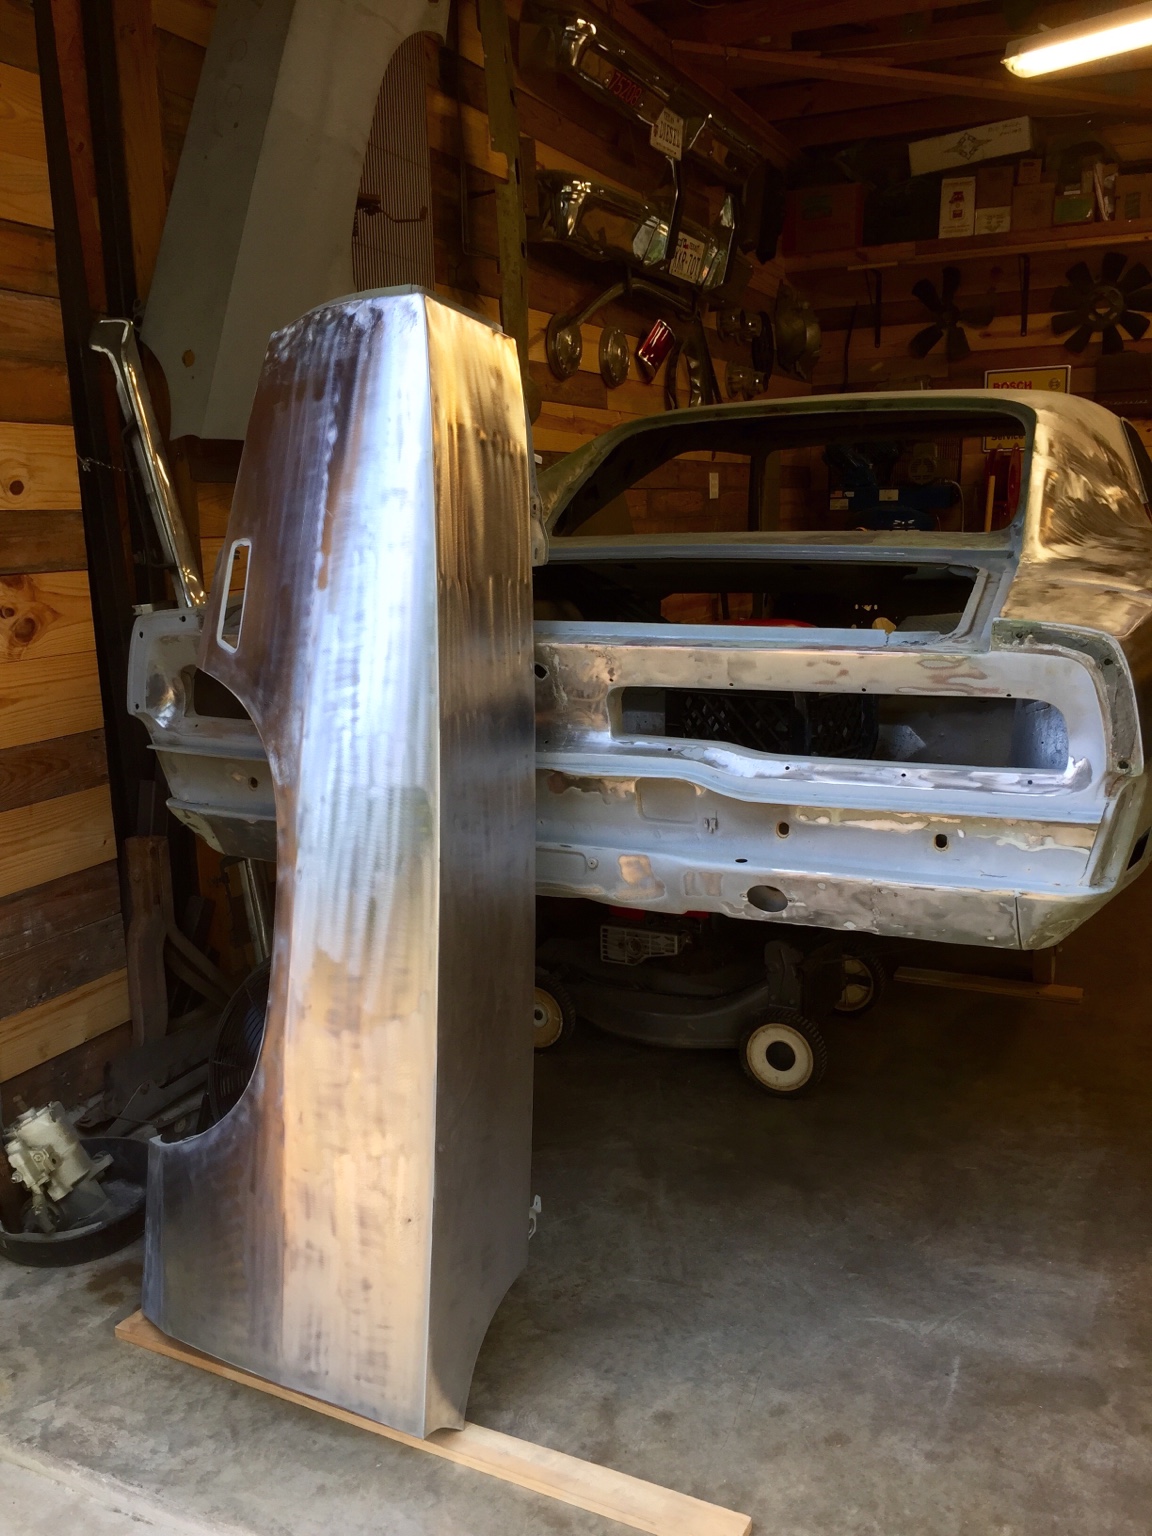
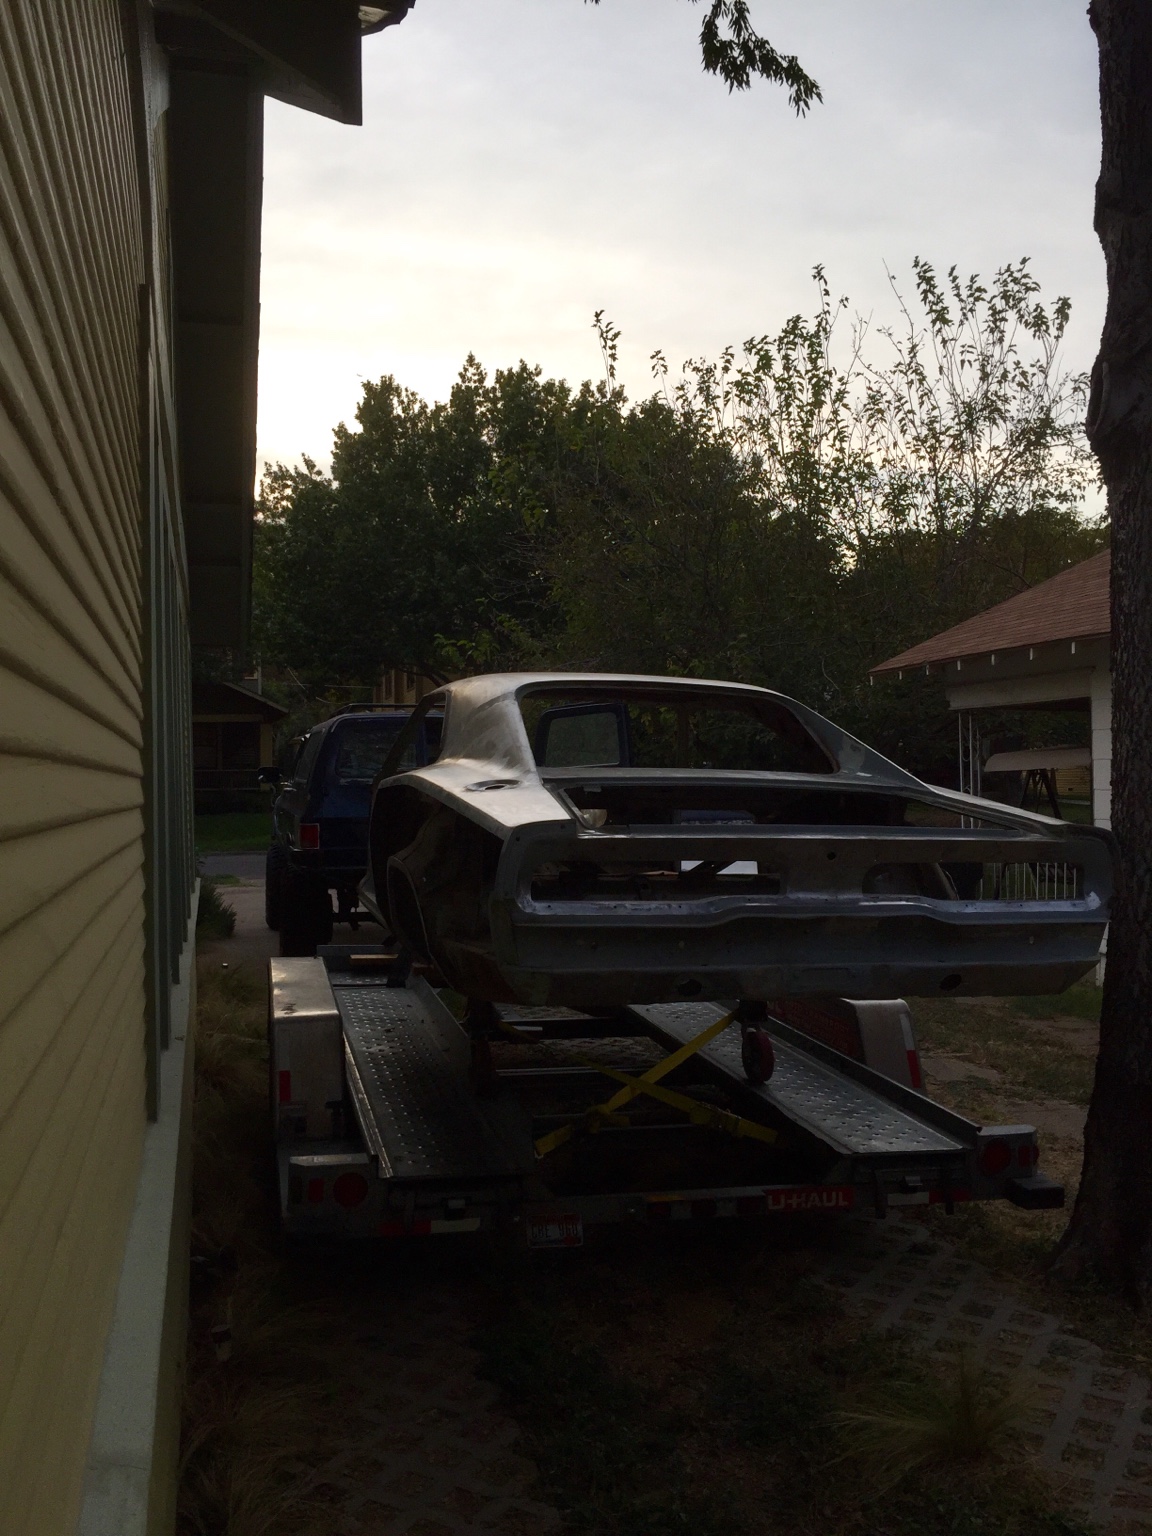
Found this photo from a little over a year ago. Feels good to have it uncovered and in construction:
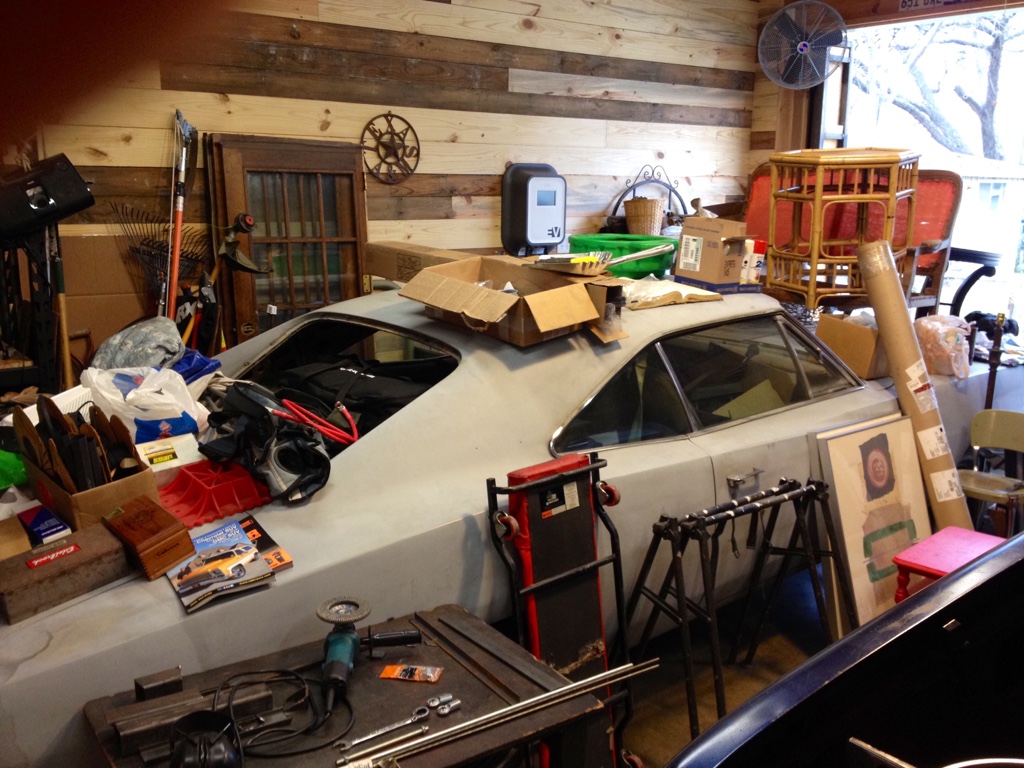
dbfc530f0f08c39e48050d095b8fec59.jpg


David
 
very cool project!!!! another Texas Charger :)
 
Quick venting:
Neighbor leans on freshly stripped fender. The next day, a flash rust hand and arm print. What part of bare metal car didn't you get?

Back to sanding.

David
 
I feel your pain.. Been there, had that done to me.. Just look at it like if that's all that goes wrong you're lucky.
 
Look Ma', no doors!
4079492672800c51d24fb637ba9c7940.jpg


It was beautiful outside this weekend, so the Charger was rolled out into the sunshine for a weekend of sanding. Cowl, doors, and half the roof are now bare metal. Also pulled the last remaining brackets and hardware.
8f5d50ffb19c0fbb4a7fa02764deb81e.jpg


3b27d2b9484df338ca5bd2976b6b02d5.jpg


In the disassembly, I found the frame rails and crossmembers are filled with a fine sandy dirt. No kidding, there was a full dustpan of junk that rattled out as I rolled the car, and there's plenty left. I'll blow that out before sending it off for blasting.

Checklist is getting shorter:
- finish sanding roof
- sand front fenders
- remove door latch hardware
- heat seam sealer
- heat underbody coating
- cut out hacked 4 speed floor mod
- cut out speed sign trunk floor patch
- blow out frame rails

David
 
Last edited:
Looking good!! Don't blast the exterior with sand.
After you blow out the frame rails you should consider blowing in some of this> http://www.eastwood.com/internal-frame-coating-w-spray-nozzle.html
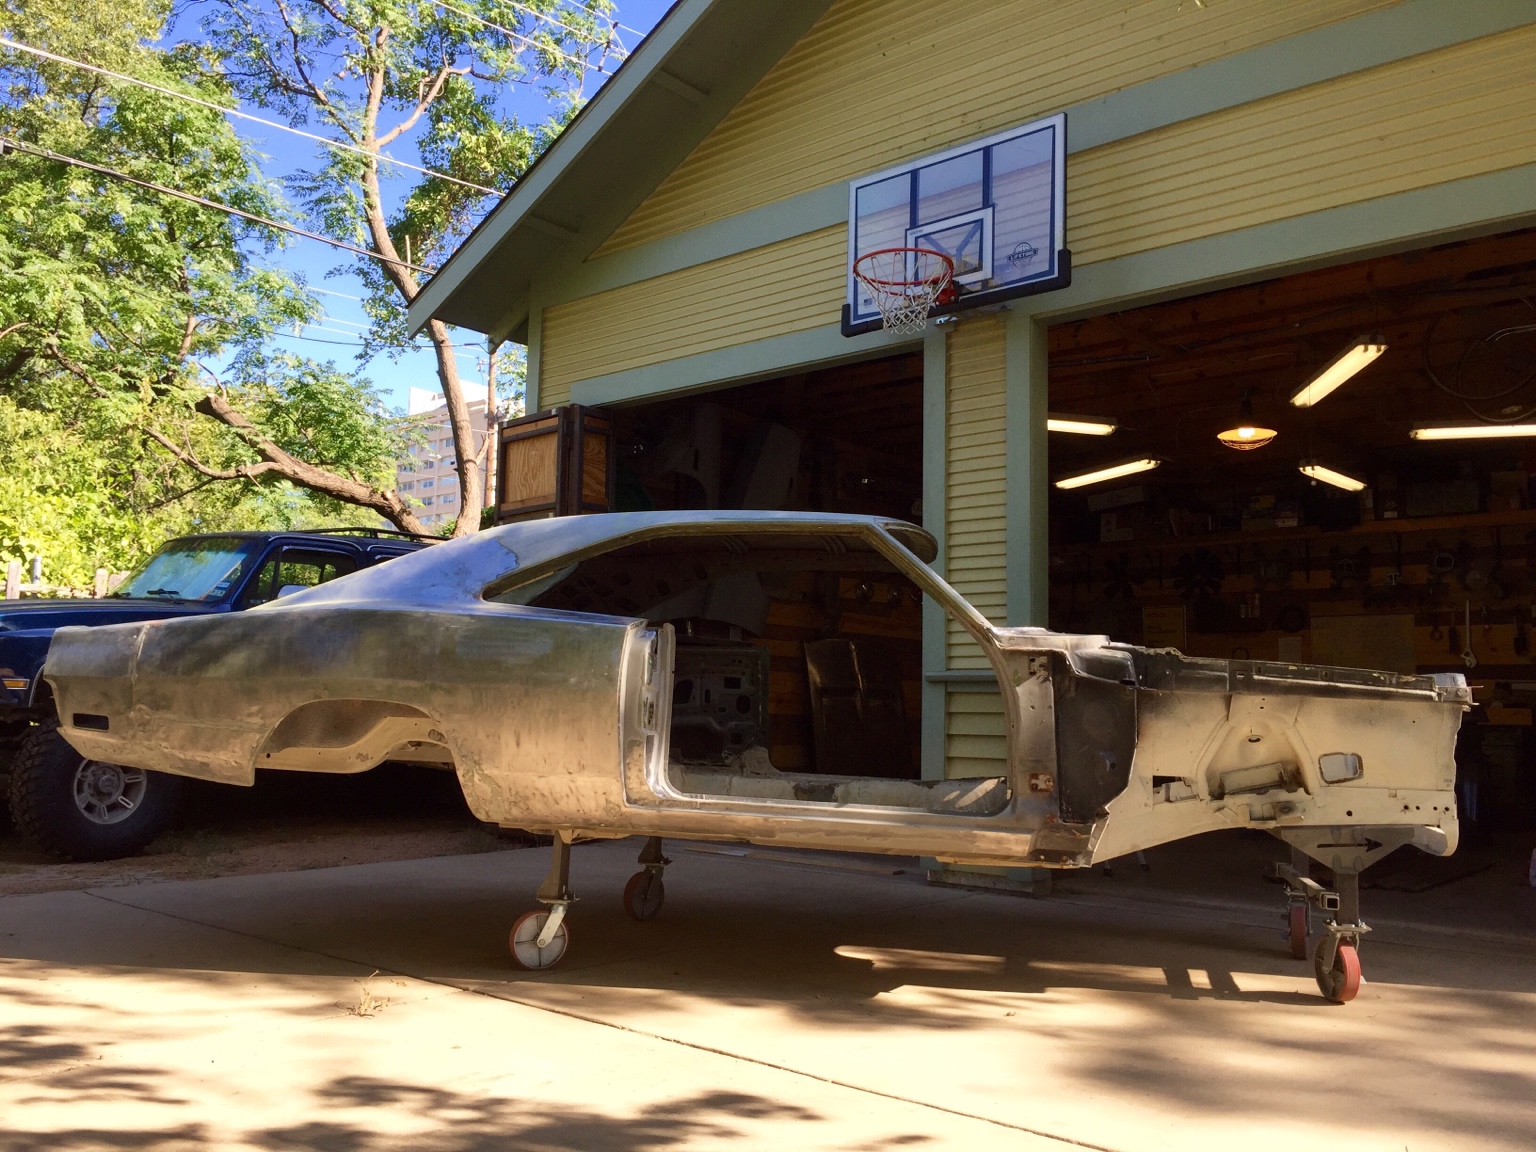
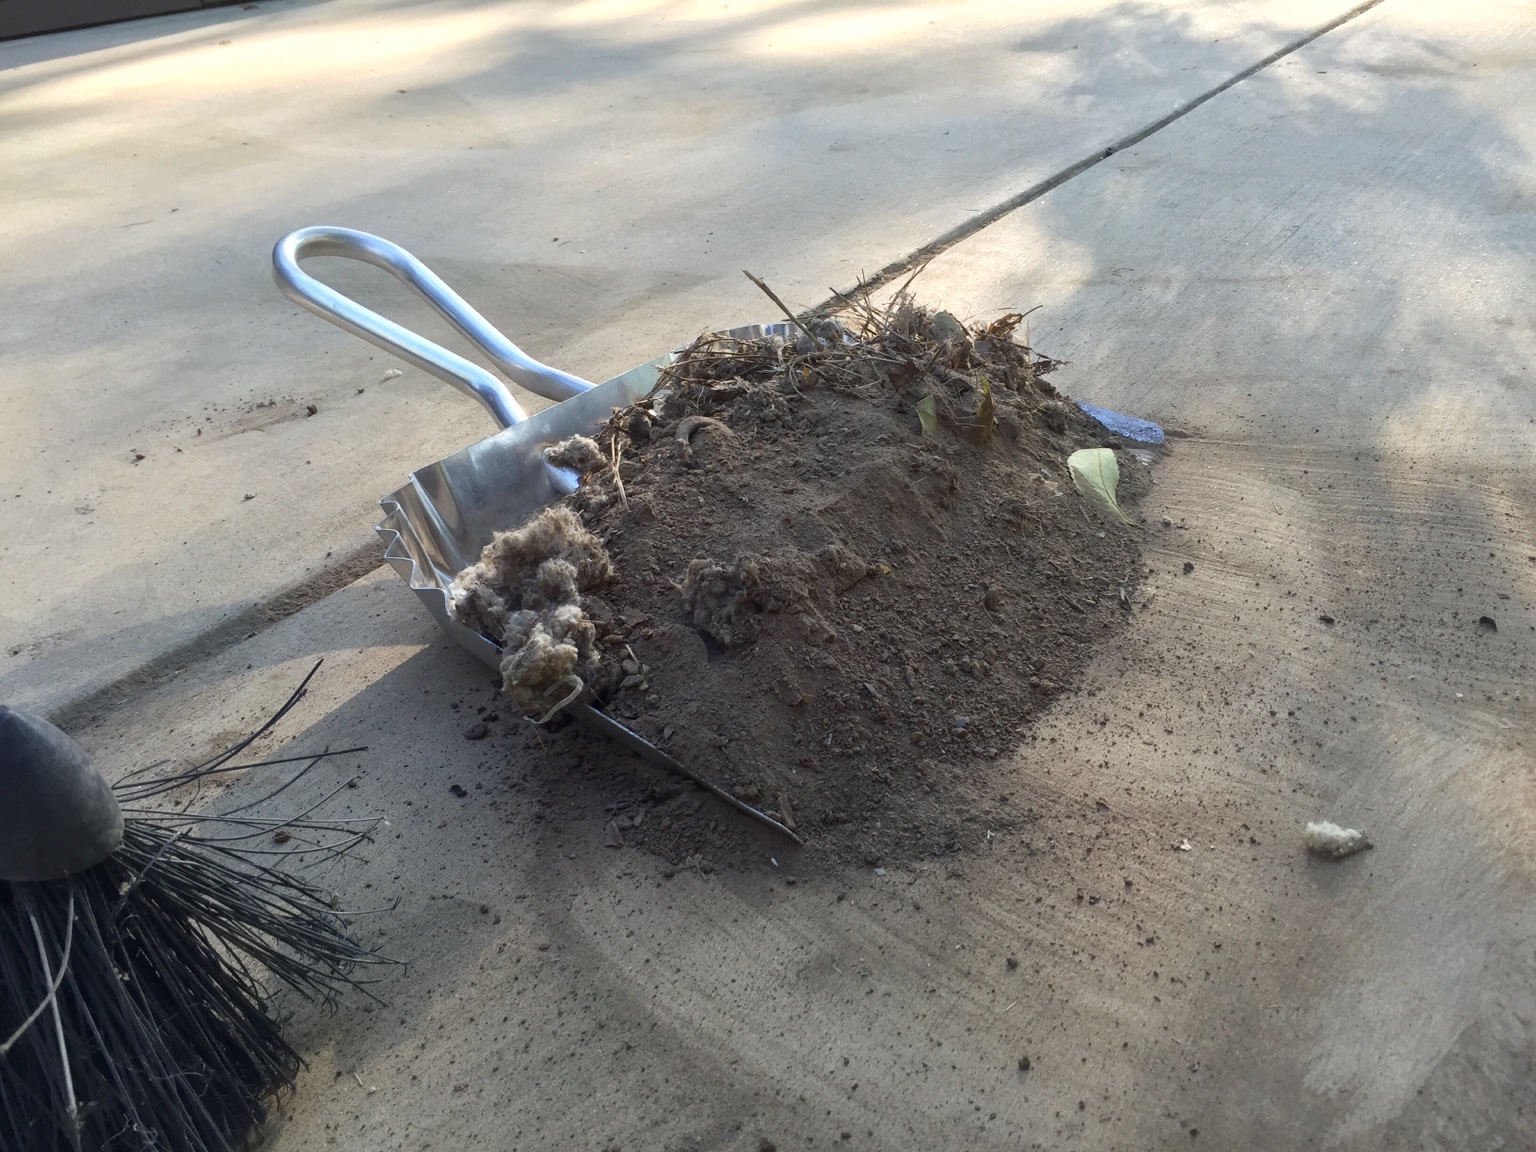
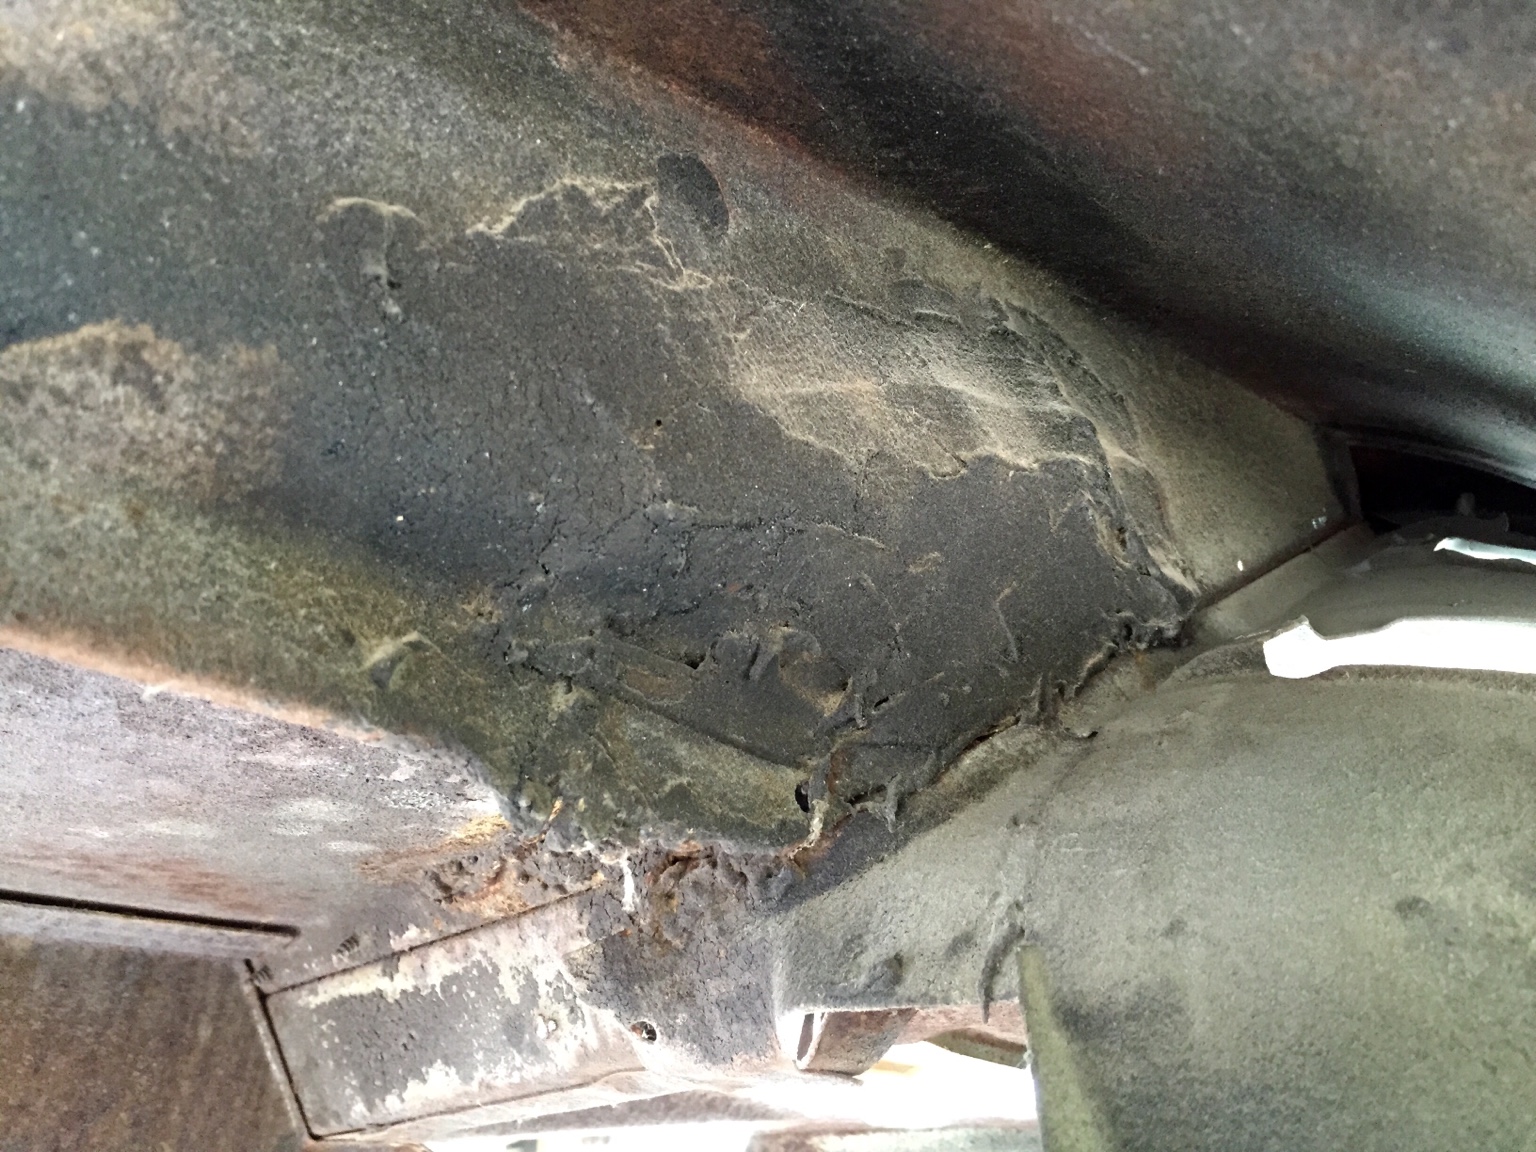
Speaking with the blaster (North Texas Customs), they use a gentler media on the exterior than the rest of the structure. No soda or shells. I'm just trying to save a few bucks by stripping the large flat panels myself.

Thanks for the recommendation on the internal frame coating. I used some for a different project, and was thoroughly pleased. It was thin and got into every corner.

David
 
Finished the roof, and blew out the frame rails. All hail compressed air. Here's what came out:
f236e5a42af96fde3efa7e9d8656efbb.jpg


Just have the passenger fender for tomorrow...
45a42ddf158cfc87fec1cc132dc3d726.jpg


David
 
Last fender is done.
e2244f3c2488176435c309f174b7e9b5.jpg


It must have had 2 pounds of body filler on it. It's strange what passed for acceptable work by the previous owner.
7e80f7fa2c8d8d2642cb3f49e1966caa.jpg


David
 
It's been a busy few days.

I windowed the rear quarters, and boy am I glad. Lots of old rust and rot and mouse crap. My rational was, "why have them blast and prime panels I've already planned to remove?" The passenger side revealed a scabbed on patch using lots of adhesive. The inner structure appeared solid.
d684c912d8135d0a2867157463d1ce1d.jpg


4f9094fc37db927cd4192dfd11c0276e.jpg


The driver side was much less dramatic. Prying the panels off the rockers confirmed they're fairly intact, if a bit corroded.
866195d3a951207bf0a729ff41145f90.jpg


aacafa794a96b369e42ec5e81c75a3a6.jpg


The inner sail panels have a lot of that resin. I assume the PO used it as a backing to mound up body filler on the outside:
146353b22a4a3c6df7069c3a8d66fccf.jpg


Once ready, we loaded her up on the trailer, and I took it to North Texas Customs this morning:
618f02c9618c3d9f20b5dc8bf20e3a30.jpg


9a273cbbdb00b4985f93b8435940a9c8.jpg


I also took the fenders and doors, but I still have some work to do on the hood and deck lid, and they can be handled individually.

They blast with a 40/80 grit garnet, and scrape off what that doesn't get - underbody costing, resin, etc. To avoid stress relieving and subsequent warping, only one side of a panel is blasted - they treat and sand the underside of the roof chemically and/or mechanically before priming. Turns out, this process is what the shop is best known for, and they have a good reputation from members on a few forums, the HAMB in particular.

They should be done in 2 weeks or so. I'm in no rush, as I plan to use this time to clean up and organize all the parts and bits I have in boxes.

Big step for the car, and I'm excited to see the results.

David
 
Last edited:
Good stuff!, That's exactly where I cut my quarter skins. Do you plan to use butt weld clamps when you go back with the new skins?
 
Daytona-I plan to use the same type butt weld clamps as you did. You mentioned that you modified to them, and was that to make the gap between the panels thinner?

David
 
WOW, it's been awhile since I checked in but your kicking *** on getting this thing ready for paint! Looks fantastic!
 
WOW, it's been awhile since I checked in but your kicking *** on getting this thing ready for paint! Looks fantastic!
Thanks! Really excited to start some metal work. Learning a lot reading the build threads on here.

David
 
Well seeing as you cut the quarters off now would be a good time too widen the outer wheel house, mini tub the insides and dehump the wheel wells all in one shot. The stock wheel wells clear a 275/60/15 easy, a 325/65/15 with the right wheel shouldn't be hard after. You will have too dig around here on the forum but there are some good pic's showing how other guys did it.
 
Daytona-I plan to use the same type butt weld clamps as you did. You mentioned that you modified to them, and was that to make the gap between the panels thinner?

David

No, the gap is fine but the "blade" of the clamps had a small lip on them probably left from stamp-cutting them out at the factory. That lip/edge made it impossible to pull them out after welding without bending one or both sides of the gap. I think I showed a pic of that situation in my thread, not sure where. Just file or grind the lips off if yours have them so they will slide in and all the way out out of the gap freely.
 
Wow that's coming along nicely! Carry on!
Thanks!

The stock wheel wells clear a 275/60/15 easy, a 325/65/15 with the right wheel shouldn't be hard after.
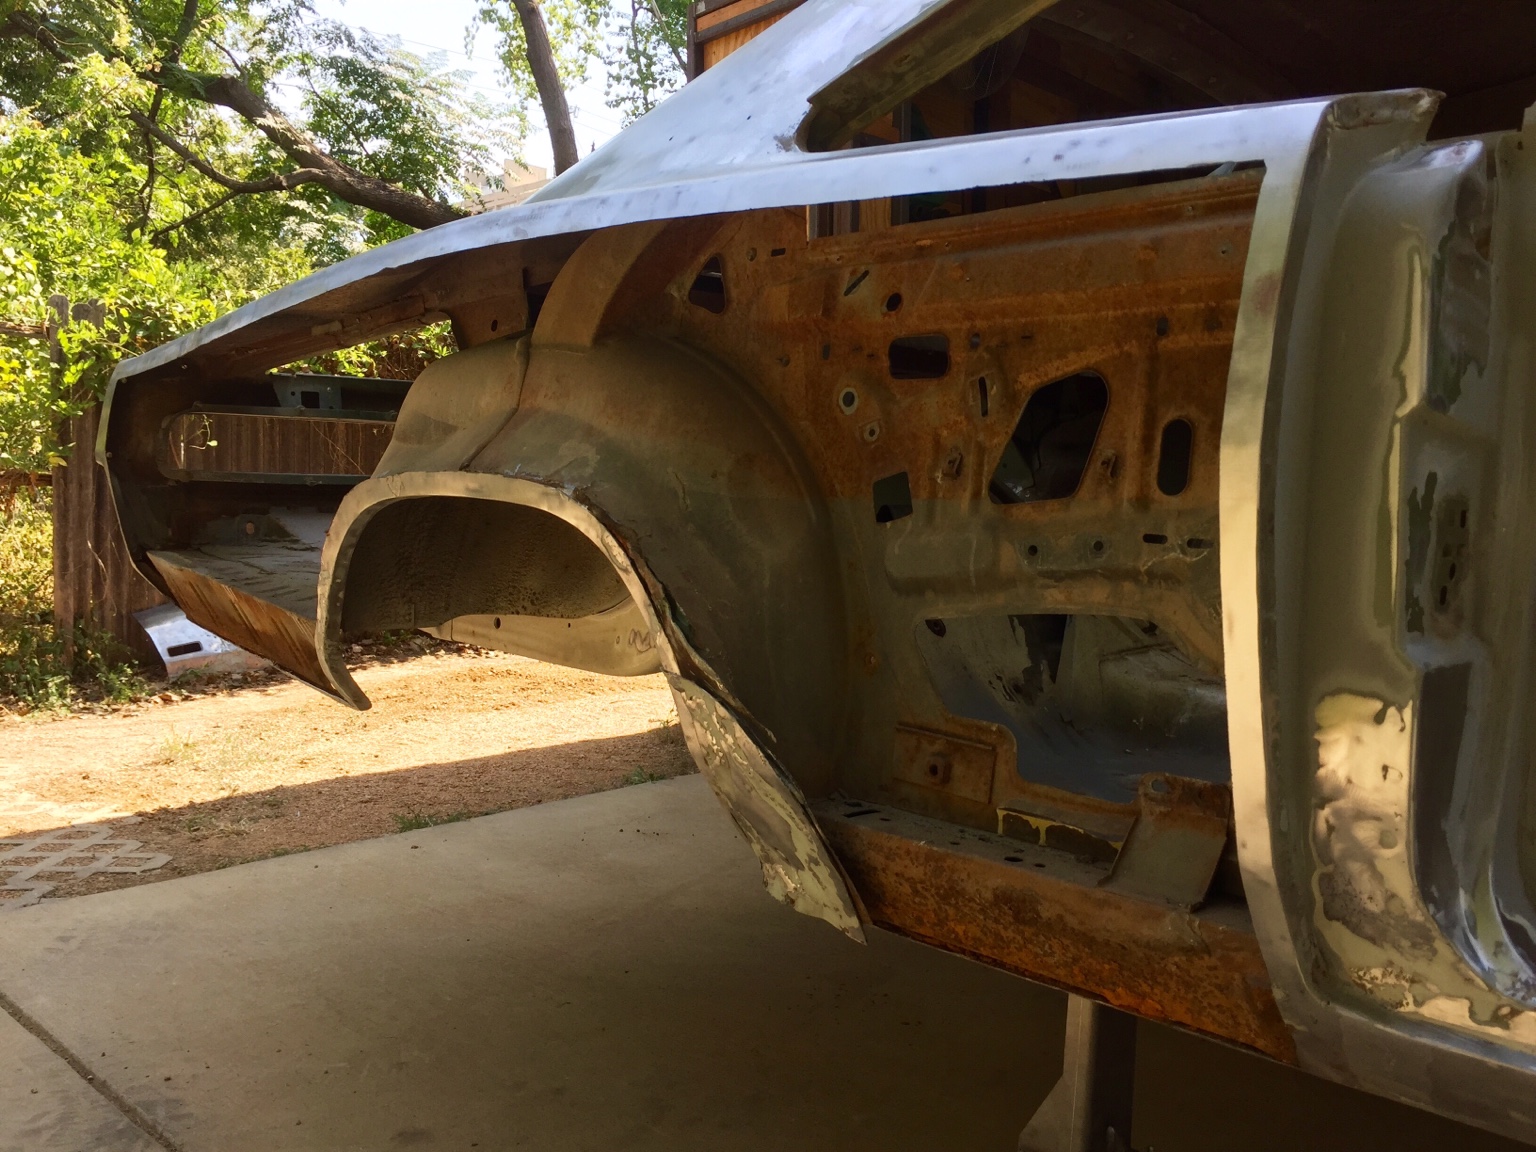
I'm thinking similarly - at least a 305 width, and I'm not looking to have staggered sizing. With all that room/access, you're right; it's the perfect time to build out the rear tubs.

No, the gap is fine but the "blade" of the clamps had a small lip on them probably left from stamp-cutting them out at the factory.
Noted. I think I found the post where you had to somewhat pry them out. Appreciate the reminder.

David
 
Auto Transport Service
Back
Top