Great thread! Great progress! Awesome job. In response to your "quick vent"
If you were here in Maine, you couldn't even think about leaving those panels bare for too long with all the humidity, they would rust without even looking at them.
Keep up the great work
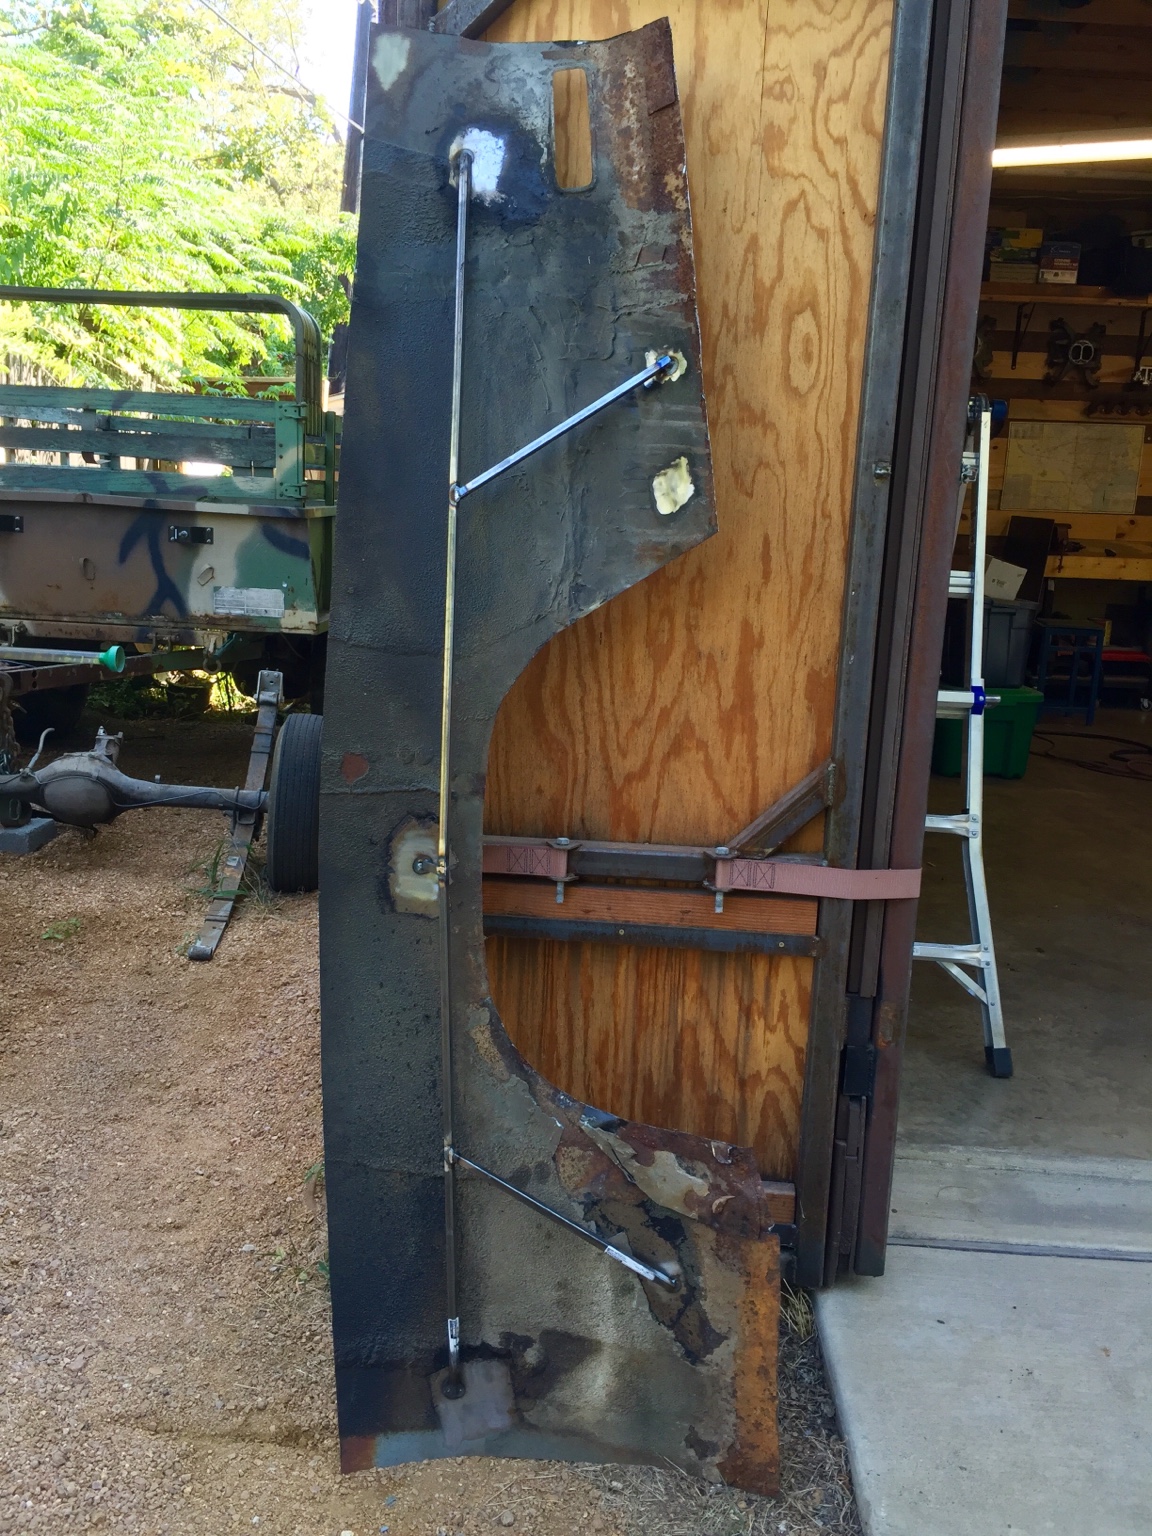
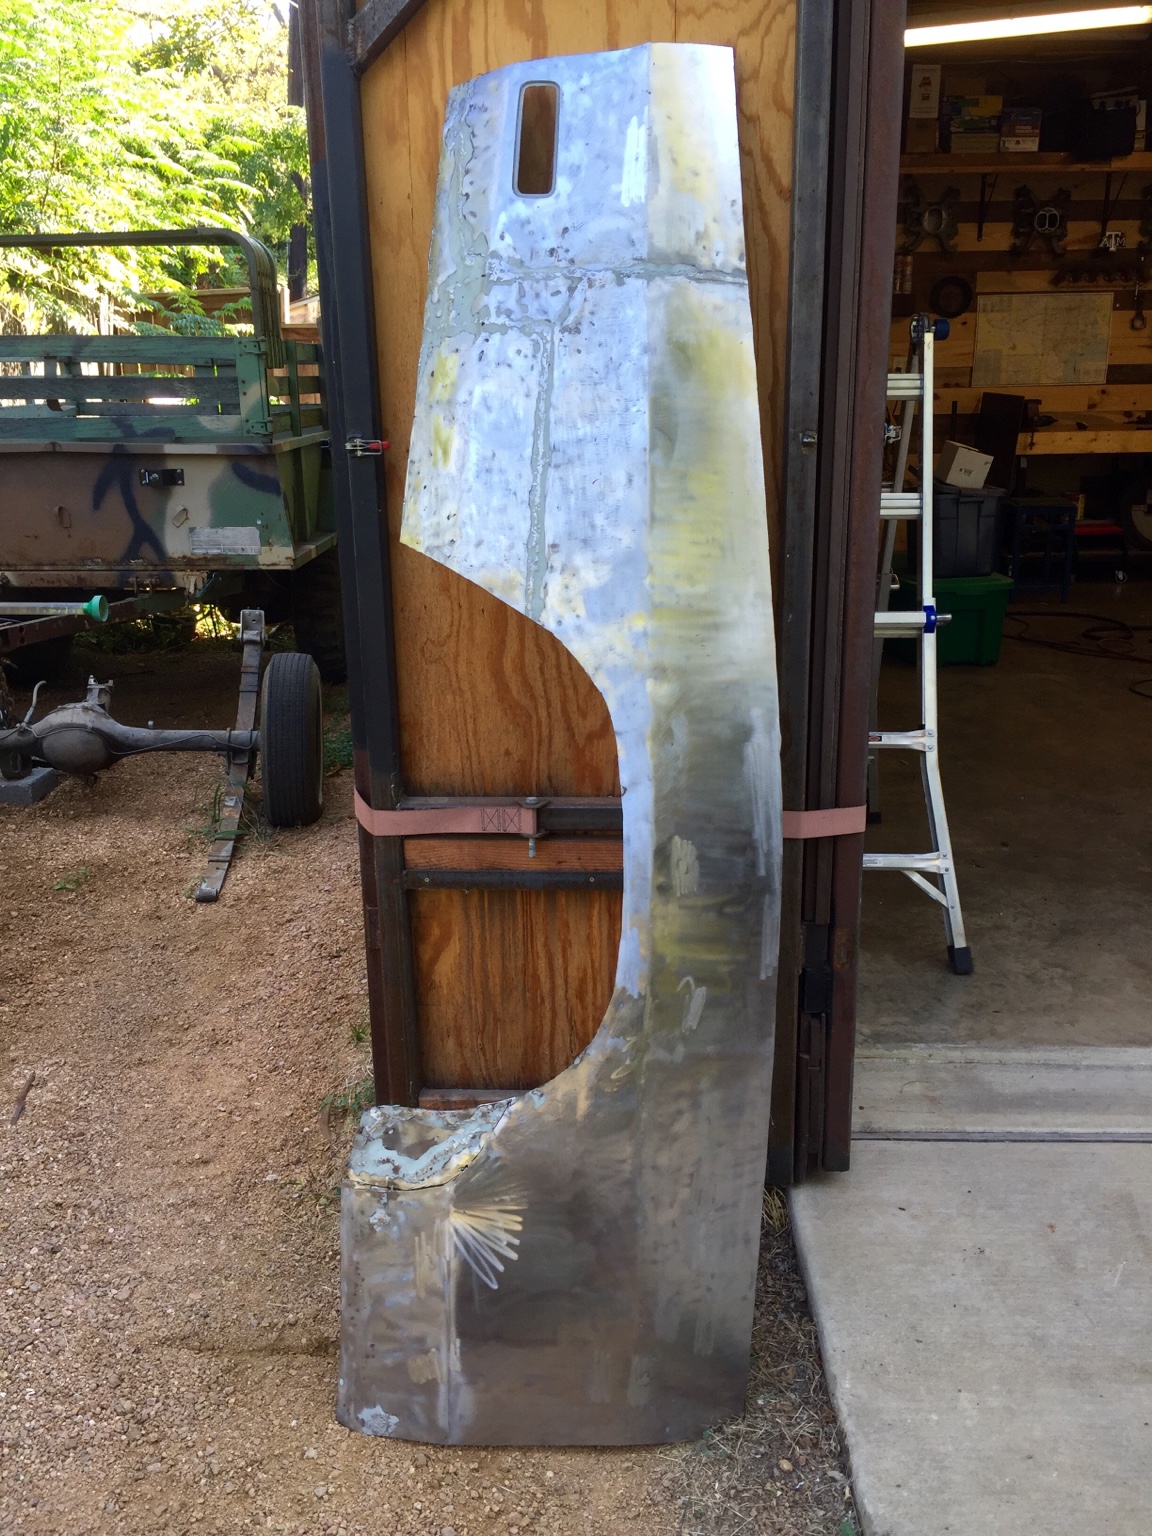
Quick venting:
Neighbor leans on freshly stripped fender. The next day, a flash rust hand and arm print. What part of bare metal car didn't you get?
Back to sanding.
If you were here in Maine, you couldn't even think about leaving those panels bare for too long with all the humidity, they would rust without even looking at them.
Keep up the great work